
Most creaks come from loose subfloor fasteners, seasonal wood movement, or a gap between the subfloor and a joist, and each cause has a different repair.
The right repair depends on access: screw or shim from below when you can, and use a screw-and-plug or a Squeak-No-More kit from above when you cannot. Start by locating the movement, not the sound.
What a Creak Actually Is
A creak is a short, high-frequency vibration produced when two surfaces rub or when a component flexes and releases. Underfoot, the usual suspects are a board sliding against a nail, a subfloor panel lifting off a joist, or a floating floor clicking against its underlayment. The sound travels through the floor assembly, so the spot that sounds loudest is rarely exactly where the movement happens.
Two acoustic clues help. A sharp, single tick usually means a nail or screw is loose. A low, prolonged groan usually means a joist or beam is flexing. A hollow, drum-like tone under tile points to a loose tile or hollow mortar bed, which is a different problem entirely. Recording a short video of the floor while you walk can help a contractor hear the pattern without a site visit.
The Common Causes of Creaking Floors
Most creaking traces to one of six conditions. Several can coexist, which is why a single room may have three distinct sounds.
Loose subfloor fasteners
Nails driven into joists can back out as wood shrinks and expands. Screws rarely back out but can strip in softwood joists. The result is a panel that moves up and down a fraction of a millimeter with each step, rubbing against the fastener. Replacing a loose nail with a screw usually ends the noise immediately.
Seasonal wood movement
Solid hardwood and plywood subfloors absorb and release moisture. The National Wood Flooring Association recommends an indoor relative humidity of 30 to 50 percent, with wood moisture content of 6 to 9 percent for most of the United States. When humidity swings outside that band, boards shrink, gaps open, and nails loosen. A whole-home humidifier helps stabilize conditions.
Joist movement or undersized framing
A joist that is slightly undersized, notched, or poorly blocked can flex enough to make the subfloor above it move. Bridging or blocking that has loosened over time stops doing its job of distributing load. Sistering a weak joist is a pro-level fix.
Gaps between subfloor and joist
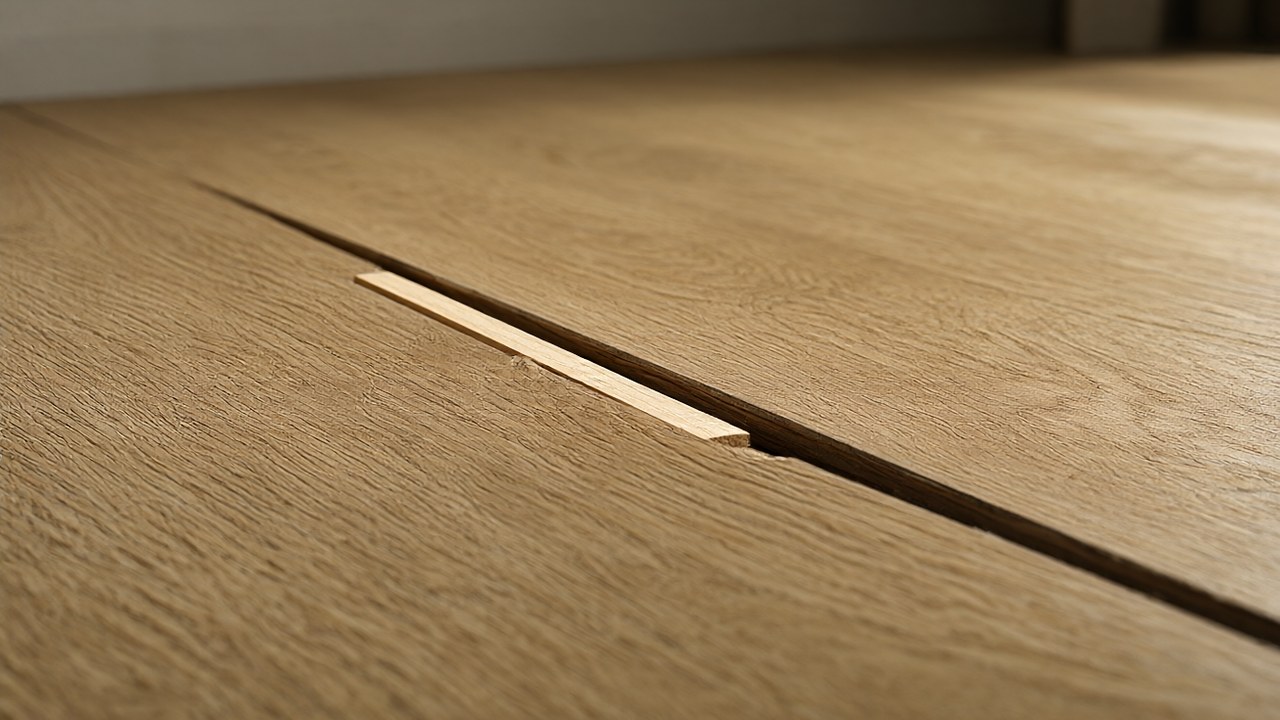
Even a well-nailed floor can develop a gap as joists dry and shrink. The subfloor then acts like a drumhead, flexing against the joist edge and producing a creak or squeak. A thin shim stops the movement now.
Underlayment and floating-floor friction
Laminate and engineered floating floors can creak where planks rub at the click joints, or where the underlayment folds or compresses. An uneven subfloor amplifies both. A leveling compound fixes the base.
Material-specific causes
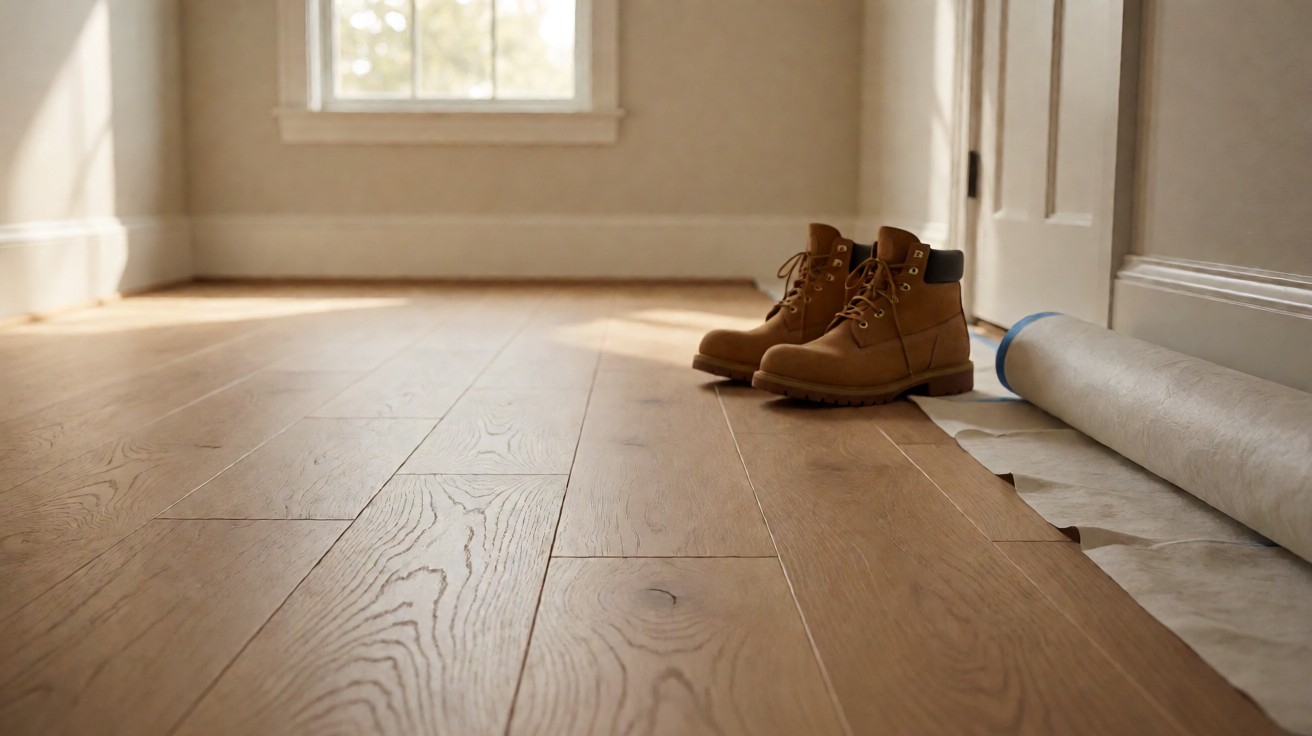
Solid hardwood nail-down floors creak at nail heads or at board edges. Engineered floating floors creak at click-lock seams. Laminate creaks at seams and at the underlayment. Luxury vinyl plank behaves like laminate. Tile creaks when grout or mortar has loosened. Carpet creaks at tack strips or at the subfloor beneath. Each material has its own repair path.
How to Find Where the Creak Comes From
Diagnosis is half the job. Work methodically before opening anything.
Where does the floor creak loudest?
Step on each board or tile, marking squeak locations with painter’s tape. Note whether the sound happens on the down step, the up step, or both. A sound on both usually means a fastener; on one, a gap.
Can you see the movement from below?
If a basement or crawl space is accessible, have someone walk above while you listen and watch. Look for joist movement, gaps between subfloor and joist, and loose bridging. A flashlight held at a low angle makes gaps visible. Mark each location with tape so you do not lose it when you go back upstairs.
Use the paper test
Slide a thin piece of paper or a shim under the edge of a board or between subfloor and joist. If it catches, you have found a gap that can be shimmed or glued.
Is humidity driving the squeak?
Measure indoor relative humidity with a hygrometer. Readings below 30 percent or above 50 percent point to seasonal movement as the primary driver. Use ASTM D4442 methods if you need to measure wood moisture content directly.
How to Fix Creaking Floors From Below
Access from below is the cleanest repair because it leaves the finished floor untouched.
Screw the subfloor to the joist
Drive a 2-inch or 2.5-inch screw through the subfloor into the joist, pulling the panel tight. Use screws designed for subfloors, not drywall screws, which can snap. Place screws every 6 to 8 inches along the squeak line. Pre-drill if the joist is hardwood.
Shim a gap
Where a gap exists between subfloor and joist, tap a thin cedar or hardwood shim in until snug, then snap or trim it flush. Do not force it, or you will create a hump in the floor above. A dab of construction adhesive on the shim helps it stay.
Glue and screw
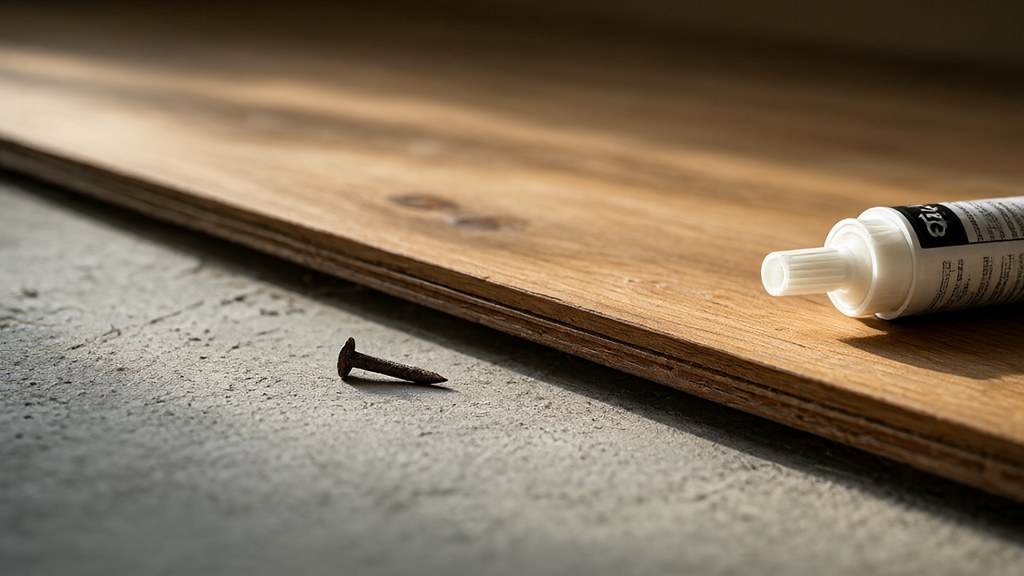
For persistent squeaks, apply construction adhesive into the gap between subfloor and joist, then screw the panel down while the adhesive is wet. This bonds the assembly and stops movement permanently.
Add blocking or bridging
If joists are flexing, install solid blocking or metal bridging between joists at the squeak location. This stiffens the framing and redistributes load. Check that the blocking is tight and nailed from both sides.
How to Fix Creaking Floors From Above
When there is no access from below, repairs must go through the finished floor.
The Squeak-No-More kit
This kit uses a screw driven through the finished floor into the joist, then snaps off below the surface, leaving a small hole that is filled with wood filler. It works well on carpeted floors and on hardwood where the fastener head can be concealed. Follow the manufacturer’s instructions for depth and pilot holes.
Screw and plug for hardwood
Drill a pilot hole, drive a trim-head screw into the joist, and plug the hole with a matching wood plug. Sand and finish to blend. This is the most durable above-floor fix for solid hardwood. Use a plug cutter for a clean, tight fit.
Powder lubricant for carpet
Talcum or graphite powder worked into the carpet at the squeak location can reduce friction between the carpet backing and the subfloor. This is a temporary fix, not a repair. The Carpet and Rug Institute (CRI) publishes installation standards that address subfloor preparation for carpet.
Adhesive injection for floating floors
For laminate or engineered floating floors, a thin bead of flooring adhesive injected at a seam can stop a creak, but it may void the warranty. Check the manufacturer’s specification first.
Fixes by Flooring Type
| Flooring type | Most likely cause | Best repair | Notes |
|---|---|---|---|
| Solid hardwood, nail-down | Loose nails, seasonal shrinkage | Screw and plug from above, or screw from below | Refinish after plug repair |
| Engineered hardwood, floating | Click-lock friction, uneven subfloor | Shim subfloor, re-seat plank | Check manufacturer warranty |
| Laminate | Underlayment compression, seam friction | Replace underlayment, add transition gap | See how to fix gaps in laminate flooring |
| Luxury vinyl plank | Subfloor unevenness, loose planks | Level subfloor, re-click plank | Acclimate before reinstall |
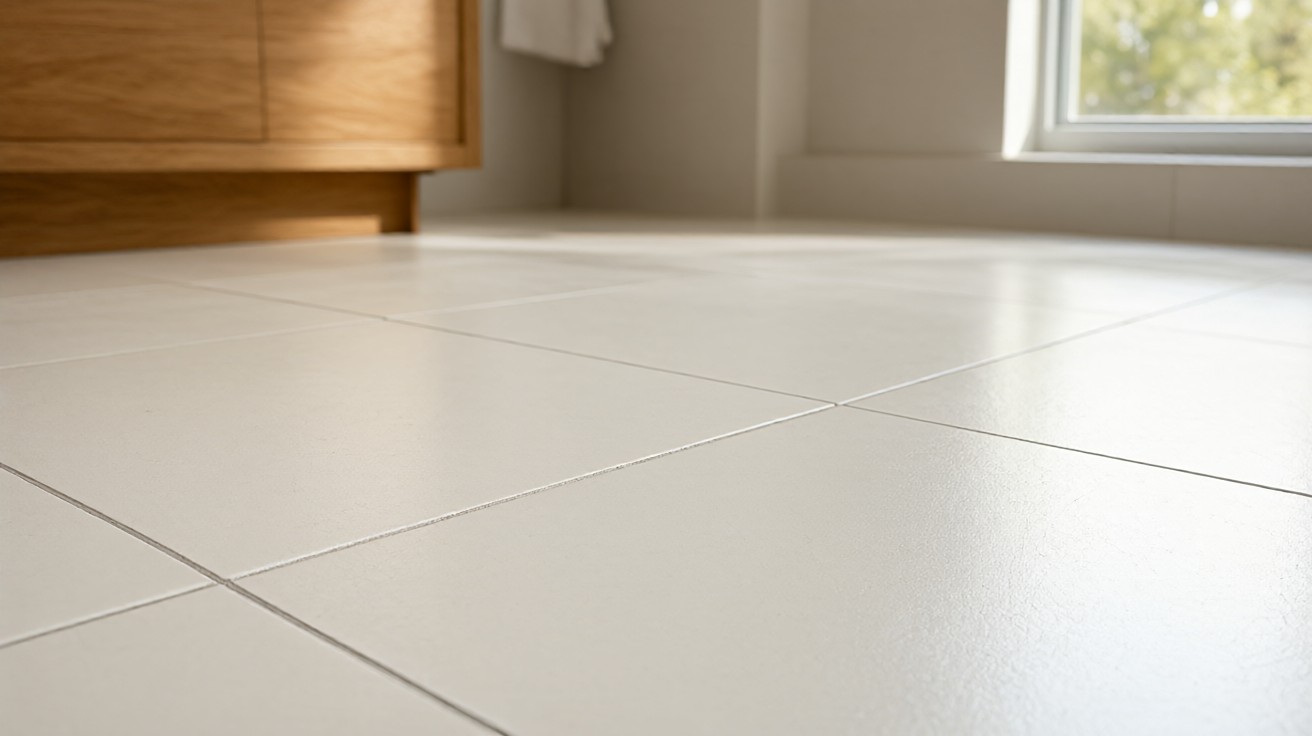
| Tile | Loose grout or mortar bed | Remove and re-set tile | Listen for hollow sound |
| Carpet | Tack strip, subfloor movement | Squeak-No-More kit, powder lubricant | Temporary if subfloor is the cause |
If your tile sounds hollow, that is a different diagnosis with its own repair path, covered in our guide on why floor tiles sound hollow. If tiles are actually loose, see how to fix loose floor tiles.
Humidity and Seasonal Movement
Humidity is the invisible driver behind most seasonal creaking. Wood flooring performs best between 30 and 50 percent relative humidity, per NWFA guidance, with wood moisture content of 6 to 9 percent. In winter, heated air drops below 30 percent and boards shrink, opening gaps and loosening nails. In summer, high humidity swells boards and can cause buckling.
Practical controls include running a humidifier in winter, a dehumidifier in summer, and keeping the thermostat steady. If a floor buckles or lifts, that is a moisture emergency rather than a creak, and it needs a different response. Track humidity for two weeks before deciding on a permanent repair.
When a Creak Signals a Bigger Problem
Most creaks are cosmetic. A few are warnings. Call a professional if you notice any of the following.
- Sagging or visible deflection in the floor.
- Cracks in walls or ceilings below the squeak.
- Water stains, rot, or insect damage in the subfloor.
- A sudden change in sound after a plumbing leak.
- Tile that rocks or grout that crumbles.
A creak that appears after water damage may indicate rot in the joist or subfloor, which a screw will not fix. Structural repairs are not a do-it-yourself task.
Cost of Repair
Costs vary by access and scope. The figures below are typical US ranges reported by home-services marketplaces and should be treated as estimates, not quotes.
| Repair | Typical cost (USD) | Who does it |
|---|---|---|
| Squeak-No-More kit, DIY | 20 to 40 | Homeowner |
| Shim and glue from below, DIY | 10 to 30 in materials | Homeowner |
| Professional squeak repair, single room | 150 to 350 | Carpenter or flooring contractor |
| Subfloor replacement, partial | 500 to 1,500 | Flooring contractor |
| Joist repair or replacement | 1,000 to 3,000+ | Structural carpenter |
Always get a written scope before work begins, and ask whether the contractor will refinish the floor afterward. If only one room is affected, ask whether the contractor can isolate the repair to that room.
Preventing Future Creaks
Prevention is cheaper than repair. Keep indoor humidity in the 30 to 50 percent band year-round. Use the right fasteners during installation: screws rather than nails for subfloors, and ring-shank or screw-shank nails where nails are specified. Glue the subfloor to joists with construction adhesive during new construction. Acclimate solid hardwood to the home for several days before installation, and follow the manufacturer’s acclimation guidance for engineered and laminate products. Inspect and tighten fasteners during any renovation. For related troubleshooting, see why flooring is buckling or lifting, and how to fix gaps in laminate flooring.
When to Call a Pro
If the creak is isolated and the cause is clear, a competent homeowner can fix it in an afternoon. If the floor sags, if water damage is present, or if the sound persists after two repair attempts, bring in a flooring contractor or structural carpenter. A professional can assess whether the issue is the finished floor, the subfloor, or the framing, and can advise on refinishing.