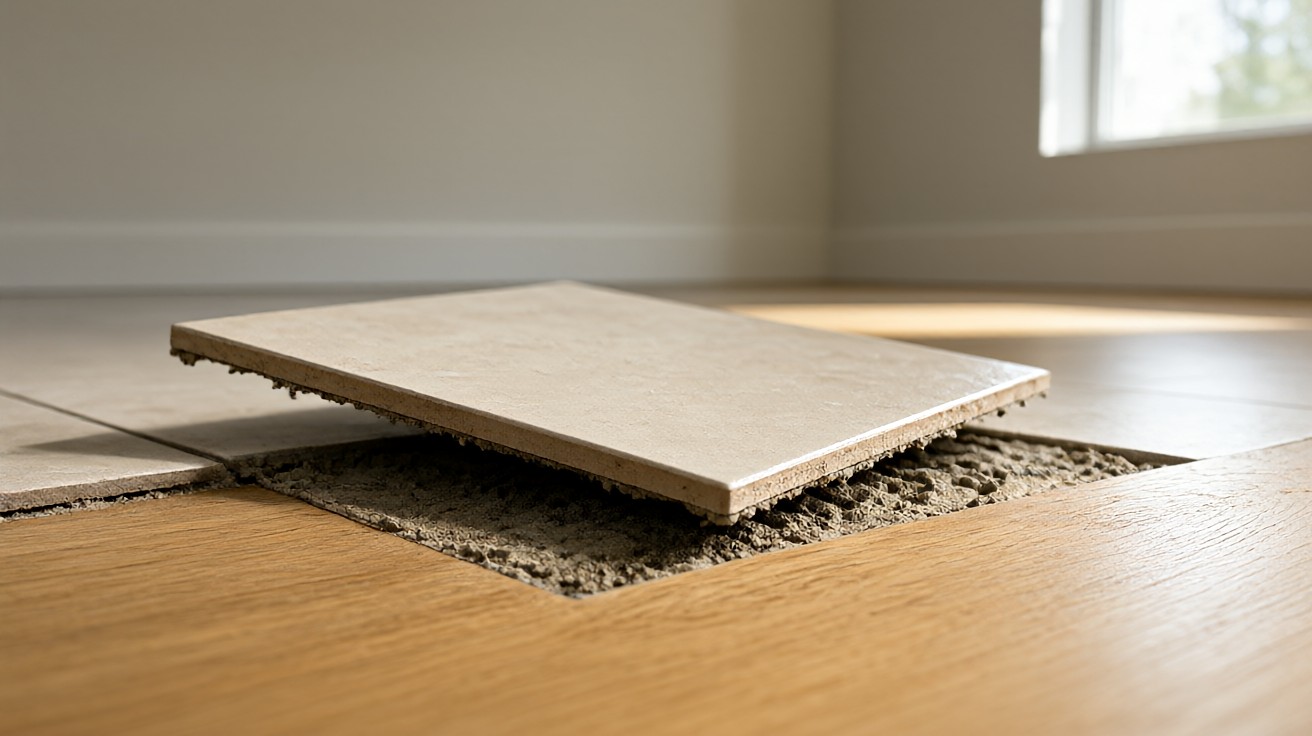

Loose floor tiles sound hollow when tapped, rock underfoot, or lift at a corner, and the real cause is rarely the tile itself but coverage or substrate.
A single loose tile on a sound substrate can be re-bonded with fresh thinset; multiple loose tiles or a moving subfloor means pull and reset or replace. The tile mortar and thinset basics guide explains the setting materials involved.
Tap the full floor first, read the pattern, then match the repair to the cause instead of guessing.
What Causes Floor Tiles to Come Loose
Tile is rigid and its cementitious adhesive is nearly so, so any movement in the layers beneath it breaks the bond. The Tile Council of North America lists the common causes of lost bond between tile and subfloor.
Expansion and contraction are high on that list, especially when movement joints were not placed sufficiently in the tile layer. Outdoor floors, sunlit rooms, and moist installations need more movement joints, not fewer.
Poor quality thinset fails where shear forces from expansion, contraction, or deflection are present. Paint or lacquer overspray, sealer on the subfloor, moisture induced deterioration, and subfloor delamination all block or destroy the bond.
Excessive deflection, poor thinset coverage, thinset applied in dabs, thinset used beyond its pot life, and thinset disturbed while curing are installation defects that show up as hollow tiles months or years later. Moisture sensitive adhesives fail under hydrostatic moisture or flooding.
Moisture and thermal exposure can degrade the bond without buckling the tile. Substrate movement from foundation settlement or joist deflection transfers stress into the adhesive layer and breaks it.
Does Poor Thinset Coverage Cause Hollow Tiles?
Yes. Thinset applied in dabs or with less than full coverage leaves voids under the tile. When traffic or temperature change flexes the tile, the unsupported areas crack or debond. Full coverage is the single most controllable factor in a lasting installation.
What Does Paint or Sealer on the Subfloor Do?
Paint, lacquer overspray, and sealer form a weak film between the thinset and the substrate. The adhesive bonds to the film instead of the concrete or plywood, so the tile releases under load. Remove contaminants before setting tile.
How to Tell if a Tile Is Loose (Tap Test)
Tap the whole floor with a coin, a hard plastic mallet, or a golf ball, not just the tile that feels loose. A solid tile gives a dull, dead note; a debonded tile rings hollow. Mark every hollow spot with chalk and look for a pattern.
The pattern tells you the cause. One or a few random hollow tiles with adhesive ribs on the screed and a clean tile back point to insufficient coverage. Hollows across a timber floor with cracking grout point to substrate deflection.
A destructive check confirms the diagnosis. Lift one tile and inspect the back and the substrate. Adhesive left on the screed with a clean tile back means the tile never bonded. Adhesive on both surfaces means the bond broke after curing.
Some systems sound hollow without being loose. A mortar bed on a cleavage membrane, such as TCNA Handbook detail F111, intentionally separates the tile layer from the substrate. Waterproofing or uncoupling membranes also yield a different tone when tapped.
When Does a Hollow Sound Not Mean Failure?
Over concrete with no deflection, grout and gravity can hold a floor with hollow spots in place, as long as movement joints are sufficient and shear forces are minimal. Over wood, failure is more likely because subfloor movement breaks grout away from the tile.
How Do You Confirm a Debonded Tile?
Lift one tile and compare adhesive witness marks. If adhesive remains on the substrate but the tile back is clean, the tile never bonded. If both surfaces carry adhesive, the bond failed after curing, which points to movement or moisture.
Loose Tile Repair Options Compared
Match the method to the extent of the problem and the cause. Re-bonding one tile is cheap; relaying a deflected subfloor is not.
| Method | Best For | Main Limitation | Typical Cost |
|---|---|---|---|
| Re-bond single tile with fresh thinset | One to a few loose tiles on a sound substrate | Requires removing and cleaning the tile and substrate | Under 50 dollars in supplies |
| Epoxy injection under the tile | Small hollow area under 1/8 inch gap | Not practical over large areas; does not fix the cause | Low to moderate |
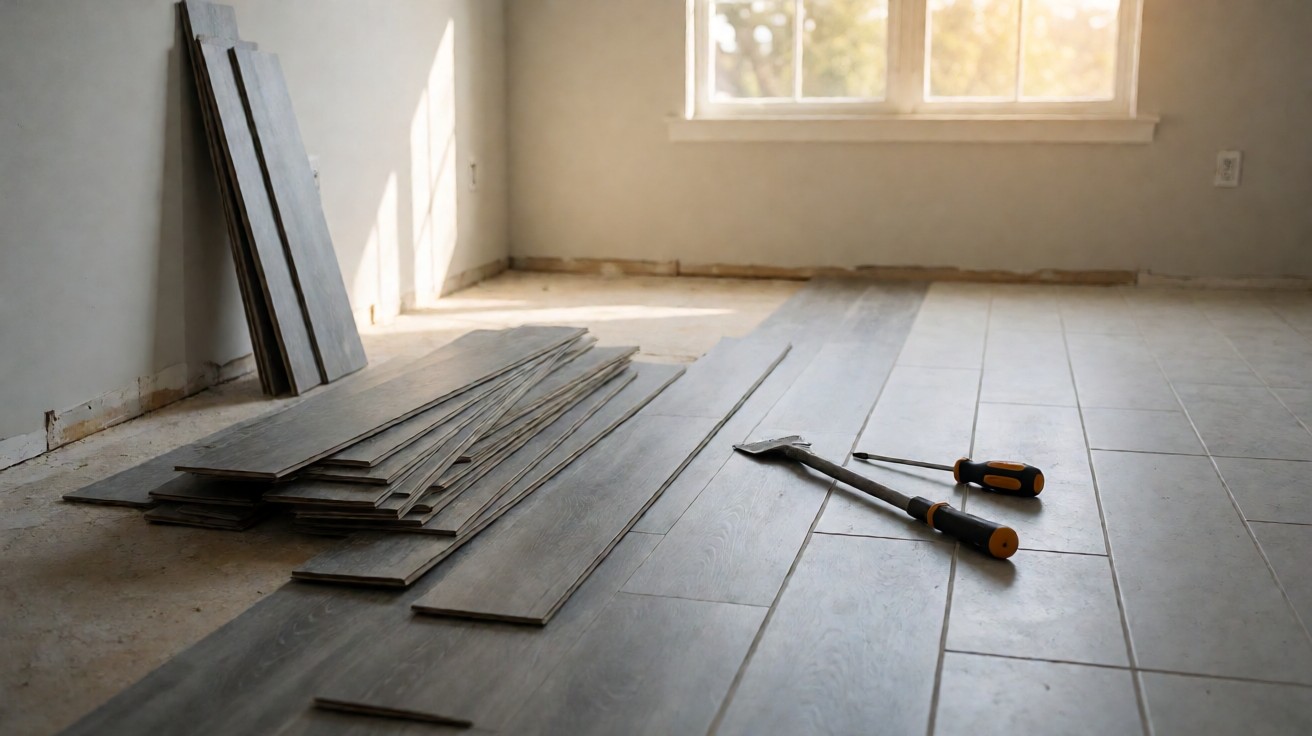
| Pull and reset multiple tiles | Clustered loose tiles, bad coverage | Grout color matching and tile breakage risk | 2 to 30 dollars per sq ft |
| Substrate repair and relay | Deflection, moisture damage, delamination | Largest scope and cost; longest downtime | 3 to 22 dollars per sq ft |
For grout care after the repair, see how to clean ceramic and porcelain tile.
Is Epoxy Injection a Permanent Fix?
Some contractors inject epoxy to rebond tile without reinstalling it. It may work in a small area, but it is not practical over a large area. Any repair that does not address the cause of the failure may not last very long.
Which Repair Method Lasts Longest?
Pull and reset with fresh thinset on a sound substrate lasts longest because it restores full coverage and bond. Epoxy injection is a stopgap. Substrate repair is required when the structure moves.
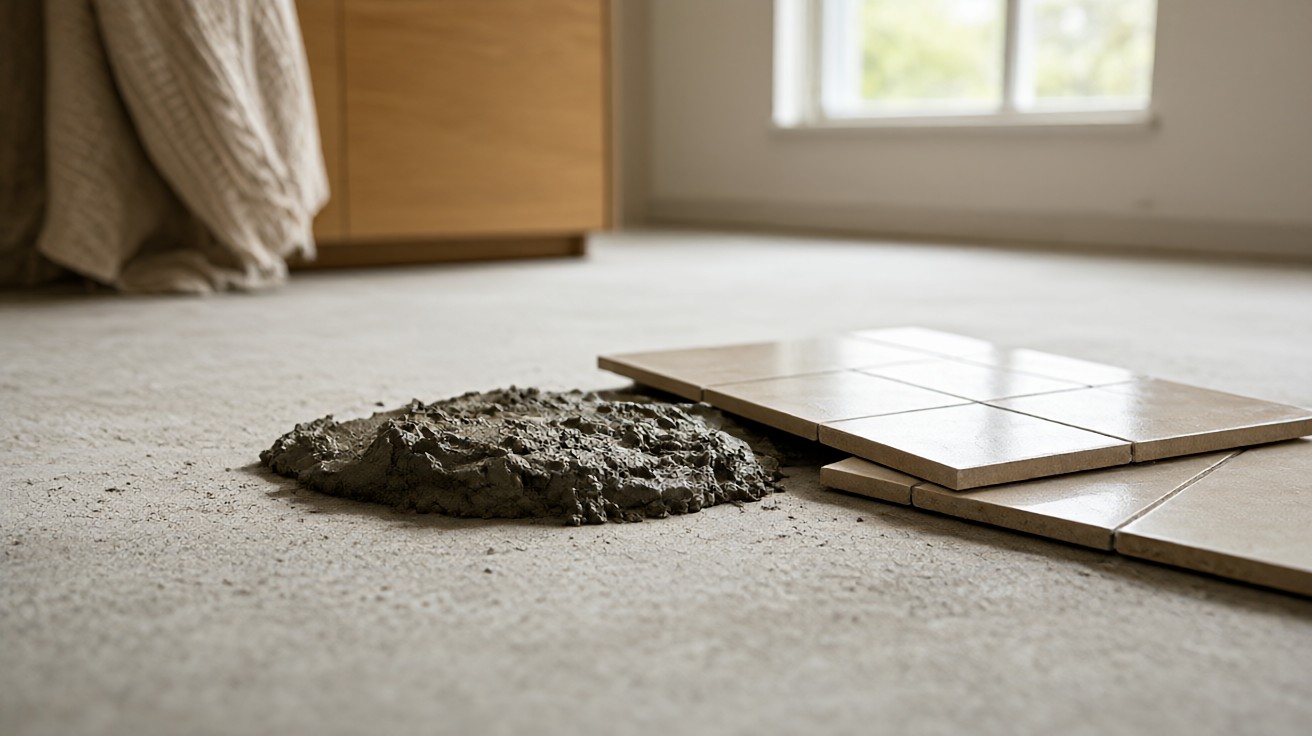
How to Fix a Single Loose Tile
1. Remove Grout Around the Tile
Use an oscillating tool or grout saw to cut the grout joints around the loose tile. Remove all grout to the full depth so the tile can lift without chipping neighbors.
2. Lift the Tile
Pry gently with a putty knife or thin chisel. If the tile resists, heat it slightly or cut more grout. Save the tile if it is intact and you need a color match.
3. Clean the Substrate
Scrape all old thinset from the substrate until flat. Vacuum dust and test the surface with a water drop: if the water beads, a contaminant remains and bond will fail.
4. Reset With Fresh Thinset
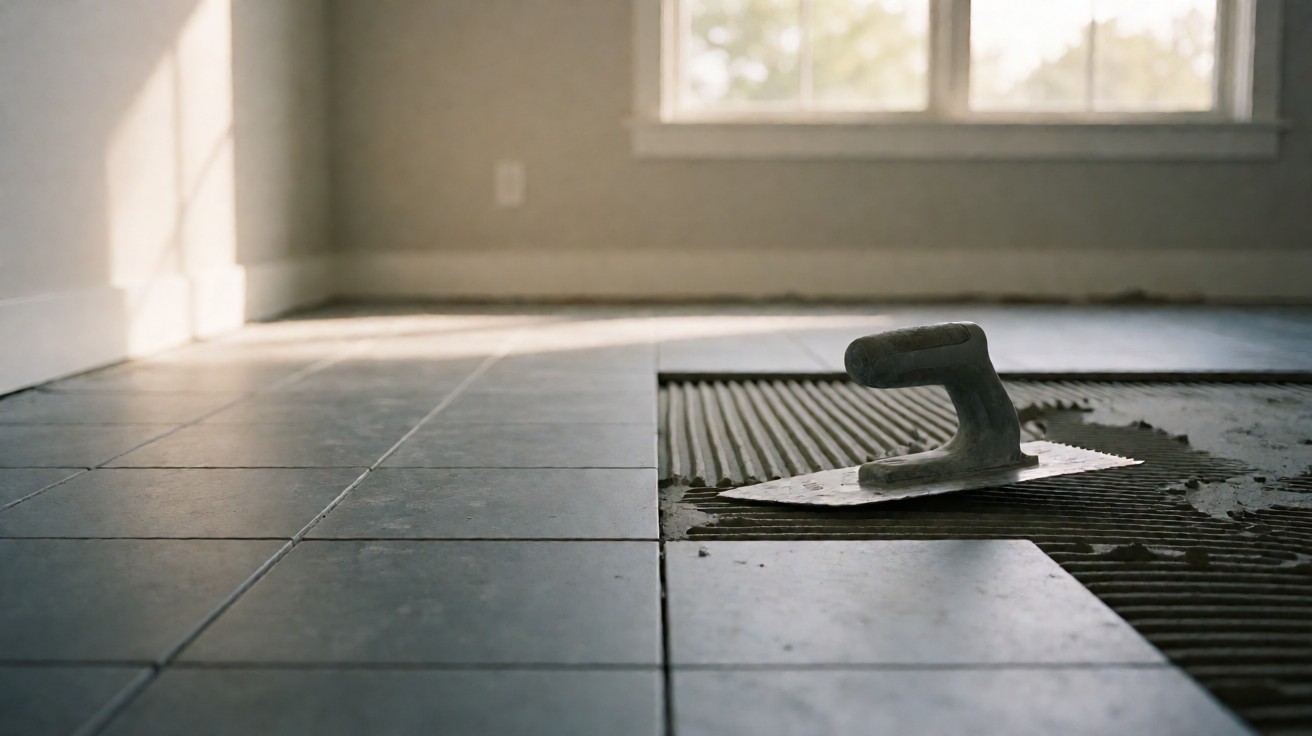
Spread a polymer modified thinset meeting ANSI A118.4 with a notched trowel sized to the tile. Back-butter large tiles. Press firmly and twist slightly to collapse ridges and achieve full coverage.
5. Regrout and Cure
Allow the thinset to cure per manufacturer instructions, usually 24 hours, then regrout. Keep traffic off the repair until the grout cures.
How to Re-Bond a Tile Without Removing It
Epoxy injection can fix a hollow tile when the gap between tile and substrate is less than 1/8 inch. Drill small holes at the corners or along a grout joint, inject a low viscosity epoxy, and let it cure.
This works best for isolated hollow spots on a sound substrate. It does not correct deflection, moisture damage, or widespread coverage failure, and it may not last if the underlying cause remains.
Can You Re-Bond a Tile Without Removing It?
Yes, but only in limited cases. The gap must be small, the substrate sound, and the cause addressed. For clusters of loose tiles, removal and reset is more reliable.
When Should You Choose Injection Over Removal?
Choose injection when the tile is intact, the gap is under 1/8 inch, and the substrate is sound. Choose removal when coverage failed across several tiles or the substrate moves.
When the Subfloor Is the Real Problem
Timber floors deflect. A few millimeters of movement in boards beneath a rigid tile breaks the bond at every step. Tongue and groove chipboard is not a tiling substrate because it moves at joints, swells with moisture, and adhesive does not bond to its surface.
The TCNA Handbook limits framed floor deflection to L/360 for ceramic tile and L/720 for natural stone, where L is the clear span of the supporting member. Exceeding those limits means relay alone will fail. The ASTM C627 Robinson floor test is used to evaluate tile assembly serviceability under rolling loads.
Overlay a deficient wood subfloor with 15 mm exterior grade plywood or a decoupling membrane before relaying tile. Fix the structure first, then the surface.
When Should You Overlay Instead of Replace?
Overlay when the structure is sound but the surface is uneven or the wrong material. Replace when joists are undersized, water damaged, or the subfloor is delaminated.
Moisture and Thermal Movement in Tile Floors
Moisture and heat expand tile and substrate at different rates. Without movement joints at the perimeter and at 8 to 10 meter intervals, the field buckles or debonds.
Hydrostatic moisture from below can destroy the bond of a moisture sensitive adhesive. Test concrete moisture before tiling and use a waterproof membrane where needed.
Exterior and sunlit floors need perimeter and field movement joints sized to the expected expansion. Sealant filled joints absorb movement that rigid grout cannot.
How Do You Test Concrete Moisture?
Use a hygrometer or carbide test before tiling. If moisture exceeds the adhesive manufacturer limit, install a waterproof membrane or choose a moisture tolerant system.
Movement Joints and Deflection Limits
Movement joints are not optional details. They are the release valves for thermal and moisture expansion. Perimeter joints, field joints at 8 to 10 meters, and joints at all changes of plane or substrate.
Deflection limits are L/360 for ceramic and porcelain tile and L/720 for natural stone. Check joist spacing and span before tiling, especially over 16 inch on center framing.
Where a crack isolation membrane is used, follow the manufacturer and TCNA guidance on joint placement. The membrane reduces stress but does not replace joints.
How Wide Should Movement Joints Be?
Size joints to expected movement and seal them with flexible sealant. Perimeter gaps typically accommodate expansion at walls and fixed objects.
DIY vs Professional Repair Costs
Minor damage like hairline cracks can be fixed with epoxy for under 50 dollars in supplies. Professional tile floor repair costs range from 2 to 30 dollars per square foot, while full replacement runs 3 to 22 dollars per square foot including materials and labor.
Tile floor installation for a typical project costs 800 to 3,000 dollars, so diagnosis matters before committing to a full relay.
| Scope | DIY Cost | Professional Cost | Notes |
|---|---|---|---|
| Single tile re-bond | Under 50 dollars | 150 to 300 dollars | Color match grout |
| Cluster repair, 10 to 20 sq ft | 50 to 150 dollars | 2 to 30 dollars per sq ft | Breakage risk |
| Full floor replacement | Materials only | 3 to 22 dollars per sq ft | Includes labor |
| New installation | Materials only | 800 to 3,000 dollars | Typical home project |
When Is Replacement Cheaper Than Repair?
When more than a few tiles are loose or cracked, or when substrate repair is needed, replacement often costs less per square foot than repeated spot repairs.
Preventing Loose Tiles in New Installations
Substrate preparation decides the outcome. Remove paint, sealer, adhesive residue, and loose material. Use the water drop test to confirm the surface accepts moisture and will bond with thinset.
Spread no more thinset than can be tiled in 15 to 20 minutes. Tap each tile at center and corners; solid gives a dull note, hollow rings. Back-butter large format tiles to improve coverage.
Follow ANSI A137.1 for tile and ANSI A118.4 for the thinset. Clean grout haze promptly with the method in how to remove grout haze from tile.
For installation sequencing and layout, see how to install ceramic tile and grout and tile installation basics.
What Thinset Standard Should You Specify?
Specify a polymer modified thinset meeting ANSI A118.4 and match the trowel size to the tile. Back-butter large tiles and do not exceed the open time.
When to Replace Instead of Repair
Repair suits hairline cracks and isolated loose tiles on a sound substrate. Replace when multiple tiles are cracked or loose, when loose tiles stem from structural issues, or when water damage is visible beneath the surface.
Frequently loose tiles signal a substrate or movement problem that re-bonding will not solve. In those cases, full replacement with proper substrate repair is the lasting fix.
If the existing tile is well bonded and there are no height restrictions, remaining thinset can stay; otherwise remove it to expose a clean substrate for the new tile.
Can You Tile Over Existing Tile?
Only if the existing tile is well bonded, the floor can accept the added height, and the substrate is sound. Otherwise remove the old tile and prepare the substrate.