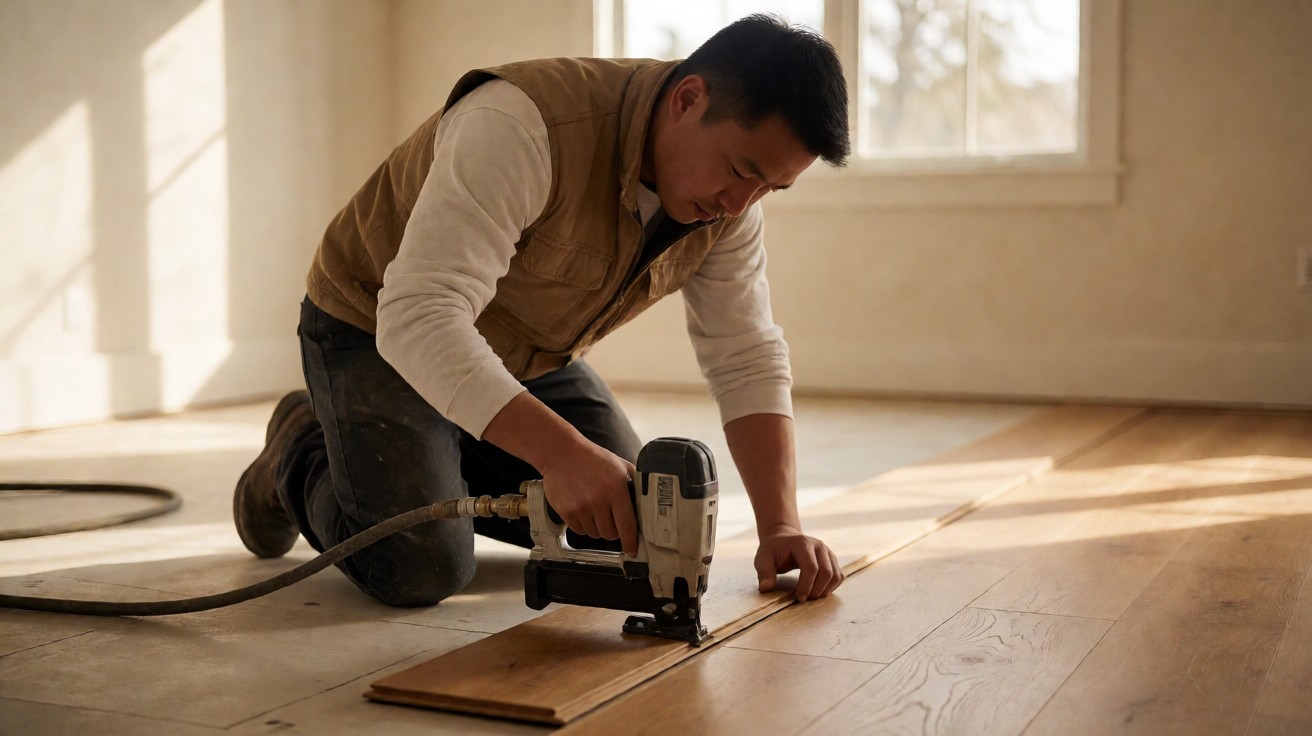

Staple-down is how most site-finished solid hardwood gets fastened: a pneumatic stapler drives crown staples through the tongue into the subfloor.
Staple-down is the right method when you are laying a solid hardwood floor that will be sanded and finished on site, over a wood subfloor that is thick enough to hold a crown staple. If the boards are thin engineered, prefinished, or laid over a concrete slab, a different fastening method will hold them better.
What Staple-Down Installation Is
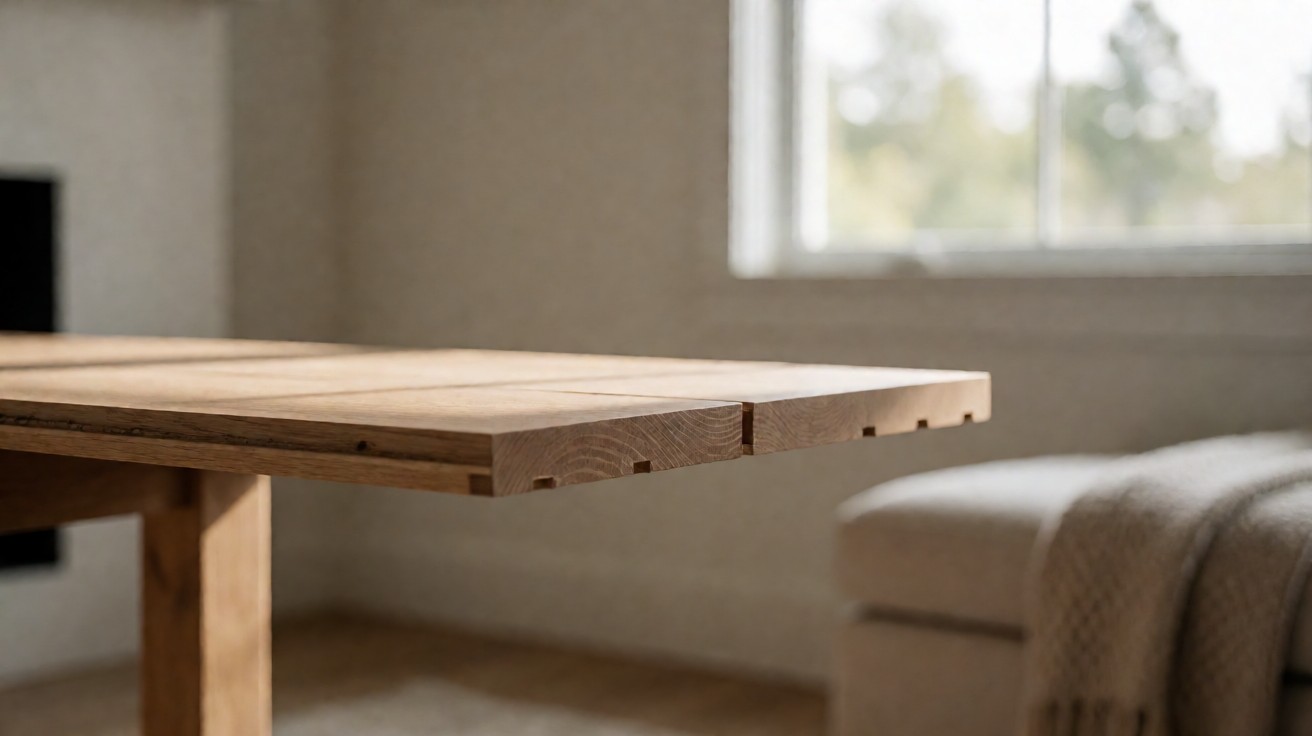
Staple-down installation is a blind-nail method. The installer lays the plank, then drives a crown staple through the top of the tongue at an angle into the subfloor, with the crown of the staple seated flush against the tongue. Per the NWFA Technical Guidelines, the fastener is driven through the tongue and set flush so the next plank’s groove drops over it without resistance.
Once the groove of the next board sits over that tongue, the staple is hidden. The surface you walk on shows no fastener heads and no face-nail pattern, which is why this method has been the default for site-finished solid hardwood for a long time.
The tool is a pneumatic flooring stapler. The head rests on the tongue, a mallet tap drives the plunger, and the air line fires the staple in the same stroke. The crown staple is the fastener of choice for solid strip and plank because its two legs bite the tongue and the subfloor at two points.
The first row is the exception.
Because the tongue of the first board faces the wall, it cannot be stapled through, so the first row is face-nailed and the second row is often face-nailed or blind-nailed by hand before the stapler takes over on the third row.
Staple-down is the standard method for site-finished solid hardwood, while nail-down with a finish nailer is typical for prefinished hardwood. If you are trying to decide between the two, the finish on the boards is usually what decides it.
Which Boards Are Stapled Down
Solid 3/4 inch strip flooring under 3 inches wide and solid 3/4 inch plank 3 inches wide and wider take a crown staple directly. Their thickness lets the staple pass through the tongue and bite the subfloor with enough holding power to keep the board flat through seasonal movement.
Engineered boards at 5/8 inch or thicker can also be staple-down, provided the manufacturer’s installation instructions allow it. The profile matters: a tight tongue-and-groove engineered board accepts a 1.5 inch fastener, while a thinner engineered board needs a finer gauge.
Boards under 5/8 inch engineered are usually not stapled with a standard flooring stapler. Their thinner tongue and lower density call for 18 to 20g cleats or 1/4 inch narrow-crown staples at closer spacing, per the NWFA fastening schedule.
Prefinished hardwood is normally nail-down with a finish nailer, not staple-down. If you want to know which boards take which method, the sibling guide on nail-down installation walks through the prefinished case.
Before you choose the fastener, read the manufacturer’s installation sheet for the specific product. A board that is marketed as staple-down may still require a specific gauge or staple length, and the wrong fastener is the most common cause of a staple-down floor that lifts at the joints.
Fastener Schedule by Board Thickness
The fastener schedule is set by board thickness and board width, not by the installer’s preference. The NWFA fastening schedule, as published in the ProInstaller schedule, gives the gauge, the minimum length, the spacing along the board, and the setback from each end joint.
Solid plank 3/4 inch and 3 inches wide or wider takes 15.5g, 16g, or 18g cleats or staples at least 1.5 inches long, spaced 6 to 8 inches apart, with the fastener set back 1 to 3 inches from each end joint. The minimum is two fasteners per board.
Solid strip 3/4 inch under 3 inches wide takes the same fastener but runs 8 to 10 inches apart. The narrower board is stiffer across the joists, so the wider spacing holds it without cupping.
Solid tongue-and-groove over 1/2 inch and under 3/4 inch, under 3 inches wide, takes 18g cleats or staples at least 1.5 inches long at 6 to 8 inches apart. Engineered tongue-and-groove at 5/8 inch or more takes the same 15.5g, 16g, or 18g fastener at 6 to 8 inches apart.
Engineered tongue-and-groove under 5/8 inch takes 18 to 20g cleats or 1/4 inch narrow-crown 18g staples at least 1.25 inches long, spaced 3 to 4 inches apart. The closer spacing is what keeps a thin board from lifting.
Per the NWFA Technical Guidelines, staples carry two penetration points, so excessive air pressure can split the tongue. Cleats can be set closer than staples. A 1/2 inch crown staple is 15.5g, narrow-crown staples at 1/4 inch run 16 to 20g, and staple lengths run 1.25 to 2 inches.
| Board type | Thickness and width | Fastener | Spacing along the board | End joints |
|---|---|---|---|---|
| Solid plank | 3/4 in, 3 in wide and up | 15.5g / 16g / 18g cleats or staples, at least 1.5 in long | 6 to 8 in apart, 1 to 3 in from each end joint | 2 fasteners minimum per board |
| Solid strip | 3/4 in, under 3 in wide | Same fastener | 8 to 10 in apart | 2 fasteners minimum per board |
| Solid tongue-and-groove | Over 1/2 in and under 3/4 in, under 3 in wide | 18g cleats or staples, at least 1.5 in long | 6 to 8 in apart | Set back from each end joint |
| Engineered tongue-and-groove | 5/8 in or more | 15.5g / 16g / 18g cleats or staples, at least 1.5 in long | 6 to 8 in apart | Set back from each end joint |
| Engineered tongue-and-groove | Under 5/8 in | 18g to 20g cleats, or 1/4-in narrow-crown 18g staples, at least 1.25 in long | 3 to 4 in apart | Set back from each end joint |
The schedule matters because the fastener has to hold the board flat through a full moisture cycle.
If you use a fastener that is too short, it pulls out of the subfloor. If the gauge is too heavy for the board, the tongue splits.
Can You Staple Hardwood Directly Over Concrete?
No. Solid hardwood is not installed directly on a concrete slab, per Shaw installation instructions. A wood subfloor is required, and engineered flooring is the method used over concrete. If you staple into a slab, the fastener will not hold and the floor will lift.
Subfloor Requirements Before You Staple
A staple-down floor is only as good as the panel under it. The subfloor has to be thick enough to hold a 1.5 inch fastener, flat enough that the boards do not rock, and dry enough that the boards do not move after installation.
Per manufacturer installation specifications, plywood has to be at least 5/8 inch, with 3/4 inch preferred.
OSB has to be at least 23/32 inch on joists at 19.2 inches on center or tighter. A 1 inch by 4 inch or 1 inch by 6 inch KD softwood subfloor can be laid diagonally over 16 inch on center joists.
Particleboard is not accepted under a staple-down floor.
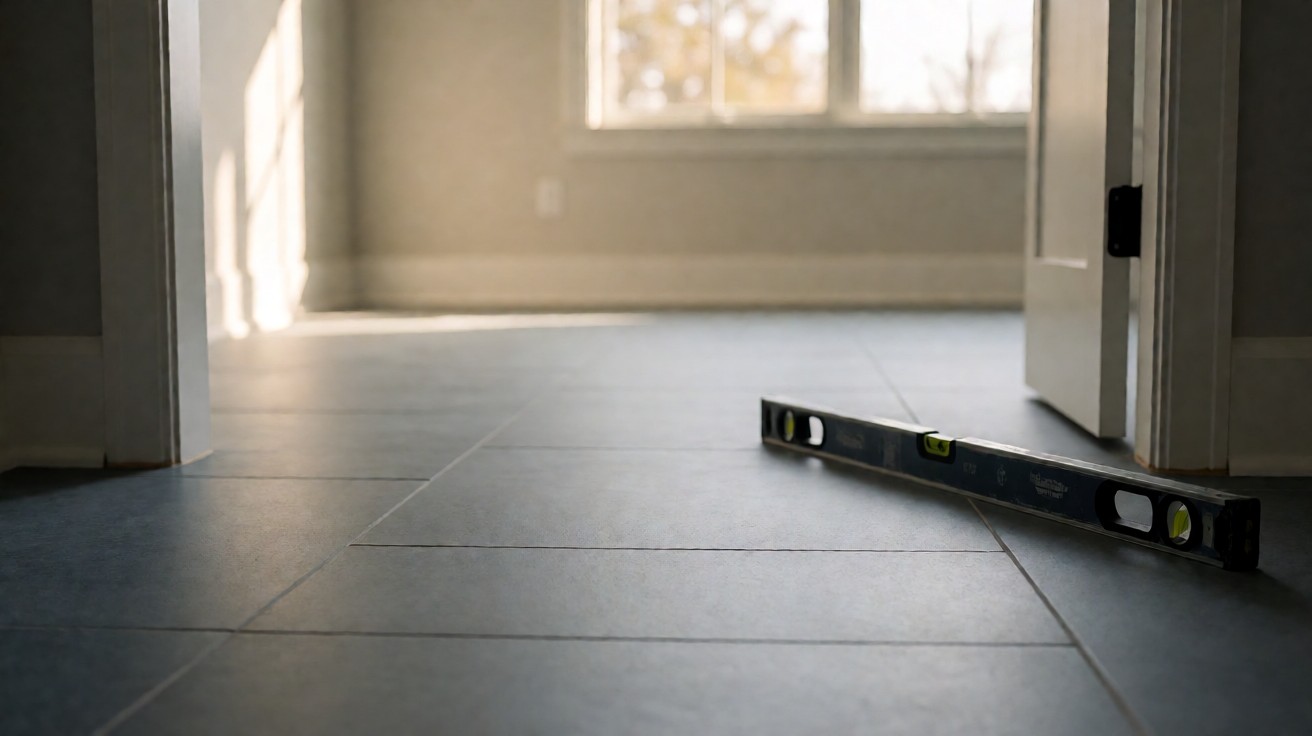
Flatness has to be within 3/16 inch over an 8-foot radius.
If the panel is not flat, the fastener pulls the board down into the low spots and leaves a gap under the high spots, and the gap becomes a squeak once the floor is walked on.
The straightedge test is quick and worth doing before any boards are laid, and the subfloor flatness check shows the method.
Moisture content of the subfloor has to be at 14 percent or lower, with a delta of 4 percent or less between the flooring and the subfloor. Install at 60 F or above and 35 to 55 percent relative humidity. Lay 15-lb asphalt felt or a moisture mat over the subfloor before the first row.
The first and last rows are face-nailed every 8 to 10 inches. Because the stapler cannot reach the wall-side rows, face nailing carries the load at the perimeter of the room.
| Requirement | Specification | Detail | Why it matters |
|---|---|---|---|
| Plywood | Minimum 5/8 in | 3/4 in preferred | Holds a 1.5 in fastener |
| OSB | Minimum 23/32 in | Joists at 19.2 in on center or tighter | Holds a 1.5 in fastener |
| KD softwood | 1 in by 4 in or 1 in by 6 in | Laid diagonally over 16 in o.c. joists | Traditional wood subfloor |
| Particleboard | Not accepted | No approved thickness | Replace before installation |
| Flatness | 3/16 in over an 8-foot radius | Measured before the first row | A low spot becomes a squeak |
| Moisture | 14 percent or lower | Delta of 4 percent or less between flooring and subfloor | Tested before installation |
| Room conditions | 60 F or above | 35 to 55 percent relative humidity | Held through installation |
| Underlayment | 15-lb asphalt felt or a moisture mat | Laid over the subfloor | Reduces moisture transfer |
| Perimeter rows | First and last rows | Face-nailed every 8 to 10 in | The stapler cannot reach them |
Solid hardwood is not installed directly on a concrete slab. A wood subfloor is required, and engineered is the method used over concrete, per Shaw installation instructions. If the room is over a slab, the subfloor has to be built up to meet the thickness and flatness numbers above.
The Staple Schedule: Spacing, Stagger, and Face-Nail Rows
The schedule is the map for where every fastener goes. In the field of the floor, staples run 6 to 8 inches apart for 3/4 inch solid boards, with the fastener set back 1 to 3 inches from each end joint so the staple does not split the end of the tongue.
End joints are staggered 4 to 6 inches, and 6 inches is the minimum commonly cited. The stagger spreads the joints across the floor so no two adjacent rows have their ends in the same place, and it keeps the floor from developing a visible line of steps.
The minimum is two fasteners per board, and the first and last fasteners of each board sit inside the end zones. A short board that gets one staple will move more than its neighbors, and the movement shows up as a ridge at the joint.
The first and last rows are face-nailed every 8 to 10 inches. Face nailing is also used at door jambs, at transitions, and anywhere the stapler cannot set its head squarely on the tongue.
Stagger is not cosmetic.
A floor with joints stacked in a column moves as one long plank, and the movement concentrates at the ends of the column. Staggering 4 to 6 inches distributes that movement across the width of the floor.
How Many Fasteners Does Each Board Take?
The minimum is two fasteners per board, with the field staples spaced 6 to 8 inches apart for 3/4 inch solid boards and set back 1 to 3 inches from each end joint, per the NWFA fastening schedule. The first and last rows are face-nailed every 8 to 10 inches.
Setting Air Pressure and Testing on Scrap
Shaw installation instructions set the stapler at 70 to 80 PSI. That number is the starting point, not the final setting, because the pressure that works on a dry plywood subfloor may split the tongue on a damp one.
At the correct pressure the crown seats flush against the tongue and the staple exits through the subfloor with the legs spread. If the crown is driven below the tongue surface, the pressure is too high. If the crown stands proud, the pressure is too low.
Test the stapler on scrap wood before starting, per manufacturer guidance. Scrap from the same batch as the floor tells you how the staple behaves in that specific material, and you can adjust the pressure on scrap instead of on the first row of the floor.
Per the NWFA Technical Guidelines, staples carry two penetration points, so excessive air pressure can split the tongue. A split tongue is not always visible on the surface, and it shows up later as a gap or a squeak at the joint.
Check the pressure again when the temperature or the subfloor changes. A compressor that held 75 PSI in a dry room may drop on a humid day, and the floor does not wait for the compressor to catch up.
What Air Pressure Should the Stapler Run At?
Shaw installation instructions set the stapler at 70 to 80 PSI. Test the stapler on scrap wood before starting, per manufacturer guidance, and adjust until the crown seats flush without splitting the tongue.
Approved Staplers and Nailing Tools
Not every pneumatic stapler is a flooring stapler.
A flooring stapler has a head that seats on the tongue at the correct angle and a plunger that drives the staple flush in one stroke. A general-purpose stapler drives the crown too deep or leaves it proud.
Ekowood publishes an approved list for its 9/16 inch boards with 2 inch staples: Bostich Air Stapler Mark III, Primatech Q50 with 5/8 inch adapter and 1-1/2 inch power cleats, Powernailer Model 200, Stanley M-3, and Powernailer 45/445 with Big Foot adapter and 2 inch T/L cleats.
The approved list is evidence of what the manufacturer tested, not a ranking. Any tool that seats the crown flush and drives the fastener through the subfloor to the correct depth will do the job, and the tool that is already calibrated is often the better choice.
Cleats and staples are not interchangeable in every tool. A tool set up for cleats may not seat a crown staple correctly, and a tool set up for staples may not drive a cleat to the right depth. Check the tool’s staple or cleat range before you load it.
Compressor size matters too. A stapler firing every few seconds needs a compressor that holds the pressure through the shot, and a small tank that empties between staples leaves the last staple underdriven.
Expansion Gaps, Door Jambs, and Acclimation
Every staple-down floor needs a perimeter gap so the boards can expand when the humidity rises. Ekowood installation guidance calls for a 3/4 inch gap at the perimeter walls, and the gap is covered by the baseboard and the shoe molding.
The gap runs around every fixed object in the room.
If the gap is missing at a column, the floor has nowhere to go when the boards expand, and the boards buckle against the column.
Door jambs are cut to clear the finished floor height. If the jamb is not undercut, the flooring stops at the door and the transition shows a raw edge. Undercutting the jamb lets the flooring slide under it so the gap is hidden.
Boards are acclimated for 2 days minimum per manufacturer installation specifications before installation, and general practice runs 48 to 72 hours. The boards sit in the room with the HVAC running at normal living conditions, and the moisture in the boards comes into balance with the room.
If the boards go down before they acclimate, they move after the fastener is set. A board that shrinks after installation opens a gap at the joint, and a board that swells after installation buckles against its neighbor.
The acclimation step is the one most often skipped, and it is the one most often blamed for a floor that looks wrong two months later. The process is simple, and the guide to acclimating flooring before installation walks through it.
Staple-Down versus Nail-Down
Staple-down and nail-down are both blind-nail methods, but they are used on different products. Staple-down is the standard for site-finished solid hardwood, and nail-down with a finish nailer is typical for prefinished hardwood.
The fastener is the visible difference. Staple-down uses crown staples in 15.5 to 20g, while nail-down uses finish nails in 16 to 18g. The crown staple has two legs that bite the tongue, and the finish nail has a single shank that pulls the board down.
The tool is the other difference. Staple-down runs a pneumatic stapler at 70 to 80 PSI per Shaw, and nail-down runs a pneumatic nailer. The stapler drives the crown at the angle of the tongue, and the nailer drives the finish nail at a slightly different angle.
Choose staple-down for thicker solid strip or plank that will be finished on site, and choose nail-down for thinner prefinished products laid on a finished subfloor. The sibling guide on nail-down installation covers the prefinished case in detail.
| Staple-down | Nail-down | |
|---|---|---|
| Typical use | Site-finished solid hardwood | Prefinished hardwood |
| Fastener | Crown staples, 15.5 to 20g | Finish nails, 16 to 18g |
| Driving | Pneumatic stapler at 70 to 80 PSI per Shaw | Pneumatic nailer |
| When to choose it | Thicker solid strip or plank finished on site | Thinner prefinished products on a finished subfloor |
Both methods fail the same way when the fastener is wrong, the spacing is too wide, or the subfloor is not flat. The method is less important than the schedule and the subfloor preparation behind it.
When Staple-Down Is the Wrong Method
Staple-down is the wrong method over a concrete slab. Solid hardwood cannot be stapled into concrete, and the fastener will not hold. Engineered flooring is the method used over concrete, per Shaw installation instructions.
Staple-down is also the wrong method for a floating floor. A floating floor is designed to move as one sheet, and a fastener through the tongue locks the board to the subfloor and defeats the movement. Floating floors are glued at the joints or clicked together, not stapled.
Thin engineered boards under 5/8 inch can be stapled, but only with the finer fastener and the closer spacing in the NWFA schedule. If you staple a thin board with a 1.5 inch 15.5g staple, the staple splits the tongue or drives through the board.
Prefinished flooring is usually the wrong candidate for a staple-down install. The staple sets the crown flush against the tongue, which is fine on a board that will be sanded, and it is a risk on a board whose finish is already in place.
If you are choosing between methods for a specific room, the guide to glue-down flooring installation covers the slab and the floating cases.
What Goes Wrong with Staple-Down and How to Prevent It
The most common failure is a loose board that lifts at the joint. A loose board usually means the fastener was too short, the spacing was too wide, or the subfloor was too thin to hold the staple.
The second most common failure is a split tongue. A split tongue comes from excessive air pressure, per the NWFA Technical Guidelines, because the staple carries two penetration points and the crown forces the legs apart as it drives.
Squeaks are the failure that shows up last. Minor intermittent squeaks are inherent to all staple- and nail-down installations and are not a manufacturing defect, per Shaw. A squeak that appears after installation usually comes from a board that is not tight to the subfloor or to its neighbor.
Prevention is mostly preparation. Check the subfloor flatness before the first row, set the air pressure and test on scrap, stagger the end joints 4 to 6 inches, and keep the perimeter gap clear so the floor can expand without binding.
A floor that is prepared this way rarely fails. The failures that do happen are almost always traceable to a skipped step: no acclimation, no moisture check, or a fastener that was close but not the one the schedule called for.
Why Does a Staple-Down Floor Squeak Later?
Minor intermittent squeaks are inherent to all staple- and nail-down installations and are not a manufacturing defect, per Shaw. A squeak that appears later usually comes from a board that is not tight to the subfloor or to its neighbor, and it is minimized by checking flatness and staggering the end joints 4 to 6 inches.
How to Specify Staple-Down in a Quote
When you specify staple-down, name the method and the fastener. Say staple-down with 15.5g or 18g crown staples at least 1.5 inches long, or cleats at the same length, and give the spacing so the installer knows the schedule you expect.
State the subfloor in the quote. Name the panel, the thickness, and the flatness requirement, so the installer knows the subfloor has to be within 3/16 inch over an 8-foot radius before the first row goes down.
State the acclimation. Two days minimum per manufacturer installation specifications, and the room at 60 F or above with 35 to 55 percent relative humidity. If the quote does not name the acclimation window, the boards may go down too soon.
State the tool and the pressure. A pneumatic flooring stapler at 70 to 80 PSI per Shaw, tested on scrap before the first row. The quote does not need to name a brand, but it should name the pressure and the test.
State the expansion gap. A 3/4 inch gap at the perimeter walls per Ekowood installation guidance, and door jambs undercut to clear the finished floor height. A quote that omits the gap will leave the floor without room to move.
If the room is over a slab, specify the engineered method instead. The glue-down method is the alternative there, and the cost of installing hardwood is a separate question with its own page.