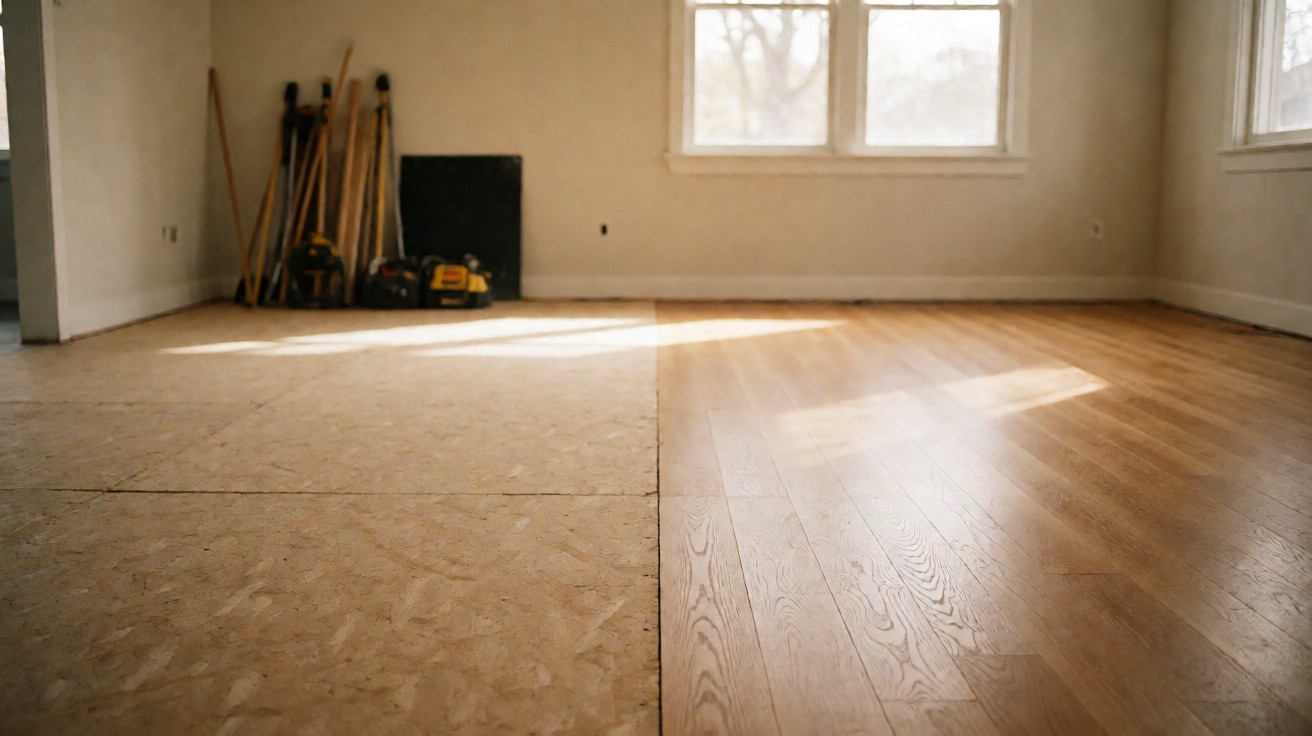

The floor is picked, the price is agreed, and now somebody asks what happens on install day. This is the order of it, stage by stage on a real job.
Most flooring projects fail on preparation rather than on the floor itself. The subfloor gets skipped, the material arrives wet or cold, the first row goes crooked, and everything after that is working around a mistake made on day one. Budget for the prep, not just the planks.
What Flooring Installation Involves
A residential floor goes down in a fixed sequence, and the sequence is not negotiable because each stage depends on the one before it holding still.
- Inspect and measure the subfloor
- Repair or level the subfloor
- Test the subfloor for moisture
- Acclimate the flooring material
- Establish a straight reference line
- Install the first row
- Fill the field
- Fit the final row and cut around obstacles
- Install transitions and trim
- Clean and hand over
A 300 square foot room with a straightforward layout is a one to two day job for a two person crew. Add a leveler curing overnight, a wet area, or a stair, and it becomes a three day job. The material is rarely the schedule.
Step 1: Inspect the Subfloor Before Anything Arrives
The subfloor decides whether the floor is possible. A squeaky plywood deck, a slab with a ponding area, or a joist that flexes will all show up in the finished floor as movement lines, squeaks, or cupping, and by then the repair means taking the floor up.
ANSI A108.02 puts subfloor flatness within 1/8 inch in 10 feet for most materials, and the same tolerance governs lippage between adjacent panels. ASTM E1155 is the modern way to record the same information, as an FF flatness number and an FL levelness number that a spec can be written against rather than an opinion.
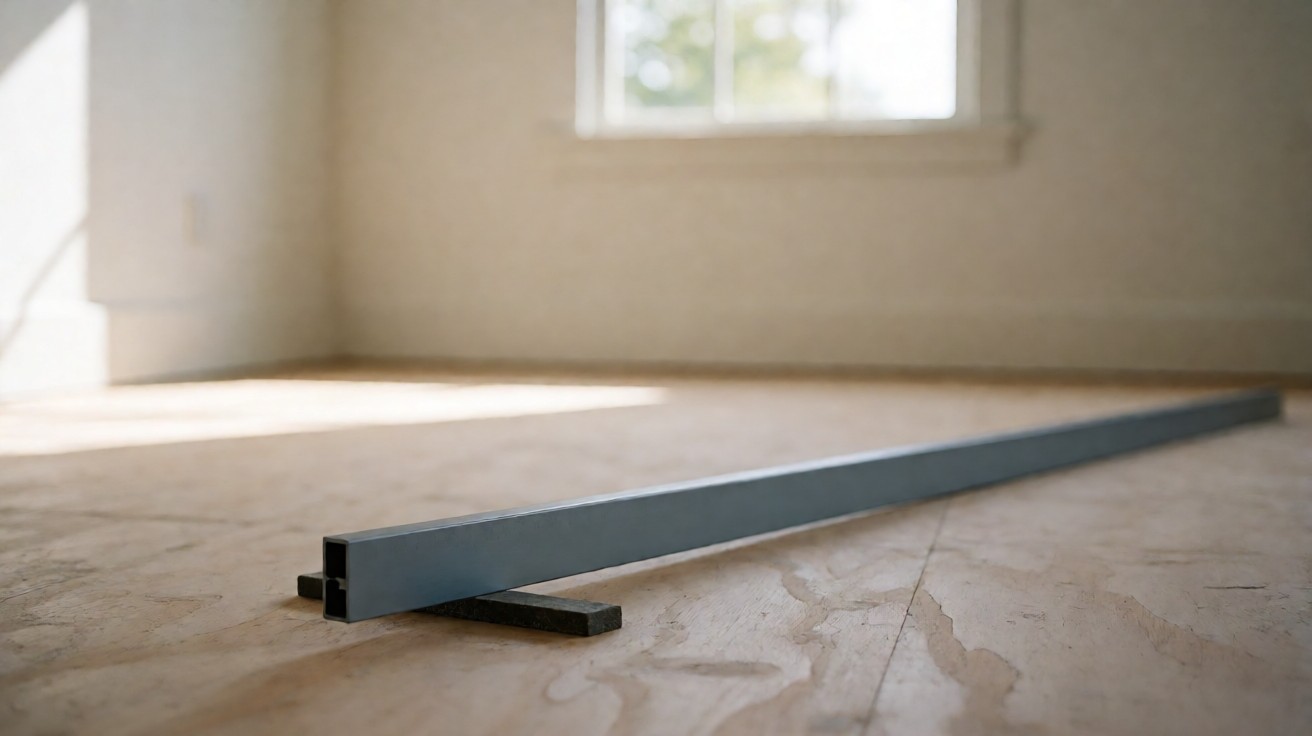
Check three things. First, flatness: a 6 foot straightedge laid in several directions across the room should not reveal a gap you cannot slide a shim into. Second, stiffness: the floor should not deflect when someone walks across it. Third, cleanliness: for concrete, the slab must meet ASTM F710 for cleaning before resilient material goes down, which covers laitance, plaster, dirt, and paint.
If the subfloor fails any of those, stop. Checking subfloor flatness properly takes twenty minutes and tells you whether the rest of the project is worth starting.
Board thickness decides whether a flatness problem is even measurable. 3/4 inch plywood is the usual structural choice over joists, and 5/8 inch is the minimum most manufacturers will warranty. Where the deck sits on a concrete slab, thickness does not fix flatness at all; the slab does, and no board laid over a wavy slab makes it level.
Where you cannot fix the cause, you can change what the floor can tolerate. A floating floor that is not fastened to the substrate spreads movement across the whole field, which is exactly why laminate and engineered wood tolerate a wider flatness tolerance than nail-down solid wood.
Step 2: Repair or Level Before Ordering Material
Leveling compound is a bad surprise at the end of a project. It adds a day of curing, it is priced per bag by area, and the area is always larger than the room looks because it goes to the walls.

Fix the flat areas with compound, fix the moving areas with structure. A hollow subfloor spot is not a leveler problem, it is a joist or panel attachment problem, and compound over it will crack the first time the floor expands. For the money side of this, what floor leveling actually costs breaks down the per-bag math.
Step 3: Test for Moisture, Especially Over Concrete
Water vapor moves up through concrete and through the slab. Flooring that goes down over a wet slab will blister, cup, or delaminate, and the manufacturer warranty will usually say so in writing.
ASTM F2170 sets the in-situ relative humidity probe test, and the widely used limit is 75 percent RH. Some manufacturers specify lower. If the slab reads high, you can moisture-seal it, but you are buying time, not solving the source. Over a slab, start with which flooring actually works on a concrete slab.
Step 4: Acclimate the Material in the Room It Goes Into
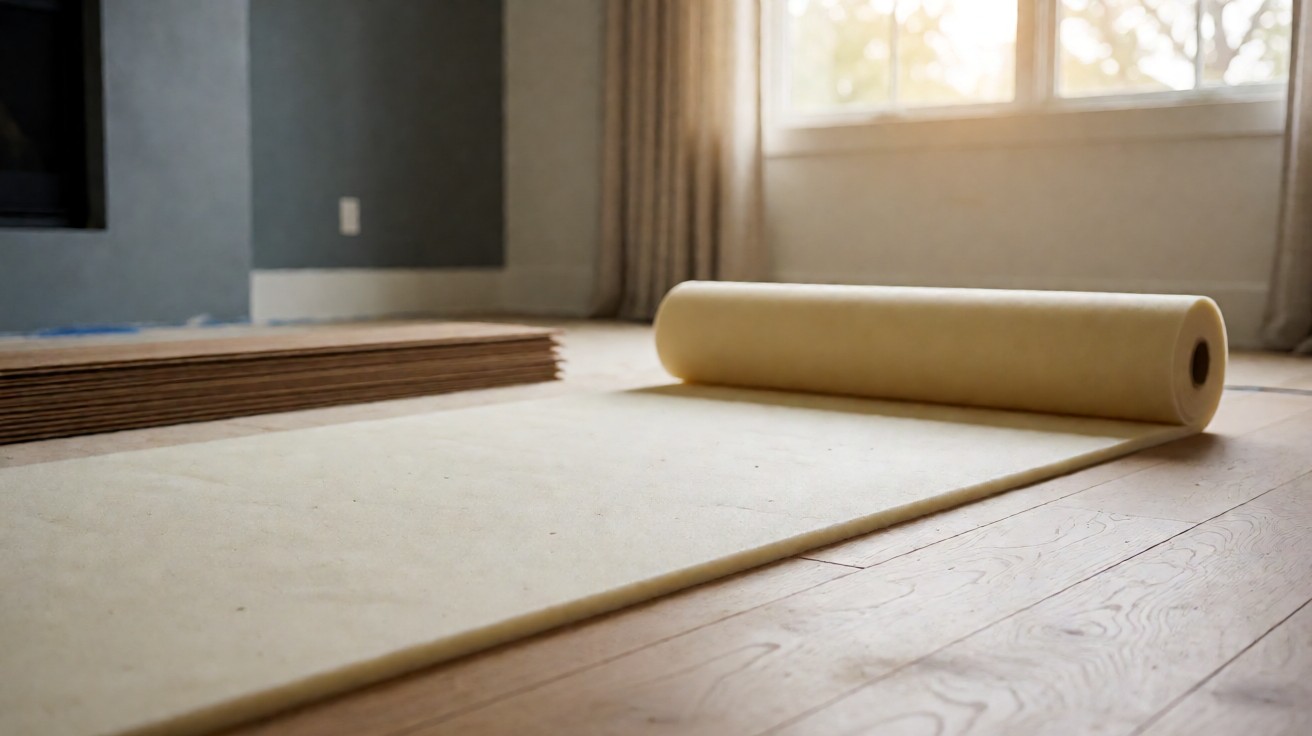
Wood and vinyl products move with humidity, and they move differently in a warehouse than in your house in January. Manufacturers specify an acclimation period and a moisture content range for the room, and the specification exists because a cold plank installed into a warm dry room will shrink its joints in the first heating season.
| Material | Typical acclimation | Why it matters |
|---|---|---|
| Solid hardwood | 7 to 14 days | Highest movement; cupping is visible immediately |
| Engineered hardwood | 3 to 7 days | Stable core, shorter window |
| Laminate | 24 to 72 hours | Locked layers, less movement |
| LVP / LVT | 24 to 48 hours | Thermal expansion across long runs |
| Tile and porcelain | No acclimation | Inert; only the mortar and grout matter |
The room matters as much as the clock. A garage at 45 F and a conditioned house at 70 F produce different results from the same box, and unboxing only half the cartons doubles the material exposed to air.
Step 5: Establish a Straight Reference Line
Every row after the first one is measured against the first one, so the first row is the whole project. It gets laid along the straightest wall in the room, usually after squaring the corners with a chalk line snapped from both walls.
If the walls are badly out of square, the final row has to absorb the difference, and on a plank floor that means a ripped row as narrow as a sliver. Choosing the reference wall is what prevents that. Where the floor changes room or level is the other decision that belongs at this stage.
Step 6: Order Enough Material
Under-ordering is the most common material mistake, and a second delivery usually does not match the first dye lot. The waste allowance depends on the room shape and the plank direction, and it is worth calculating before the click.
How much extra flooring to buy covers the percentage by room shape and layout, while the square footage calculator covers area and box count. Use both.
Step 7: Leave the Gap the Material Requires
The gap at the wall is not slack. It is room for the floor to expand into, and it is the single cheapest thing to get right and the most expensive thing to omit, because a floor with no room to move buckles in the middle of a plank run rather than at the edge.
The width depends on the material and the room length, and the manufacturer number is the one that counts. What expansion gap a floor needs gives the number by material.
Step 8: Fit the Final Row and Work Around Obstacles
The last row is almost never a full plank. It gets ripped to the gap width, and the cut has to leave the same expansion gap at the wall, which means measuring the actual remaining distance rather than the nominal plank width.
Obstacles are where amateurs cut a hole that is too small. Measure the obstacle at both ends, add the expansion gap on each side, and transfer the length. Pipes and vents get the same treatment.
Stairs are where the sequence breaks down entirely. The stair itself is not the hard part; the nose, the riser, the trim profile, and how the floor material turns the corner at the landing is. A tread depth cut short by a crooked riser leaves a plank thinner than its own tongue, which is a defect you will see every day for the life of the floor.
Measure the total rise and total run before the first tread, then divide by the number of treads you actually want rather than rounding. Where a material change happens at a landing, plan the transition profile at the same time as the field, not afterwards.
Transitions, Trim, and the Handover
Trim goes back on last, and the baseboard is what hides the expansion gap, which is why the gap specification assumes a baseboard at least as tall as the gap. Where two floors meet, the transition profile has to suit both heights and both materials.
The handover is a walkthrough. You walk the room with the installer while the invoice is still open, and defects noted then are cheap. How to inspect a completed flooring project is the checklist for that walkthrough.
Two numbers decide whether the project starts today or waits: the subfloor condition and the delivery date. Both are knowable before the crew is booked, and both are cheaper to establish now than after the material is in the room. If the floor cannot be laid on the subfloor you have, changing the material is cheaper than changing the subfloor.
How Long Each Stage Really Takes
Material delivery is the step people forget to schedule. Custom orders, dye-lot matching for a large area, and anything out of stock turn a two day job into a two week one, and the crew cannot start before the boxes arrive.
| Stage | 300 sq ft, two people | What commonly goes wrong |
|---|---|---|
| Inspect and measure | 1 hour | Skipped entirely |
| Repair or level | 0.5 to 2 days | Area underestimated |
| Moisture test | 2 to 24 hours | Skipped over slab |
| Acclimation | 1 to 14 days | Starts too late |
| Layout and first row | 1 hour | Reference wall chosen badly |
| Field install | 3 to 5 hours | Last row too narrow |
| Trim and transitions | 1 to 2 hours | Gap spec ignored |
When the Prep Is Too Big to DIY
A level slab that needs grinding, a subfloor that needs structural repair, or a stair with a custom profile are different categories of work from laying a floor. The laying is the easy part and the part most guides spend the most words on.
When the prep is the project, the tradeoff is different from when the finish is. DIY versus professional installation sets out where the line usually falls, and how the material families compare affects how forgiving the prep stage is in the first place.
What a Professional Crew Should Leave Behind
A finished floor, a swept surface, leftover material of the same lot in a labelled box, and a written list of what was and was not done. That list is the difference between a warranty claim and a conversation.
Keep the box. Flooring from the same dye lot is the only replacement that matches, and most manufacturers want the original material returned or its documentation shown.
None of the ten stages is difficult on its own. What makes a floor fail is doing them in the wrong order, or skipping the one that is least visible: the subfloor, the moisture test, the reference line, the gap. Those four decide whether the floor lasts three years or thirty.
Of the processes on that list, installing laminate flooring is the one most readers take on themselves, because the click-lock joint does not need a nail gun or a wet set of adhesive.