

The hardwood went in tight to the wall, the crew called it clean, and by January a hump of loose planks runs the hallway where the gap should be.
The answer is a perimeter gap sized to the material rather than to the room. Solid hardwood nailed or glued down wants half an inch, 12.7 mm. Floating engineered, laminate and LVT want three-eighths to half an inch. Tile wants a quarter inch of flexible sealant, not grout.
Why a Flooring Expansion Gap Exists
Every floor in a house is a moving assembly sitting on a building that also moves. Wood flooring is hygroscopic, so it takes on and gives off moisture as the air around it changes, and it changes dimension while it does.
The NWFA Installation Guidelines put the interior comfort band for solid wood at 30 to 50 percent relative humidity and 60 to 80 degrees Fahrenheit. Inside that band the seasonal movement is modest and predictable. Outside it, the same floor moves much further.
This is why flooring expansion gaps exist, and why they are sized by material rather than by room. The gap is not decoration and it is not slack. It is the space the floor needs to stay flat.
Two things in the assembly move at once. The subfloor, whether it is wood framing or a concrete slab, moves with temperature and moisture. The finish floor moves with whatever is inside it, which for wood is seasonal moisture and for tile is mostly temperature.
Both have to be allowed for.
Wood Moves Across the Grain, Not Along It
This is the part most people get backwards. Wood shrinks and swells measurably across the grain, in the tangential direction, and only negligibly along the length of a board. The USDA Forest Products Laboratory Wood Handbook puts tangential shrinkage at roughly double radial shrinkage, with longitudinal shrinkage small enough that normal building practice ignores it.
So a 5 inch wide red oak board that changes moisture content by 4 percent changes width by about 0.0738 inch. That is the worked example in the NWFA guidelines, calculated from a dimensional change coefficient of 0.00369 for red oak.
Run that across a 12 foot room laid with 5 inch boards and you have roughly 29 boards each moving a fraction of an inch in the same direction. A 3/8 inch gap on each side is not generous. It is the minimum that lets a 3/4 inch solid oak floor survive two seasons.
Plank width is the variable people miss. A 7 inch wide board moves more than a 3 inch board for exactly the same moisture change, which is why a wide plank in a dry climate wants a larger gap than a narrow one in the same house.
The Gap Figure by Material and Installation Method
The rule that governs most wood installations comes from the NWFA guidelines: unless the flooring manufacturer directs otherwise, the expansion space left between the flooring and vertical obstructions is generally equal to the thickness of the material being installed. A 1/2 inch thick material requires 1/2 inch of expansion space.
That single sentence covers nailed and glued solid and engineered wood. It does not cover floating floors, laminate, LVT or tile, which move for different reasons and are held or released by different things.
Go with the manufacturer figure on the carton over any general rule, including the one above. If the installation instructions for your product say 3/8 inch, that is the answer for that product, whatever the thickness rule would give.
| Material and method | Gap at the wall | Metric | Where the figure comes from |
|---|---|---|---|
| Solid hardwood, 5/8 in thick, nailed or glued | 5/8 in | 16 mm | NWFA thickness rule |
| Solid hardwood, 3/4 in thick, nailed or glued | 1/2 in | 12.7 mm | NWFA thickness rule |
| Engineered hardwood, 1/2 in thick, nailed or glued | 1/2 in | 12.7 mm | NWFA thickness rule |
| Engineered hardwood, floating | 3/8 in | 9.5 mm | NWFA floating floor chapter |
| Laminate, floating | 3/8 in | 9.5 mm | Pergo and Quick-Step carton instructions |
| LVT or LVP, floating | 1/4 in | 6 mm | LifeProof carton instructions |
| LVT or SPC, floating, area over 2500 sq ft | 1/2 in | 12.7 mm | COREtec resilient guidance |
| LVT or LVP, glue-down | 1/4 in | 6 mm | Sealed with silicone, not left open |
| Ceramic or porcelain tile, perimeter | 1/4 in | 6 mm | TCNA detail EJ171 minimum |
| Ceramic tile, interior movement joint | 1/4 in every 20 to 25 ft | 6 mm | TCNA detail EJ171 |
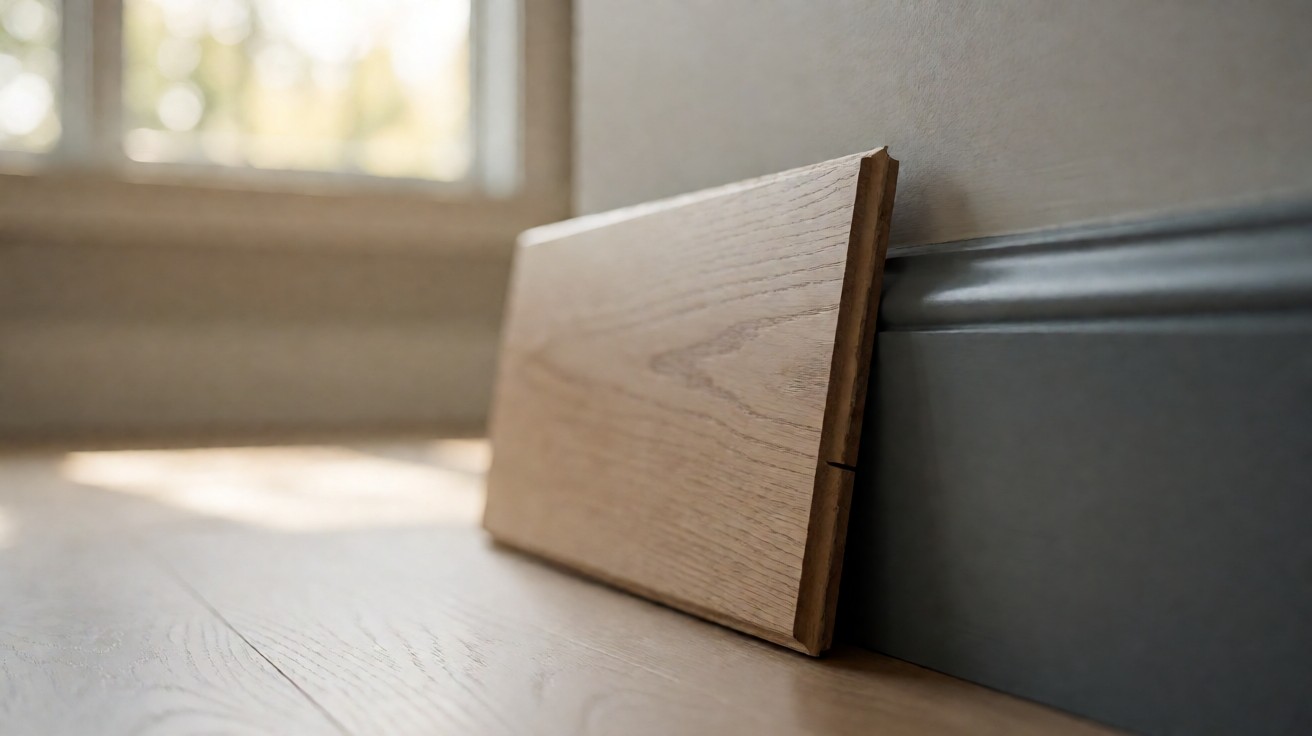
The floating rows deserve the attention, because a floating floor is a single sheet held down only by its own weight and by the walls around it. Nothing anchors the middle, so the whole sheet has to be able to expand into the gap at every edge.
Tile works the same way with different vocabulary. The perimeter gap around a tile floor is a movement joint filled with a flexible sealant rather than grout, and the Tile Council of North America puts the minimum interior width at 1/4 inch, 6 mm.
Which Gap Matters and Which Ones Do Not
There is exactly one gap that decides whether a floor survives the year: the gap between the edge of the floor and every wall, obstacle and fixed object it runs into. Cabinets, columns, fireplace surrounds, pipe risers and stair strings all count as vertical obstructions.
Doorway thresholds are not a second gap. You undercut the jamb, slide the floor under the casing, and the gap lives up inside the door frame where nobody sees it. Pergo laminate guidance puts at least 1/4 inch under the door frame with a concealed 3/8 inch minimum behind it.
Room to room transitions get the same treatment rather than a second open gap. A T-moulding or a reducer strip covers a 3/8 inch expansion space and gives the floor somewhere to go. How to pick a profile for a change in floor height is covered in transition profiles between rooms and levels.
Cabinetry is the case where the perimeter gap effectively disappears. If kitchen cabinets go in first, the floor runs up to them and stops, because they are fixed and will not move. Where a vanity stands on legs, the floor can run underneath it, but you still leave the gap at the wall behind it.
What Goes in the Gap, and Why Empty Is a Defect
A gap with nothing in it is not a finished floor. Trim covers the perimeter gap. Baseboard, base shoe or quarter round sits over the void and is fastened to the wall, never to the floor, and NWFA guidance is explicit that trim should be held off the floor by at least 1/16 inch and never fastened through the flooring system.
On a floating floor the void under the trim stays empty on purpose, and a stretch of the perimeter is left without trim or broken at a doorway so the sheet can lift. Caulk a floating floor’s entire perimeter shut and you have built a floor that cannot move.
Tile is the case where the filler is the specification. TCNA detail EJ171 calls for a movement joint a minimum of 1/4 inch, 6 mm wide, filled with a sealant complying with ASTM C920, with backer rod or bond breaker tape so the sealant bonds to two sides only and not to the back.
Grout in that joint is a defect waiting for a dry winter. Grout is rigid, the joint is not, and the crack shows up in the first cold month as a hairline that widens every year after.
Sealant, not grout.
Humidity Sets the Allowance
The gap figure is a starting point, not a verdict. What moves your floor is not the calendar, it is the moisture content of the air in the room, and the range that air swings through between January and August.
In a climate controlled house held inside the 30 to 50 percent band the annual swing is small and the standard figure works. Where a house sits empty for weeks with the heat off in winter, the same floor can move several points of moisture content in a season, and the NWFA guidance says to account for that shrink and swell within the installation.
Some engineered hardwood manufacturers publish their own humidity band rather than accepting the NWFA default, commonly 35 to 55 percent held year round. Where the carton says something, design the gap around that number.
Underfloor heating is a separate case, because the surface temperature swings more than a heated room does and the schedule matters as much as the set point. Assemblies rated for it are set out in flooring that works with underfloor heating.
In a basement or on a slab ground floor in a coastal climate, assume the wetter end of the range and add at least 1/8 inch to the perimeter figure before you chalk your line.
Long Runs, Wide Rooms, and Where the Allowance Grows
Allowance grows with span, but it grows as internal joints rather than as a wider gap at the wall. The NWFA guidelines call for transition pieces built into a floating floor at any doorway less than 4 feet wide and inside any flooring system spanning more than 20 feet in width or more than 40 feet in length.
Laminate makers publish the same idea in their own numbers. Pergo’s installation guidance calls for T-moulding in doorways of 4 feet or less and in rooms of 40 feet or more in length or width.
Above a certain floor area the perimeter figure itself steps up. COREtec resilient guidance for SPC and WPC floating installations asks for at least 1/2 inch, 12.7 mm, around the perimeter where the area is larger than 2500 square feet, against 1/4 inch below that.
Choose internal joints over a wider perimeter gap wherever you can, because a T-moulding at a planned location is a detail you control and a 1 inch gap around a living room is a detail you have to live with.
| Condition | What changes | Threshold that triggers it | What to do |
|---|---|---|---|
| House held inside 30 to 50 percent RH | Small seasonal swing | 30 to 50 percent | Use the standard figure |
| House empty with heat off for weeks | Larger moisture swing | Below 30 percent RH | Add allowance, or defer the install |
| Floating floor over a wide span | Whole sheet must lift | Over 20 ft wide or 40 ft long | Build in T-moulding transitions |
| Floating resilient floor over a large area | Perimeter figure steps up | Over 2500 sq ft | Widen the perimeter to 1/2 in |
| Slab with rising damp | Vapour drives the failure | Above 80 percent in-situ RH | Install a Class I vapour retarder |
| Slab by calcium chloride test | Vapour drives the failure | Above 3 lb per 1000 sq ft | Install a Class I vapour retarder |
Concrete Slab Against Wood Subfloor
The substrate changes what you check before you chalk a line, not how wide the gap is. A wood subfloor moves with the floor and shares its seasonal rhythm. A concrete slab does not, but it carries vapour that a wood floor does not want.
NWFA guidance sets three numbers that decide whether you need a Class I impermeable vapour retarder over a slab: a calcium chloride reading above 3 pounds per 1000 square feet over 24 hours, an in-situ relative humidity reading above 80 percent, or a calcium carbide reading above 2.5 percent. ASTM F2170 is an approved method for the in-situ probe reading.
On a slab the gap is still filled and trimmed the same way, but the surface has no give, so an error in flatness shows up in the floor instead of being absorbed by it. When the surface under the new floor is not flat, that is a separate job, covered in flooring for uneven existing floors.
Over a plywood subfloor you can be more forgiving about flatness, but not about the gap, because the same seasonal shrink reaches the perimeter through the subfloor.
What a Gap That Is Too Small Looks Like a Year Later
A gap that is too small does not announce itself on install day. It shows up in the dry months, most often January and February in the northern hemisphere, when heated indoor air drives the moisture content of the floor down and the boards shrink across the grain into a space that no longer exists.
The first visible sign is usually a lift rather than a cup. A section of the floor near a wall or in the middle of the room rises off the subfloor into a hump you can put a hand on, and boards either sit proud of their neighbours or have lifted at the end joints.
Where the floor was fastened down, a lift means the fasteners hold the ends while the middle has nowhere to go, so you get squeaks, pops and cracked boards along the seam instead of a clean hump.
Seasonality is what makes the diagnosis. A floor that flattens in July and lifts again in February is moving and the movement is being resisted. A floor that stays lifted in every season is a substrate problem, a fastener problem or a water problem instead.
If the floor lifted within a day or two of installation rather than a season later, look at the acclimation period instead of the gap, and check whether the building was enclosed and the heating running before the boxes came out.
Timing tells you which one you are looking at.
What a Gap That Is Too Large Looks Like on Day One
A gap that is too large is obvious on day one and rarely dangerous. What you see is a daylight line under the baseboard that runs the full length of every wall.
It collects dust and water, it lets cold air move under the floor, and it is the reason people install a taller base or add shoe moulding later. It does not cause cupping and it does not cause buckling.
If the finished gap is wider than your trim will cover, scribe the last row to the wall contour instead of leaving a square open gap. Scribing follows the wall and closes the daylight while still leaving the space the floor needs.
Wide is cosmetic. Narrow is structural.
How to Measure and Mark a Consistent Gap
Mark the line with spacers, not with a tape measure held against the wall. Cut spacers from the flooring itself, offcuts or the tongue end of a board, and they will be the exact thickness of the product including any locking profile.
Check the offset at three points on every wall before you snap the chalk line, because no wall in a house runs straight from corner to corner, and a line chalked from one point can leave 1/16 inch at one end and 3/16 inch at the other.
Undercut the jambs last, after the floor height is fixed, and use the thickness of the floor plus the underlayment as your guide. Pergo and Quick-Step laminate guidance both call for sliding the floor at least 1/4 inch under the casing with a concealed 3/8 inch minimum behind it.
Keep foot traffic out of the room for the acclimation period the manufacturer specifies, and do it with a strip across the doorway rather than with dust sheets, because dust sheets get walked on.
If the Floor Is Already Installed Too Tight
If the floor is down and the gap is too small, the fix is to lift the last two or three rows, trim the boards back to leave the correct space and refit them. It is straightforward work on a floating floor, because nothing is fixed to the subfloor.
On a nailed or glued floor the same repair means pulling fasteners and can end with boards that no longer seat. Work out what it costs to lift enough floor to reach the perimeter before you start, and if that number exceeds the value of the material, replace rather than repair.
If the floor has already buckled, let it come back before you touch it. A cupped floor nailed flat at the peak of a summer swell will split boards at the end joints when it shrinks back in January.
The judgement call is whether the job is still a weekend of work or a job that needs a professional to lift, clean, re-space and refit. DIY against professional flooring installation sets out the cases that usually fall one way or the other.
Where the Money Is Not Worth Spending
Not worth the money: spray foam or caulk used to fill a floating floor perimeter, a wider plank bought for the way it looks in August, and an elaborate set of transition profiles for a floor with one doorway in it.
Worth the money: a pin moisture meter for the subfloor, a proper undercut saw, and a consistent set of spacers. Those three decide whether the gap is right, and nothing else on the job list does.
If you are still choosing between materials rather than fixating on the gap, the comparison across solid, engineered and laminate sits in the hardwood flooring guide, and the gap is one line item in that larger decision.