
You have picked the tile and the mortar, the floor is half set, and now the joints are open. The next two days decide how the room will look for years.
Cement-based grout packed into a joint at the right consistency and cleaned at the right moment is what separates a finished floor from a repair job. The answer is that the rules that decide it are simple: even joint width, grout kept off the bevel, and 72 hours before water touches the floor.
What Grouting Actually Solves
The grout joint is not a filler. It is a tolerance. A tile floor is a field of ceramic pieces whose edges are never perfectly straight, and the joint is the space that absorbs the difference between them. Without it the tiles would touch, and any size variation would telegraph as a lippage or a crack.
Why The Joint Is Not Decoration
The joint does three jobs at once. It lets the tile fit the room without cutting every edge to size, it gives the assembly a place to expand and contract with humidity and temperature, and it is the only part of the floor that is easy to renew without pulling tile.
How Wide Should A Grout Joint Be?
There is no standard size. ANSI A108.02 Section 4.3.8 requires the nominal centerline of all joints to be straight and of even width, with due allowances for hand-molded or rustic tiles, but it names no number. TCNA’s grout FAQ says the same thing plainly: there is no specific standard size for a grout joint.
What the FAQ does give is a rule of eye. Many installers feel a joint smaller than three times the average variation from tile to tile (or two times the maximum variation) tends to look irregular and poorly installed. A joint that is too tight reads as a mistake rather than a design.
The joint width also decides the grout. Per TCNA, cementitious grout in joints smaller than 1/8 inch should only be unsanded, and joints 1/8 inch and larger should only be sanded. Joints wider than 3/8 inch usually need a more heavily sanded grout or a wide joint mix. The grout type catalog and absorption ratings are covered on the tile flooring guide.
| Joint width | Grout type | Why |
|---|---|---|
| Under 1/8 inch | Unsanded grout only | Sanded grout cannot pack into a narrow gap |
| 1/8 to 3/8 inch | Sanded grout | The sand fills the gap and resists shrinkage |
| Over 3/8 inch | Heavily sanded or wide joint mix | Standard grout shrinks and cracks in wide gaps |
| Joint with a beveled edge | Unsanded, grouted between faces | Grout on the bevel shows as a ridge |
| Joint under three times the tile variation | Unsanded or sanded by width | The joint reads as irregular and looks patched |
Before You Grout: The Setting Checklist
Grout goes on after the tile is set, the bed is firm, and the surface is clean. Skipping any of those three is how a good tile job ends up with cracked joints.
Is The Subfloor Flat And Clean?
The subfloor has to be flat before the first tile goes down, because mortar does not level a floor. For most ceramic and porcelain installations the substrate tolerance is 1/4 inch in 10 feet, tightening to 1/8 inch in 10 feet for large format tile.
No more than 1/16 inch in any 1 foot span is the tighter check. ASTM E1155 is the test method that produces the F-numbers, and FF 35 / FL 25 is the flat standard for a typical slab. ASTM F710 covers concrete preparation but carries no flatness number of its own.
The full measurement method is on the how to check subfloor flatness page.
Has The Mortar Cured Enough To Grout?
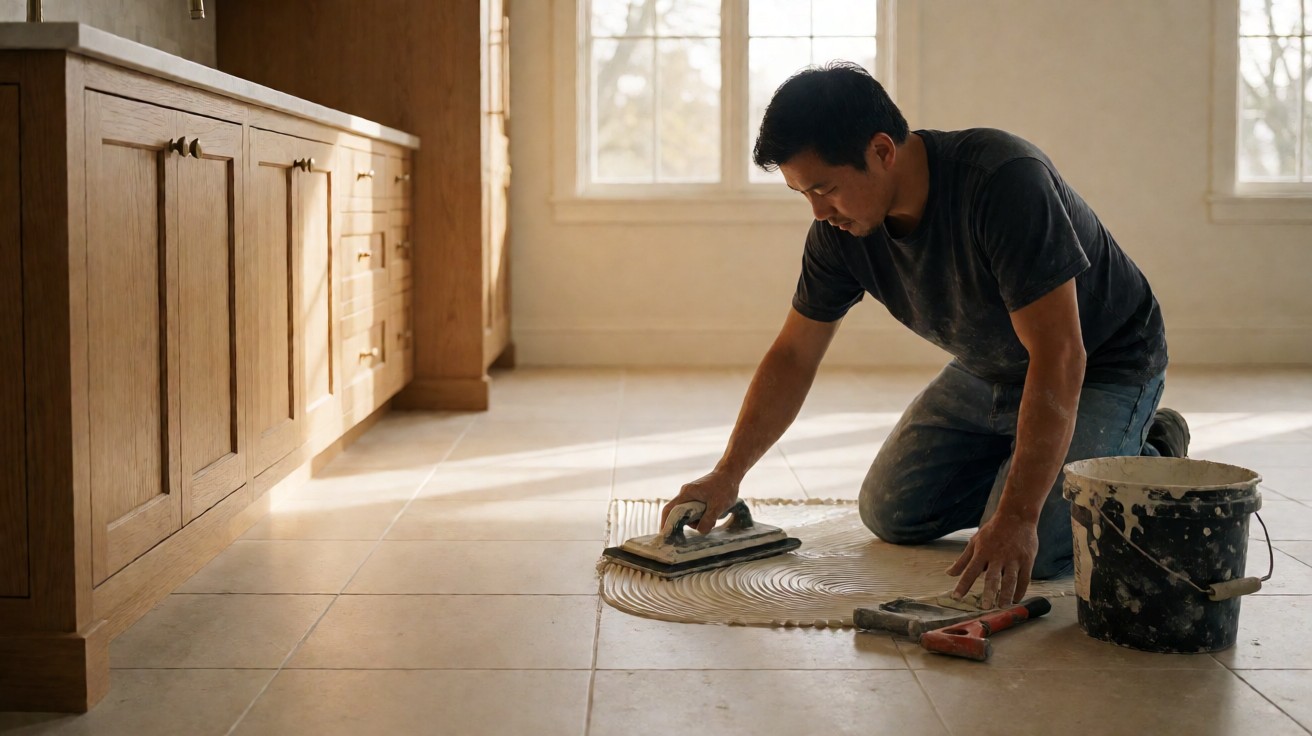
The mortar needs its cure time before grout goes on. Published guidance for a typical modified thinset job is grouting after about 24 hours. The mortar and trowel notch choice, including the common 1/4 inch by 1/4 inch notch, is covered on the tile mortar and thinset basics page.
Why Tile Spacing Is Measured Edge To Edge
The bevel is not the joint. Measure spacing from tile edge to tile edge, and keep grout out of the bevel. If you measure from the top of the bevel the joint narrows at the bottom, and the grout fails in a narrow strip.
Setting The Tile And Controlling The Joint
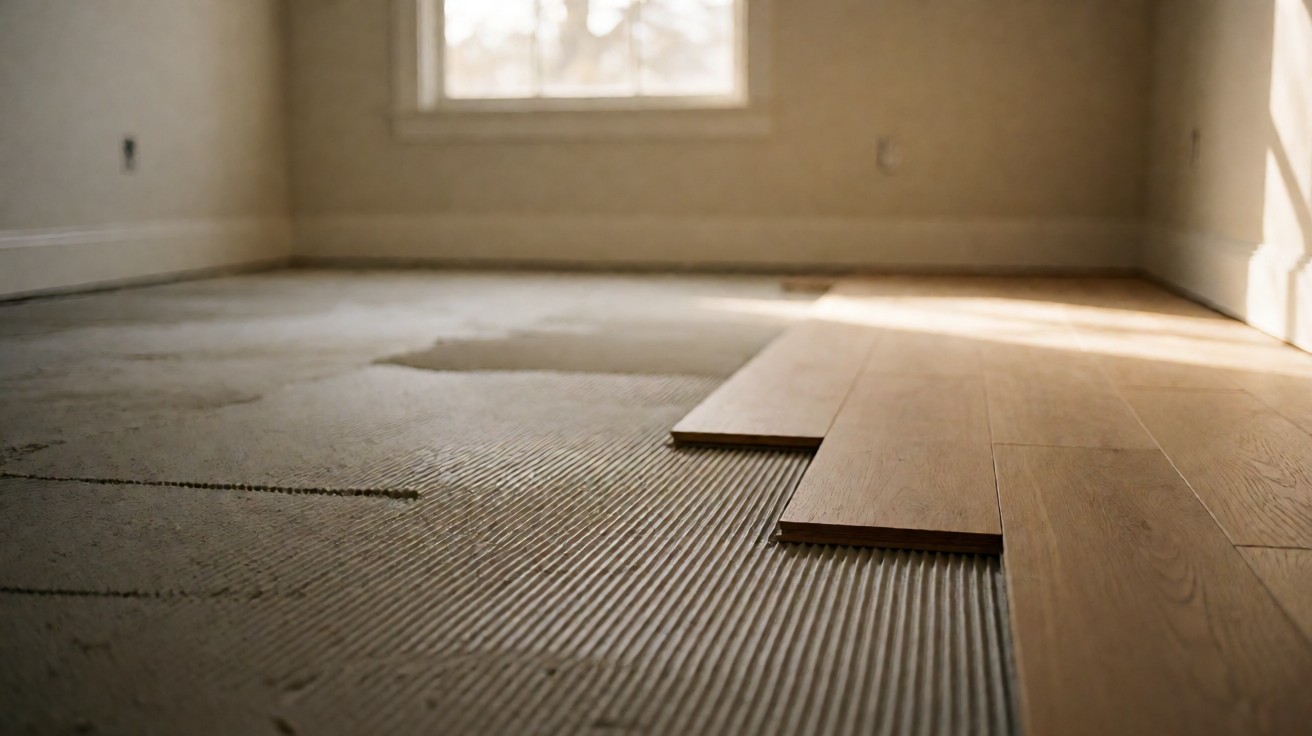
Setting is where the joint becomes real. The tile goes into the combed bed, gets pushed perpendicular to the ridges, and then the spacers go in. From that moment the joint width is fixed, and the rest of the job is protecting it.
How Do You Measure The Joint?
Check every joint as you set, not at the end. A straightedge across four tiles should touch the same edge of each tile, and the centerline should be straight.
ANSI A108.02 Section 4.3.8 requires the nominal centerline of all joints to be straight and of even width, with due allowances for hand-molded or rustic tiles. A joint that drifts by 1/32 inch across a row reads as a wobble from across the room.
How Much Lippage Is Allowed?
Lippage is the height difference between adjacent tile edges. Under ANSI A137.1, the allowable lippage is 1/32 inch for grout joints 1/8 inch or wider, and 1/16 inch for grout joints 1/4 inch or wider. A proud edge catches a heel, shows a shadow line in raking light, and reads as a defect even when the grout is perfect.
How Do You Know If You Set The Tile Too Close?
TCNA calls a common mistake what it is: setting the tile too close. If the joint is smaller than three times the average variation from tile to tile, or two times the maximum variation, the grout line looks irregular and the floor looks patched. Spacers exist to prevent exactly this.
Mixing Grout And Packing The Joint
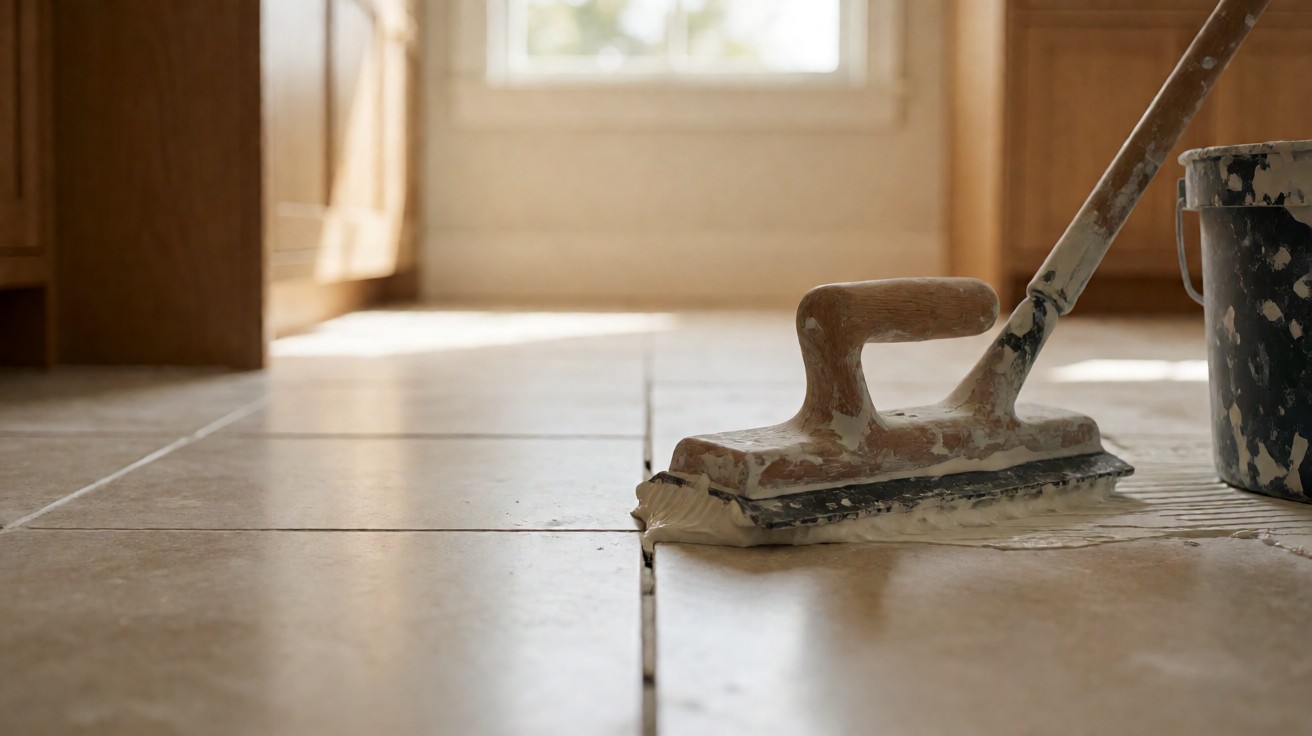
Grouting is a separate operation from setting, and it has its own rhythm. Small batches, a consistent mix, and a float used at an angle are what put grout where it belongs.
What Consistency Should The Grout Be?
Mix to a peanut-butter consistency: thick enough to hold a ridge, soft enough to flow into the joint. Too much water weakens the grout, shrinks the joint, and pulls color out of the mix. Too little water leaves dry pockets that never cure. Follow the water ratio on the bag, and let the mix slake before remixing.
How Do You Fill The Joint Without Overworking It?
Pack the grout into the joint with a rubber float held at roughly a 45 degree angle, pushing the grout across the joint diagonally so the float does not rake the grout back out. Work in sections you can clean before the grout firms up, because once it sets in the joint the only fix is grinding.
How Much Grout Should You Mix At Once?
Mix only what you can place and clean in the working time on the bag. A 25 lb bag mixed at full strength is rarely the right batch for a residential floor, and grout left in the bucket firms up while you are still spreading it.
| Stage | Typical wait | What you can do |
|---|---|---|
| Cement-based grout dry to the touch | 24 hours | Light foot traffic with care |
| Cement-based grout ready for water | 72 hours | Wet mopping, showers, wet cleaning |
| Before sealing cement-based grout | 48 to 72 hours, some up to 7 days | Apply sealer per the bag |
| Epoxy grout | Cures on its own schedule | Follow the manufacturer data sheet |
| Full service after sealing | Manufacturer guidance | Move furniture back, resume normal use |
Cleaning The Joint And Removing The Haze
Cleaning is where a grout job is won or lost. The grout firms up in the joint and then gets wiped off the tile face in stages, with a damp sponge and clean water, before it can set.
When Do You Clean The Tile Face?
Wait for the grout to firm up in the joint, then clean the tile face with a damp sponge in light passes. If you wipe too early the sponge drags grout out of the joint; if you wait too long the haze sets and becomes much harder to remove.
Why Does Haze Keep Coming Back?
Grout haze is the thin film of cement left on the tile face after the initial wipe. It is cleaned off after the grout firms up, usually with a damp sponge and a light touch, not by grinding later. A second haze that appears days later is usually residue from water that was too dirty or a sponge that was too wet.
Movement Joints And The Perimeter Gap
Grout joints between tiles are not movement joints. They are filled joints. The movement joint is the gap at the perimeter and at every change of plane, and it is left open or filled with a flexible sealant.
Where Do Movement Joints Go?
TCNA Handbook EJ171 calls for expansion and movement joints at the perimeter of tile fields, at changes of plane, and where tile meets a dissimilar material. Skipping them is a common source of cracked tile and debonded assemblies, because the field has nowhere to go when it expands.
What Goes In The Perimeter Gap?
The perimeter gap stays out of the grout. It is left open behind the baseboard, or filled with a flexible sealant or backer rod. Grouting the perimeter turns a movement joint into a rigid joint, and the tile cracks to relieve the stress.
How Long Before You Walk On It
The clock starts when the grout goes in, not when the tile is set. Cement-based grout is typically dry to the touch within 24 hours, but it needs 72 hours before it can be exposed to water.
How Long Until The Grout Takes Foot Traffic?
Light foot traffic is usually possible after the grout is dry to the touch, around 24 hours, with the caveat that the grout is not yet ready for water. Full cure takes longer, and the bag states the safe interval for your product.
Does Epoxy Grout Follow The Same Schedule?
Epoxy grout cures differently from cement-based grout, and it does not follow the same 24 hour and 72 hour milestones. Follow the manufacturer data sheet for the product you bought, because the chemistry is different.
Sealing Grout: When And Whether
Sealing is a decision about the grout you bought, not about every grout. Some grouts are sealed at the factory and need nothing; others need a sealer to resist stains. The bag tells you which one you have.
Does Grout Need A Sealer?
If the grout is not pre-sealed and is not epoxy, plan on sealing. Epoxy grout is a different chemistry and is not sealed with a cement-style sealer. The decision is on the bag, and the right answer is whatever the manufacturer of your grout says.
How Long Do You Wait Before Sealing?
Many manufacturers advise waiting 48 to 72 hours after grouting before sealing, and some advise up to 7 days. Seal too early and the sealer traps moisture in the joint, which clouds and peels. Follow the bag, and if the bag and the sealer disagree, the longer wait wins.
What Goes Wrong, And Why
Most grout failures trace back to a few causes, and they show up before the grout dries.
Why Do Joints Crack Or Dust Out?
Joints crack when the tile has nowhere to move, which is what happens when movement joints are skipped or the perimeter gap is grouted. Joints dust out when the mix was too wet, the grout was re-mixed with water after it started to stiffen, or the joint was not packed full.
Why Does The Color Look Uneven?
Uneven color comes from inconsistent water during cleanup. A sponge that is too wet washes color out of one joint and leaves it in the next. Cleaning with a damp sponge in light passes, with clean water changed often, keeps the color even.
Grout Problems That Need The Tile Pulled
Some failures are in the grout and some are in the bed beneath it, and the difference decides whether you regrout or pull tile.
When Is A Cracked Tile A Subfloor Problem?
A cracked tile with hollow spots beneath it, or a tile that sits higher than its neighbor beyond the ANSI A137.1 lippage limits of 1/32 inch for joints 1/8 inch or wider and 1/16 inch for joints 1/4 inch or wider, points to the bed or the subfloor.
Regrouting will not fix a hollow bed. The flatness tolerances, 1/4 inch in 10 feet and 1/8 inch in 10 feet for large format tile, exist to prevent exactly this.
How To Tell Good Grouting From Bad
Good grout work is invisible. The joints are even, straight, and full, the color is consistent, and there is no haze on the tile face.
What Does Good Grout Work Look Like?
A good joint is packed full to the tile edge, with a consistent width and a straight centerline, and the color is uniform across the field. The surface is clean, with no haze, and the perimeter and changes of plane are open or sealed with a flexible material.
What Does A Bad Joint Look Like?
A bad joint is ragged, narrow in some places and wide in others, half filled, or left with haze. The tile edges sit at different heights beyond the lippage limit, and the perimeter gap is grouted solid. Any one of those is a sign that the job was rushed.
Your Grouting Checklist
Work the job in order, and do not skip a step because the previous one looked fine.
The Order Of Operations
The sequence is: confirm the subfloor is flat and clean, let the mortar cure, set the tile with even joints measured edge to edge, mix small batches of grout to a peanut-butter consistency, and pack the joints diagonally with a rubber float.
Then clean the tile face with a damp sponge before the grout firms up, and wait 72 hours before water touches the floor. Seal only if the bag says the grout needs it, after the wait the manufacturer specifies.