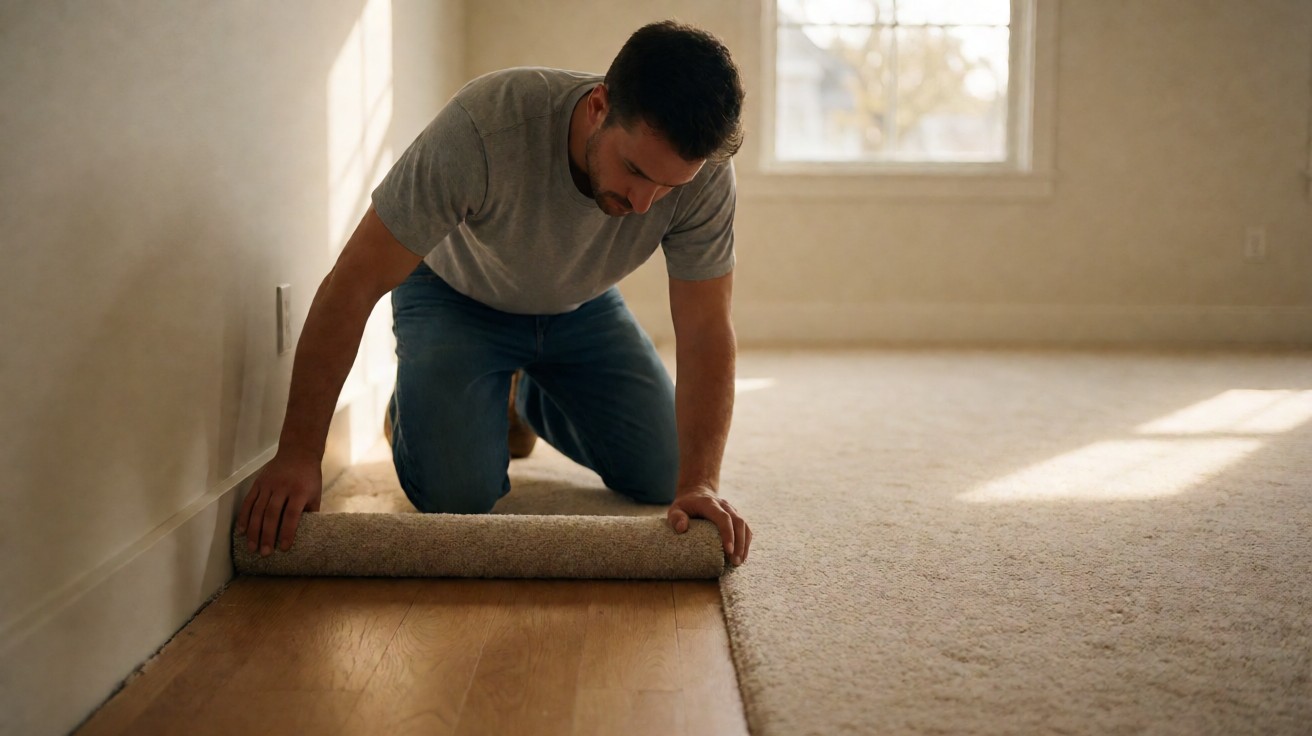

The room is empty, the broadloom carpet is unrolled on the subfloor, and the whole install now comes down to holding the carpet tight on the tack strip.
A power stretcher is the answer. CRI 105, the industry’s standard for residential carpet, makes it mandatory, and a tufted carpet with a synthetic backing gets stretched a minimum of 1 percent in length and in width.
When the carpet goes over a concrete slab, the subfloor check happens first.
What Stretch-In Installation Actually Is
Stretch-in is the standard way to install broadloom carpet over a separate cushion. The carpet sits on the pad, and tack strips fastened around the whole perimeter of the room hold everything under tension. That tension is what keeps the floor smooth and quiet underfoot.
The tension is not casual. CRI 105 requires a power stretcher for stretch-in work. If you hook the carpet onto the pins and pull it by hand, the backing stays loose, and a loose backing is what eventually wrinkles, bubbles, and pulls away from the baseboard.
How much the finished floor costs is a separate decision, and the numbers for labor and material are worked out on the carpet installation cost page.
Should I Install Carpet Over Carpet?
No, not as a rule. CRI 105 says carpet should not be installed over existing carpet unless the manufacturer directs otherwise.
An old layer compresses unevenly and adds a moving seam, and both steal the flatness the new install depends on. The correct move is to pull the old carpet and pad and set the new install directly on the subfloor.
Before The Carpet Arrives: Subfloor And Site Checks
The install does not begin until the room is at the right condition. CRI 105 wants the HVAC system operating and the space held for at least 48 hours before, during, and 72 hours after the work.
The target condition is 65 to 95 degrees Fahrenheit with a maximum of 65 percent relative humidity. A cold or damp room is how a fresh install ends up with condensation at the dew point under the backing.
The carpet and the installation materials also need to acclimate. CRI 105 wants them sitting in the room for a minimum of 24 hours at 65 to 95 degrees Fahrenheit, kept out of reach of soil, dust, and moisture.
Do I Need Moisture Testing On A Slab?
For a typical stretch-in over wood, no. CRI 105 says most residential stretch-in installs do not require moisture testing.
But when the carpet goes over a concrete slab, the standard wants a written report on moisture and alkalinity before you commit. That is the ASTM F1869 moisture vapor emission test, or the ASTM F2170 in-situ relative humidity probe, and the slab has to pass at the carpet manufacturer’s limit.
The subfloor also has to be structurally sound, flat, dry, and free of foreign material. CRI 105 points to the current ASTM E1155 for patching and flatness. When the job is over a slab, start there, and the concrete preparation page walks through that step.
Installing The Tack Strip
The tack strip is where the whole install lives or dies. CRI 105 requires the strip to be a minimum of 1 inch wide and 1/4 inch thick, and it is set around the entire perimeter of the room.
The pins face the wall, and the strip gets at least 2 nails or staples per piece. On a radiant-heated floor, skip the fasteners and fix the strip with the manufacturer’s approved adhesive instead, because nails or screws damage the heating element.
How Wide Is The Gully?
The gully is the gap between the inside edge of the tack strip and the wall. CRI 105 wants it slightly less than the carpet’s finished thickness and never more than 3/8 inch. A gully that is too wide gives the backing room to fold, and that fold is what shows up as a ripple.
Should The Tack Strip Cross The Door?
Keep the strip off the door openings and sills. CRI 105 says to cut the strip to follow the contour of the door casings and other irregular abutments. Do not staple the carpet to the tack strip; the pin grip is what holds it.
| Tack strip detail | CRI 105 requirement | What goes wrong if you miss it |
|---|---|---|
| Strip size | Minimum 1 inch wide and 1/4 inch thick | The pins cannot hold the tension line, and the carpet comes loose |
| Long stretches | 1 3/4 inch architectural strip with 3 rows of pins, or two 2 row strips, past 30 feet | Shear fails at the seam and the carpet pulls off the wall |
| Fasteners | At least 2 fasteners per tack strip piece | The strip lifts out of the subfloor under stretch tension |
| Gully width | Slightly less than carpet thickness, never more than 3/8 inch | The backing folds and ripples form underfoot |
| Radiant-heated floor | Adhesive per the manufacturer; no nails or screws | Fasteners damage the heating element and the strip loses grip |
Laying The Cushion
The cushion is an installation variable here, not a product decision. CRI 105 requires the pad to conform to the carpet manufacturer’s recommendation for the specific product, and the wrong choice can void the warranty.
For a residential stretch-in, the pad thickness should not exceed 7/16 inch. A pad that is too thick changes the feel of the carpet and gives the tension something to move on, which is how a soft line telegraphs through the pile.
Lay the pad in the longest continuous lengths you can, and set the pad seams at right angles to the carpet seams, or offset at least 6 inches to one side. A pad seam under a carpet seam is where a soft line shows through.
Trim the pad flush to the inside of the tack strip and fasten it to the subfloor with staples or nonflammable cushion adhesive at every seam and around the perimeter. The pad moves if it is not fastened, and a moving pad is what telegraphs through the carpet.
Choosing the pad itself, the density and thickness that fit the room and the traffic it will take, is a separate decision. The carpet padding and underlay page covers that call.
Planning The Layout And The Seams
Before anything is cut, the seaming diagram decides where each piece lands. CRI 105 says to keep the seams to a minimum and run them the length of the room, so the main walkway crosses the carpet and not the seam.
Where Should The Seams Go?
Put them where the eye will not track. CRI 105 wants the main traffic parallel to the seam, not across it, and natural light not falling across it. Keep the seam clear of the pivoting traffic at a door, and never run it perpendicular to a doorway opening.
Which Way Should The Pile Face?
Where two pieces of the same broadloom sit adjacent, the pile direction must be the same, or the room reads as two colors under the light. Dissimilar carpets do not need to match. Ideally the pile lays toward the entrance, though pattern and material economy can shift that call.
The layout also sets the trimming allowance. CRI 105 says to cut the carpet to the seaming diagram, leaving at least 3 inches along every wall for trimming and enough extra material to match the pattern where one is involved.
Trimming And Seaming
The seam is not where two pieces touch. It is a single finished edge. CRI 105 defines a properly constructed seam as cleanly trimmed edges that are secured with edge or seam sealer, tightly abutted with no gap or overlap, and a reasonable pattern match where one is involved.
The seam will not be invisible. CRI 105 is explicit on that. The goal is a seam that holds together under foot traffic and does not fray, pull apart, or show a light line through the pile.
Sealing The Seam
The seaming method depends on the carpet construction and backing. A hot-melt seam on a cut pile, a taped seam on a loop, a hand-sewn seam on a plush. Each closes the edge so it does not fray. Skim the seam and it telegraphs; seal it and it reads as one field.
The Power Stretcher: The Seven-Step Sequence
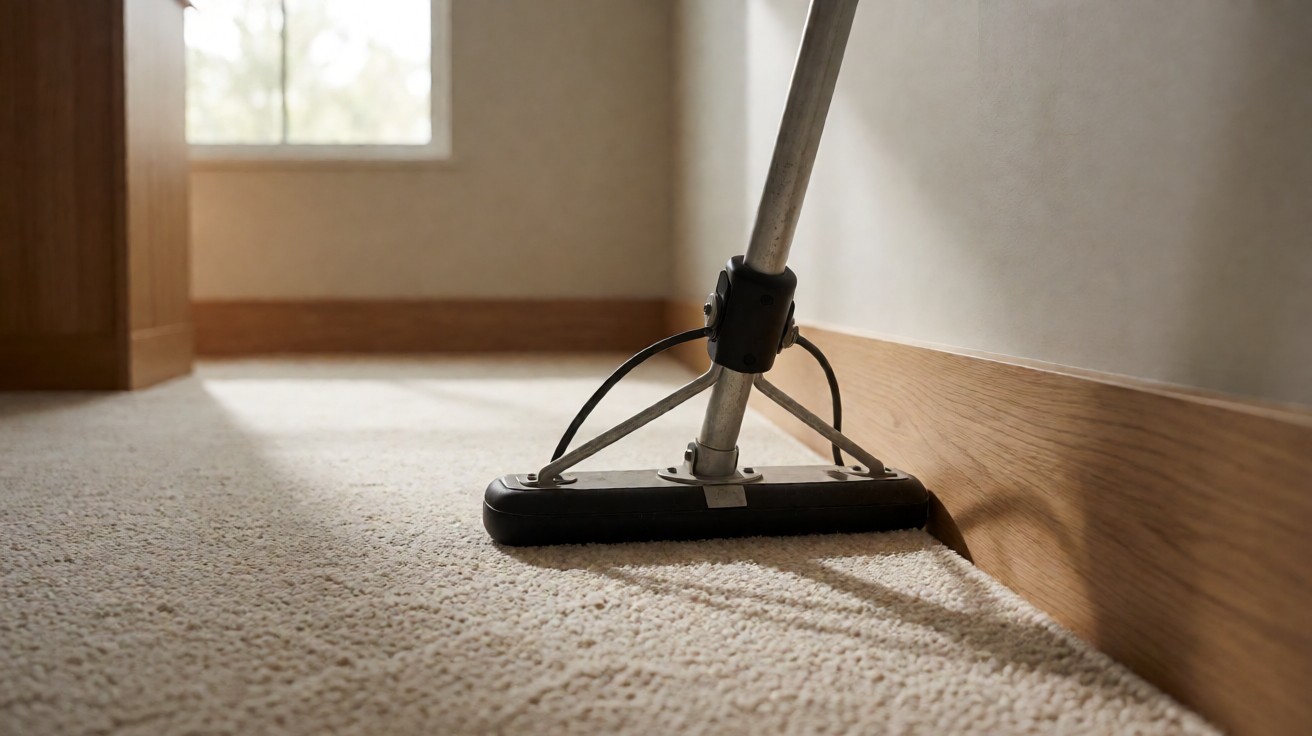
The power stretcher is not optional. CRI 105 states that the use of a power stretcher is mandatory for stretch-in work.
A device that penetrates through the backing, or that substitutes a hand pull where a stretch belongs, is not acceptable. It can injure the installer, damage the carpet or the subfloor, and leave the carpet under-stretched.
The sequence runs the room in seven moves, and CRI 105 lays them out corner by corner. The stretcher head pulls, the knee kicker locks, and the tension is built in order so one wall does not fight the next.
Which Stretcher Head For Your Carpet?
Pick the head to the construction. CRI 105 recommends a pin head for cut pile and a cotton head for loop. The tool should lock the stretch in place and have adjustable metal tubes ending in a padded tail block or plate, because that padding is what keeps the head from tearing the face.
| Step | What to do | Tool |
|---|---|---|
| 1 | Hook onto the tack strip about 3 feet in both directions along corner A | Power stretcher |
| 2 | Power stretch at about a 15 degree angle from wall AC and hook onto the tack strip at corner B | Power stretcher |
| 3 | Hook and secure onto the tack strip with the knee kicker along wall A to B | Knee kicker |
| 4 | Power stretch at about a 15 degree angle from wall AB and hook onto the tack strip at corner C | Power stretcher |
| 5 | Hook and secure onto the tack strip with the knee kicker along wall A to C | Knee kicker |
| 6 | Power stretch at about a 15 degree angle from wall AB and hook along wall C to D | Power stretcher |
| 7 | Power stretch from wall AC and hook along wall B to D | Power stretcher |
The seven steps are the only order that works. Each move pulls one wall or diagonal into tension and then hands off. Run them out of order and one side is loose even when the other three look tight.
How Much Stretch Is Enough
The amount of stretch is not a feel. CRI 105 says to follow the carpet manufacturer’s instructions for stretch, and where there is no specific instruction, a tufted carpet with a synthetic backing gets stretched a minimum of 1 percent in length and in width.
A patterned carpet needs more than the minimum to pull the pattern back into register. Under-stretch is the whole problem, because CRI 105 warns that failing to power-stretch leaves the carpet to wrinkle and buckle, to damage the carpet, and to delaminate the secondary backing.
What Causes Wrinkling And Buckling?
Under-stretch is what causes it. The tension is what holds the secondary backing against the cushion. Lose that and the backing separates, and the surface ripples. That is also why a fresh carpet that still shows a ripple was stretched short, not settling.
Finishing At The Wall And Making The Transition
Once the stretch is set, the wall is finished. CRI 105 says to leave a smooth, neat, and secure transition along the wall, trimming the carpet without damaging the baseboard or moldings.
Leave enough material so the backing tucks into the gully without the face or the backing yarns showing. A clean tuck is what keeps the wall line sharp and stops the edge from lifting under traffic.
Where the carpet meets a hard floor, the edge must be protected or covered with an appropriate transition molding. CRI 105 limits the hard-surface edge to no more than 1/16 inch above the total carpet thickness where no molding is used.
On a broadloom that has no transition molding, apply a minimum 1/8 inch bead of seam sealer to the edge of the carpet along the entire transition. A higher step is what makes the edge lift under traffic.
How Long Before You Can Walk On It
The carpet can be walked on once the tension is locked and the edges are finished. The 24 hour acclimation happens before the install, not after, and the room is held at 65 to 95 degrees Fahrenheit for at least 72 hours after the work.
That 72 hour hold is when the backing settles onto the cushion and the secondary backing takes its place. Walking on it early is not the issue. Letting the room get cold or wet is.
There is one hard number. The indoor carpeted space must not fall below 50 degrees Fahrenheit, no matter how old the install is. Cold is what brings the dew point down onto the backing and starts the moisture failure that no amount of tension can cure.
When Carpet Needs To Be Re-Stretched
A fresh install that still shows a ripple or a soft spot was under-stretched, not settling. The re-stretch is the fix. Pull the loose edge back onto the tack strip, rebuild the tension on that side with the power stretcher, and re-lock it.
CRI 105’s consequences for under-stretch, the wrinkling, the buckling, and the delamination, are what a re-stretch reverses while the install is still young. If the edge has pulled away from the baseboard and the gully has widened, the tack strip may need to be reset.
If the buckling is across the whole room, that is a stretch problem, not a seam problem, and the stretcher is where you start. If it is only at one doorway, it is a seaming or a trimming fix.
The Mistakes That Ruin A Carpet Install
Most of the failures are the same few, and CRI 105 names the consequence for each one.
| Mistake | Why it ruins the install | The fix |
|---|---|---|
| Stapling the carpet to the tack strip | Stretch-in depends on the pin grip; staples make the tension uneven | Leave the backing free; the pins hold it |
| Setting the gully wider than 3/8 inch | The backing has room to fold and ripple | Reset the strip so the gully is slightly less than the carpet thickness |
| Power stretching by hand | Tension falls below the 1 percent minimum; wrinkles and delamination follow | Use a power stretcher; CRI 105 makes it mandatory |
| Laying a thick foam cushion over a slab | Exceeds the 7/16 inch limit and the pad shifts under tension | Check the pad against the manufacturer’s specification |
| Installing the carpet over old carpet | The old layer compresses unevenly and the new install never lies flat | Pull the old carpet and pad; install on the subfloor |
The theme is tension. Every mistake here is the carpet not being held tight enough, or held tight in the wrong place, or held on a surface that cannot hold. The power stretcher, the right gully, and a flat dry subfloor are what keep the floor flat for the life of the carpet.