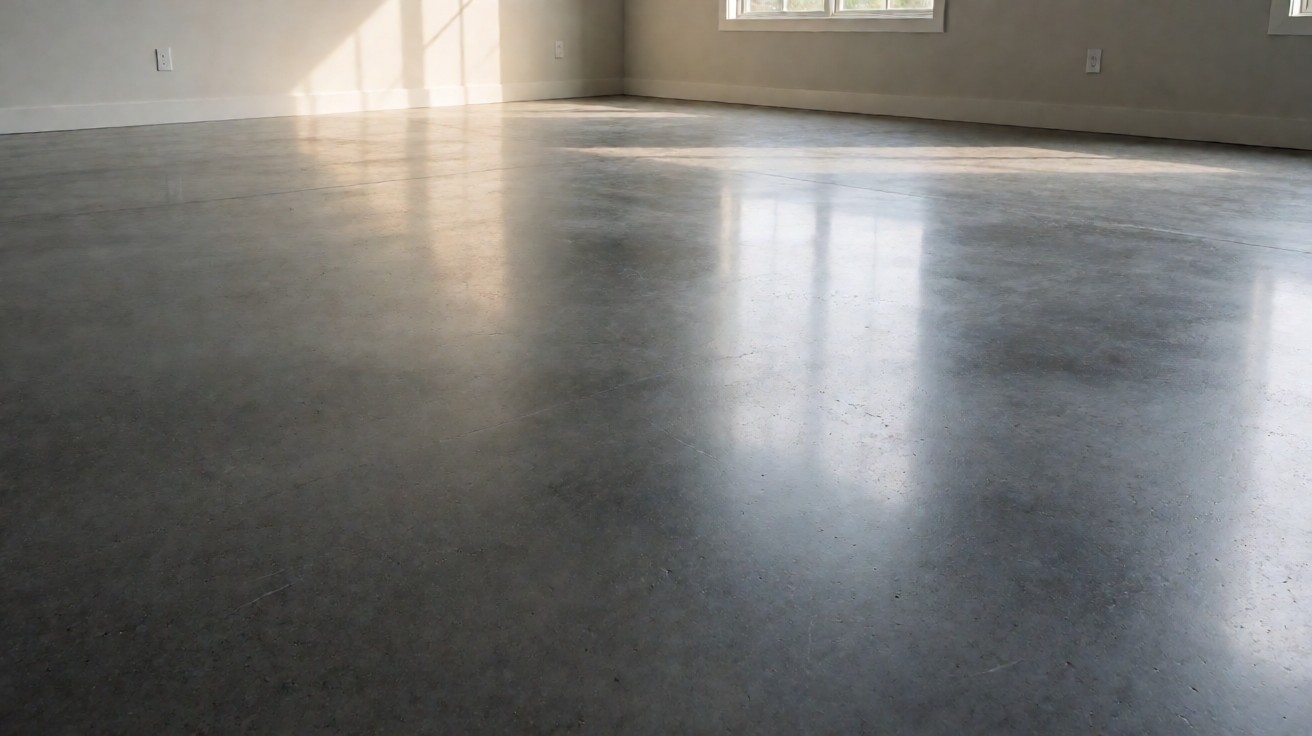

A concrete slab has to be clean, dry and flat before any floor goes over it, and the moisture test is the step that decides whether you can start.
Clean the slab mechanically, test the moisture and the alkalinity, level the low spots, and check the flatness. Do those in order and the floor you lay will bond, sit flat, and stay put.
What The Slab Has To Be Before Any Floor Goes Down
Three things have to be true of a concrete slab before flooring goes over it. It has to be structurally sound, it has to be dry, and it has to be flat. ASTM F710, the standard practice for preparing concrete floors to receive resilient flooring, sets out all three.
Clean means free of dust, paint, old adhesive, oil and anything else that would sit between the floor and the slab. Dry means below the moisture limits the tests set. Flat means within the tolerance the flooring manufacturer specifies.
Get any one of the three wrong and the floor fails in a way that is expensive to fix. A dirty slab will not bond. A wet slab will push moisture up through the floor. An uneven slab telegraphs through the surface.
The order matters too. Testing before cleaning gives a reading from a dirty surface. Levelling before testing covers the very area you need to measure. Work from the top of the sequence down.
Clean The Slab Mechanically
Clean the slab by scraping, brushing and vacuuming. That is the method ASTM F710 requires, and it is the only one: no chemical strippers and no adhesive removers. A chemical stripper leaves a residue that the flooring will not bond to, and a residue is invisible once the floor is down.
Scrape first to lift anything that is stuck: old adhesive, paint, thinset and curing compound. Then brush to loosen the dust, and vacuum to remove it. A slab that looks clean but has a film of dust on it is a slab that will not bond.
Vacuum the whole area, not just the middle. Dust collects at the edges and along the walls, and that is where a floor lifts first.
Fill any holes and voids before you test. A hole in the slab is a void under the floor, and a void is where the surface dips later.
Test The Moisture
Moisture is the test that decides whether you can start. There are two standard methods, and the age of the slab decides which one applies.
ASTM F1869 is the anhydrous calcium chloride test. It measures the moisture vapor emission rate over 72 hours, and the limit is 3 pounds per 1,000 square feet per 24 hours. It is the test for a slab of any age.
ASTM F2170 is the in-situ relative humidity probe test. It measures the humidity inside the slab, and the limit is 75 percent. One source notes it is intended for slabs up to 25 years old, and that older slabs are better served by the F1869 test.
Test in the rooms that will get flooring, and test where the slab is most likely to be wet: near exterior walls, near doors, and in any corner that stays cool. One test in the middle of the room is not a test of the room.
Test after the slab has dried, not on the day you clean it. A slab that was wet when you cleaned it will still be wet when you test it, and the test will tell you to wait.
| Test | Method | Limit | If You Are Over It |
|---|---|---|---|
| Moisture vapor emission rate | ASTM F1869, calcium chloride, 72 hours | 3 pounds per 1,000 sq ft per 24 hours | Use a moisture mitigation system or wait |
| In-situ relative humidity | ASTM F2170, probe in the slab | 75 percent | Use a moisture mitigation system or wait |
| Alkalinity | pH test on the slab surface | pH 9 or less | Treat the slab or use a mitigated system |
Test The Alkalinity
Test the pH of the slab surface. The limit is pH 9 or less. A slab above that releases free alkali, and free alkali raises the floor and degrades the adhesive that holds it.
Alkalinity and moisture travel together. A wet slab is more likely to be alkaline, and an alkaline slab is more likely to be wet. Test both, and treat a failure of either as a slab problem rather than a flooring problem.
If the pH is over the limit, the fix is to treat the slab, not to cover it. A floor laid over an alkaline slab will show the damage within a few years, and it will show first at the joints.
Level The Low Spots And Decide About Cracks
Fill the low spots with a levelling compound and grind down the high spots. A levelled floor sits flat; an unlevelled one dips at every low area and the dip shows through the finished surface.
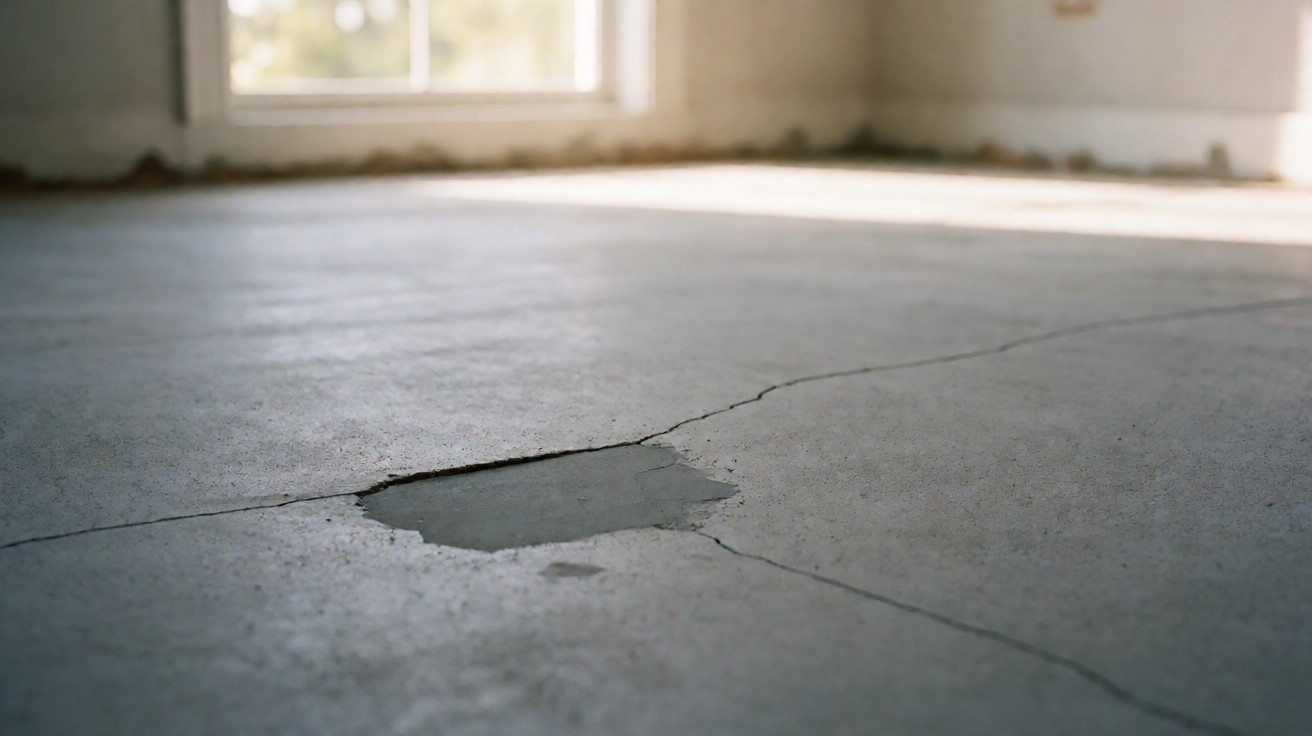
Cracks need a decision, not a filling. A stable hairline crack that has stopped moving is generally acceptable and can be filled. A crack that is moving or widening is a structural problem, and covering it with flooring will not stop it.
Look at a crack at two times of day if you can. A crack that is wider in the afternoon than in the morning is moving with the temperature, and a moving crack will come back through the floor.
Fill a stable crack and note where it was. If the floor shows a line at that point later, you know the cause and you can explain it to the homeowner.
Check The Flatness
Check the flatness with the straightedge method. Flatness is measured per ASTM E1155, which reports FF and FL numbers. The FF number is the flatness, and the FL number is the levelness.
Resilient-flooring manufacturers commonly require an FF32 minimum, and installer guidance gives a tolerance of about 3/16 inch in 10 feet for many products. Both are installer guidance rather than the standard itself, so check the specific product’s specification before you accept a reading.
The straightedge method that produces the numbers is set out on the subfloor flatness page. Read the number, compare it with the product specification, and level the slab until it passes.
Check the flatness after levelling, not before. Levelling changes the surface, and a reading taken before it is a reading of the wrong surface.
The Vapor Retarder
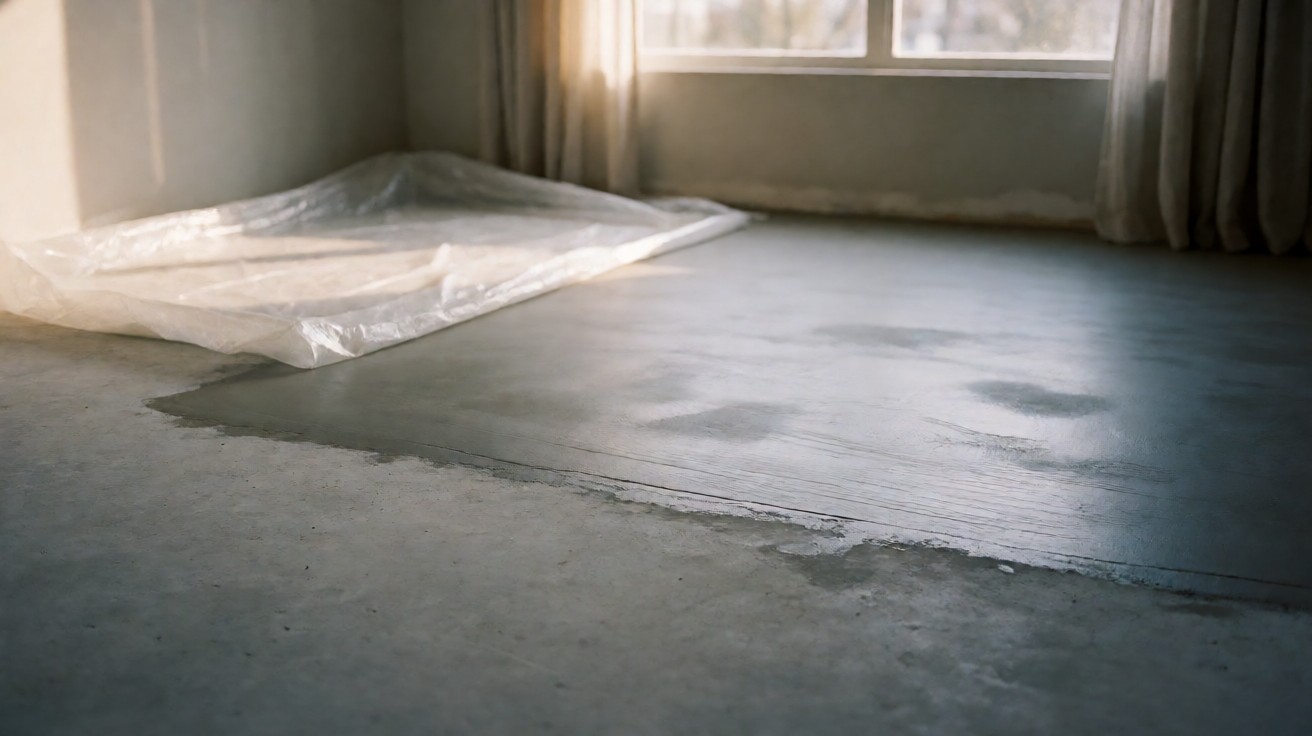
A vapor retarder is required beneath a concrete floor that is on grade or below grade. ASTM F710 requires it, and it is the barrier that stops ground moisture rising into the slab and into the floor.
The common specification is a 6-mil polyethylene sheet with a permeance of 0.1 or less. That figure is installer guidance rather than the standard, so treat it as the common practice and confirm it with the flooring manufacturer.
Lay the retarder under the slab, not over it. A retarder laid on top of the slab traps moisture in the slab instead of keeping it out, and the floor goes over the slab anyway.
Overlap the seams and seal them. A retarder with open seams is a retarder with holes in it, and moisture will find the holes.
How Long A New Slab Needs To Cure
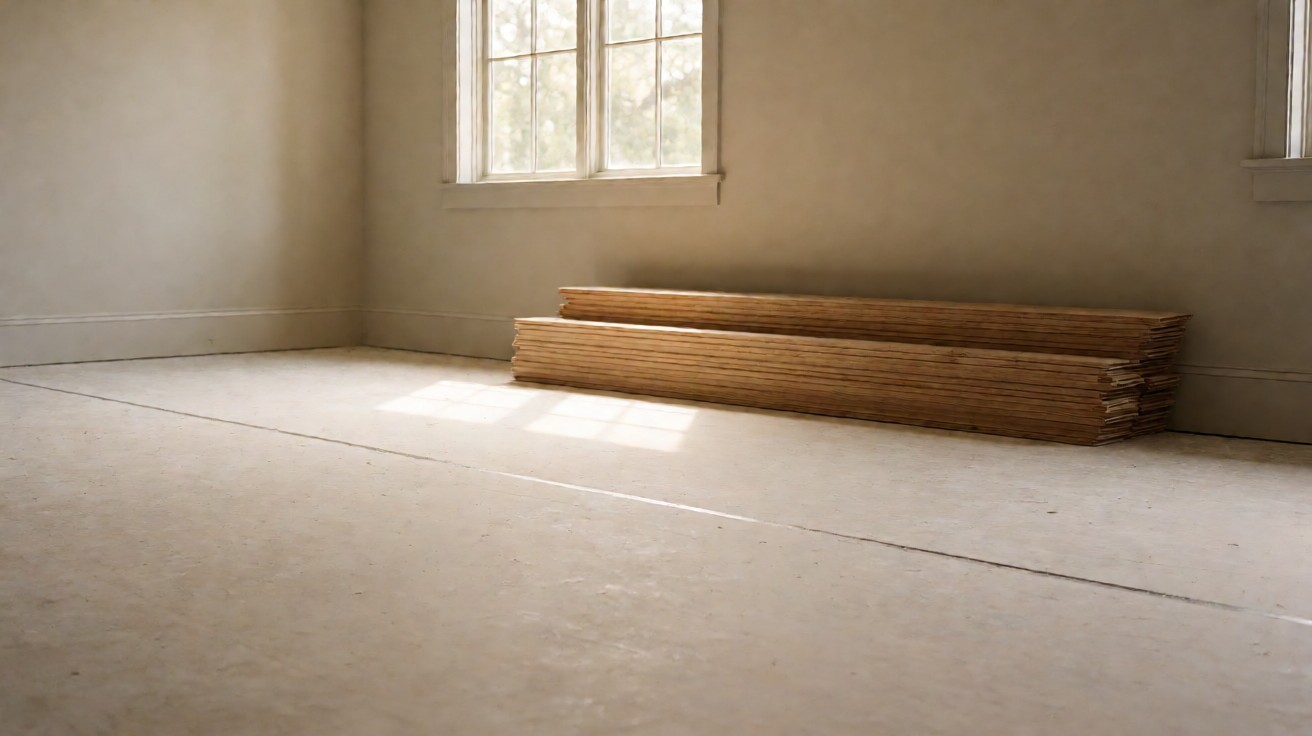
A new slab needs time to dry before flooring goes over it. Installer guidance commonly cites 60 to 90 days minimum, and a slab that is still curing will keep pushing moisture for longer than that.
The cure time is not the same as the strength time. A slab can be strong enough to walk on in a week and still be wet enough to fail a moisture test at 30 days. Test it rather than guessing.
A slab that fails the moisture test at 60 days may pass at 90. Test again rather than giving up, and use a moisture mitigation system if the project cannot wait.
Do not lay flooring on a slab that has been power-trowelled to a hard, dense finish without checking the moisture. A dense surface dries slowly and holds moisture below it.
The Full Preparation Sequence
Run the sequence in this order and do not skip a step.
Clean the slab by scraping, brushing and vacuuming. Test the moisture with F1869 or F2170 and the alkalinity with a pH test. Level the low spots and decide about the cracks. Check the flatness against the product specification. Confirm the vapor retarder is in place. Let the slab cure if it is new.
Each step depends on the one before it. Cleaning before testing gives a false reading. Levelling before testing covers the area you need to measure. Testing before cleaning gives a reading from a dirty surface.
Record the readings. The moisture result, the pH result and the flatness number are the evidence that the slab was ready, and they are what you produce if the floor ever fails.
What Each Floor Type Needs From The Slab
Different floors need different things from the same slab, and the preparation is not identical for all of them.
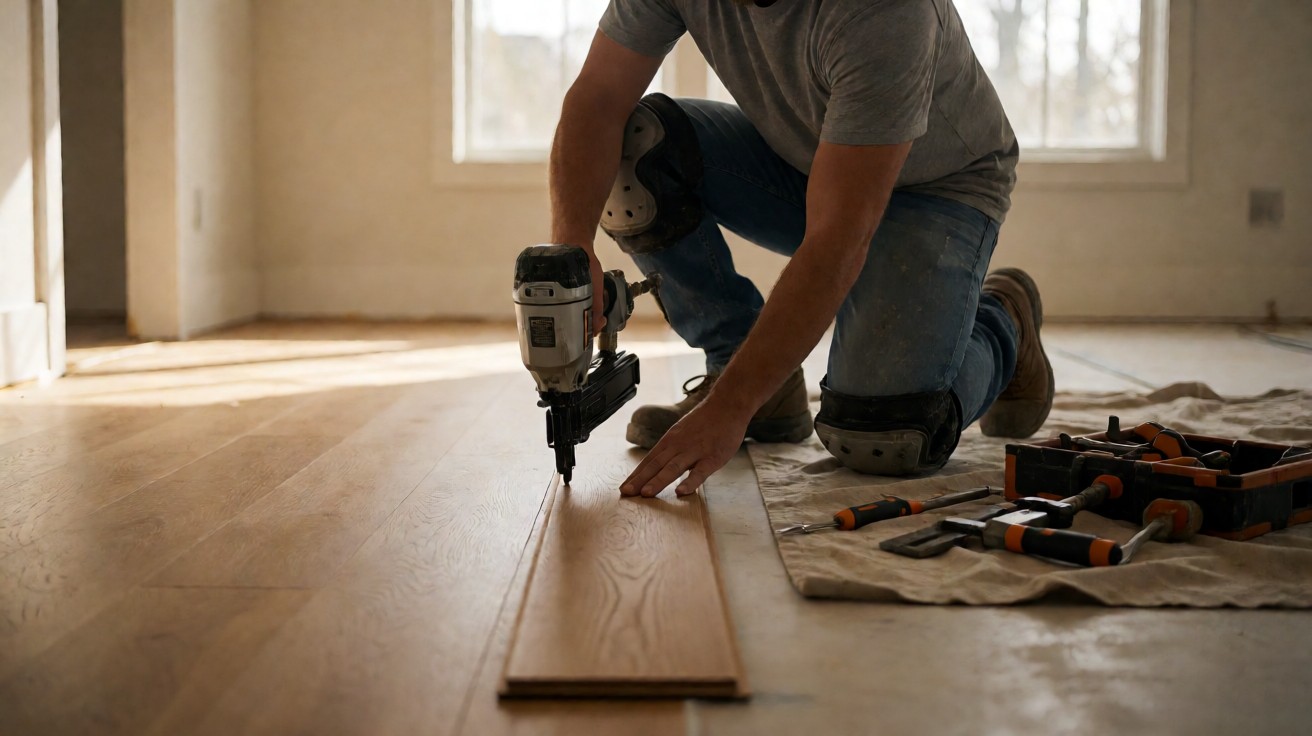
A glue-down floor needs the slab clean and dry above all, because the adhesive bonds directly to the surface. A floating floor needs the slab flat and the underlayment correct, because the floor rests on the underlayment rather than bonding to the slab. A nail-down floor needs a solid subfloor to fasten into, which on a slab means a sleeper system or a plywood overlay.
The flooring over concrete page sets out which floor types suit a slab and which do not. The underlayment page covers the layer that goes between the slab and a floating floor.
Choose the floor before you finish the slab work. A floor that needs a mitigation system changes the slab work, and a floor that cannot go over a slab at all changes the whole project.
| Floor Type | What It Needs Most From The Slab | The Preparation That Follows |
|---|---|---|
| Glue-down vinyl or plank | Clean and dry, because the adhesive bonds to the surface | Mechanical cleaning, moisture test, pH test |
| Floating floor with underlay | Flat and clean, because the floor rests on the underlay | Levelling, flatness check, underlayment choice |
| Nail-down hardwood | A solid subfloor to fasten into | Sleeper system or plywood overlay over the slab |
| Tile with thinset | Flat and sound, with no moving cracks | Crack assessment, levelling, thinset bonding |
A Short Checklist Before You Order The Floor
Run this list before the flooring is ordered, not after it arrives.
Confirm the slab is clean, with no dust film and no old adhesive. Confirm the moisture test is under the limit for the product you are installing. Confirm the pH is 9 or less. Confirm the low spots are levelled and the cracks are stable. Confirm the flatness number meets the product specification.
Confirm the vapor retarder is in place if the slab is on grade. Confirm the cure time has passed if the slab is new. Confirm the room will stay at the temperature the adhesive and the flooring need.
Once the floor is laid, the walked-on page sets when it can carry foot traffic. For the room work that comes before any of this, the room preparation page covers clearing the space. For wood products, the acclimation page sets the conditioning the product needs before install.