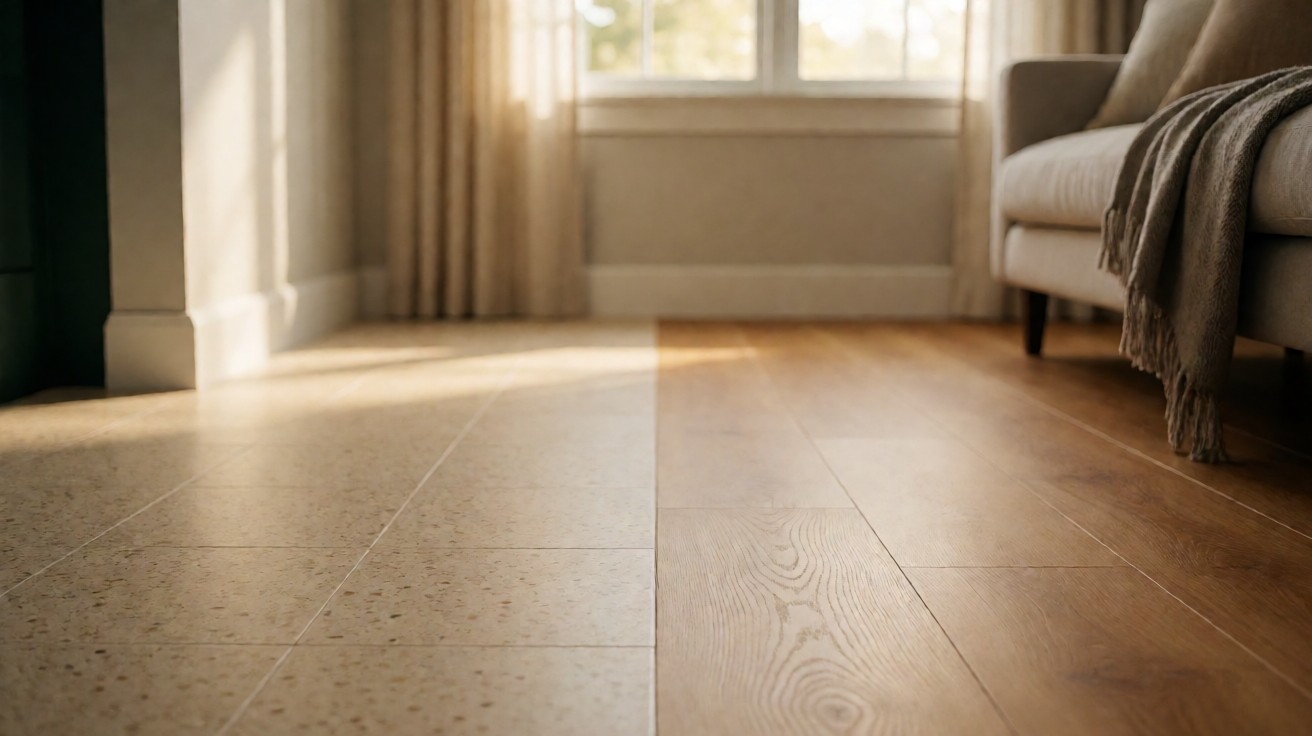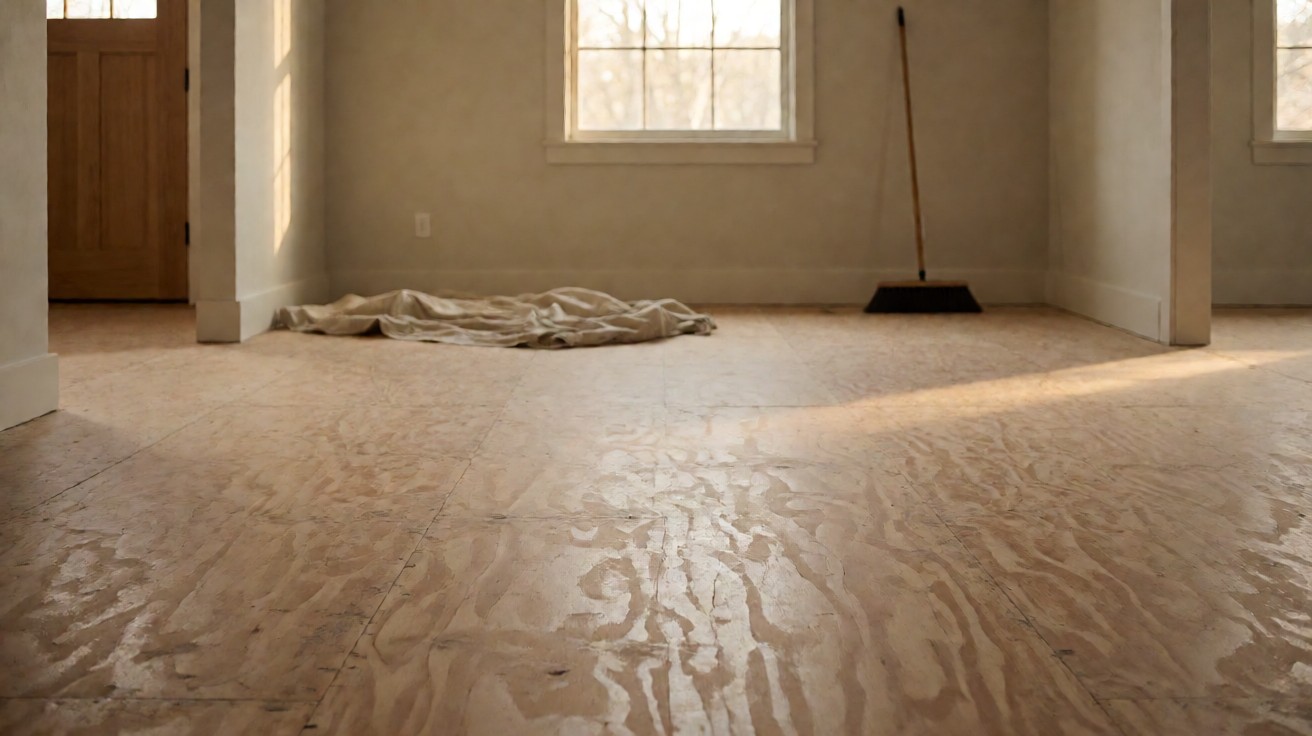

The install crew arrives in two days, and the room still has a sofa, a refrigerator, a toilet, and three rugs in it. None of that can stay where it is.
The right answer is a room that is empty, swept, and stable: furniture out, appliances unhooked, baseboards off where the new floor changes the height, the route protected with drop cloth, and the space held at the temperature and humidity the material needs to acclimate in. All of it has to be finished before the crew arrives.
How Much Work the Prep Really Is
A 300 square foot room with a straightforward layout is a one to two day job for a two person crew. Clearing and preparing that same room takes most of a weekend, and that ratio surprises people who budget from the material price alone.
The prep is really seven jobs: clearing the room, moving appliances and plumbing, protecting the route, checking power and lighting, pulling trim, controlling dust, and setting the conditions the material needs. Do them in that order and each one makes the next one easier.
Get the square footage first. The square footage calculator gives you the number in a minute, and that number tells you how much floor protection to buy, how many boxes have to fit through the door, and whether this is a one-afternoon job or a weekend.
The order of the install itself is a separate matter, and it is written out in the flooring installation guide. Prep is the chapter before that one.
Clearing the Room: What Goes and Where It Goes
Everything comes out of the room. Not the big furniture, everything. Baseboards, curtains, wall art, light fixtures, door stops, thresholds, all of it, because anything left behind is something the crew works around and then bills you to move.
A professional crew should not have to move a single piece of furniture on install day. If they do, that time is billable, and it is the easiest way for a homeowner to add two hours and a few hundred dollars to a job that was quoted flat.
Where things go matters as much as what goes. A dining table left in the middle of a room is a table the crew works around; the same table against a wall in another room is out of the way for good.
Watch the routes. A sofa that fits through the front door but not through the hallway has to come apart, and a sectional meeting a stairwell is a two person job on its own.
| Room | What has to come out | Where it can go | The thing that goes wrong |
|---|---|---|---|
| Kitchen | Refrigerator, dishwasher, freestanding range, cabinet contents | Garage, another kitchen, a storage unit | The dishwasher inlet left under pressure |
| Bathroom | Toilet, vanity, mirror, shower door and curtain, towel rail | Garage or storage, wrapped in moving blankets | The flange ends up below the finished floor |
| Bedroom | Bed frame, mattress, dressers, rugs, curtains, light fixtures | Hallway, garage, spare room | The heavy piece left where the crew has to cut around it |
| Living room | Sofa, tables, media unit, rugs, wall art, curtains | Garage, another room, storage | A sectional that will not fit back through the door |
| Basement and utility | Everything not fixed in place, plus the washer and dryer | Somewhere off site, because the room has nowhere to put it | A blocked stair the crew cannot get boxes down |
If you are clearing a room in a rental, leave the carpet itself in place when the lease says so, and check before you pull anything up. In a house you own, the old carpet and its pad come out, and the staples along every wall come with them.
Moving Appliances, Plumbing, and Toilets
Appliances are the part homeowners defer, because a refrigerator is heavy and a dishwasher is plumbed in. Both have to be out of the room, and both have to be handled by somebody who knows what they are doing with a wrench.
Shut the water off at the valve under the sink before you disconnect a dishwasher, and confirm the breaker is off before you pull a plug. An inlet hose left under pressure sprays the inside of the cabinet the moment the fitting comes loose.
Toilets are the awkward one. If the toilet stays, the crew cannot set the floor correctly around the flange, and the finished floor has to meet that flange at a height that seals, which is fixed in fractions of an inch.
If a refrigerator has to go down on its side, it needs to stand upright again before you plug it in. Bosch asks for at least 3 hours and Samsung 4 hours before the fridge goes back on the circuit.
A fridge that spent most of a day on its side wants a full 24 hours standing upright first. Get that wrong and the compressor runs without the oil that settled out of it.
Photograph the connections before you disconnect them. A photo of the dishwasher inlet, the toilet supply, and the appliance cords is the difference between a reinstall that takes 20 minutes and a plumber’s bill.
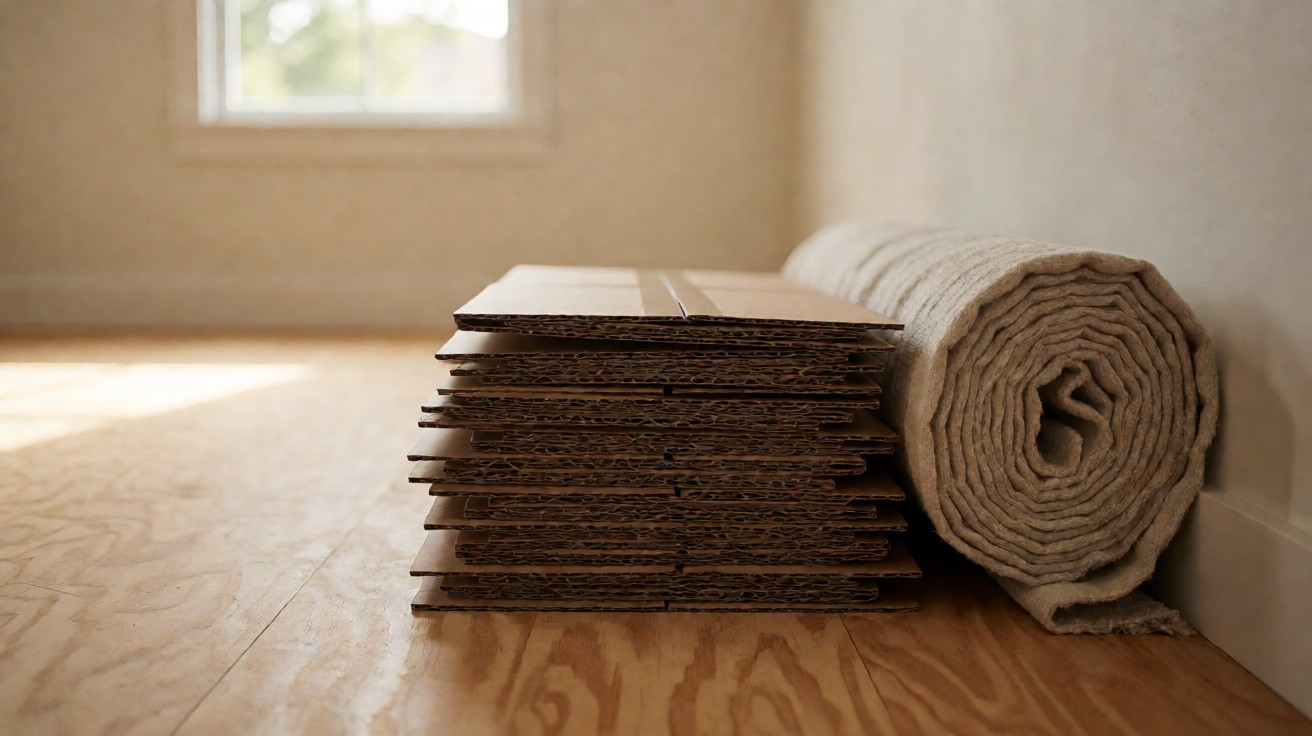
Protecting the Route Through the House
The route from the front door to the work room gets walked over and over on install day, carrying boxes, tools, and a vacuum. Protect the floor along that route, not only the floor being replaced.
Two products do most of the work. 6 mil drop cloth taped at the seams keeps dust and scuff off a floor, and it is cheap. Masonite or plywood sheets protect a floor from a dropped tool or a dragged stack of boxes, and they are worth it on any route crossing a finished room you are keeping.
Tape the edges rather than just laying the material down. Seams lift without tape on them, and a lifted seam is exactly where a toolbox catches and tears the floor.
Mask any painted door frames and trim in the route. A crew that has to pick a scuff off a door frame is a crew that has to be told, and told crews are expensive ones.
If the room is upstairs, protect the stairs. They take the heaviest load of any flooring job and get the least attention of anything on the route, and the treads take that load first.
Power, Lighting, and Water Before the Crew Arrives
Three things get checked in the first ten minutes of a prep: power, light, and water. Each one is cheap to sort out the night before and expensive to sort out at 8 am with a crew in the driveway.
On power, the crew needs a grounded outlet for a saw, a vacuum, and an extension cord run, and they need to know which breaker is which. Find out whether that circuit shares a circuit with the refrigerator or the HVAC, because a tripped breaker at 9 am costs a morning of everyone’s time.
On light, an overhead fixture in an empty room is dimmer than it looks, and dimmer still once the floor is half covered with material. A work light on a stand keeps the crew from laying the first row in the wrong place because they could not see the wall straight enough.
On water, if there is a toilet, a sink, or a hose bib in the room, find the shutoff and test it. A supply line that fails on install day means a wet subfloor under a new floor and a job that stops.
Test every outlet with something you know works, and check whether the breaker panel is labelled, because unlabelled panels are normal in older houses and a map made in week one saves the argument in month three.
Taking Off Baseboards and Trim
Baseboards come off in most rooms, and in some of those rooms they come off for a reason the new floor dictates rather than anything to do with the trim itself.
The reason is the expansion gap. A floating floor needs room to move, and manufacturers require a gap of roughly 1/4 inch to 1/2 inch, or 8 to 12 mm, around the entire perimeter. The baseboard is what hides that gap, which is why trim and floor get planned together.
If the new floor is thicker than the old one, the baseboard comes off and gets planed or replaced. If the floor is the same thickness and the crew is not replacing trim, they may leave it and cut around it, but they will tell you before they start.
Under a door you need room as well. Laminate installation guides call for the plank to slide at least 1/4 inch under the door frame, with a concealed 3/8 inch expansion space behind it, and a floor that leaves less than that will not slide under a jamb nobody trimmed.
Number the pieces, mark the bottom edge, and stack them in one place, because baseboard that goes back in the wrong order is visible from across the room for years. Crown molding, quarter round, and shoe molding are a separate job, and if the crew is not doing it, do not let that get discovered on install day.
Dust Control Without Wrecking the Rest of the House
The dust from lifting old carpet and tile does not stay in the room. It goes up the stairwell, into the return air, and onto the couch you moved into the living room an hour earlier.
Hang a plastic sheet across the doorway to the rest of the house, sealed to the frame with painter’s tape. That one step keeps more dust out of your house than anything else on this list, and it costs a few dollars.
A HEPA vacuum is the right tool for the cleanup, and it is also the legal requirement in a house with lead paint. The EPA renovation rule requires HEPA vacuums, and a HEPA filter captures 99.97 percent of particles at 0.3 microns.
If you are scraping or sanding anything at all, wear an N95 respirator while you do it. It filters at least 95 percent of particles at 0.3 microns, and it costs less than a doctor visit for the cough you get without one.
Before you scrape, check the age of the house. Lead paint was used until 1978, and the EPA estimates that 87 percent of homes built before 1940 still contain it, along with 24 percent of homes built between 1960 and 1978. Testing comes before disturbing a surface, never after.
Old tile is a different hazard. OSHA requires that resilient floor tile installed before 1980 be presumed to contain asbestos unless a laboratory confirms otherwise, and 9 by 9 inch tile from the 1970s and 1980s is the material people mean. Test the tile and the mastic underneath first.
Vacuum with the HEPA rather than sweeping dry, because dry sweeping pushes fine dust back into the air and undoes most of the work you just did.
What You Will See When the Old Floor Comes Up
This is where preparation turns into judgment. Pull up the carpet or the tile and you are looking at the subfloor for the first time in years, and what you see decides whether the job starts on Monday or in three weeks.
On concrete, the slab has to be clean, dry, smooth, and free of anything that stops adhesive bonding, and ASTM F710 is the practice covering the preparation of a concrete floor for resilient flooring. A dusty slab, laitance left behind after grinding, and a painted stripe are all adhesive failures waiting for a warranty claim.
Moisture is the number that stops jobs. In-situ relative humidity is measured to ASTM F2170, and 75 percent is the limit above which resilient flooring is not installed without a mitigation system.
Between 75 and 85 percent you are in mitigation territory, and above 85 percent the slab is wet enough that you are looking at a flood rather than a floor.
The older calcium chloride test still gets used, and ASTM F710 sets its limit at 3 pounds per 1,000 square feet over 24 hours. The same practice calls for a pH test on every concrete floor before resilient flooring goes down, with a reading above 7 and below 10 normally acceptable, and at least one test for every 1,000 square feet.
Flatness is the number people think they do not need because the old floor looked fine. ANSI A108.02 limits lippage between adjacent panels to 1/8 inch in 10 feet, and resilient sheet and tile need the floor flat to that same 1/8 inch in 10 feet.
ASTM E1155 records the same information as an FF and FL number instead, where FF 35 and FL 25 describes a flat slab and FF 25 and FL 20 a moderately flat one. A spec written that way gets judged against a number rather than an opinion.
The method for checking it is here: how to check subfloor flatness. Twenty minutes and a straightedge, before the material is delivered, is the cheapest insurance in the whole job.
Two things you find are quick calls. A hollow spot in a wood deck is a fastening problem rather than a levelling problem, and a ponding area on a slab is usually a drainage problem that levelling compound will not fix. Get a separate levelling estimate if either one shows up.
If the room has been wet, treat it as a restoration job, not a flooring job. ANSI/IICRC S500 covers professional water damage restoration, and the EPA is direct that water damaged materials need to be dried within 24 to 48 hours to prevent mold growth.
Temperature, Humidity, and Acclimation in the Empty Room
The empty room is not a neutral space. It is the environment the new floor will live in, and the floor starts adjusting to it the moment the material is in the room.
For solid wood, the NWFA installation guidelines call for an interior environment held between 30 and 50 percent relative humidity and 60 to 80 degrees F, with the flooring itself acclimated to an equilibrium moisture content of about 6 to 9 percent. Outside that window the wood moves, and moving wood is gapping and cupping.
The subfloor reading matters as much as the air. The NWFA rule of thumb is that the moisture content of a wood subfloor is no more than 4 percentage points above the flooring for strip widths under 3 inches, and no more than 2 points above it for solid plank 3 inches or wider. Beyond those numbers the deck pushes the floor out of flat.
Heat and air conditioning running is a good sign. A room sitting at 45 F while the material acclimates is a room that will pull moisture out of wood the moment the heat comes on in October.
Acclimation time depends on the material, not the room. Solid hardwood gets 3 to 10 days, engineered 3 to 7 days, and laminate 48 to 72 hours, with 96 hours in dry climates below 25 percent relative humidity and in humid ones above 60 percent.
Rigid core LVP and SPC often need no acclimation period at all, but the room still has to sit between 55 and 85 degrees F before the first plank is laid. None of that clock starts until the boxes are in the room, which is why the material should arrive before the crew does.
Over concrete, a vapor barrier is part of the prep as well, and 6 mil plastic sheeting is the common minimum, laid down before the flooring rather than after.
If the room is a basement, a crawlspace, or a slab on grade, get the moisture number before the material is delivered. Changing material because the slab reads 80 percent is a problem you can solve in a week. Changing material after the boxes are open is a problem with no good answer.
| Check | Target | Where the number comes from | What happens if it is off |
|---|---|---|---|
| Concrete slab cleanliness | Free of laitance, dust, paint, and oil | ASTM F710 | Adhesive bonds to a dusty slab and fails later |
| Concrete moisture, in-situ | 75 percent RH or less with no mitigation | ASTM F2170 | Resilient flooring is not installed, or blisters later |
| Concrete moisture, calcium chloride | 3 pounds per 1,000 square feet over 24 hours | ASTM F1869, limit set in ASTM F710 | Moisture migrates up through the slab and lifts the floor |
| Concrete pH | Above 7 and below 10, tested every 1,000 square feet | ASTM F710 | A slab that is too alkaline eats the adhesive |
| Subfloor flatness and lippage | 1/8 inch in 10 feet on both counts | ANSI A108.02 | A rigid floor spans the dip and the joint wears out |
| Slab profile | FF 35 and FL 25 flat, or FF 25 and FL 20 moderately flat | ASTM E1155 | A leveller gets specified instead of a quiet floor |
| Interior humidity | 30 to 50 percent relative humidity | NWFA installation guidelines | Wood expands in summer and gaps in winter |
| Interior temperature | 60 to 80 degrees F | NWFA installation guidelines | A cold plank shrinks its joints in the first heating season |
| Wood subfloor against flooring moisture | Within 4 points for strip under 3 inches, 2 points for plank 3 inches and wider | NWFA installation guidelines | Moisture in the deck pushes the floor out of flat |
The Day-Before Checklist
The day before is for the last physical work. Nothing on this list is difficult, and every item is easier to do on a Tuesday evening than at 8 am on install day with a crew waiting in the driveway.
| Task | How you know it is done |
|---|---|
| Room cleared | Every piece of furniture is in another room and the floor is bare to the subfloor |
| Water and power isolated | Sink valve closed, breakers off, hoses drained, nothing live under the sink |
| Baseboards and trim off | Pieces stacked in order, nails bagged with them, marked bottom edge up |
| Route protected | Seams taped, edges masked, stairs covered, drop cloth down |
| Dust barrier hung | Plastic sealed to the door frame with no gaps at the edges |
| Subfloor looked at | You know what you are standing on and you have the moisture reading |
| Floor swept and vacuumed | HEPA vacuum run over the bare floor, edges and corners included |
| Room at temperature | 60 to 80 degrees F with the HVAC running and the doors closed |
| Product information out | Manufacturer, model, lot number, and installation instructions on the counter |
Two items on that list get skipped, and they are the two that cause the most damage. The dust barrier at the door and the route protection. Both take 20 minutes, and both protect the part of your house you are not paying to re-floor.
The Morning-Of Checklist
Install morning is short. The room is already empty, the floor is already exposed, and the crew starts from a sequence of steps they have run a hundred times before.
Have the product information where you can get it: the manufacturer, the model, the lot number, and the installation instructions. If something on the box conflicts with what the crew is doing, the instructions settle the argument.
Leave the baseboards and any other trim you removed in one place, not scattered across two rooms. Stacked against a wall in the order they came off, they go back faster.
Keep the leftover material. A labelled box from the same lot is what a warranty claim needs, and it is what makes a matching replacement board possible two years from now.
Walk the room with the crew at the start and point out what you know: the soft spot near the window, the drain that backs up, the outlet that shares the kitchen circuit. Ten minutes of that saves an hour of explaining later, and stay available without standing in their way.
When the Prep Is Too Big to Do Yourself
There is a version of this job that is not a weekend. A house with six or seven rooms of carpet to pull, a bathroom that has to be ripped back to the studs, a garage slab that needs grinding, or a staircase all push the prep past the point where a homeowner is the right person to do it.
The tell is not the square footage, it is the number of trades involved. If prep needs a plumber, an electrician, and a hazardous materials test, you are not clearing a room any more, you are running a small renovation.
The comparison of doing the work yourself against hiring a crew is set out in DIY versus professional installation, and the money side matters as much as the labor. Prep and install are often quoted separately, and a room that needs professional prep is not a room where the install saves you money.
Do not skip the prep and let the install crew handle it. That is a legitimate choice, but it has to be a choice made before the quote rather than a decision made in the driveway on install morning. Even when you hire the prep out, get the room as close to ready as you reasonably can, because it costs the crew less time and costs you less money.