
Sheet vinyl lays down as one continuous piece, but the floor will live or die at the seams and the glue line, not at the surface, years after install.
For most residential rooms, a releasable water-based pressure-sensitive adhesive, a 1/8-inch perimeter gap, and a seam that is taped or cemented is the right answer.
Tools And Materials
Before the roll comes out, gather the kit that the IVC US residential sheet vinyl installation guide lists. You need a sharp utility knife, a straight edge, a push broom, and a metal seam roller. Add a 3/8-inch short nap paint roller for spreading adhesive.
Add acrylic double face tape for vinyl floors. Add IVC FLEX-SEAM premium seam bond, with Taylor 2062 as an alternative.
The IVC FLEX-PRIM acrylic latex primer is needed only if priming the floor is necessary. Any porous wood underlayment must be primed. Approved adhesives include IVC FLEX-TECH pressure sensitive releasable adhesive, with Taylor 2037 and Henry 650 R as approved alternatives.
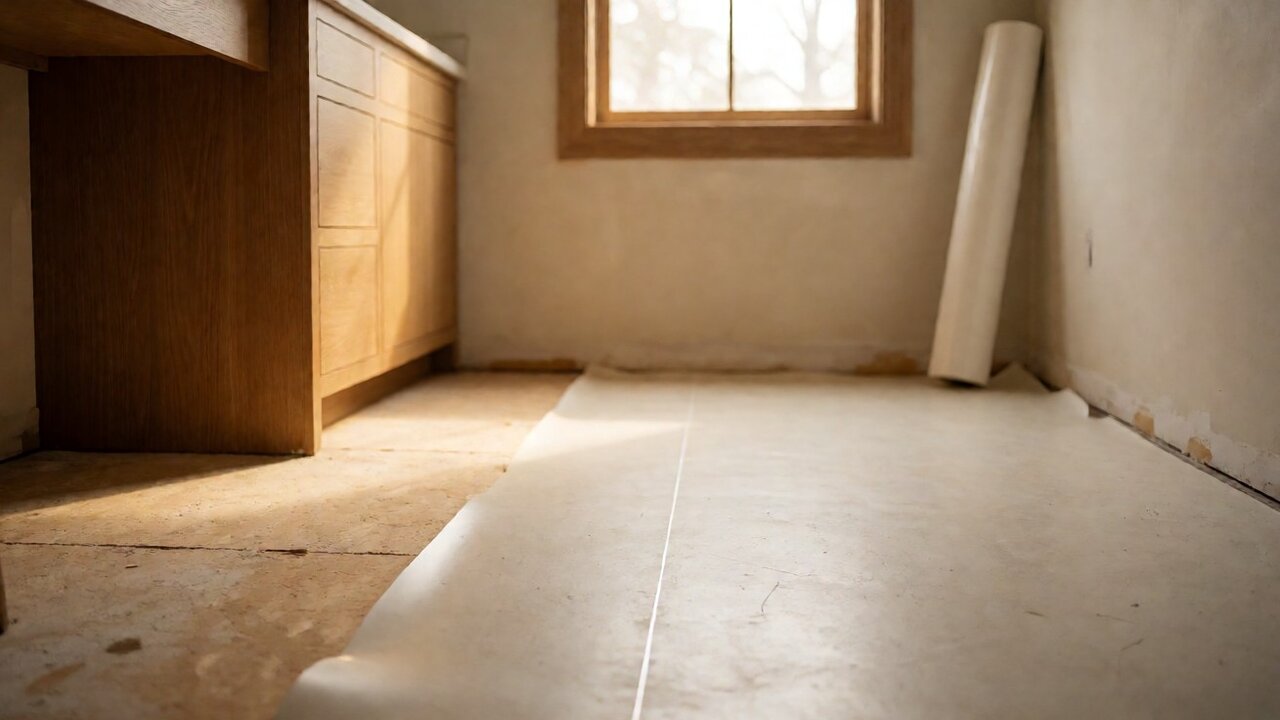
Acceptable underlayments include wood underlayment panels requiring double layer construction. Concrete is acceptable. Well bonded VCT is acceptable. Well bonded ceramic with a skim coat works.
Well bonded terrazzo works. Self-leveling and patching compounds that are latex fortified Portland cement based only are acceptable. Resilient floor no more than 2 layers well bonded non-cushioned is acceptable for residential only. Radiant heat floors not exceeding 85°F are acceptable when approved by the manufacturer.
If the subfloor needs repair or moisture mitigation, see concrete prep and moisture mitigation.
Which Adhesive Do I Use For Sheet Vinyl?
Choose by room size and expected traffic. A releasable full-spread with pressure-sensitive adhesive suits most residential rooms. Permanent full spread must be used for special needs installations, all new construction, and cold crack warranty jobs.
Loose-lay applies only in areas of 25 square yards or less with no more than 1 seam. For the full-spread adhesive walkthrough for planks and tiles, see glue-down flooring installation.
Measuring And Layout
Measure the room length and width, then add 3 inches of waste on every side. A 12-foot by 15-foot room measures 180 square feet. That equals 20 square yards. It fits inside the 25 square yard loose-lay limit. A 300 square foot room equals 33.3 square yards and exceeds that limit, so adhesive is required.
Sheet vinyl comes in 6-foot and 12-foot roll widths. Plan seams where they fall under furniture or away from traffic. Mark the layout on the underfloor with a pencil. Never use marking pens, felt-tipped markers, or waxed crayons. They bleed through and stain the material.
Keep all resilient flooring and accessories at the job site at room temperature. Minimum 65°F and maximum 100°F. Hold that for at least 48 hours before, during, and after the installation. When using reactive adhesives such as epoxies, room temperature should not exceed 85°F during installation.
Thereafter temperature should be maintained above a minimum of 55°F.
How Do I Plan The Seam Location?
Run seams parallel to the longest wall. Place them where a seam is least visible. Avoid placing a seam across a doorway or in front of a sink. If the room is wider than a single roll width, the seam lands in the field and must be taped or cemented before rolling.
Adhesive Options: Mastic, Water-Based, No-Adhesive
Three methods exist. Releasable full spread using pressure sensitive adhesive is the most common. Permanent full spread is reserved for special needs, new construction, and cold crack warranty jobs. Loose-lay is allowed only in areas of 25 square yards or less with no more than 1 seam.
For the general no-adhesive technique across sheet, tile, and plank, see loose-lay flooring installation.
For full-spread work, use a 3/16-inch V-notch trowel. Follow the flash and working times of the adhesive you chose. A pro install costs 2 to 7 USD per square foot. For a kitchen over concrete, one reference job used 1/4-inch plywood over concrete.
It was fastened with 1-1/4-inch ring shank nails at 4-inch perimeter and 8-inch field. That job took 6 to 8 hours.
| Method | Best For | Seam Limit |
|---|---|---|
| Releasable full spread | Most residential rooms | None stated |
| Permanent full spread | Special needs, new construction, cold crack warranty | None stated |
| Loose-lay | Areas 25 square yards or less | No more than 1 seam |
Choosing Between The Three Adhesive Methods
Match the method to the room and the warranty. Releasable pressure-sensitive adhesive is the default for bedrooms, living rooms, and kitchens under 25 square yards with light to moderate traffic. It lets you lift a corner later for repair without destroying the sheet.
Permanent full spread earns its place in new construction, commercial entries, and any job carrying a cold crack warranty. It bonds harder and tolerates heavy point loads and rolling carts. Use it when the spec or the warranty demands it.
Loose-lay is the fast option for small rooms. It needs no adhesive, but only inside the 25 square yard limit and with no more than 1 seam. A laundry room or powder room often qualifies.
Compare all three before you buy the adhesive. The cost gap is small, but the removal cost is large. A releasable bond comes up with a putty knife. A permanent bond needs scraping and primer.
| Factor | Releasable | Permanent | Loose-lay |
|---|---|---|---|
| Room size | Any | Any | 25 sq yd or less |
| Seams | Unlimited | Unlimited | 1 maximum |
| Traffic | Light to heavy | Heavy, rolling | Light |
| Removal | Easy | Hard | Lifts by hand |
Seaming Options: Tape, Cement, Metal Strip
Seams are the second failure line. Choose the method before you lay the glue. Acrylic double face tape for vinyl floors is the simplest. IVC FLEX-SEAM premium seam bond with Taylor 2062 as an alternative is the cemented route. A metal strip handles a seam at a doorway or transition.
Heat welding per ASTM F1516 uses a heat welding gun with variable temperature control and speed weld nozzle. The seam gap is 1/32 inch maximum and 1/64 inch minimum. There is a minimum 16-hour adhesive cure before welding. Gerflor specifies a groove depth of 2/3 of total thickness for homogeneous flooring.
Heat welding is the durable seam for commercial spaces and homogeneous sheet. For residential work, tape or cement is usually enough. If you heat weld, follow the adhesive cure time, because welding over wet adhesive ruins the bond.
Rolling Out And Seating
Resilient homogeneous sheet products must be tightly rolled face out on a sturdy core designed for that purpose. If material is flattened or distorted during storage or transporting, do not attempt to install it. Unroll the sheet and let it relax before cutting.
After spreading adhesive, set the sheet into the wet glue and work from the center outward with a push broom to push out air.
Roll the seam with a metal seam roller pressed along the joint. Seat the field with a 75 to 100 pound roller if your adhesive calls for it. Check that no bubbles remain, because a bubble today becomes a wrinkle next month.
Cutting And Trimming
Cut with a sharp utility knife against a straight edge. For an inside corner, make a relief cut so the sheet lies flat. Trim the perimeter to leave the expansion gap. For a curved wall, make small relief cuts and work the sheet into the curve with a hand roller.
Keep the blade fresh, because a dull blade tears the wear layer and telegraphs through the top. Cut from the back side when the pattern allows it, to protect the face. Always test fit before committing adhesive.
How Do I Seam Two Sheet Vinyl Panels?
Overlap the two panels by about 1 inch. Cut through both layers with a straight edge. Remove the waste strips. Butt the fresh edges together. Tape the seam from below with acrylic double face tape, or cement it with IVC FLEX-SEAM premium seam bond.
Roll the seam immediately with a metal seam roller. For a welded seam, groove to 2/3 of total thickness and weld after a minimum 16-hour adhesive cure.
Expansion Gaps And Edges
Sheet vinyl needs a 1/8-inch perimeter gap at walls and fixed objects. The number for sheet vinyl is 1/8 inch. Cover the gap with baseboard or quarter round so it stays hidden.
If a gap is too wide, the sheet pulls at the seam. If it is too tight, the sheet buckles in summer. Check the gap at every wall before rolling the final pass.
Seam Placement Arithmetic Worked Example
Take a 14-foot by 18-foot room, 252 square feet. That is 28 square yards. It exceeds the 25 square yard loose-lay limit, so adhesive is required. With a 12-foot roll, one panel covers 12 feet of width. The remaining 2 feet needs a second panel.
Overlap the second panel by 1 inch and cut through both layers. The seam lands 12 feet from the left wall. Place it under the sofa or along a low-traffic path. Add 3 inches of waste on every side before cutting.
The gap at walls stays 1/8 inch. The total sheet width is 12 feet plus 12 feet minus 1 inch overlap, which equals 23 feet 11 inches. That covers the 18-foot room with margin to trim.
Sequencing A Multi-Panel Room
Lay the first panel and let it relax. Spread adhesive for the first panel only, set it, and roll the seam side. Then spread adhesive for the second panel, set it, butt the seam, and roll. Work in this order so you never kneel on wet glue.
For rooms over 25 square yards or with more than 1 seam, adhesive is mandatory.
A multi-panel room rewards patience. Dry fit every panel before any glue touches the floor. Label the back of each panel with a pencil so the order is clear.
Adhesive And Seam Methods Compared
Releasable adhesive pairs with tape or cement seams for most homes. Permanent adhesive pairs with heat-welded seams for commercial or new construction. Loose-lay pairs with no seam or one taped seam inside the 25 square yard limit. The two failure lines, seam and glue line, must be chosen together.
| Seam Method | Tools | Best Use |
|---|---|---|
| Acrylic double face tape | Tape, roller | Residential seams |
| IVC FLEX-SEAM cement | Applicator, roller | Residential seams |
| Heat weld per ASTM F1516 | Groover, gun, nozzle | Commercial, homogeneous |
| Metal strip | Screwdriver, strip | Doorway transitions |
Transition strips and threshold detailing are covered elsewhere. Cover only the perimeter finish and the metal strip at a seam on this page.
After The Install: Cure, Traffic, And Heat
Keep traffic light for 24 hours. Avoid wet mopping for 72 hours. Full adhesive cure takes 48 to 72 hours depending on the product. Heat welded seams need the full 16-hour minimum before welding.
Radiant heat floors must not exceed 85°F. Raise the temperature in 5°F increments over several days. Sudden heat shocks the adhesive and telegraphs through the sheet. Keep the room above 55°F after install.
Inspect the floor weekly for the first month. Press down any lifted edge with a roller. Small repairs early prevent large failures later.
When To Call It Done
Inspect every seam, every edge, and every transition. Confirm the 1/8-inch perimeter gap is present all around. Roll the seams one last time with the metal seam roller. Keep traffic light for 24 hours and avoid wet mopping for 72 hours.
A sheet vinyl install has exactly two places it can fail, the seam and the glue line. Control those two lines and the floor lasts. For what sheet vinyl is, including homogeneous versus heterogeneous construction, see sheet vinyl flooring explained.
For site conditions, keep all resilient flooring and accessories at the job site at room temperature, minimum 65°F and maximum 100°F, for at least 48 hours. RFCI recommends ASTM F1913 for vinyl sheet floor covering without backing. RFCI recommends ASTM F710 for preparing concrete floors.
RFCI recommends ASTM F1482 for panel type underlayments. RFCI recommends ASTM F1516 for sealing seams by heat weld. RFCI recommends ASTM F1869 for moisture vapor emission rate. RFCI recommends ASTM F2170 for relative humidity in concrete slabs.
ACI 302.1R guides concrete floor and slab construction. ACI 117R sets standard tolerances for concrete construction. ANSI F1303 requires 34% minimum binder per ASTM F1303 Type II and 1/8-inch minimum overall thickness. ASTM F2199-20 covers dimensional stability and curling at 180°F / 82°C.
University of Houston master spec 09-65-16 calls for 6-foot roll widths. Gerflor heat welding per ASTM F1516 sets the seam gap and cure rules above.