
Buckled wood flooring lifts off the subfloor into a peaked ridge. Learn the causes, moisture thresholds, emergency steps, repair, and when to replace.
In most cases a buckled floor can be saved if the moisture source is stopped within 24 hours and the wood is dried before mold sets in. Buckling is not a finish problem and not a normal seasonal gap. It is structural movement driven by moisture. When the damage has gone too far, the boards and sometimes the subfloor must be replaced.
The guidance below follows the National Wood Flooring Association (NWFA) installation and moisture guidelines, ASTM moisture testing standards for concrete subfloors, and published cost estimates from Angi and HomeAdvisor. Always confirm requirements with your flooring manufacturer’s written instructions, which govern warranty coverage.
What Is Buckled Wood Flooring?
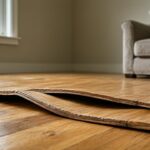
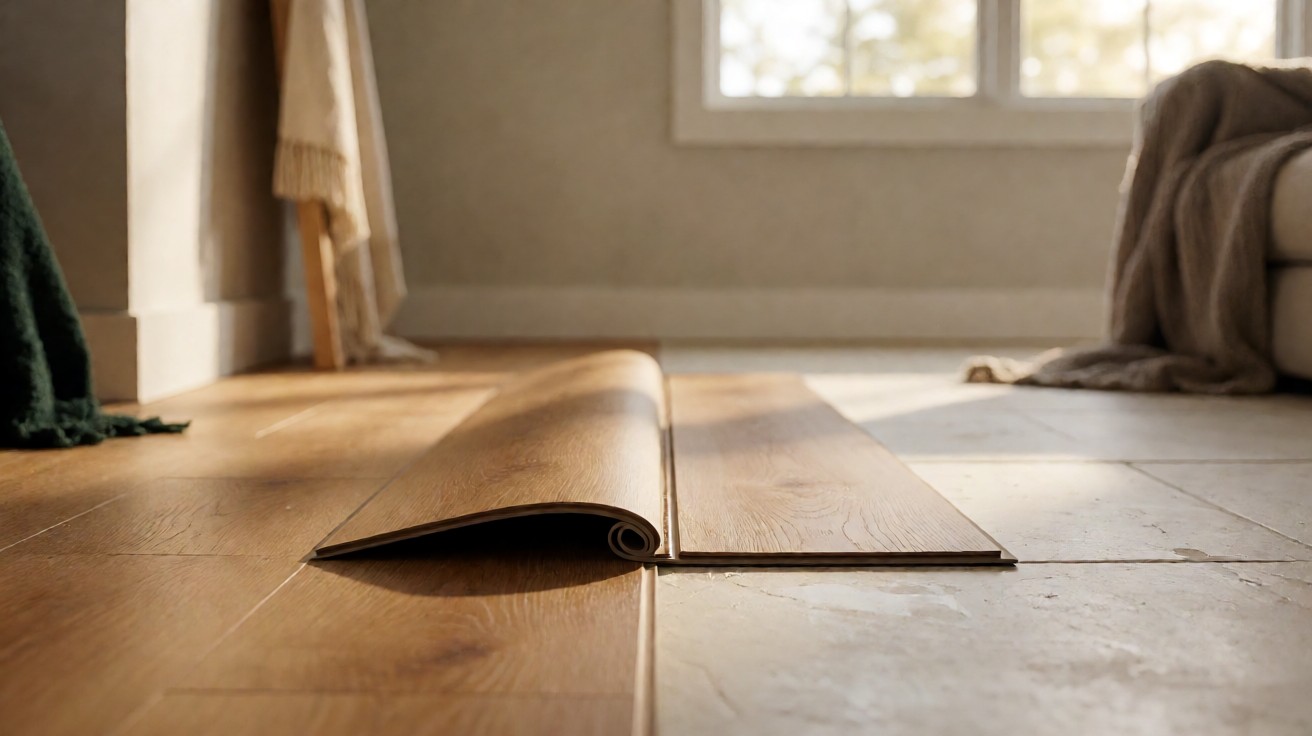
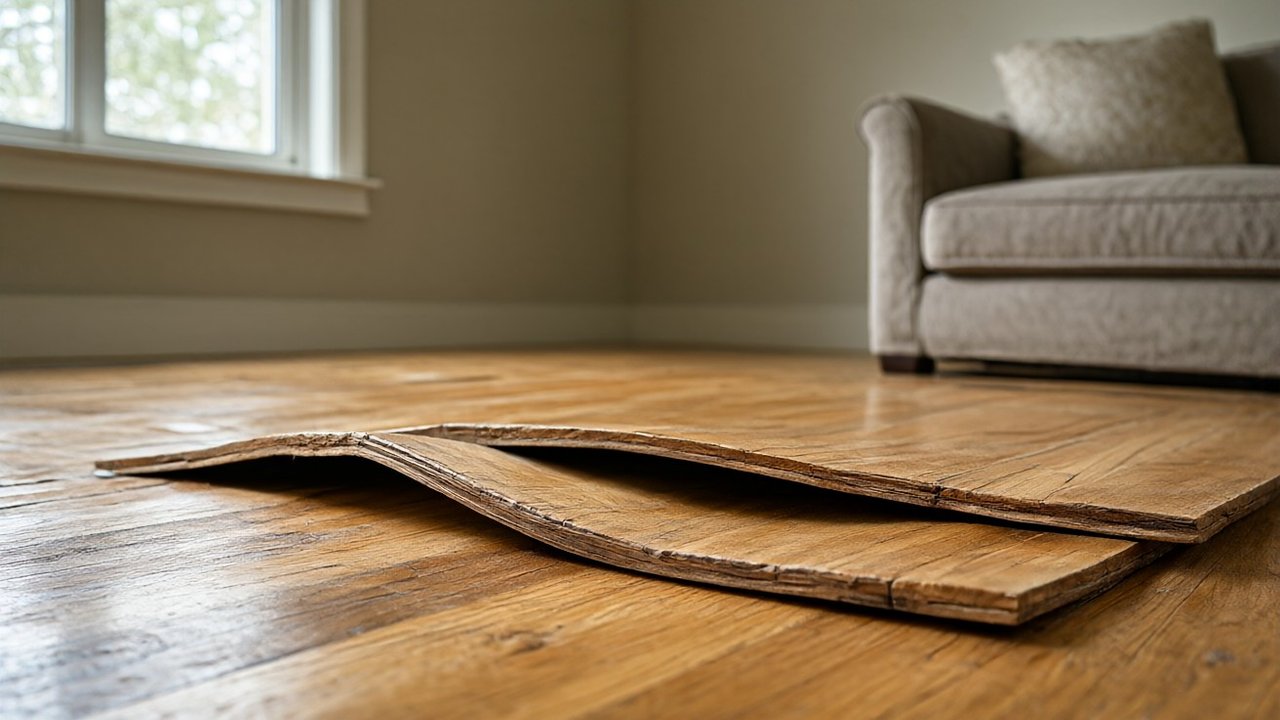
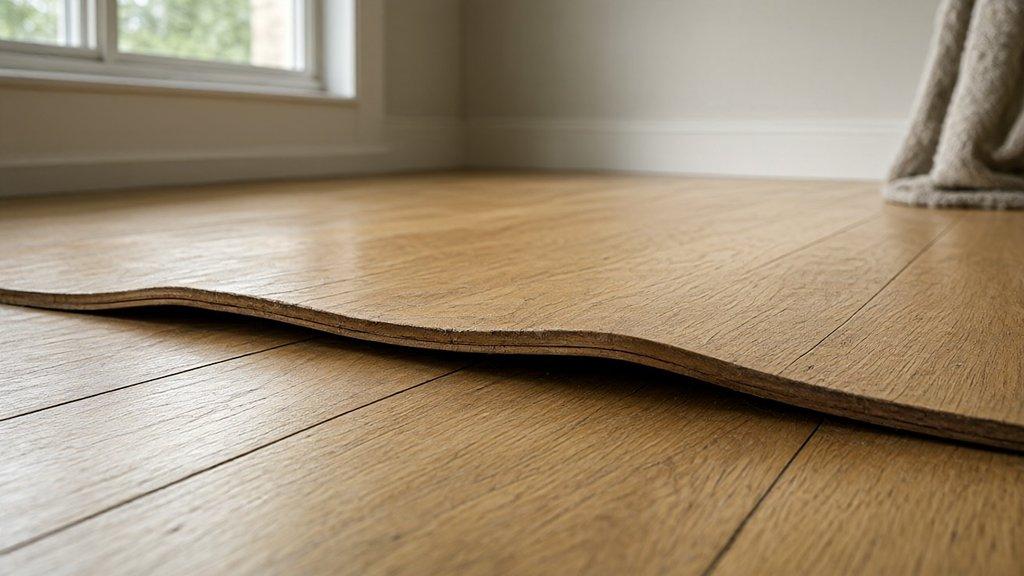
Buckling is the vertical lifting of wood floorboards off the subfloor. The boards curl upward along their length or width and press against each other, creating a peaked ridge that can rise an inch or more above the surrounding floor. In severe cases the entire field lifts like a tent, with the peak running the length of the room.
The cause is almost always moisture. Wood is hygroscopic: it absorbs water from the air, the subfloor, or a spill, and it expands. A floor that cannot expand sideways because it is trapped against a wall or lacks an expansion gap has nowhere to go but up. The longer the moisture persists, the higher the buckle.
Buckling is sometimes confused with cupping, but the two are different problems. Cupping is a board-level distortion: the edges of a single plank rise higher than its center, giving a concave, washboard look. The board stays flat on the subfloor. Buckling is a floor-level failure: the board lifts off the subfloor entirely. Cupping can often be reversed by drying; buckling means the floor has physically separated from its base.
Buckling vs Cupping: How to Tell Them Apart
Getting the diagnosis right matters because the repair path is different. The table below summarizes the practical distinctions a homeowner or inspector can check on site.
| Sign | Cupping | Buckling |
|---|---|---|
| Board position | Stays on subfloor | Lifts off subfloor |
| Surface shape | Concave, edges high | Peaked or tented ridge |
| Severity | Moderate, often reversible | Severe, structural separation |
| Typical trigger | Humidity swing or minor spill | Flooding, leak, or trapped expansion |
| Repair scope | Dry and re-sand | Dry, re-nail, or replace boards |
If the floor is peaked and you can slide a piece of paper under a board, you are looking at buckling, not cupping. At that point the floor has lost bond with the subfloor and needs more than humidity control.
What Causes Wood Floors to Buckle?
Buckling is the end result of a moisture or movement problem. The specific triggers fall into a handful of categories, and most buckled floors have more than one contributing factor.
Can Extreme Moisture Cause Buckling?
Standing water is the single most common cause. A burst pipe, overflowing appliance, roof leak, or flood can saturate wood flooring and the subfloor in hours. The boards absorb water, swell across their width, and push upward. Even a slow, hidden leak under a refrigerator or dishwasher can do it over weeks.
Plumbing Failures and Appliance Leaks
Ice maker lines, washing machine hoses, water heater tanks, and toilet seals are frequent culprits. The leak may be small but continuous, so the damage builds before anyone notices. By the time the floor peaks, the subfloor may already be saturated.
Improper Expansion Gaps
Wood needs room to expand. When a floor is installed tight to walls, cabinets, or door frames with no gap, normal seasonal swelling has no outlet. The pressure builds until boards buckle upward. This is especially common in wide-plank and solid hardwood installations in humid climates.
No Acclimation Before Installation
Flooring delivered from a warehouse and installed the same day has not equilibrated to the home’s humidity. If the wood is drier than the home, it absorbs moisture after installation and swells. NWFA guidelines call for acclimating hardwood to the job site conditions before installation so the moisture content of the wood matches the environment.
Vapor Barrier and Subfloor Moisture Failures
On concrete slabs, moisture vapor can migrate upward through the slab and into the wood. A missing, torn, or improperly installed vapor barrier lets that moisture reach the flooring. On wood subfloors, a damp crawl space or basement can drive moisture up through the subfloor. The result is the same: the flooring swells from below.
Moisture Thresholds That Lead to Buckling
Moisture is measured, not guessed. Two thresholds appear repeatedly in industry standards and are worth knowing before any repair or insurance conversation.
| Substrate | Test / Standard | Threshold associated with buckling risk |
|---|---|---|
| Wood subfloor or flooring | Pin or pinless moisture meter (wood moisture content) | Above roughly 12 percent moisture content |
| Concrete slab | ASTM F2170 in-situ relative humidity test | Above 75 percent relative humidity |
For wood, a moisture content above about 12 percent is generally considered too wet for a stable installation. For concrete, ASTM F2170 measures the relative humidity inside the slab, and a reading above 75 percent indicates a moisture condition that can damage wood flooring installed over it. For reference, NWFA lists 6 to 9 percent as the in-service moisture content target for solid hardwood, and a flooring-to-subfloor differential of 4 percent or less at installation. These are diagnostic benchmarks, not installation approvals; the flooring manufacturer’s written limits always take precedence.
A professional moisture inspection uses both methods, plus a calcium chloride test where applicable, and records readings at multiple locations. A single high reading is a warning; a pattern of high readings across the room is a buckling risk.
Severity Levels: Partial vs Full Separation
Not every buckle is the same. Assessing severity determines whether the floor can be saved and what the repair will cost.
What Is Partial Buckling?
Partial buckling affects a limited area, often one or two boards near a wall, a doorway, or the source of the leak. The boards are raised but still largely intact, and the surrounding field is flat. This is the most recoverable scenario. Drying and localized re-nailing or board replacement usually resolve it.
What Is Full Separation From the Subfloor?
Full separation means large sections of the floor have lifted and lost bond with the subfloor. You may hear a hollow sound when tapping, see gaps opening between boards, or find that the floor moves underfoot. The subfloor itself may be wet, swollen, or delaminated. This level of damage usually requires removing and replacing the affected boards, repairing or replacing the subfloor, and re-installing the flooring.
The longer a buckle sits, the more likely it progresses from partial to full. Mold can begin within 24 to 48 hours on wet wood, and a wet subfloor can warp and lose fastener holding power. Speed matters.
Emergency Response When a Floor Buckles
The first hours after a buckle appears decide whether the floor survives. Take these steps in order.
- Stop the moisture source immediately. Shut off the water supply, unplug the appliance, or tarp the leak. Nothing else matters until the water stops.
- Do not walk on the buckled floor. Foot traffic can break boards, crush the raised ridge, and force moisture deeper. Keep people and pets off it.
- Remove standing water. Use a wet vacuum on the surface. Do not flood the area with more water.
- Start drying. Run dehumidifiers and fans to lower humidity. Open windows if outdoor humidity is low. Aim to get the room below 50 percent relative humidity.
- Document the damage. Photograph the buckle, the moisture source, and any affected belongings before cleanup. Insurers need evidence.
- Call a professional. A flooring contractor or water mitigation company can assess moisture levels, subfloor condition, and whether the floor can be saved.
Do not attempt to force the boards flat by weighting them down while they are wet. Trapping moisture under a heavy load can make the damage worse and can lead to mold.
Can a Buckled Floor Be Saved?
Yes, in many cases, but it depends on three things: how long the floor was wet, how high the moisture content is, and whether the boards and subfloor are still structurally sound.
A floor that was wet for a short time, dried quickly, and shows only a modest buckle can often be saved. The boards are removed or loosened, dried to a stable moisture content, and re-nailed or re-glued. Minor cupping that accompanied the buckle may sand out once the wood is dry.
A floor that was submerged for days, shows mold, or has a delaminated or rotted subfloor usually cannot be saved in place. The boards lose dimensional stability and fastener holding power, and the subfloor may no longer be flat or sound. In those cases replacement is the honest answer.
An experienced contractor can make this call with a moisture meter and a few test cuts. Ask for a written assessment before authorizing work, and get a second opinion if the recommendation is full replacement of an otherwise sound floor.
How to Repair Buckled Wood Flooring
Repair is a sequence, not a single step. Skipping a step, especially drying, is why buckles come back.
Step 1: Dry the Floor and Subfloor
Drying comes first and can take days to weeks depending on how wet the assembly is. Use dehumidifiers, air movers, and controlled heat. Monitor moisture content daily with a meter. The goal is to bring both the flooring and the subfloor back to a stable, in-service moisture content before any re-installation. Repairing over a wet subfloor guarantees the buckle returns.
Step 2: Remove or Loosen the Buckled Boards
Once dry, the peaked boards are removed or released. For nail-down solid hardwood, this means pulling the affected planks and any damaged fasteners. For floating floors, the locking joints are disassembled back to the damaged area. Boards that are cracked, split, or permanently distorted are set aside for replacement.
Step 3: Repair the Subfloor
Inspect the subfloor for flatness, fastener holding, and moisture damage. Replace swollen or delaminated sections. Sand high spots and fill low spots so the surface is flat within the manufacturer’s tolerance. A floor installed over an uneven subfloor will telegraph every defect.
Step 4: Re-acclimate the Wood
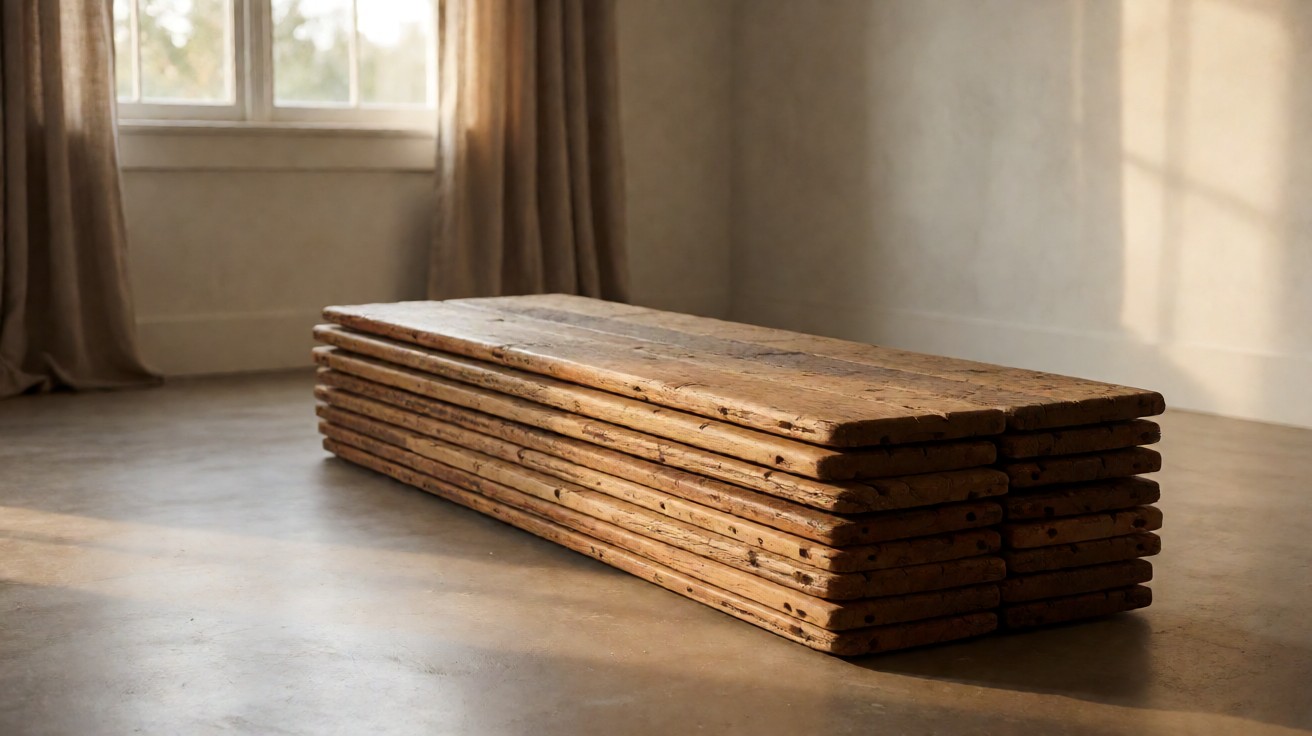
Replacement boards and any salvaged boards must acclimate to the home’s conditions before installation. Stack them with spacers in the room where they will be installed and allow the moisture content to equilibrate. This prevents a repeat of the original problem.
Step 5: Re-install With Proper Expansion Gaps
Re-lay the boards with the manufacturer’s required expansion gap around the perimeter and at any fixed object. Nail or glue according to the method the floor was designed for. Stagger end joints and maintain the original pattern as closely as possible.
Step 6: Sand, Finish, and Blend
For unfinished or site-finished hardwood, sand the repaired area and apply finish to match the surrounding floor. Pre-finished floors need careful blending of sheen and color; a full re-coat of the room may be needed for a seamless look. If you are unsure about color matching, a professional refinisher is worth the cost.
If the damage was caused by a slow leak, fix the leak before reinstalling. Reinstalling over an unresolved moisture source wastes the repair.
Expansion Gap Requirements
Expansion gaps are the single most effective prevention against buckling, and they are the most commonly skipped step. The gap gives the floor room to swell without pushing upward.
NWFA recommends a minimum expansion gap of three quarters of an inch around the perimeter of a solid hardwood installation. For floating floors, the required gap is set by the manufacturer and is commonly one quarter of an inch, but it can be larger for wide planks or large rooms. Always follow the written installation instructions for the specific product.
The gap must be maintained at every fixed object: walls, cabinets, door frames, hearths, and columns. Baseboards and shoe molding cover the gap visually, so there is no aesthetic downside. A floor installed without this gap is a buckling waiting to happen.
For large rooms or long runs, additional expansion joints or transition strips may be required. Check the manufacturer’s maximum run length before installation.
When the Floor Must Be Replaced
Replacement is the right call when the damage is beyond repair. The following conditions usually push a project from repair to replacement.
- The subfloor is rotted, delaminated, or structurally compromised.
- Mold is present on or under the flooring and cannot be fully remediated.
- Boards are cracked, split, or permanently distorted beyond re-use.
- The moisture content remains elevated after drying, indicating an ongoing source.
- The buckled area is large relative to the room, making blending impractical.
- The flooring is an engineered product with a thin wear layer that cannot be sanded.
Replacement also makes sense when the floor is near the end of its service life or when the homeowner wants to change material. In those cases, removing the buckled floor and installing new flooring, with proper moisture control, is cleaner than a patch repair.
For related guidance on water damage assessment and repair sequencing, see our guide on how to repair water-damaged wood flooring.
Insurance and Water Damage Claims
Whether insurance covers a buckled floor depends on the cause and the policy. Sudden and accidental water damage, such as a burst pipe, is often covered under standard homeowners policies. Gradual leaks, poor maintenance, or flood damage are typically excluded unless separate coverage was purchased.
Document everything before cleanup: photos, videos, moisture readings, and contractor estimates. Keep receipts for mitigation work. File the claim promptly and ask the adjuster to inspect before repairs begin.
Even when the floor is covered, the insurer may pay for the damaged area only, leaving the homeowner to match color and profile across the rest of the room. Discuss matching and blending costs with the contractor before signing a repair agreement.
For squeaks, scratches, and gaps that appear alongside buckling, our guides on fixing squeaky hardwood floors and fixing gaps between hardwood planks cover those repairs.
Prevention: Keeping Wood Floors From Buckling
Prevention is cheaper than repair. The following practices, drawn from NWFA guidance and manufacturer instructions, address the root causes.
- Acclimate the wood. Let flooring equilibrate to job site temperature and humidity before installation.
- Leave proper expansion gaps. Maintain the required gap at every wall and fixed object.
- Test moisture before installation. Measure wood moisture content and, on concrete, slab relative humidity per ASTM F2170.
- Install a vapor barrier where required. Protect the flooring from moisture vapor migrating through the subfloor or slab.
- Control indoor humidity. Keep relative humidity in the range recommended by the flooring manufacturer, often 30 to 50 percent.
- Fix leaks fast. Inspect appliance lines, water heaters, and seals regularly.
- Clean spills promptly. Wipe up water immediately and dry the area.
- Use appropriate cleaners. Avoid excessive water on wood floors.
Humidity control is the long-term defense. In humid climates, a whole-home dehumidifier or HVAC humidity control keeps seasonal swelling within the range the floor was designed for. In dry climates, humidification in winter prevents excessive shrinkage and gapping.
Cost to Repair or Replace Buckled Flooring
Costs vary with the extent of damage, flooring type, subfloor condition, and local labor rates. Published estimates from Angi and HomeAdvisor give a useful planning range for US homeowners.
| Scope | Typical cost range (USD) | Notes |
|---|---|---|
| Minor localized repair | $200 to $800 | Drying plus re-nailing or replacing a few boards |
| Moderate repair with subfloor work | $800 to $2,500 | Board replacement, subfloor repair, refinishing |
| Full replacement | $6 to $15 per square foot installed | Materials plus labor; higher for premium hardwood |
| Water mitigation and drying | $1,000 to $3,000 | Often billed separately by restoration companies |
These are broad published estimates, not quotes. Get itemized bids that separate materials, labor, subfloor preparation, removal, and finishing. A cheaper repair that skips drying or subfloor work usually fails again within a season.
For a broader view of common flooring problems and how they are diagnosed, see our flooring problems and repair hub.