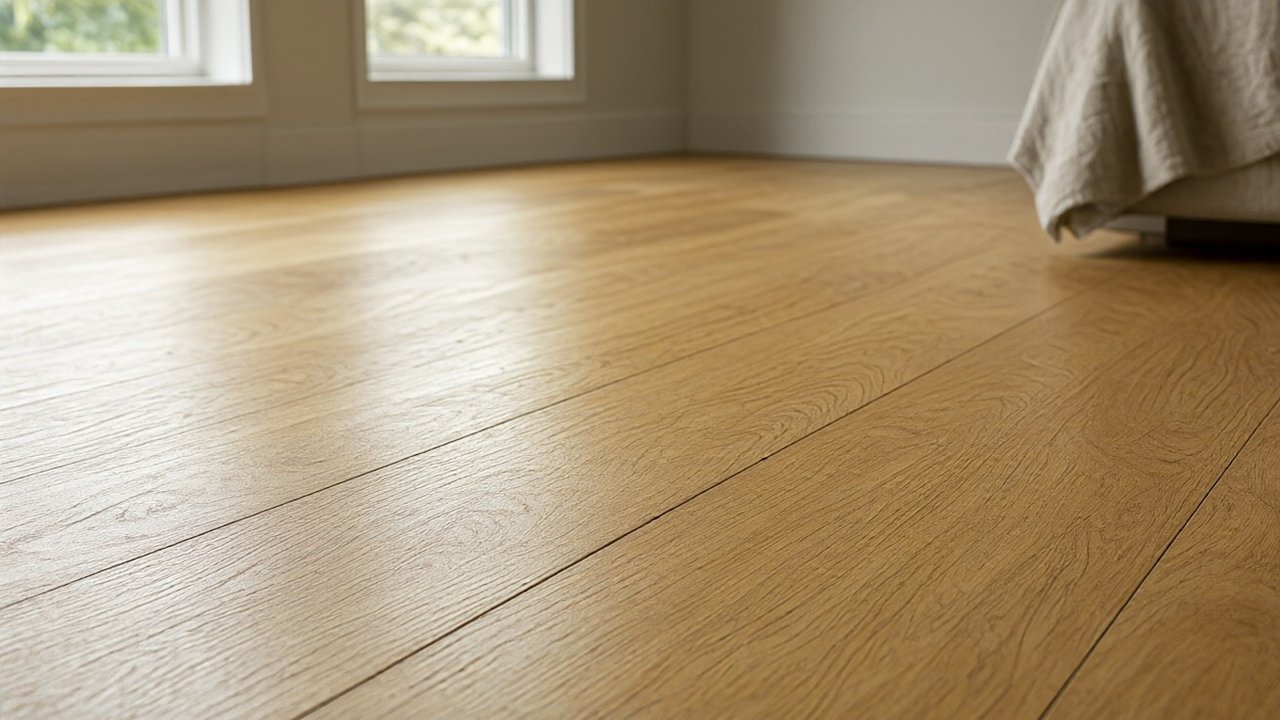

Cupped hardwood floors curl upward at the edges, leaving a concave surface you can feel. The fix starts with finding the moisture source, not with a sander.
Wood moves with moisture. When the bottom of a board is wetter than the top, the cells on the underside swell and the edges rise. The floor is telling you where the water is, and the repair is only as good as the diagnosis.
What Cupped Hardwood Floors Look Like
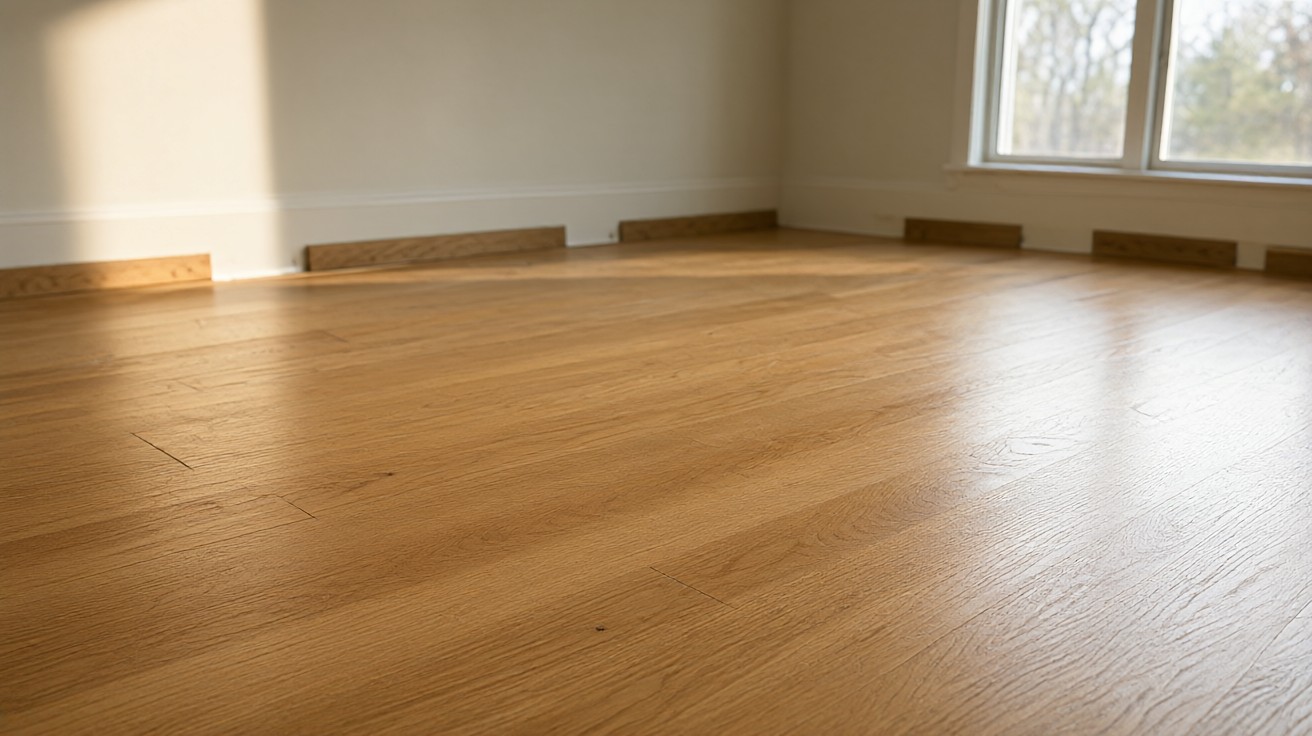
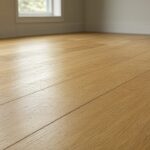
Cupping is the upward curl of a board’s long edges so the center sits lower than the sides. Run your hand across the floor and you feel a series of shallow valleys, one per plank, with the high points at the seams. In raking light the surface looks wavy and the finish can crack along the raised edges.
Cupping is not crowning. Crowning is the opposite shape, with the center higher than the edges, and it usually follows a floor that was sanded flat while still cupped. Telling the two apart matters because the repair is different.
It often starts near a water source. A dishwasher leak, a pet bowl, a humidifier, or a concrete slab that was never sealed will show cupping first in the boards closest to the moisture. The pattern of which boards cup is itself a diagnostic clue.
The Moisture Imbalance Behind Cupping
Wood is hygroscopic. It absorbs and releases water vapor until it reaches equilibrium with the air around it. A board has two faces, and the two faces rarely see the same humidity. The bottom face sits against a subfloor or slab that may be damp, while the top face sees conditioned room air.
When the bottom face gains moisture faster than the top, the cells on the underside expand. Because the board is fastened at the top, the expansion has nowhere to go but up at the edges. The result is cupping, and it is a physical response to a moisture gradient, not a defect in the wood.
Common moisture sources include a slow plumbing leak under a sink, a humidifier running all winter, a spill that soaked through the finish, a basement or crawl space with no vapor barrier, and a concrete slab that was never tested for moisture before installation. Each one feeds moisture into the underside of the floor.
Improper acclimation is another cause. Boards installed before they reach equilibrium with the home will move in place. If the home is drier than the wood, the boards shrink and gap. If the home is wetter, they swell and cup. Acclimation is the step that prevents both.
Moisture Content Thresholds From NWFA
The National Wood Flooring Association (NWFA) publishes the moisture targets that separate a stable floor from a moving one. For solid hardwood, the recommended in-service moisture content is 6 to 9 percent. Engineered products vary by manufacturer, but the same principle applies: the floor must be at equilibrium with the home before and after installation.
The second number is the differential. NWFA guidelines call for the moisture content of the flooring and the subfloor to be within 4 percent of each other at the time of installation. A larger gap means the floor is being installed over a moisture problem that will show up as cupping weeks later.
These are not suggestions. A floor installed at 11 percent moisture content in a home that holds 7 percent will lose 4 points of moisture over the first heating season and shrink. A floor installed at 5 percent in a home that holds 9 percent will gain moisture and cup. The 6 to 9 percent band and the 4 percent differential are the guardrails.
| Measurement | NWFA target | What it tells you |
|---|---|---|
| Solid hardwood moisture content | 6 to 9 percent | In-service equilibrium for a stable floor |
| Flooring to subfloor differential | 4 percent or less | Whether the subfloor is ready for installation |
| Indoor relative humidity | 30 to 50 percent | The air condition the floor was designed for |
| Acclimation time on site | 3 to 7 days | Time for the wood to reach equilibrium |
How to Diagnose Cupping
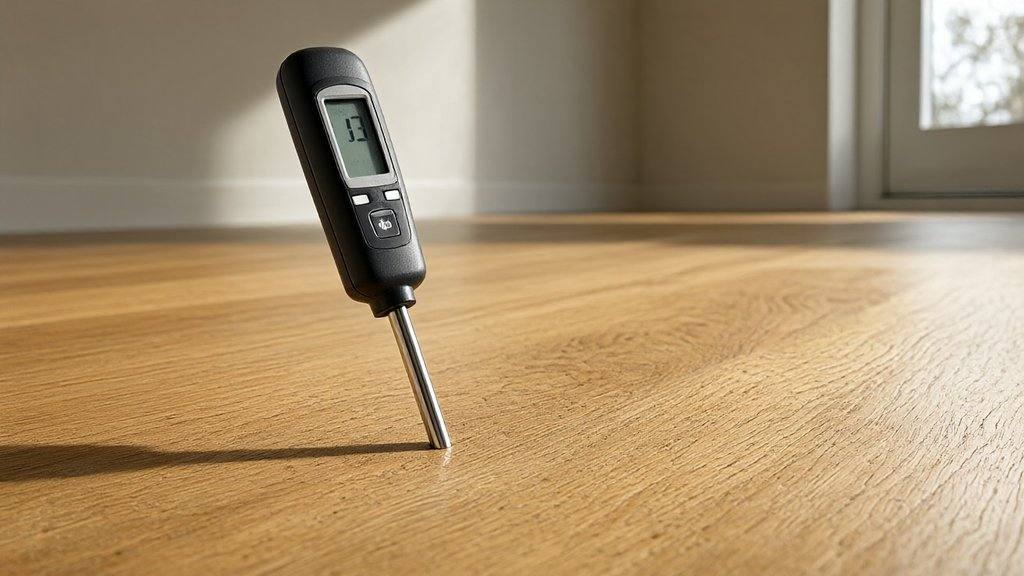
Diagnosis comes before repair, and the tool is a moisture meter. A pin-type meter reads the moisture content of the wood at depth, which is what you need for a cupping case because the problem is a gradient through the board. A pinless meter is faster for scanning large areas but reads only the surface.
Take readings in three places: the cupped area, a nearby area that looks flat, and the subfloor if it is accessible. Compare the numbers. A cupped board reading 12 percent sitting next to a flat board reading 8 percent tells you the moisture is localized and points to a nearby source.
Check the air too. A hygrometer reading above 55 percent relative humidity in the room means the air itself is feeding the floor. Below 30 percent and the air is pulling moisture out, which can cause gapping instead. The 30 to 50 percent band is where hardwood is meant to live.
Track the source. Look under sinks, around dishwashers, at exterior doors, and at the base of exterior walls. A slow leak can feed a floor for months before it shows. If the cupping is worst along an exterior wall in winter, the cause is often condensation on a cold slab or a missing vapor barrier in the crawl space.
Mild Versus Severe Cupping
How Do You Tell Mild Cupping From Severe Cupping?
Mild cupping is a shallow curl, often under a quarter inch from edge to center, and the boards are still flat enough to walk on without noticing. Severe cupping is deep enough to feel underfoot, to crack the finish, and to open gaps at the seams when the floor dries.
The difference is not just appearance. Mild cupping is usually reversible because the wood has not been permanently deformed. Severe cupping means the cells have been stressed past their elastic limit, and the board will not fully return to flat even after the moisture is gone.
How long the cupping has been present matters as much as how deep it is. A floor that cupped last week and is caught early has a good chance of flattening. A floor that has been cupped for a full heating season has usually set in place and needs mechanical correction.
Repair Timeline: Will It Flatten On Its Own
Will Mild Cupping Flatten On Its Own?
Mild cupping can flatten when the moisture gradient reverses. Fix the source, bring the room to 30 to 50 percent relative humidity, and give it time. Light cupping often settles over 4 to 8 weeks as the bottom face dries and the board relaxes back to flat.
Do not sand a floor that is still cupped. Sanding removes wood from the high edges, and when the board later dries and flattens, the center becomes the high point. That is crowning, and it is harder to fix than cupping because it requires removing more material across the whole surface.
Severe cupping needs sanding and refinishing after the moisture is corrected. The floor must be at equilibrium first, usually confirmed by moisture readings that match the NWFA targets and stay stable for two to three weeks. Sanding too early locks the deformation in.
If the subfloor or slab is the moisture source, the floor will not stay flat no matter how many times it is sanded. In that case the repair is to fix the building problem first, then address the floor.
DIY Versus Professional Repair
When Should You Call A Professional?
DIY repair is realistic for mild cupping. The work is diagnosis, moisture control, and patience. A homeowner can find the leak, run a dehumidifier, monitor humidity with a hygrometer, and wait for the floor to settle. The cost is the equipment and the time.
Professional repair is the right call for severe cupping, for any floor that needs sanding, and for any case where the moisture source is structural. Sanding hardwood requires a drum sander, an edger, and the skill to keep the surface flat. A bad sand job leaves waves and dish marks that are worse than the cupping.
The honest test is the moisture meter. If readings are above 12 percent in the cupped area, or if the subfloor reads wet, stop and call a pro. If readings are in the 9 to 11 percent range and the source is a humidifier you can turn off, try the DIY path first and reassess in six weeks.
Sanding and Refinishing Cupped Floors
Sanding a cupped floor starts with the coarsest grit that removes the raised edges without cutting too deep. The goal is to take the high points down to the level of the centers, not to flatten the whole floor in one pass. Multiple passes with progressively finer grits follow.
The floor must be dry and stable before the first pass. Most contractors confirm this with moisture readings taken a week apart that agree within 1 percent. Sanding a floor that is still moving means the cupping returns and the finish cracks.
After sanding, the surface is stained if desired and finished with two to three coats of polyurethane or hardwax oil. The finish is the moisture barrier that protects the top face, so the choice of finish affects how the floor handles future humidity swings.
Severe cupping sometimes requires board replacement. If a board has cracked along the grain or has cupped past the point where sanding can save it, a pro will cut it out and lace in a new board, then sand the patch flush with the surrounding floor.
Prevention: Humidity Control and Acclimation
Prevention is cheaper than repair. Keep indoor relative humidity between 30 and 50 percent year round. In winter that usually means a humidifier. In summer it means air conditioning or a dehumidifier, especially in basements and over crawl spaces.
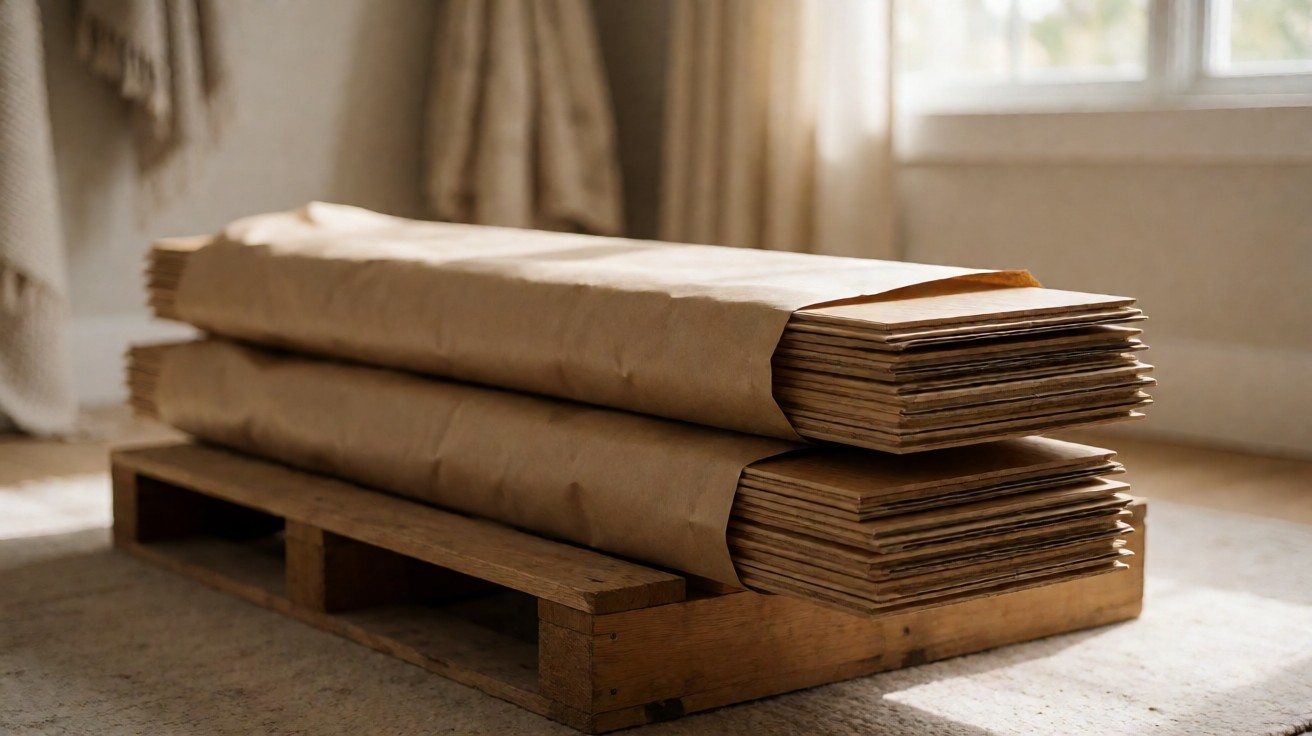
Acclimate new hardwood for 3 to 7 days in the room where it will be installed, with the boxes opened and the planks stacked with spacers. The wood needs to reach equilibrium with the home before it is fastened. Skipping this step is the single most common cause of cupping in new installations.
Use a vapor barrier where the subfloor demands it. Over concrete, that means a tested moisture barrier or a membrane. Over a crawl space, that means a ground cover of 6 mil polyethylene or better plus ventilation. The vapor barrier is what keeps the underside of the floor from seeing the moisture the top face never sees.
Clean spills immediately and never wet-mop hardwood. A finish can handle a damp cloth, but standing water finds the seams and reaches the subfloor. The same applies to steam mops, which force moisture into the joints under pressure.
When Cupping Signals Structural Moisture
Cupping that returns after repair, or cupping that appears in a pattern tied to the building rather than to a spill, points to a structural moisture problem. A leaking pipe in the wall, a failed foundation waterproofing, or a crawl space with no vapor barrier will keep feeding the floor no matter how many times it is sanded.
Signs of a structural cause include cupping that worsens after rain, cupping in every room on one side of the house, and moisture readings that stay high in the subfloor even after the room air is controlled. These cases need a contractor or a building inspector, not a flooring crew.
Mold is the other signal. If cupping comes with a musty smell or visible mold at the baseboards, the subfloor is wet enough to support growth and the repair is now a health and safety issue, not just a cosmetic one.
Cost Considerations
| Repair approach | Typical cost | Best for |
|---|---|---|
| DIY moisture control and wait | Dehumidifier and hygrometer only | Mild cupping caught early |
| Professional sanding and refinishing | 3 to 8 dollars per square foot | Severe cupping after moisture is fixed |
| Board replacement | 1 to 8 dollars per square foot | Cracked or unsalvageable boards |
| Subfloor repair | 3 to 10 dollars per square foot | Structural moisture damage |
Cupping repair runs from 1 to 8 dollars per square foot according to Angi, with the low end covering minor repairs and the high end covering severe cases that need board replacement. Refinishing a cupped floor after it has dried costs 3 to 8 dollars per square foot, and subfloor repair adds 3 to 10 dollars per square foot when the moisture has reached the structure beneath.
These are national averages and they exclude the cost of fixing the moisture source itself, which can be a 150 dollar humidifier or a 5,000 dollar foundation repair. The flooring repair is the last line item, not the first.
For a small area, a professional can often repair and refinish for a few hundred dollars. For a whole floor, the cost approaches the cost of replacement, and the decision between refinishing and replacing depends on how many times the floor has already been sanded and how much wear layer remains.
What To Do Next
Start with the moisture meter and the hygrometer. Find the number, find the source, and fix the building before the floor. If the cupping is mild and the source is a humidifier you can turn off, give it six to eight weeks at 30 to 50 percent humidity and watch the floor settle. If it does not settle, or if the cupping is deep, call a flooring contractor for moisture readings and a sanding quote.
For related hardwood problems, see the guides on how to repair water damaged wood flooring, how to fix gaps between hardwood planks, and flooring problems and repair. A cupped floor is one entry in a larger family of moisture-driven flooring problems, and the diagnosis skills transfer.