
Water-damaged wood flooring can often be repaired if caught early. Dry the subfloor first, then assess the planks now please today always now please today.
LVP and hardwood both suffer water damage. Find the source of the water before repairing, because the fix depends on it.
Signs of water damage
Water damage shows as cupping, crowning, discoloration, soft spots, or mold. Cupping means the edges of the plank are higher than the centre. Crowning means the centre is higher than the edges. Both indicate moisture imbalance.
Discoloration ranges from light water stains to dark black marks. Dark stains often indicate mold or tannin reaction. Soft spots indicate subfloor damage. Mold indicates prolonged moisture exposure.
Early signs include slight cupping and light staining. Advanced signs include severe cupping, dark stains, and soft spots. The earlier the damage is caught, the more likely the floor can be saved.
Causes of water damage
Water reaches wood flooring from several sources. Plumbing leaks are the most common. Appliance leaks from dishwashers and refrigerators are frequent. Condensation on cold floors in humid climates causes slow damage. Flooding from storms or burst pipes causes sudden damage.
Each source requires a different fix. A plumbing leak needs repair before the floor can be fixed. Condensation needs ventilation or insulation. Flooding needs immediate water removal and drying.
Diagnosis procedure
Follow this sequence:
- Identify the water source and stop it.
- Assess the extent of the damage.
- Test moisture in the floor and subfloor.
- Check the subfloor for damage.
- Decide repair versus replacement.
Do not repair the floor until the water source is fixed. If the source is active, the repair will fail. If the source is fixed, the repair can proceed.
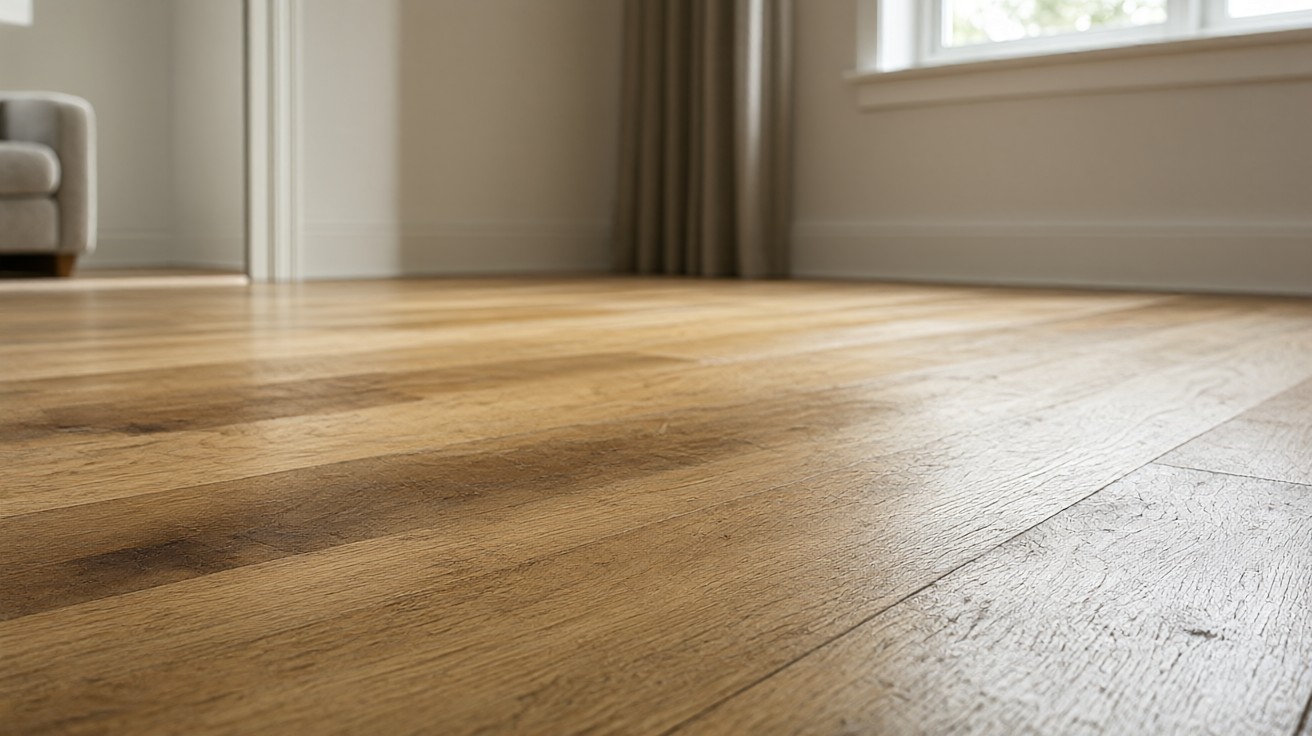
Moisture testing
Test moisture with a meter. Wood flooring should be within 2 to 4 percent of the subfloor moisture content. Concrete slabs should be below 3 lbs per 1000 sq ft per 24 hours by calcium chloride test, or below 75 percent relative humidity by in-situ probe.
Test multiple locations, including near the water source and at the edges of the damaged area. A floor that reads dry on top may be wet underneath.
NWFA, RFCI, TCNA, and ANSI all specify moisture testing protocols. Follow the manufacturer’s method and limits.
Drying the floor
Drying is the first step after stopping the water source. Remove standing water with a wet vacuum. Use fans and dehumidifiers to dry the air. Lift a few planks to allow air circulation under the floor.
Drying takes 7 to 14 days for minor damage and 4 to 6 weeks for major damage. Do not rush the drying process. A floor that is repaired before it is dry will buckle or mold.
Monitor moisture daily with a meter. The floor is ready for repair when it reaches the equilibrium moisture content for the environment, typically 6 to 9 percent for wood.
Repair versus replacement
| Condition | Repair | Replace |
|---|---|---|
| Slight cupping, sound subfloor | Yes, after drying | No |
| Dark stains, sound wood | Refinish after drying | No |
| Soft spots or rot | No | Yes, subfloor and flooring |
| Severe cupping or crowning | Maybe, after drying | Often yes |
| Mold present | No | Yes, with remediation |
Repair procedure
Follow this sequence for a water-damaged floor:
- Stop the water source.
- Remove standing water and dry the floor.
- Assess the damage and decide repair versus replacement.
- Remove damaged planks if replacing.
- Repair or replace the subfloor if needed.
- Install new planks, matching species and finish.
- Refinish if necessary.
- Monitor moisture for 30 days.
Allow 7 to 14 days for drying before re-installing. Rushing the repair causes recurrence. If you rush, the floor will buckle. If you wait, the floor will be stable.
Repair costs
| Repair type | Cost range (USD) | Time |
|---|---|---|
| Drying and monitoring | 100 to 300 | 7 to 14 days |
| Plank replacement (localized) | 200 to 800 | 2 to 4 hours |
| Subfloor repair | 500 to 2000 | 1 to 3 days |
| Full replacement | 3 to 12 per sq ft | 2 to 5 days |
| Professional assessment | 75 to 150 | 1 hour |
Prevention
Prevent water damage by controlling moisture sources. Fix leaks promptly. Maintain plumbing. Use a dehumidifier in humid climates. Clean spills immediately. Inspect under appliances annually.
A 30 minute annual inspection catches problems before they become expensive. Look for discoloration, cupping, and soft spots.
When to call a professional
Call a professional when the damage is widespread, when the subfloor is damaged, when mold is present, or when the water source is unclear. A professional can assess whether the floor can be saved.
Structural issues, such as joist rot or slab cracking, require a contractor. Do not attempt structural repairs without proper assessment.
Moisture sources in detail
Moisture reaches wood flooring from several sources. Slab moisture is common in basements and on-grade slabs. Plumbing leaks can saturate a subfloor before becoming visible. Condensation forms on cold floors in humid climates. High indoor humidity swells wood. Spills that are not cleaned promptly penetrate seams.
Each source requires a different fix. A plumbing leak needs repair before the floor can be fixed. Slab moisture needs a vapour barrier or dehumidification. Condensation needs ventilation or insulation. High humidity needs a dehumidifier.
Drying in detail
Drying is the first step after stopping the water source. Remove standing water with a wet vacuum. Use fans and dehumidifiers to dry the air. Lift a few planks to allow air circulation under the floor.
Drying takes 7 to 14 days for minor damage and 4 to 6 weeks for major damage. Do not rush the drying process. A floor that is repaired before it is dry will buckle or mold.
Monitor moisture daily with a meter. The floor is ready for repair when it reaches equilibrium moisture content, typically 6 to 9 percent for wood.
Prevention
Prevent water damage by controlling moisture sources. Fix leaks promptly. Maintain plumbing. Use a dehumidifier in humid climates. Clean spills immediately. Inspect under appliances annually.
A 30 minute annual inspection catches problems before they become expensive. Look for discoloration, cupping, and soft spots.
Tools and materials
Diagnosis requires a moisture meter, straight edge, tape measure, and flashlight. Repair requires a saw, adhesive, replacement planks, pry bar, and fasteners. A moisture meter costs 30 to 80 USD. Replacement planks cost 2 to 8 USD per square foot.
Advanced diagnosis may require a thermal camera or calcium chloride test kit. These are available for rent.
Case study: kitchen water damage
A homeowner notices cupping near the dishwasher. The moisture meter reads 16 percent. The dishwasher had a slow leak. The repair involved fixing the leak, drying the subfloor for 14 days, and replacing 4 planks. Total cost: 350 USD.
If the leak had been caught earlier, the repair would have been 100 USD. Early detection saves money and prevents structural damage.
Insurance and warranty
Flooring damage from sudden leaks may be covered by homeowner’s insurance. Damage from poor installation or lack of maintenance is usually not covered. Check the policy and document the damage with photos and moisture readings.
Flooring warranties require proper installation and maintenance. A floor that is damaged due to a leak is not covered unless the product is defective. Check the warranty terms before starting any repair now.
When to test moisture
Test moisture before installing new flooring, after a leak or flood, when cupping or buckling appears, and when indoor humidity changes seasonally. A moisture meter costs 30 to 80 USD.
Test both the flooring and the subfloor. A floor that reads dry on top may be wet underneath. Test multiple locations.
Seasonal considerations
Humidity changes with the seasons. In winter, heating dries the air. In summer, humidity rises. Maintaining indoor humidity between 35 and 55 percent year-round prevents moisture problems.
A humidifier in winter and a dehumidifier in summer stabilize the environment. This is especially important for solid hardwood.
Documentation
Keep records of the repair, including photos and receipts. This documentation supports future warranty claims and helps a professional understand the history if further work is needed.
Good records also help when selling the home. Buyers appreciate documented maintenance history. Keep a maintenance log for future reference.
Safety
Flooring repairs involve sharp tools and dust. Wear safety glasses and a dust mask. Keep the work area clear of traffic until the repair is complete and dry.
Long-term monitoring
After repair, monitor the floor for 30 days. Check for new cupping or discoloration. Re-test moisture weekly during the first month. If the problem recurs, the cause was not fully addressed.
Keep a log of observations with dates and photos. A log helps identify patterns and supports warranty claims. Good records save time on future repairs.
Cost expectations
DIY repair costs 100 to 300 USD in parts and takes 2 to 4 hours. Professional repair costs 300 to 1000 USD including parts and labour. A professional assessment costs 75 to 150 USD.
DIY repair is reasonable for minor damage. Widespread damage or subfloor issues warrant professional help.
Common mistakes
Repairing before the floor is dry causes recurrence. Replacing planks over a wet subfloor causes new damage. Ignoring the water source causes the problem to return. Rushing the drying process leads to mold.
Each mistake is avoidable with patience and diagnosis. Fix the cause first, then repair the symptom.
When to call a professional
Call a professional when the damage is widespread, when the subfloor is damaged, when mold is present, or when the water source is unclear. A professional can assess whether the floor can be saved.
Structural issues, such as joist rot or slab cracking, require a contractor. Do not attempt structural repairs without proper assessment.
Tools for diagnosis
A basic diagnostic kit includes a moisture meter, a straight edge, a tape measure, and a flashlight. A moisture meter is the most important tool. A straight edge reveals subfloor flatness issues. A flashlight helps inspect dark areas.
Advanced diagnosis may require a thermal camera or calcium chloride test kit. These are available for rent. Renting is cheaper than buying for one-time use.
Insurance and warranty
Flooring damage from sudden leaks may be covered by homeowner’s insurance. Damage from poor installation or lack of maintenance is usually not covered. Check the policy and document the damage with photos and moisture readings.
Flooring warranties require proper installation and maintenance. A floor that is damaged due to a leak is not covered unless the product is defective. Check the warranty terms before starting any repair now.
Summary
Water-damaged wood flooring can often be repaired if caught early. Stop the water source, dry the floor, then assess. Repair when the damage is localized and the subfloor is sound. Replace when the damage is severe or the subfloor is compromised. For general problems, see flooring problems: causes, diagnosis, and repair. For buckling issues, see why flooring is buckling or lifting.