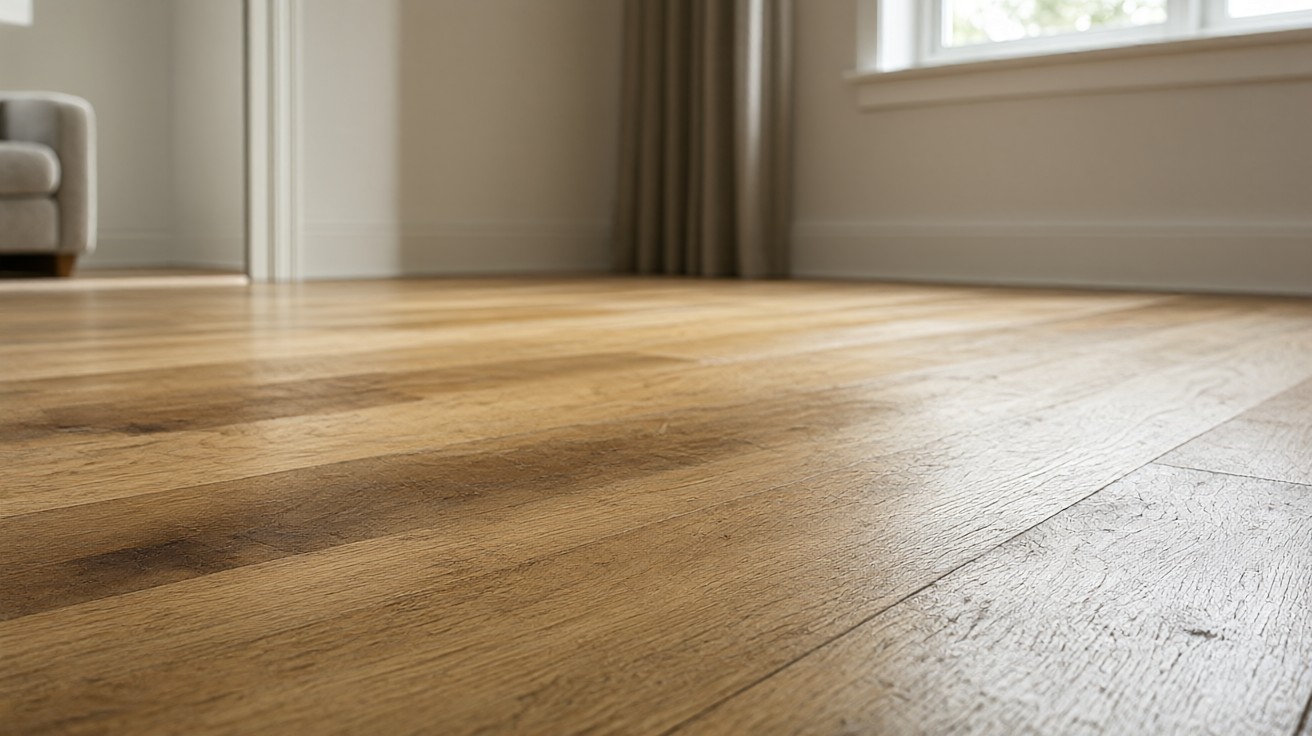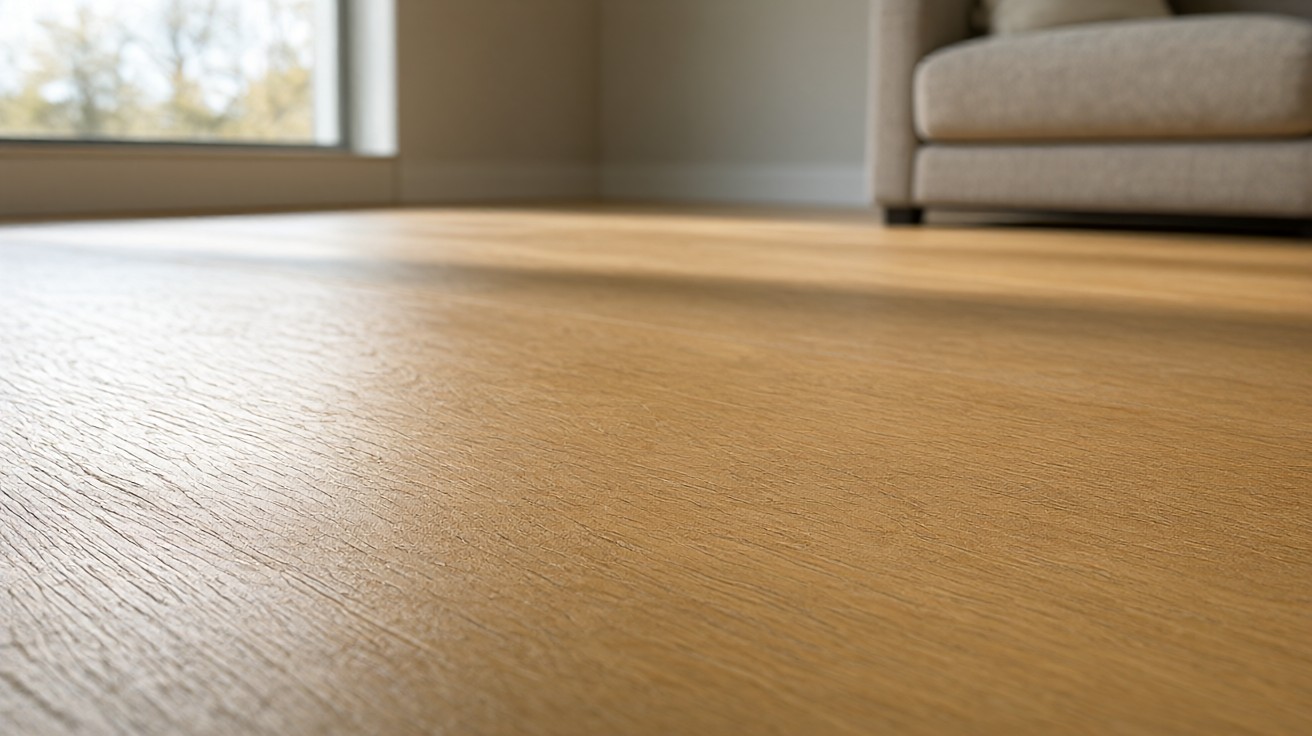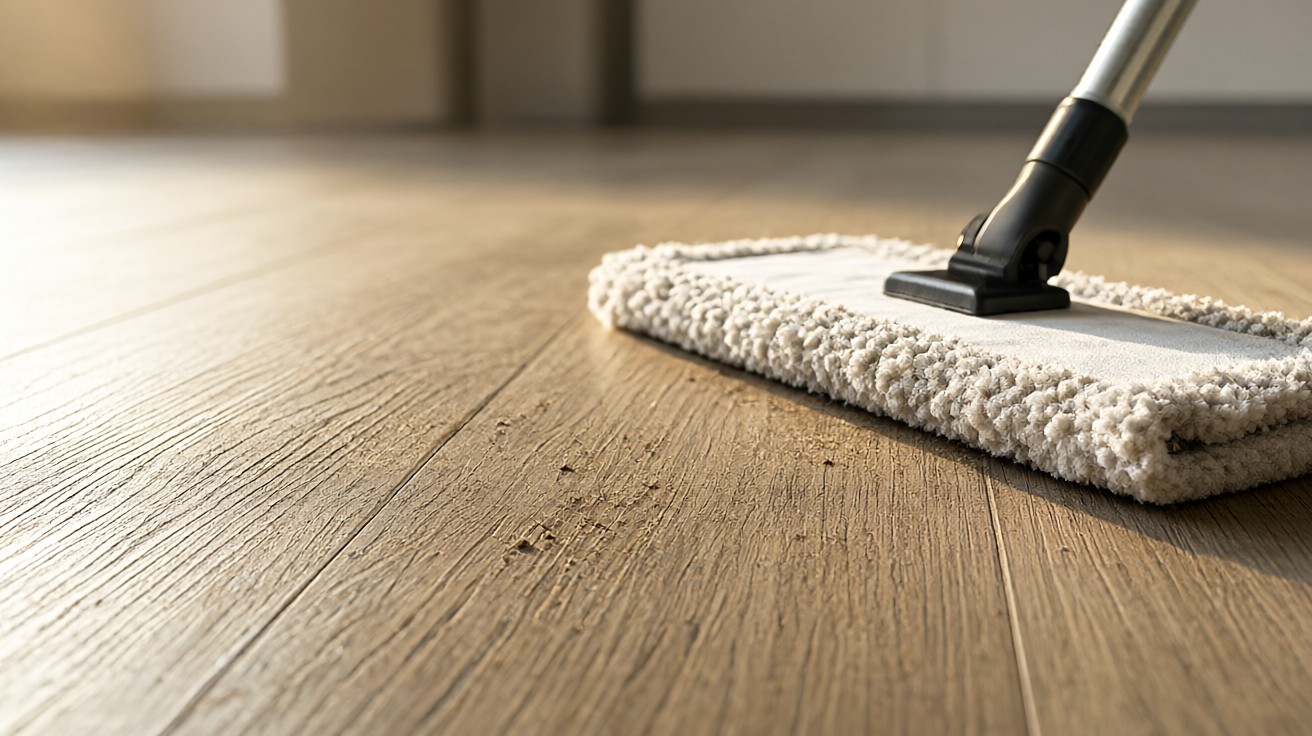

Most flooring problems trace to moisture, subfloor movement, or installation error. Diagnose the cause first, because the right repair depends on it now.
A systematic diagnosis takes 15 to 30 minutes and prevents the wrong repair. Guessing wastes money and often makes the problem worse.
The diagnosis framework
Start with observation, then narrow to cause. Follow this sequence:
- Identify the symptom: buckling, cupping, gaps, squeaks, cracks, or discoloration.
- Locate the affected area and its pattern: single spot, linear, or widespread.
- Check moisture with a meter on the floor and subfloor.
- Check the subfloor for flatness and damage.
- Check the installation method and expansion gaps.
- Match the symptom to a cause category.
- Decide repair versus replacement.
Each step eliminates possibilities. Skipping steps leads to misdiagnosis and repeated repairs.
Cause categories
Flooring problems fall into five cause categories. Most have a primary cause and a contributing factor.
- Moisture: excess moisture in the slab, subfloor, or room. Causes buckling, cupping, swelling, and discoloration.
- Subfloor: uneven, damaged, or soft subfloor. Causes squeaks, soft spots, unevenness, and tile cracking.
- Installation: missing expansion gaps, wrong adhesive, or improper fastening. Causes buckling, gapping, and lifting.
- Wear: traffic, UV, and abrasion. Causes scratching, finish wear, and surface discoloration.
- Material: product defects or wrong product for the environment. Causes premature failure and delamination.
Moisture is the most common root cause. Even wear problems often have a moisture or installation contributor.
Repair versus replacement decision table
| Condition | Repair | Replace |
|---|---|---|
| Localized damage, sound subfloor | Yes | No |
| Widespread moisture damage | No | Yes |
| Subfloor damage | Fix subfloor first | Then replace flooring |
| Worn finish, sound wood | Refinish | No |
| Delaminated or swollen planks | No | Yes |
| Test | Limit | Notes |
|---|---|---|
| Wood moisture content | Within 2 to 4% of subfloor | NWFA guidance |
| Concrete slab (calcium chloride) | Below 3 lbs/1000 sq ft/24h | ASTM F1869 |
| Concrete slab (in-situ RH) | Below 75% RH | ASTM F2170 |
Moisture diagnosis
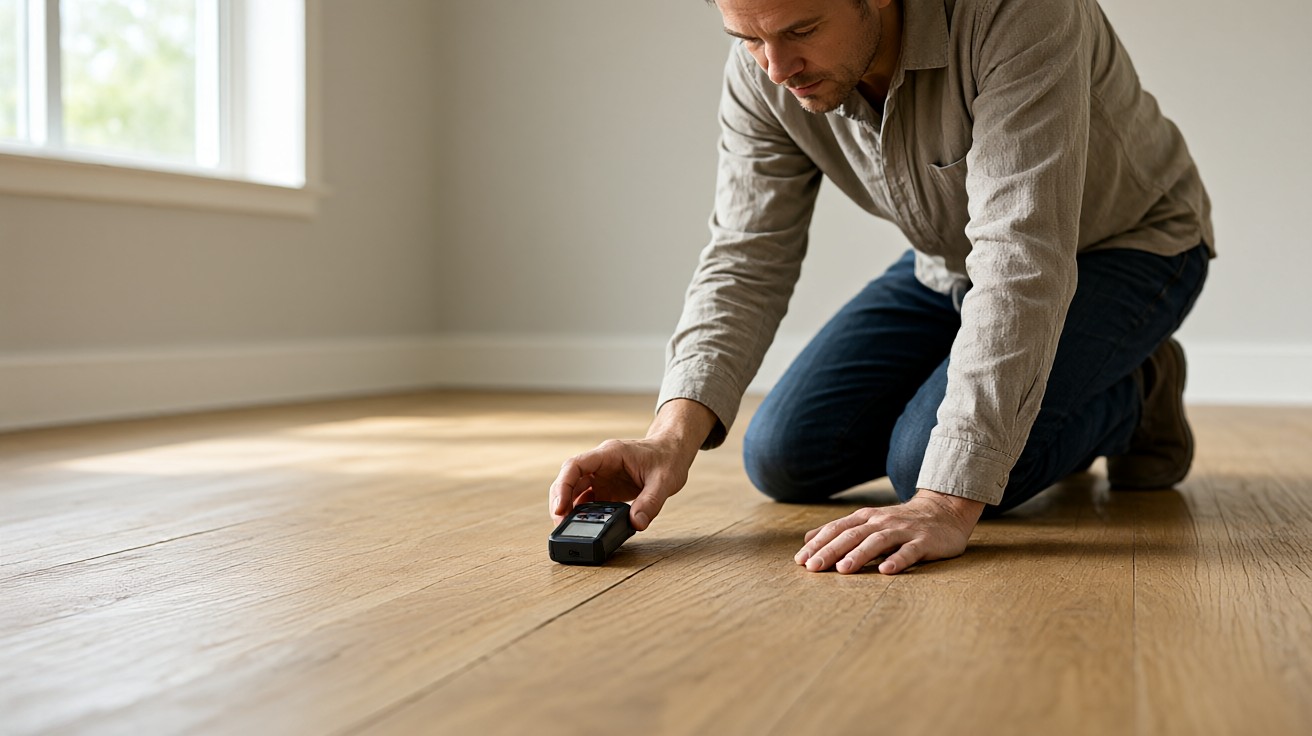
Moisture is the leading cause of flooring failure. Test the floor and subfloor with a moisture meter. Wood flooring should be within 2 to 4 percent of the subfloor moisture content. Concrete slabs should be below 3 lbs per 1000 sq ft per 24 hours by calcium chloride test, or below 75 percent relative humidity by in-situ probe.
Common moisture sources include slab moisture, plumbing leaks, condensation, and high indoor humidity. Identify the source before repairing, because a repair over an active moisture source will fail.
NWFA, RFCI, TCNA, and ANSI all specify moisture testing protocols for their respective products. Follow the manufacturer’s method and limits.
Subfloor diagnosis
A damaged or uneven subfloor causes squeaks, soft spots, and tile cracking. Check flatness with a straight edge: the subfloor should be within 3 mm over 2 metres. Check for soft spots by walking and pressing. Check for moisture damage by looking for discoloration, swelling, or delamination.
Subfloor damage often requires professional assessment, because the cause may be structural. Do not install new flooring over a damaged subfloor.
Installation diagnosis
Installation errors are common and preventable. Check for missing expansion gaps, wrong adhesive, improper fastening, and uneven subfloor preparation. A floating floor with no expansion gap will buckle. A glued floor with the wrong adhesive will delaminate.
If the installation was recent and the problem appeared quickly, the cause is likely installation. If the floor performed well for years before failing, the cause is more likely moisture or wear.
Wear diagnosis
Wear shows as surface scratching, finish dulling, and color fading. It is most common in high-traffic areas and under furniture. Wear is not a structural problem, but it affects appearance and can lead to moisture ingress if the finish is breached.
Refinishing is an option for solid hardwood. For LVP, laminate, and tile, replacement of the affected area or the whole floor is usually the only remedy.
Material diagnosis
Material defects include delamination, swelling, and premature wear. Check the product’s warranty and installation requirements. A product installed outside its specified conditions, such as LVP in direct sunlight or laminate in a wet area, will fail prematurely.
If the product is defective, document the failure with photos and contact the manufacturer. Many flooring warranties require professional installation for coverage.
Diagnosis by symptom
Each symptom points to a likely cause. Use this as a starting point, then confirm with moisture and subfloor tests.
- Buckling or lifting: moisture, missing expansion gap, or pinning a floating floor.
- Cupping: moisture from below, often a slab or leak.
- Gaps between planks: low humidity, or improper acclimation.
- Squeaks: subfloor movement, loose fasteners, or friction.
- Cracked tiles: subfloor flex, impact, or improper thinset.
- Hollow sound under tile: debonded tile or voids in thinset.
- Discoloration: moisture, UV, or chemical staining.
- Soft or spongy feel: subfloor rot or delamination.
Match the symptom to the cause category, then test to confirm. Guessing from symptoms alone leads to wrong repairs.
Decision tree: repair or replace
Use this decision tree after diagnosis:
- If the subfloor is damaged, fix the subfloor first, then decide on the flooring.
- If moisture is active, stop the moisture source, then assess the flooring.
- If the damage is localized and the subfloor is sound, repair or patch.
- If the damage is widespread or the flooring is delaminated, replace.
- If the finish is worn but the wood is sound, refinish.
- If the product was installed outside spec, replace with the correct product.
When in doubt, get a professional assessment. A 100 USD inspection can prevent a 5000 USD mistake. The repair vs replace decision is the most important call in the process.
When to call a professional
Call a professional when the subfloor is damaged, when moisture is active and the source is unclear, when the damage is widespread, or when the flooring is under warranty and requires certified installation. Structural issues, such as joist damage or slab cracking, require a contractor or engineer.
Common problems by flooring type
Hardwood problems include squeaks, gaps, cupping, crowning, and finish wear. Most trace to moisture or humidity changes. Laminate problems include swelling, peaking, and chipping. Tile problems include cracking, hollow sounds, and grout failure. Carpet problems include matting, staining, and seam separation. LVP problems include lifting, peaking, and discoloration from UV exposure.
Each flooring type has its own failure modes and repair limits. Hardwood can be refinished; laminate and LVP usually cannot. Tile can be replaced individually; carpet seams must be re-stretched or re-seamed.
Prevention
Most flooring problems are preventable with proper installation and maintenance. Control indoor humidity between 35 and 55 percent. Clean spills promptly. Use furniture pads. Maintain the finish. Inspect annually for signs of moisture or movement.
A 30 minute annual inspection costs nothing and catches problems before they become expensive. Early detection saves 50 to 80 percent of repair costs. Look for cupping, gapping, discoloration, and soft spots.
Cost expectations
Diagnosis and minor repair typically cost 100 to 300 USD. Moderate repairs, such as replacing a section of flooring, cost 300 to 1000 USD. Full replacement costs 3 to 12 USD per square foot installed, depending on material. Professional assessment costs 75 to 150 USD and is often credited toward the repair.
DIY repair is reasonable for minor surface damage and loose transition strips. Structural or moisture problems warrant professional help.
Inspection and maintenance schedule
A regular inspection catches problems early. Walk the floor monthly and look for changes in level, sound, and appearance. Check moisture-prone areas quarterly: bathrooms, kitchens, basements, and exterior doors. Inspect the subfloor access points annually if the home has a crawl space.
Keep a maintenance log with dates and observations. A log helps identify patterns, such as seasonal cupping or recurring moisture, and provides evidence for warranty claims.
When to test moisture
Test moisture before installing new flooring, after a leak or flood, when cupping or buckling appears, and when the indoor humidity changes seasonally. A moisture meter costs 30 to 80 USD and is one of the best investments a homeowner can make.
Test both the flooring and the subfloor. A floor that reads dry on top may be wet underneath. Test multiple locations, including near exterior walls and plumbing.
Documentation and warranty
Keep records of the flooring product, installation date, installer, and warranty terms. Photograph the installation and any problems. Documentation supports warranty claims and helps a professional diagnose issues faster.
Most flooring warranties require professional installation for full coverage. DIY installation may void the warranty or reduce it to a materials-only warranty. Read the warranty terms before starting any repair.
When replacement is the better choice
Replacement is the better choice when the damage is widespread, when the subfloor is damaged, when the product is discontinued, or when the cost of repair approaches the cost of replacement. A floor that has been repaired multiple times may be cheaper to replace.
Consider replacement also when the flooring is outdated or no longer matches the home. A new floor can improve appearance, value, and performance. Get at least two quotes before committing. A written scope prevents surprises.
Safety considerations
Flooring repairs can involve sharp tools, dust, and chemicals. Wear safety glasses and hearing protection when cutting. Use a dust mask when sanding or grinding. Follow the manufacturer’s instructions for adhesives and finishes, and ensure adequate ventilation.
Wet or uneven floors are slip hazards. Mark the work area and keep it clear of traffic until the repair is complete and dry.
After the repair
Inspect the repair after 24 hours and again after 7 days. Re-tighten any loose fasteners. Check that the floor is level and stable. Clean the area and remove debris. Monitor the repair for 30 days to ensure it holds.
Keep records of the repair, including photos and receipts. This documentation supports future warranty claims and helps a professional understand the history if further work is needed. Good records also help when selling the home. Buyers appreciate documented maintenance history.
Tools for diagnosis
A basic diagnostic kit includes a moisture meter, a straight edge, a tape measure, a flashlight, and a notepad. A moisture meter is the most important tool, because moisture is the most common cause of flooring problems. A straight edge reveals subfloor flatness issues. A flashlight helps inspect dark areas under furniture and in corners.
Advanced diagnosis may require a thermal camera to find moisture behind walls, a borescope to inspect subfloors, or a calcium chloride test kit for concrete slabs. These tools are usually available for rent. Renting is cheaper than buying for one-time use. Buy only if you will use it again.
Summary
Diagnose before repairing. Check moisture, subfloor, installation, wear, and material in that order. Fix the root cause, not the symptom. Repair when the damage is localized and the subfloor is sound; replace when it is widespread or structural. For transition-specific problems, see how to repair loose or damaged floor transition strips and flooring transitions between rooms and levels.
For more on this topic, see Why Flooring Is Buckling or Lifting: Causes, Diagnosis, and Repair
For more on this topic, see Why Flooring Is Separating at Transitions: Causes and Repair
For more on this topic, see How to Fix Squeaky Hardwood Floors: Causes and Repair
For more on this topic, see How to Repair Water-Damaged Wood Flooring