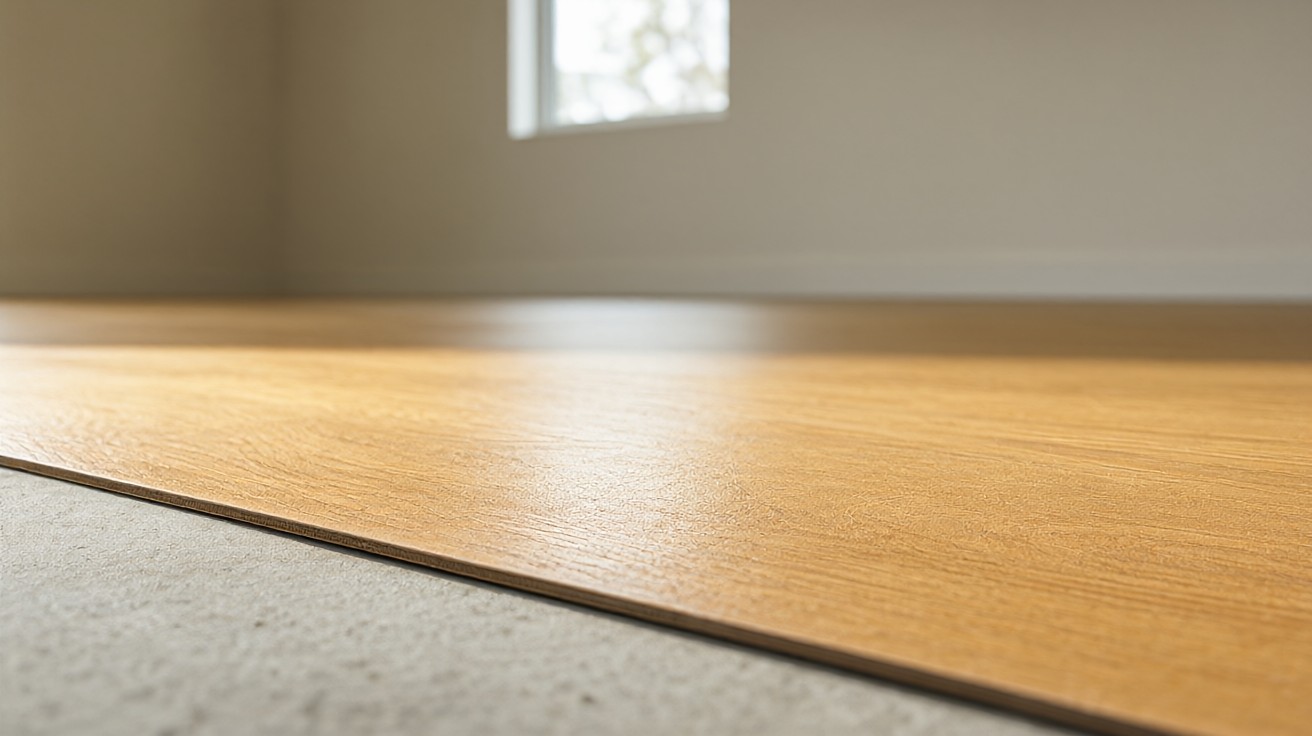

LVP and laminate transition strips usually lift because the track is loose or the fasteners are stripped. Diagnose the cause before replacing anything.
The strip itself is rarely the problem; the mounting system usually is.
Most repair jobs take 30 to 60 minutes and cost under 20 USD in parts. A new strip costs 15 to 40 USD depending on material and length. The key is to find the actual failure mode, not just re-glue the visible symptom.
Diagnose before repairing
Press the strip down with your thumb along its full length. Note where it lifts, clicks, or rocks. Then remove the strip and inspect the track, fasteners, and subfloor. The failure mode falls into one of five categories:
- Loose or stripped track fasteners.
- Cracked or bent mounting track.
- Broken or cracked strip.
- Incorrect profile for the height difference.
- Flooring movement or buckling around the joint.
Each cause has a different repair. Re-gluing a strip over a loose track only delays the failure by a few weeks. NWFA, RFCI, TCNA, and ANSI guidance all stress anchoring to the subfloor.
Loose or stripped fasteners
Fasteners loosen when the track was over-tightened during installation, when the subfloor is soft, or when traffic works the screw loose over time. The fix depends on the subfloor.
On wood subfloors, remove the stripped screw and replace it with a larger diameter screw or a screw anchor. If the hole is too large, fill it with wood filler or a hardwood dowel, let it cure, then re-drill a pilot hole. On concrete, remove the loose anchor and install a new one sized to the hole, or use a slightly larger anchor.
Tighten fasteners to snug, not maximum. Over-tightening strips the hole again and crushes the subfloor fibres. A torque of 15 to 20 inch-pounds is usually sufficient for a track screw.
Cracked or bent mounting track
A track that is cracked or bent cannot hold the strip. Remove the damaged track and install a new one of the same profile. Clean the subfloor of old adhesive before laying the new track, because residue prevents the new track from sitting flat.
When the track is proprietary to a specific strip, you may need to replace both track and strip as a set. Keep the manufacturer’s part number on file so a replacement can be ordered without guesswork.
Broken or cracked strip
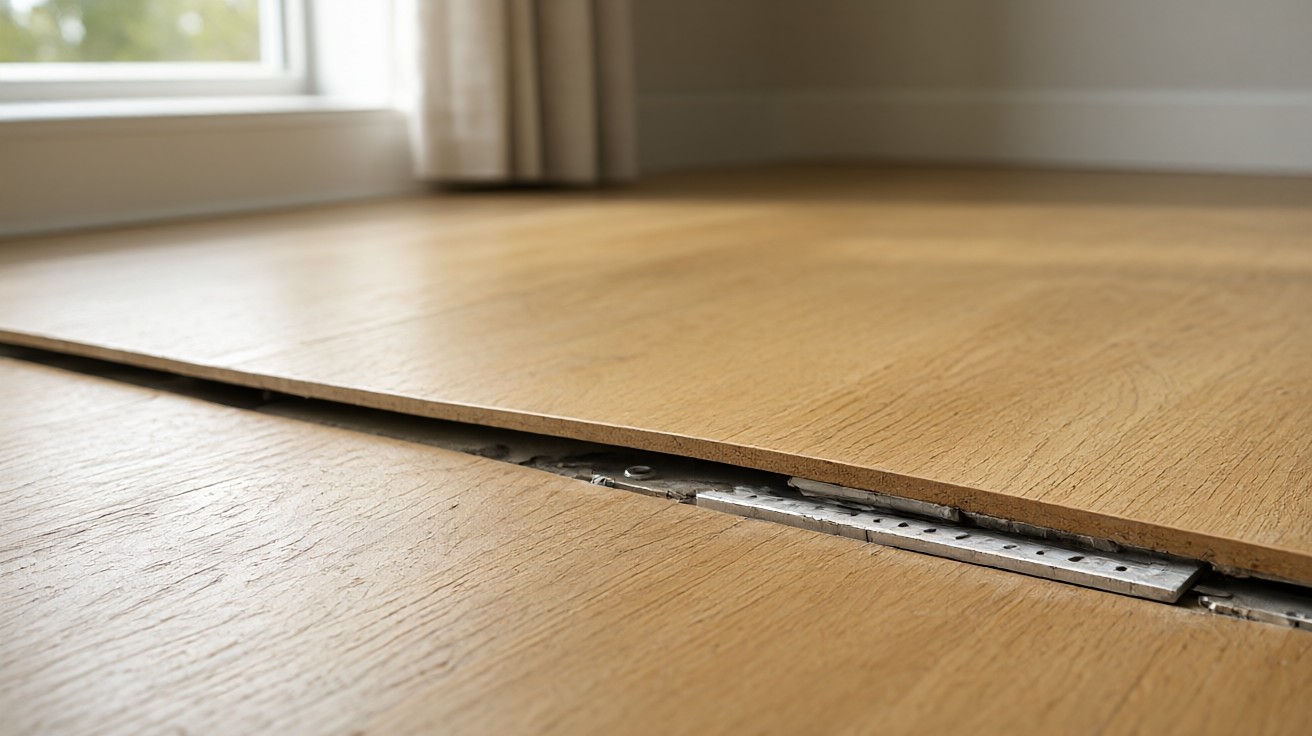
A cracked strip must be replaced. Measure the doorway width and order a new strip of the same profile and material. Cut it slightly long and trim to fit with a fine-tooth blade.
If the strip is only cracked at one end, a short splice is possible but rarely looks good. Replacement is the better repair for any visible crack, because a splice collects dirt and weakens the joint.
Incorrect profile
If the profile does not match the finished-floor height difference, the strip will lift or create a trip edge. A T-molding used where a reducer is needed will rock on the higher floor. A reducer used where a T-molding is needed will leave a gap.
The fix is to replace the strip with the correct profile. Measure the finished-floor height difference in millimetres and match it to the profile’s rated range. Do not shim or force a wrong profile into place.
Flooring movement and buckling
If the flooring is buckling or tenting around the joint, the transition strip may be pinning a floating floor. Remove the strip and check whether the flooring has room to move. If the strip was fastened through the flooring, relocate the fasteners to the subfloor only.
Also check the expansion gap. If the gap is filled with debris or adhesive, clean it out. A floating floor with no expansion room will push the strip out of the track.
Repair versus replacement decision table
| Condition | Repair | Replace |
|---|---|---|
| Loose fasteners only | Yes, re-anchor | No |
| Cracked track | No | Yes, track and strip |
| Cracked strip | No | Yes, strip only |
| Wrong profile | No | Yes, correct profile |
| Buckling floor | Fix movement first | Strip if damaged |
Repair procedure
Follow this sequence for a typical loose-strip repair:
- Remove the strip from the track.
- Inspect and clean the track and subfloor.
- Repair or replace loose fasteners.
- Replace the track if cracked or bent.
- Cut a new strip to length if the old one is damaged.
- Dry-fit the strip and check movement clearance.
- Install the strip and fasten the track to the subfloor.
- Walk the joint and re-check after 24 hours.
Fastening by subfloor type
| Subfloor | Repair method | Notes |
|---|---|---|
| Solid wood or plywood | Larger screw or dowel fill | Pilot holes prevent splitting |
| Concrete slab | New anchor or larger anchor | Check moisture and level |
| Floating floor over underlayment | Track anchored to subfloor below | Never pin through the floating floor |
When the strip keeps loosening
If a repaired strip loosens again within 30 days, the cause is usually a soft subfloor, excessive traffic, or a profile that is too narrow for the gap. Address the root cause rather than re-repairing. A wider track or a different fastener type may be needed.
High-traffic doorways, such as the entrance to a kitchen or bathroom, may need a heavier-duty track or a screw-down profile rather than a snap-in one. Commercial-grade transition systems are available for these locations.
Diagnosing by symptom
Different symptoms point to different causes. A strip that lifts at one end only usually has a loose fastener or a cracked track at that end. A strip that lifts along its full length usually has a subfloor problem or an incorrect profile. A strip that clicks when walked on has a loose track or a gap between strip and floor.
A strip that moves sideways in the track has a worn track or an oversized strip. A strip that is cracked or chipped needs replacement regardless of the track condition. Match the symptom to the cause before buying parts.
Tools and materials for repair
A typical repair needs a screwdriver, drill, concrete drill bit, replacement fasteners or anchors, construction adhesive, a fine-tooth saw, and a tape measure. Keep a spare strip and track on hand if the profile is still in production, because manufacturers discontinue profiles and replacements become hard to find.
Allow 24 hours for adhesive cure before heavy traffic. Most repairs can be walked on after 2 to 4 hours, but full strength takes a day.
Preventing future failures
Most transition failures are preventable. Anchor the track to the subfloor, not the flooring. Preserve the expansion gap. Choose the profile to match the finished-floor height. Use the fastener type the manufacturer specifies for the subfloor. Inspect the joint every 6 months and tighten loose fasteners before they strip out.
In high-traffic doorways, choose a screw-down profile rather than a snap-in one. Screw-down profiles resist the peel force from foot traffic better and are easier to re-tighten if they loosen.
Cost and time expectations
A fastener repair costs 5 to 15 USD in parts and takes 20 to 40 minutes. A track replacement costs 15 to 30 USD and takes 45 to 90 minutes. A full strip replacement costs 25 to 60 USD and takes 60 to 120 minutes. Professional repair typically costs 80 to 200 USD including parts and labour. Get a written quote that specifies parts and labour separately. A written quote protects against scope creep.
DIY repair is reasonable for fastener and strip replacement. Track replacement on concrete or a damaged subfloor may warrant a professional, because the repair depends on the slab condition.
Repairing on concrete subfloors
Concrete subfloors present specific challenges. The original anchor may have stripped the concrete, leaving an oversized hole. Use a slightly larger anchor or fill the hole with epoxy and re-drill. Moisture in the slab can corrode fasteners over time, so use stainless steel or coated fasteners in damp areas.
Check the slab for level before re-installing. A concrete slab that is out of level by more than 3 mm over 1 metre will cause the track to rock and the strip to loosen again. Level the slab with self-levelling compound before re-installing the track.
Repairing on wood subfloors
Wood subfloors are easier to repair because wood accepts screws and filler well. For a stripped hole, drill it out to 6 mm, glue in a hardwood dowel, let it cure, then drill a new pilot hole. The dowel provides fresh wood for the screw to bite into.
If the subfloor is particleboard or OSB, which are common in newer homes, the material may be too soft to hold a screw long-term. Use a larger screw or a screw anchor designed for soft substrates. Consider upgrading to a screw-down track for better holding power.
When the strip is discontinued
Manufacturers discontinue transition profiles regularly. If the original strip is no longer available, you may need to replace the entire transition system with a current profile. This means removing the old track and strip and installing a new set.
When replacing with a different profile, re-measure the height difference and gap, because the new profile may have different tolerances. A different brand’s strip may not fit the old track, so replace both together.
Repair checklist
Before starting, gather the tools and parts listed above. Then follow this checklist:
- Identify the failure mode by pressing along the strip.
- Remove the strip and inspect the track, fasteners, and subfloor.
- Measure the height difference and gap to confirm the profile is correct.
- Repair or replace fasteners, track, or strip as needed.
- Dry-fit and check movement clearance before final fastening.
- Walk the joint and re-check after 24 hours.
A systematic approach prevents repeated repairs and ensures the fix lasts. Most repairs that fail within 30 days were caused by skipping the diagnosis step. A 10 minute diagnosis saves hours of re-work.
Common repair mistakes
Re-gluing a loose strip without fixing the track fails within weeks. Using the wrong fastener type for the subfloor causes the repair to fail. Replacing the strip without checking the profile leaves the original problem. Ignoring flooring movement causes the strip to lift again. Skipping the dry-fit step leads to a strip that does not sit flat.
Each of these mistakes is avoidable with diagnosis and patience. The repair that lasts is the one that addresses the root cause, not the symptom.
When to call a professional
Consider a professional when the subfloor is damaged or out of level, when the flooring is buckling and the cause is unclear, or when the doorway is wide or angled. A professional can assess whether the issue is the transition, the flooring, or the subfloor, and fix the root cause.
Summary
Diagnose first: loose fasteners, cracked track, broken strip, wrong profile, or flooring movement. Repair the actual failure mode, not the symptom. Re-anchor loose fasteners, replace cracked parts, and fix movement before re-installing. For installation guidance, see how to install flooring transition strips and flooring transitions between rooms and levels. A correct installation prevents most repairs.
For more on this topic, see Why Flooring Is Separating at Transitions: Causes and Repair