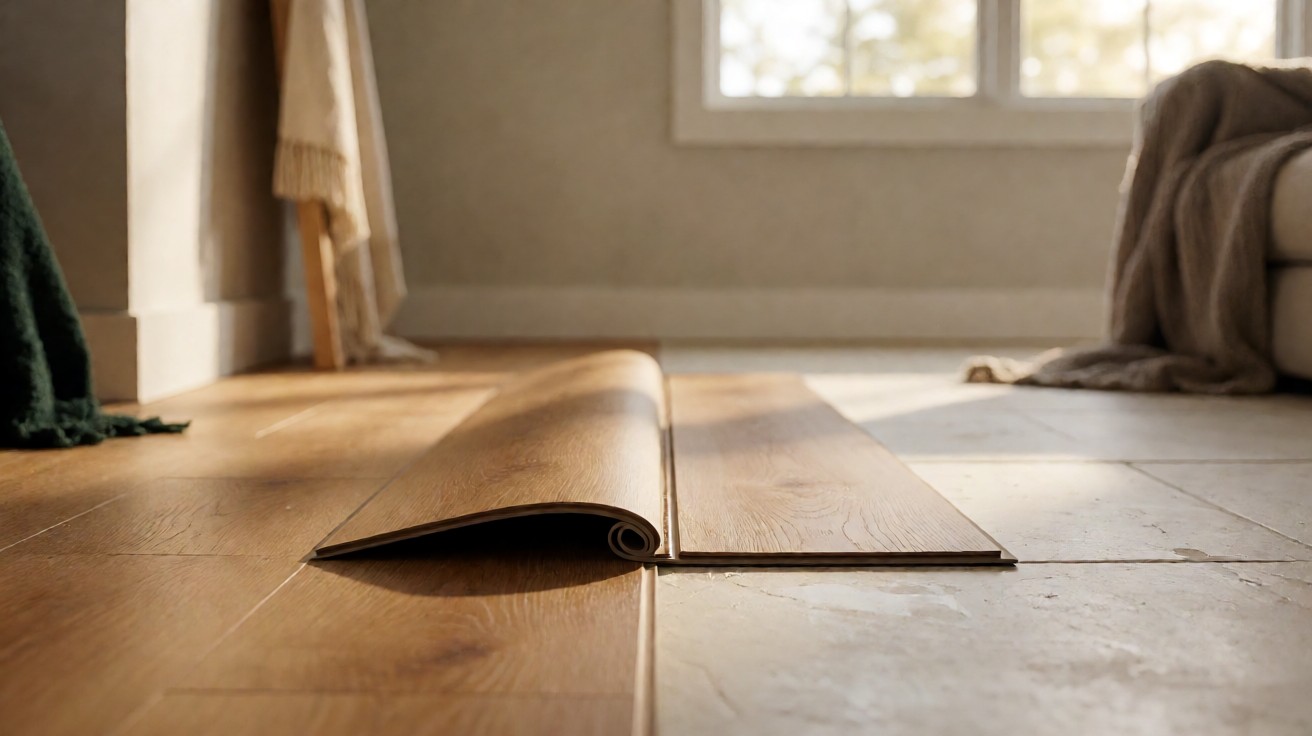

Flooring separates at transitions when the floor moves but the strip does not. The cause is usually moisture, a pinned floating floor, or the wrong profile.
LVP and hardwood both separate when pinned. Find the cause before repairing, because the fix depends on it.
What separation looks like
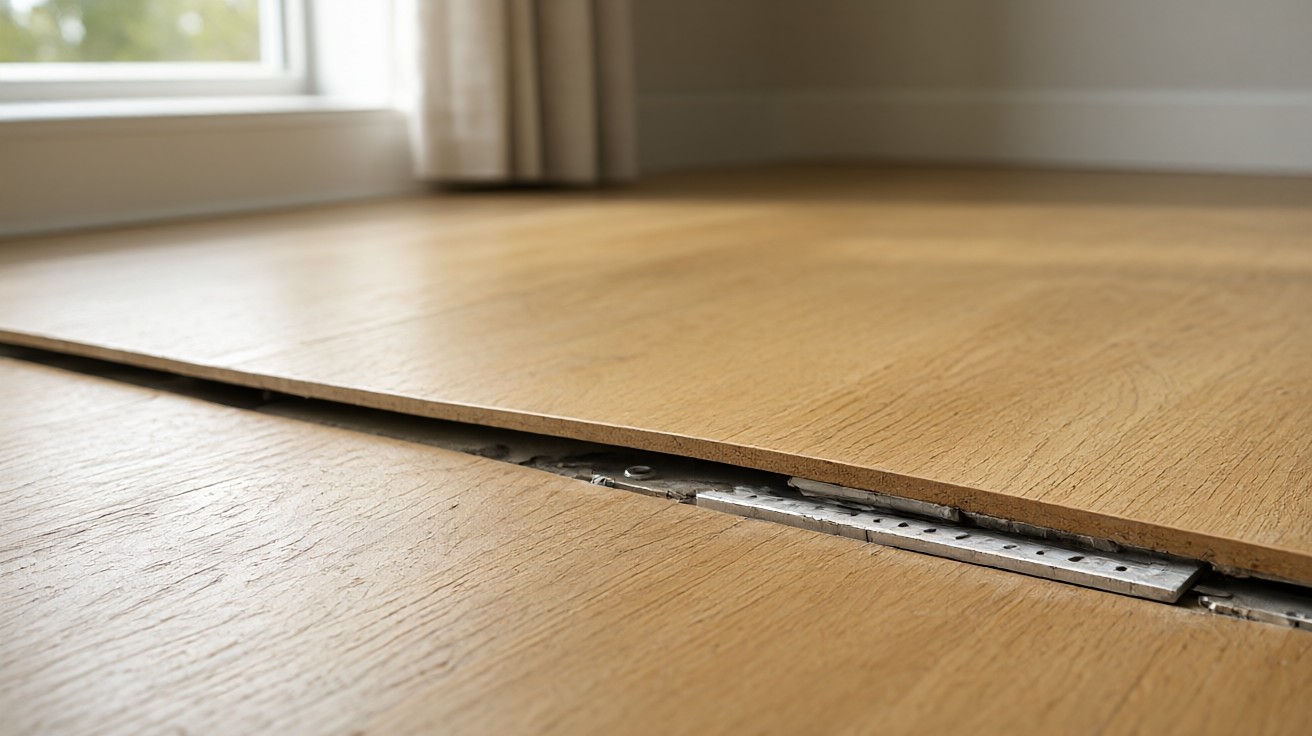
Separation appears as a gap between the flooring and the transition strip, or between two flooring surfaces at a doorway. The gap may be 1 to 5 mm wide. In severe cases, the strip lifts or the flooring pulls away from the wall.
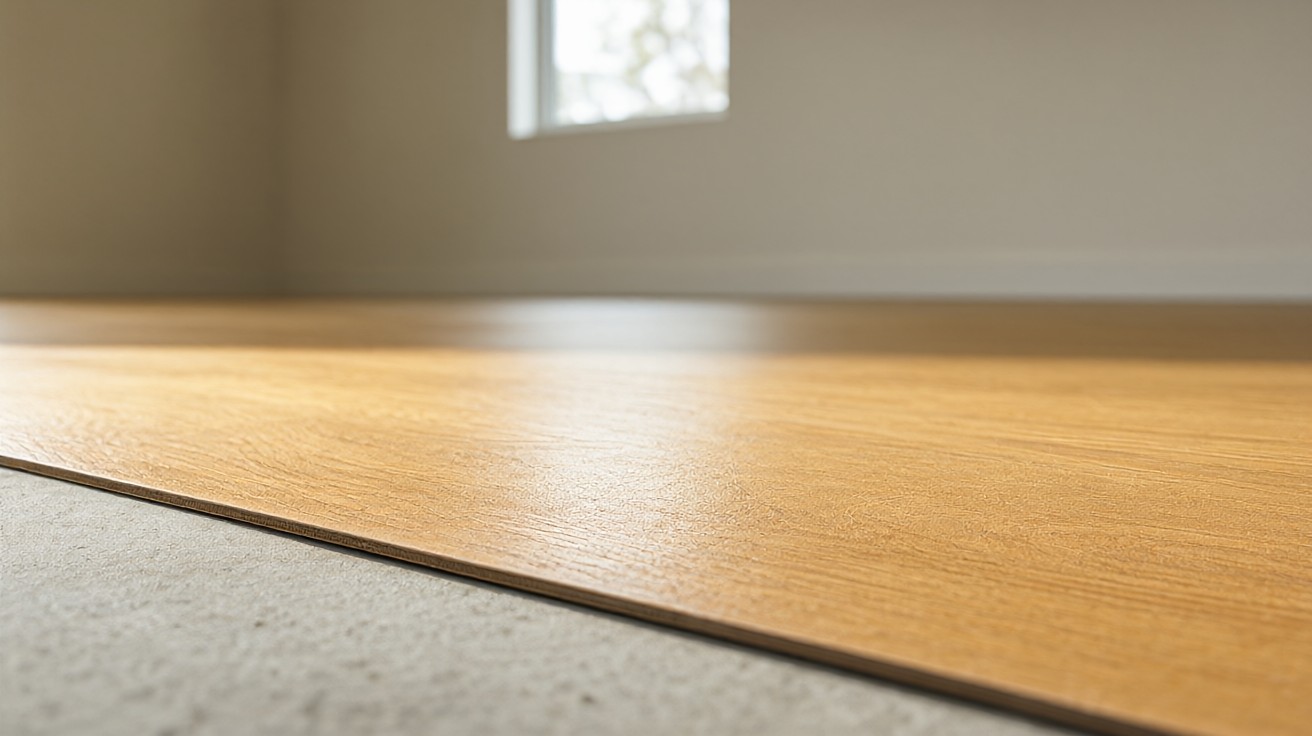
Separation differs from buckling, where the floor peaks. Separation is the floor moving away from a fixed point. The two can occur together if the floor is pinned at one end and moving at the other.
Cause 1: moisture and humidity
Moisture changes cause flooring to expand and contract. A floating floor that expands pushes against the transition strip. If the strip is pinned, the floor pulls away elsewhere, creating a gap. Low humidity causes shrinkage and gapping.
Check indoor humidity with a hygrometer. Maintain 35 to 55 percent. Test the floor and subfloor moisture content with a meter. A reading above 12 percent in wood flooring indicates excess moisture.
NWFA, RFCI, TCNA, and ANSI all specify moisture limits. Installing above these limits causes separation and other failures.
Cause 2: pinned floating floor
A floating floor must move freely. If a transition strip is fastened through the flooring, it pins the floor. The floor cannot expand, so it separates at the weakest point, usually the next joint or the wall.
Check the transition strip fastening. If screws go through the flooring, the floor is pinned. Remove the screws and re-anchor to the subfloor only.
Heavy furniture and cabinets can also pin a floating floor. Add expansion clearance around fixed objects.
Cause 3: wrong profile or missing expansion gap
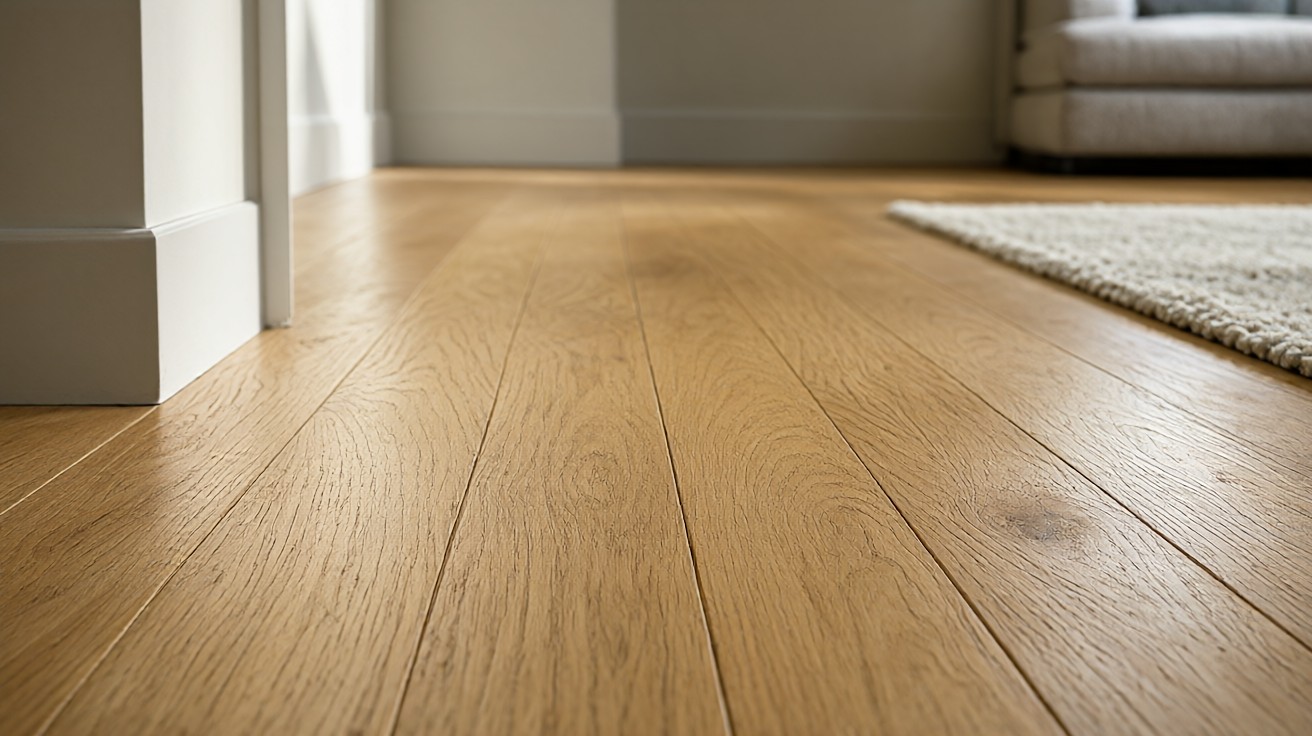
An incorrect profile leaves a gap between the strip and the flooring. A T-molding used where a reducer is needed leaves a visible gap. A missing expansion gap fills with debris and prevents movement, causing the floor to pull away.
Check the profile against the finished-floor height difference. Measure the gap and compare it to the profile’s rated range. Clean the expansion gap of debris and adhesive.
Diagnosis table
| Symptom | Likely cause | First check |
|---|---|---|
| Gap at strip, one side only | Pinned floor | Strip fastening |
| Gap at strip, both sides | Wrong profile or height mismatch | Height difference |
| Gap appears in winter | Low humidity shrinkage | Indoor humidity |
| Gap appears in summer | Expansion blocked | Expansion gap condition |
| Strip lifting | Track or fastener failure | Track condition |
Diagnosis procedure
Follow this sequence:
- Measure the gap width at the transition.
- Check indoor humidity and floor moisture content.
- Inspect the transition strip fastening.
- Check the expansion gap condition.
- Measure the finished-floor height difference.
- Match the symptom to a cause.
Most separation cases have a single primary cause. Address that cause before repairing the gap.
Repair by cause
The repair depends on the cause.
Moisture or humidity: Stabilize the environment. Add a humidifier or dehumidifier. Allow the floor to acclimate for 2 to 4 weeks. If the gap persists, fill with colour-matched filler or re-install the strip.
Pinned floor: Remove the pin. Re-anchor the transition strip to the subfloor. The gap may close as the floor moves back.
Wrong profile: Replace the strip with the correct profile. Measure the height difference and match it to the profile’s rated range.
Missing expansion gap: Clean the gap of debris. If the gap is too small, cut a larger one. Re-install the strip.
| Repair type | Cost range (USD) | Time |
|---|---|---|
| Gap fill and re-seat | 50 to 150 | 1 to 2 hours |
| Strip replacement | 25 to 60 | 1 to 2 hours |
| Plank replacement | 200 to 600 | 2 to 4 hours |
| Professional assessment | 75 to 150 | 1 hour |
Repair versus replacement
Repair when the gap is small and the flooring is undamaged. Replace the strip when it is cracked or the wrong profile. Replace the flooring when the gap is large or the planks are damaged.
Repair cost is typically 100 to 400 USD. Replacement cost is 25 to 60 USD for a strip, or 3 to 12 USD per square foot for flooring.
Prevention
Prevent separation by controlling moisture, providing adequate expansion gaps, anchoring strips to the subfloor, and choosing the correct profile. Inspect transitions annually for early signs of gapping.
A small gap caught early is easy to fix. A large gap requires replacement and subfloor work. Early detection saves 50 to 80 percent of repair costs. A 10 minute inspection is enough.
When to call a professional
Call a professional when the cause is unclear, when moisture is active, when the damage is widespread, or when the subfloor is damaged. A professional can assess whether the floor can be saved.
Moisture sources in detail
Moisture reaches flooring from several sources. Slab moisture is common in basements and on-grade slabs. Plumbing leaks can saturate a subfloor before becoming visible. Condensation forms on cold floors in humid climates. High indoor humidity swells wood and laminate. Spills that are not cleaned promptly penetrate seams.
Each source requires a different fix. A plumbing leak needs repair before the floor can be fixed. Slab moisture needs a vapour barrier or dehumidification. Condensation needs ventilation or insulation. High humidity needs a dehumidifier.
Expansion gap details
The expansion gap must be continuous around the entire perimeter. Gaps at doorways, pipes, and fixed objects all count. A single missing section can cause separation even if the rest of the perimeter is correct.
Baseboard and quarter-round cover the gap but must not pin the floor. The cover should sit on the subfloor, not on the flooring. If the cover is nailed through the flooring, it pins the floor and defeats the purpose.
Profile selection for transitions
Choosing the correct profile prevents separation. Match the profile to the finished-floor height difference and the installation method. A T-molding suits two floors at approximately the same level. A reducer suits a height difference of 3 to 12 mm. An end cap suits an exposed edge.
For installation guidance, see how to install flooring transition strips.
Prevention and monitoring
Prevent separation by controlling moisture, providing adequate expansion gaps, anchoring strips to the subfloor, and choosing the correct profile. Inspect transitions annually for early signs of gapping.
A small gap caught early is easy to fix. A large gap requires replacement and subfloor work. Early detection saves 50 to 80 percent of repair costs. A 10 minute inspection is enough. Annual inspection costs nothing and saves thousands.
Tools and materials
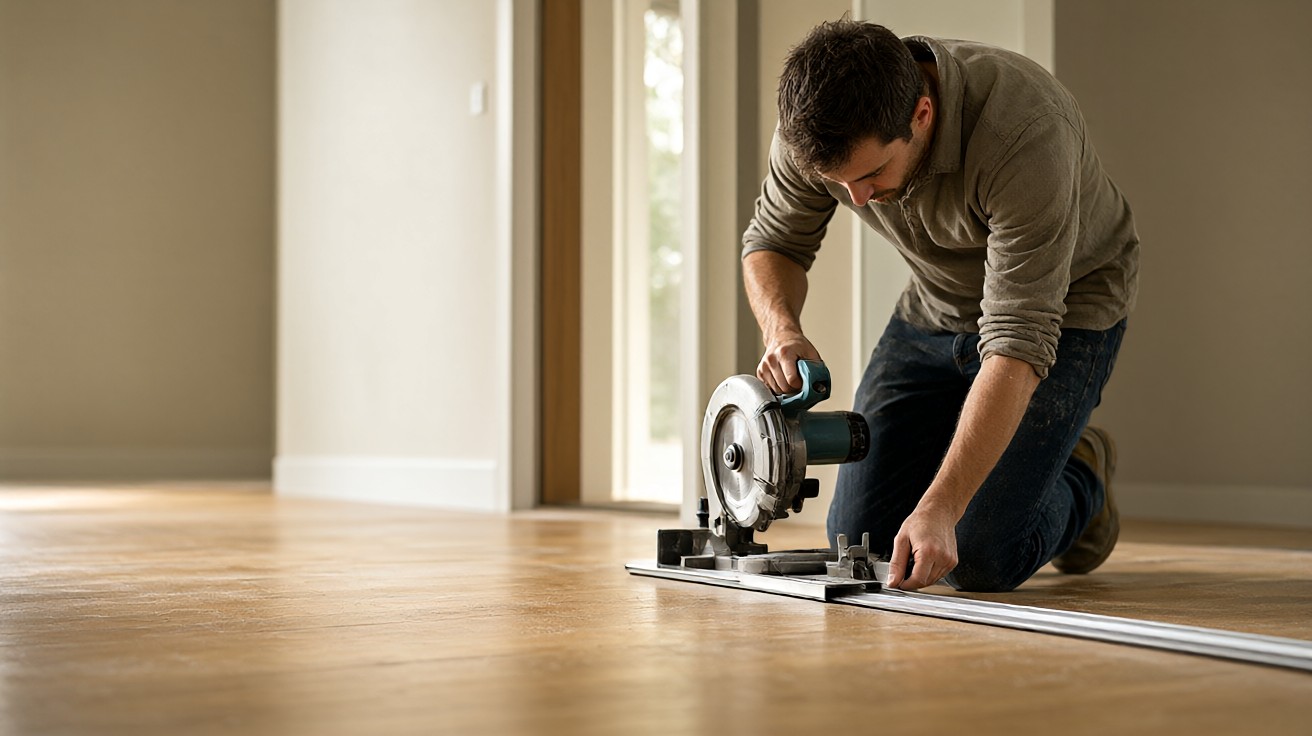
Diagnosis requires a moisture meter, straight edge, tape measure, and flashlight. Repair requires a saw, adhesive, replacement strip, pry bar, and fasteners. A moisture meter costs 30 to 80 USD.
Advanced diagnosis may require a thermal camera or calcium chloride test kit. These are available for rent.
Case study: separating transition
A homeowner notices a 3 mm gap at a doorway transition in winter. Indoor humidity reads 25 percent. The floor shrank due to dry air. A humidifier was added and the gap closed within 3 weeks. No repair was needed.
If the gap had persisted, colour-matched filler would have been the next step. Early diagnosis saved a costly repair.
When to test moisture
Test moisture before installing new flooring, after a leak, when gapping appears, and when indoor humidity changes seasonally. A moisture meter costs 30 to 80 USD.
Test both the flooring and the subfloor. A floor that reads dry on top may be wet underneath. Test multiple locations.
Seasonal considerations
Humidity changes with the seasons. In winter, heating dries the air and floors shrink, causing gaps. In summer, humidity rises and floors swell. Maintaining indoor humidity between 35 and 55 percent year-round prevents both.
A humidifier in winter and a dehumidifier in summer stabilize the environment. This is especially important for solid hardwood.
Insurance and warranty
Flooring damage from sudden leaks may be covered by homeowner’s insurance. Damage from poor installation or lack of maintenance is usually not covered. Check the policy and document the damage.
Flooring warranties require proper installation and maintenance. A floor that separates due to a missing expansion gap is not covered.
Common mistakes
Re-gluing a separating strip without fixing the cause fails within weeks. Replacing the strip without checking the profile leaves the original problem. Ignoring moisture causes the gap to widen. Pinning the floor during repair defeats the purpose.
Each mistake is avoidable with diagnosis and patience. Fix the cause first, then repair the symptom. A 30 minute diagnosis prevents a costly re-repair.
Long-term monitoring
After repair, monitor the transition for 90 days. Check for new gaps or lifting. Re-test moisture monthly during the first season. If the problem recurs, the cause was not fully addressed.
Keep a log of observations with dates and photos. A log helps identify patterns and supports warranty claims. Good records save time on future repairs.
Documentation is important. Keep records of the repair, including photos and receipts. This supports future warranty claims and helps a professional understand the history.
Tools and materials
Diagnosis requires a moisture meter, straight edge, tape measure, and flashlight. Repair requires a saw, adhesive, replacement strip, pry bar, and fasteners. A moisture meter costs 30 to 80 USD. A replacement strip costs 15 to 40 USD.
Advanced diagnosis may require a thermal camera or calcium chloride test kit. These are available for rent. Renting is cheaper than buying for one-time use. Buy only if you will use it again.
Tools for repair
Repair requires a screwdriver, drill, concrete drill bit, replacement fasteners, construction adhesive, fine-tooth saw, and tape measure. Keep a spare strip and track on hand if the profile is still in production.
Allow 24 hours for adhesive cure before heavy traffic. Most repairs can be walked on after 2 to 4 hours.
Documentation
Keep records of the repair, including photos and receipts. This documentation supports future warranty claims and helps a professional understand the history if further work is needed.
Good records also help when selling the home. Buyers appreciate documented maintenance history. Keep a maintenance log for future reference.
Safety
Flooring repairs involve sharp tools and dust. Wear safety glasses and a dust mask. Keep the work area clear of traffic until the repair is complete and dry. Safety first always and forever in all repairs and work done.
Documentation is essential for any flooring repair. Keep records of the repair, including photos and receipts. This documentation supports future warranty claims and helps a professional understand the history if further work is needed. Good records also help when selling the home. Buyers appreciate documented maintenance history. Keep a maintenance log for future reference and safety.
Summary
Separation at transitions means the floor moved but the strip did not. Check moisture, pinning, profile, and expansion gap in that order. Fix the cause, then repair or replace the strip. For transition installation, see how to install flooring transition strips. For general problems, see flooring problems: causes, diagnosis, and repair.