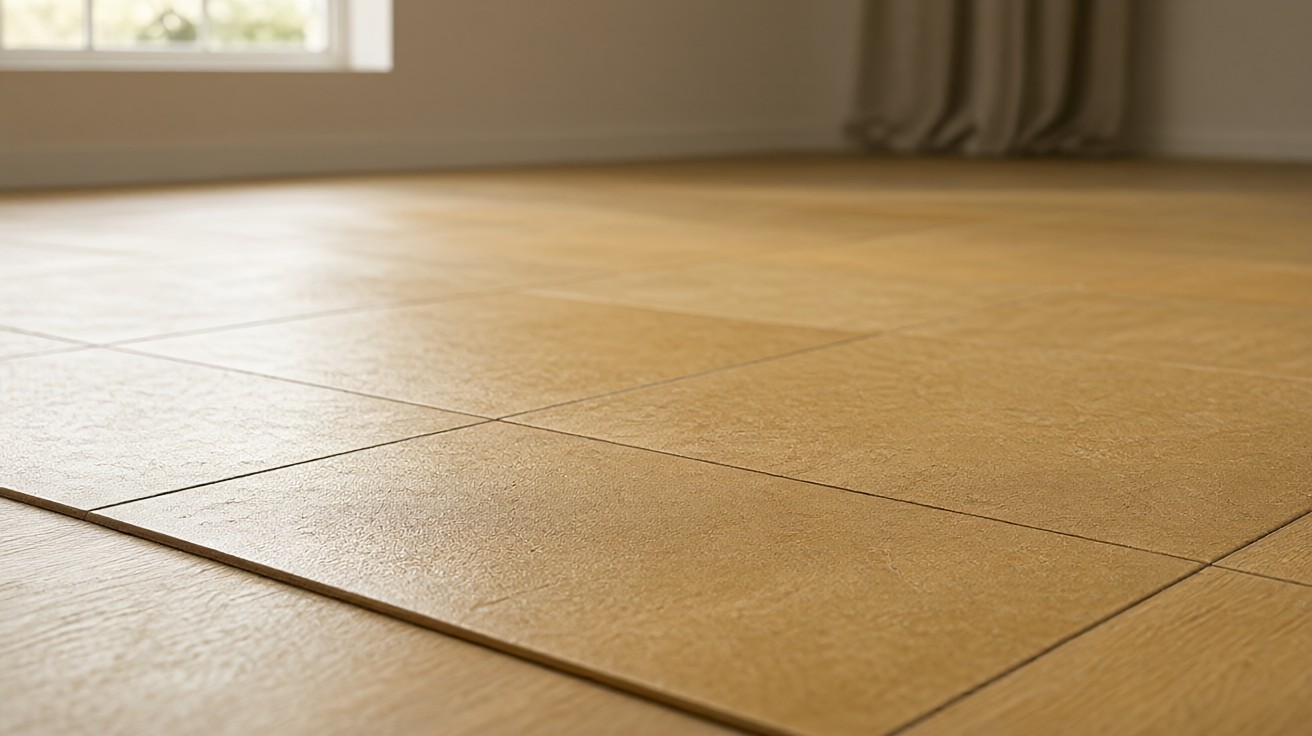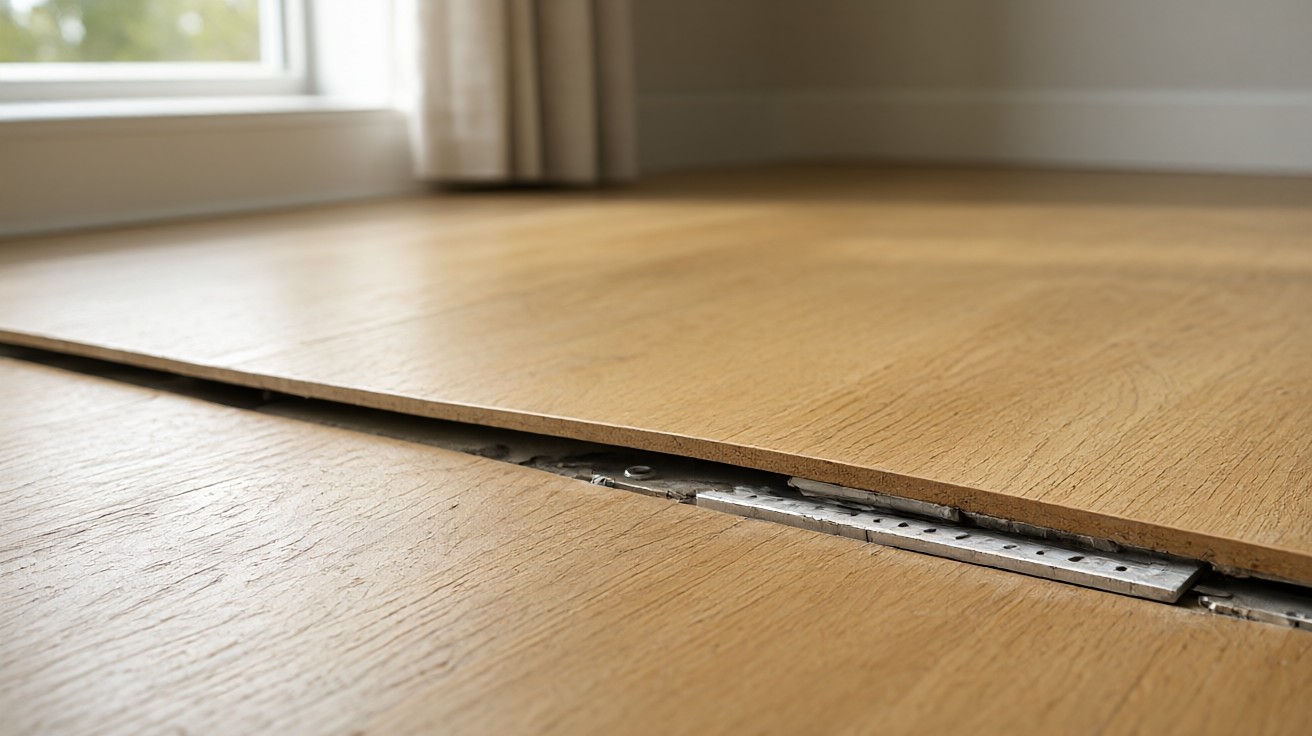

LVP and laminate floors need 8 to 12 mm of movement clearance at the joint, so the transition profile must match the finished-floor height and never pin the flo
Finished-floor height, not material name, drives profile choice. A 3 mm step calls for a different solution than a 12 mm step, and a floating floor needs 8 to 10 mm of movement clearance at the joint.
Tools and materials
Gather everything before cutting. A typical doorway job needs:
- Tape measure and straight edge
- Miter saw or fine-tooth hand saw with miter box
- Drill and bits matching track fasteners
- Concrete drill bit and anchors for concrete subfloors
- Construction adhesive rated for the subfloor
- The transition profile and its matching track
- Spacers sized to the flooring expansion gap, usually 8 to 12 mm
- Safety glasses and hearing protection
Read both the strip and flooring manufacturer instructions first. Allowable gaps, fastening methods, and minimum clearances are product-specific. The manufacturer specification overrides generic guidance, and NWFA guidance and ADA accessibility standards set the outer limits.
Step 1: Measure the doorway and the gap
Measure the clear width at floor level, not at the trim. Door casings taper, so floor-level width differs from waist-height width. Mark the strip slightly long and trim after a dry run. Re-measure after the flooring is fully installed, because expansion can shift the joint by 2 to 3 mm.
Also measure the gap the strip must bridge: the distance between the two finished floor edges. Most profiles fit a defined gap range of 10 to 20 mm. A track system needs room for the strip plus the floating floor’s expansion gap of 8 to 12 mm.
Step 2: Measure the finished floor height
This measurement decides everything. Lay a straight edge across both floors and measure the vertical step. Do not measure flooring thickness alone. Underlayment, adhesive, and subfloor condition all change the finished floor height. Two floors with the same nominal thickness can finish at different heights when one is glued and the other floated over underlayment.
Record the difference in millimetres. Match it to the profile’s rated range. A difference larger than 12 mm usually means the subfloor needs levelling or a stair is required. A T-molding expects two floors within about 3 mm of each other. A reducer expects a defined small difference, often 3 to 12 mm. If the difference exceeds the reducer rating, the transition becomes a stair, ramp, or subfloor-levelling problem.
Height and profile decision table
| Situation | Typical profile | Key constraint |
|---|---|---|
| Two hard floors at similar finished heights | T-molding | Approximately equal finished floor height, within 3 mm |
| Higher floor meets lower floor | Reducer | Within the profile’s rated height range, often 3 to 12 mm |
| Flooring ends at a fixed vertical edge | End cap | Exposed edge protection, 0 mm height change |
| Carpet meets hard flooring | Carpet transition | Edge treatment matched to carpet type |
| Flooring meets a stair edge | Stair nosing | Tread, riser, and nosing geometry per NWFA |
Step 3: Prepare the subfloor
Anchor the track to the subfloor, never to the flooring. This is the most common installation error. A floating floor must move freely; pinning it through a strip locks it in place and causes buckling, gapping, or tenting.
Clear the joint of debris, old adhesive, and loose material. On wood subfloors the surface must be flat, dry, and able to hold a screw. Vacuum the joint and wipe it with a damp cloth before applying adhesive, because dust reduces bond strength by up to 50 percent. On concrete check moisture and level. A damp or uneven slab needs correction before the track goes down. A transition strip cannot compensate for a sloped base. If the slab is out of level by more than 3 mm over 1 metre, level it before proceeding. NWFA and ANSI standards both treat a flat, dry, structurally sound subfloor as a precondition for any transition installation.
ADA accessibility standards allow vertical changes up to 1/4 inch on covered routes, require beveling for changes from 1/4 to 1/2 inch, and require a ramp for larger changes. These apply to covered accessible routes, not automatically to every private residential doorway, but they are a useful safety reference for trip-hazard design.
Step 4: Cut and dry-fit the strip
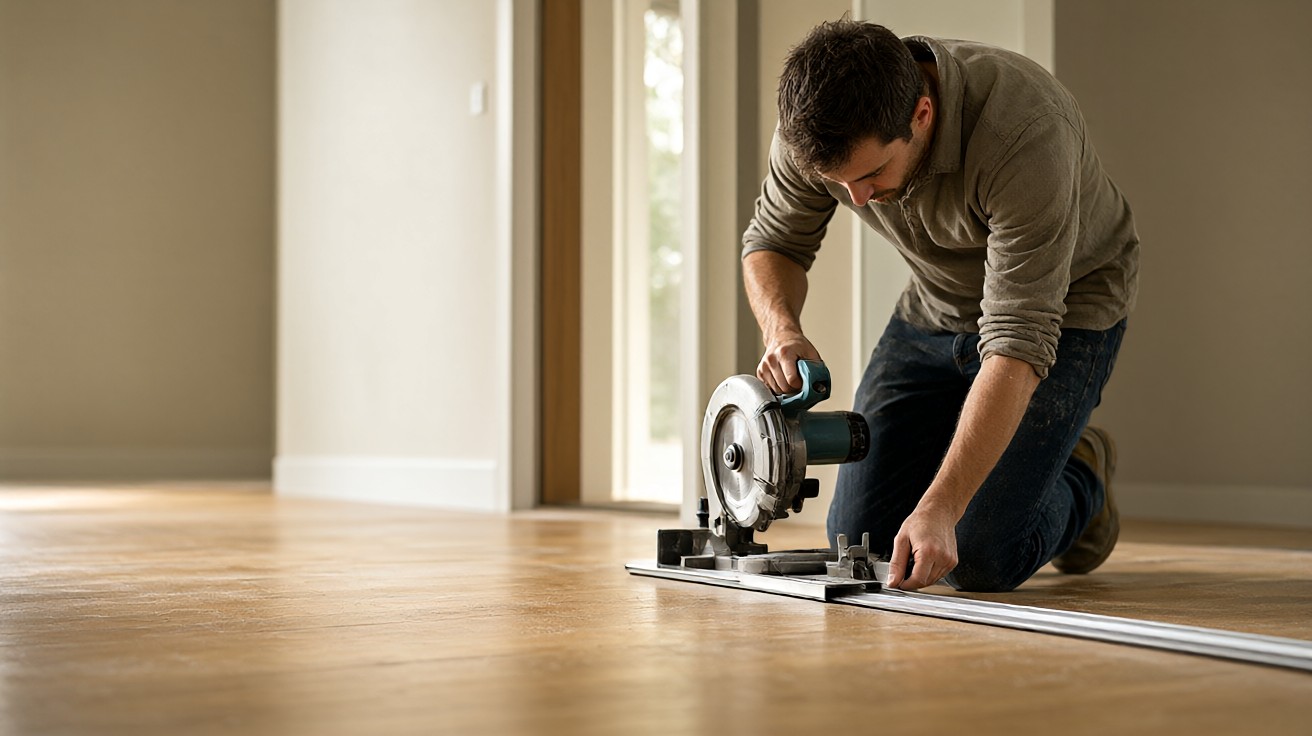
Cut with a fine-tooth blade. Cut slightly oversize and sneak up on final length with light passes. Dry-fit the strip in the track without fastening and check three things:
- The strip sits flat with no rocking or twist.
- The gap between the strip and each floor edge is even along the full length.
- The strip does not pinch either floor; clearance for movement remains.
If the strip rocks, the subfloor or floor edge is uneven. Fix the base, not the strip. A rocking strip will squeak within weeks and lift at the ends within months. If the gap is uneven, re-cut the strip and re-check the track position.
Step 5: Anchor the track
Mark the track position with the strip removed. Drill pilot holes for wood subfloors, or drill and insert anchors for concrete. Lay a bead of construction adhesive in the joint if the manufacturer specifies it, then fasten the track. Do not over-tighten; stripped holes reduce holding power and let the track loosen under traffic.
On concrete, use the fastener type the manufacturer specifies for the slab condition. On wood, screw into solid subfloor, not into the flooring itself. Re-check torque after 24 hours, because wood fibres compress under load and fasteners can loosen slightly.
Fastening by subfloor type
| Subfloor | Fastening method | Notes |
|---|---|---|
| Solid wood or plywood | Screws into subfloor | Pilot holes prevent splitting; avoid flooring layer |
| Concrete slab | Anchors or masonry fasteners | Check moisture and level first; 24 hour cure for adhesive |
| Floating floor over underlayment | Track anchored to subfloor below | Never pin through the floating floor |
Step 6: Install the strip and check movement
Press or snap the strip into the track per the profile design. Some click in; others screw through. Verify:
- The strip is flush or correctly sloped with no proud edges.
- A thin card slides under the strip edge where the floating floor must move.
- The door closes without catching the strip.
- No visible gap sits between the strip and either floor.
Walk the joint. A properly installed transition feels solid with no flex, click, or lift. Repeat the walk test after 24 hours, because adhesive cure and wood compression can change the fit slightly. A 1 mm gap that appears after curing means the track shifted and needs re-fastening.
Step 7: Position relative to the door
The transition belongs where the door closes, not at the geometric centre of the doorway. The strip should sit under the closed door so it stays hidden when shut, and the door must swing freely over it. If the strip sits too far into one room, the door catches it or leaves it exposed. Dry-fit with the door closed before final fastening. Check the door swing clears the strip by at least 3 mm to avoid contact during seasonal movement.
For thresholds at exterior or wet-area doorways, follow product instructions for sealing and drainage. Do not block required ventilation or moisture paths.
Material-specific notes for LVP, laminate, and hardwood
LVP and laminate products carry product-specific transition requirements. A strip suitable for one LVP product may not suit another because locking systems, thicknesses, and underlayments differ. Check the flooring manufacturer’s trim guide before buying. Hardwood transitions depend on whether the floor is nailed, glued, or floated, and on the wood species’ movement characteristics.
Tile edges often need dedicated edge profiles rather than standard wood mouldings. Carpet transitions require an edge that grips the carpet backing without crushing the pile. When two hard floors meet, a T-molding or a flush profile usually works, provided the finished heights match within about 3 mm.
If the finished heights do not match, plan the correction before installation. Shimming underlayment, adjusting subfloor level, or choosing a different flooring thickness can bring two floors to the same level and allow a flush transition with no strip at all.
How to verify the finished result
After installation, check the joint under load. Walk across it in both directions. Open and close the door. Run a straight edge along the strip to confirm it is flush. If a thin card catches under the edge, the strip is proud and needs reseating. If the strip flexes, the track fasteners are loose or the subfloor is soft.
Recheck the joint after 30 days and after the first seasonal humidity change. Floating floors move, and a strip that was correct in dry conditions may need adjustment once the floor expands. Catching a lifted strip early prevents trip hazards and water ingress at wet-area doorways.
Common installation mistakes
Most failures trace back to one of six errors. Each is avoidable with measurement and patience.
- Pinning a floating floor. Fastening through the flooring locks it and causes buckling. Anchor to the subfloor only.
- Ignoring the height difference. Selecting by appearance rather than finished floor height produces a lip or a gap.
- Skipping the dry fit. Cutting to a measured length without a dry run usually leaves a gap or an overhang.
- Over-tightening fasteners. Stripped holes let the track loosen and the strip lift.
- Forgetting expansion clearance. A strip that looks tight on day one may lift once the floor moves with humidity.
- Using a reducer where a stair is needed. A reducer bridges a small height difference; it is not a substitute for a stair nosing or a ramp.
When to call a professional
Also call a professional when the doorway sits between rooms with different moisture conditions, such as a bathroom and a hallway, because the transition must handle humidity cycling without lifting. A pro can select a moisture-resistant profile and seal it correctly.
Consider professional installation when the height difference exceeds 12 mm, the subfloor is damaged or out of level, the doorway is wider than 1200 mm or angled, or the flooring manufacturer requires certified installers to maintain warranty. Stair and landing transitions involve fall risk and should follow the stair nosing manufacturer instructions and applicable building codes.
Summary
Allow a full 24 hours before heavy traffic crosses the joint, because adhesive and fastener hold improve as they cure. Keep two spare transition strips on hand. Inspect the joint monthly for the first season and re-tighten any loose fasteners promptly.
Measure the finished floor height first, match the profile to it, anchor the track to the subfloor, preserve movement clearance of 8 to 12 mm, and dry-fit before final fastening. The strip should be invisible in use and solid underfoot. For selection logic, see flooring transitions between rooms and levels and how to handle flooring transitions and thresholds.
For more on this topic, see Flooring Transitions for Stairs and Landings: Nosing, Geometry, and Safety
For more on this topic, see Flooring Between Rooms Without Transition Strips: When a Seamless Floor Works
For more on this topic, see How to Repair Loose or Damaged Floor Transition Strips