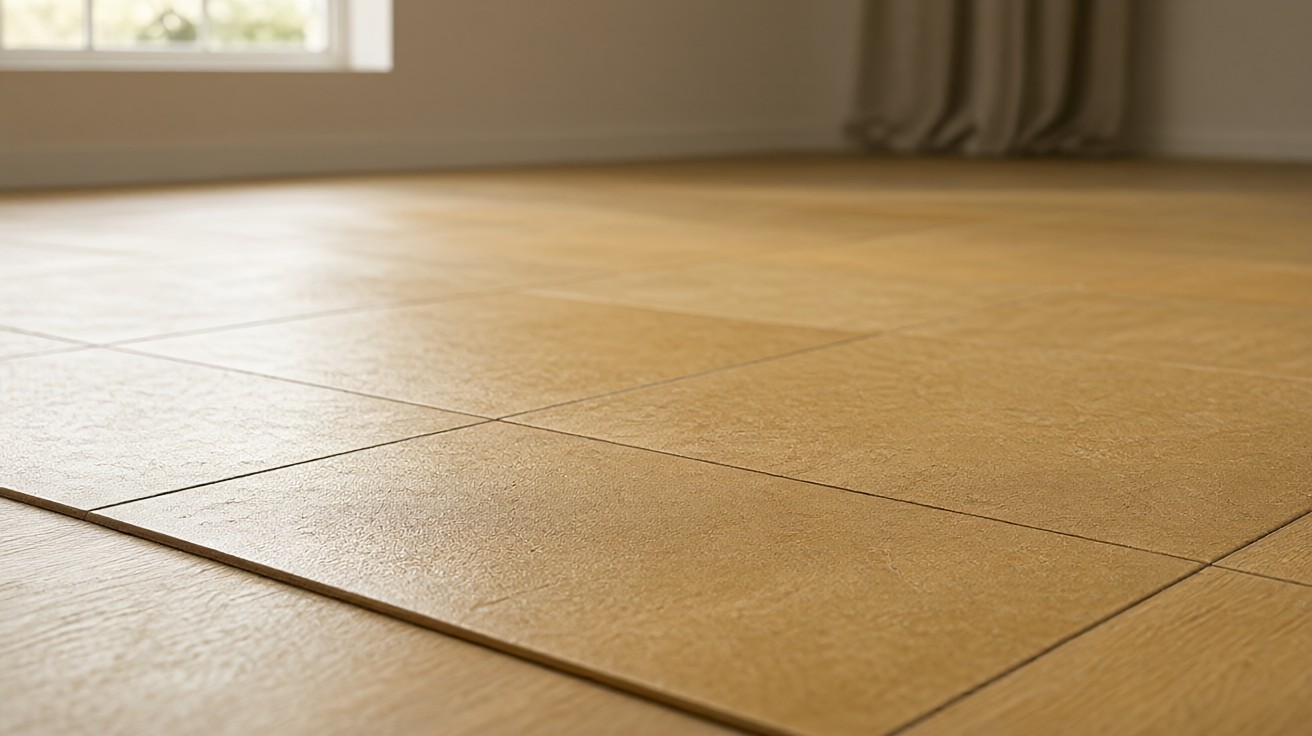

The room is empty, the subfloor is swept clean, and the carpet tiles are stacked by the door ready to go down in a straight, tight, lasting grid.
The job is simpler than broadloom carpet because there is no stretcher and no pad, but the layout and the adhesive still decide whether the floor looks straight five years from now.
What Carpet Tiles Are And How They Differ From Broadloom
Carpet tiles are small modular squares of carpet, usually 24 by 24 inches or 18 by 18 inches, with a stiff backing that holds its own shape.
They install one at a time over a prepared subfloor, which makes them popular in basements, offices, and rooms where a single damaged square can be lifted and replaced.
Modular Size And Backing Types
The most common size is 24 by 24 inches, with 18 by 18 and 36 by 36 also sold for larger open plans.
Backing types include vinyl backed, bitumen backed, and cushion backed, and each one changes how the tile bonds and how it feels underfoot.
Why Tiles Suit High Traffic And Small Rooms
Because a single tile can be swapped, carpet tiles earn their keep in hallways, playrooms, and commercial corridors where one spill would ruin a broadloom run.
The waste factor is also lower, often 5 to 8 percent instead of 10 to 15 percent for broadloom.
Planning And Layout
Planning starts with finding the center of the room and squaring a grid off it so the cut tiles at the walls come out even on all four sides.
A dry layout, tiles laid out without adhesive, catches a bad plan before it is permanent.
Finding The Center And Squaring The Grid
Measure the room in both directions and snap two chalk lines that cross at the center, then check that the lines are square with a 3 4 5 triangle or a framing square.
If the room is out of square, the grid lines still stay true and the cut tiles absorb the difference at the walls.
Dry Laying Tiles Before Committing
Lay a row of tiles along each center line without adhesive and check the cut sizes at the walls.
If a cut tile comes out narrower than half a tile, shift the grid one half tile so the borders look balanced.
Choosing A Pattern: Monolithic, Quarter Turn, Or Ashlar
Monolithic means all arrows point the same way for a uniform look, quarter turn rotates each tile 90 degrees for a checkerboard, and ashlar staggers them like brick.
Follow the arrows printed on the back of every tile so the pattern reads correctly under light.
Subfloor Prep
A clean, flat, dry subfloor is the single biggest factor in how a carpet tile floor looks and holds.
Most failures trace back to dust, moisture, or a hump the installer worked around instead of fixing, and fixing them first saves the whole job and the warranty too.
Concrete Moisture And Flatness Checks
On concrete, moisture vapor emission should stay at or below 3 pounds per 1000 square feet per 24 hours under ASTM F1869, or 75 percent relative humidity under ASTM F2170.
Flatness should be within 3/16 inch over 10 feet, and anything worse needs patching compound before the first tile goes down.
Plywood And Existing Floor Prep
Plywood subfloors need to be clean, dry, and fastened tight, with no loose panels or raised nail heads.
Over an existing resilient floor, the surface must be well bonded and free of wax, polish, and loose seams.
Acclimation And Room Conditions
Hold the tiles in the room for at least 24 hours, and 48 hours is better, so they adjust to temperature and humidity.
Keep the space between 65 and 85 degrees Fahrenheit and 30 to 65 percent relative humidity during acclimation and installation.
Adhesive Application
The adhesive choice depends on the backing, the subfloor, and whether the floor ever needs to come back up.
Spread only as much adhesive as can be covered within its open time, usually 20 to 30 minutes total.
Pressure Sensitive Adhesive
Pressure sensitive adhesive is the standard for most carpet tiles and stays tacky so tiles can be lifted and replaced later without scraping.
Apply it with a 1/16 inch by 1/16 inch by 1/16 inch V notch trowel or a roller, and let it flash until it is clear and tacky before placing tiles.
Peel And Stick Tiles
Peel and stick tiles carry adhesive on the back and need no trowel, but the subfloor must be perfectly clean or the bond fails.
Peel the release liner halfway, align the tile, then peel the rest while pressing firmly down.
Hard Set And Epoxy Adhesives
Hard set and epoxy adhesives lock tiles down permanently and suit heavy rolling loads and wet areas.
They demand a shorter working time and careful cleanup, so mix only what the open time allows.
Tile Placement
Start at the center cross and work outward in quadrants, keeping the arrows aligned with the chosen pattern.
Press each tile firmly into the adhesive and butt it tight against its neighbors without forcing.
Setting The First Tile And Building Out
Place the first tile at the intersection of the chalk lines, aligning two edges with the lines.
Work in a pyramid from the center so each new tile has two already set neighbors to register against.
Keeping Seams Tight And Arrows Aligned
Butt edges firmly and roll the joints with a hand roller to seat them fully.
Check the arrow direction on every tile before it touches the adhesive, because one reversed tile shows as a shade shift in the finished floor.
Cutting Tiles At Walls And Obstacles
Flip a tile over, mark the cut line against the wall gap, and cut with a sharp utility knife and a straightedge.
For pipes and door frames, make a paper template first and transfer it to the tile face before cutting.
Seaming And Pattern Matching
Seams in carpet tile are the edges between squares, and a tight seam with matched pattern is what separates a professional result from a patchwork.
Work from the center out so any small gap lands at the wall where it is hidden by baseboard.
Butting Edges Without Gaps
Press the new tile against the set tile with the heel of the hand, then roll the seam.
If a gap opens, lift the tile, add a thin line of adhesive, and reset rather than forcing it.
Matching Pile Direction And Shade
Keep pile direction consistent with the arrow on the back, and mix tiles from several boxes so shade variation blends instead of clustering.
Inspect under daylight and lamp light before the adhesive sets, because a shade shift is easy to fix then and impossible later.
Transition And Trim
Where carpet tile meets another floor, a transition strip bridges the height difference and protects the edge.
Baseboard and quarter round hide the perimeter cuts and finish the room.
Transition Strips At Doorways
Use a reducer or T molding sized to the height difference between the carpet tile and the adjacent floor.
Fasten the track to the subfloor, not the tile, so the strip stays put when a tile is replaced.
Baseboard And Quarter Round
Leave a 1/4 inch gap at the wall for expansion, then cover it with baseboard or quarter round neatly.
Where baseboard already exists, add quarter round rather than removing and reinstalling the baseboard.
Common Mistakes
Most carpet tile failures come from rushing the layout or skipping subfloor prep.
Each mistake below costs more to fix after the adhesive sets than it would have cost to avoid.
Skipping The Dry Layout
Installing straight from the box without a dry layout is the top cause of crooked borders and narrow slivers at the walls.
The dry layout takes 20 minutes and saves a full day of rework, and it is the cheapest insurance on the whole job.
Ignoring Moisture On Concrete
Gluing tiles over a damp slab lifts the backing and curls the edges within months.
Test moisture first and use a moisture barrier or epoxy primer when results exceed the limit.
Mismatched Arrows And Shade Clustering
One reversed tile in a monolithic field reads as a dark or light square forever.
Mix cartons and check arrows on every tile to keep the field even.
FAQ
Can Carpet Tiles Go Over Concrete?
Yes, as long as moisture is within limits and the slab is flat and clean.
Use a pressure sensitive adhesive rated for concrete and test moisture with ASTM F1869 or F2170.
Do Carpet Tiles Need A Pad?
No, cushion backed tiles have the pad built in, and standard tiles go directly on the subfloor.
Adding a separate pad under non cushion tiles is not recommended because it breaks the adhesive bond.
How Long Before Walking On New Carpet Tiles?
Light foot traffic is usually fine after 24 hours, and rolling loads should wait 72 hours for a fully cured bond.
Follow the adhesive label, since hard set products may need longer.
Maintenance And Tile Replacement
Carpet tiles are low maintenance, but a quick vacuum and prompt spot cleaning keep the pile upright and the seams invisible.
Rotate tiles from high traffic lanes to low traffic areas every year to even out wear.
When a tile is stained or crushed, lift it with a putty knife, scrape the old adhesive, and set a new tile from the attic stock kept from the original order.
Keeping 5 to 10 percent extra tiles from the original dye lot ensures a perfect match years later.
Extra attic stock from the same dye lot also covers future damage from chair casters, pet claws, and heavy furniture moves, so the floor stays uniform for years.
Adhesive And Tile Comparison
| Adhesive Type | Main Advantage | Main Limitation | Best Fit |
|---|---|---|---|
| Pressure sensitive | Tiles lift and replace easily | Can shift under heavy rolling loads | Offices and homes |
| Peel and stick | No trowel needed | Needs spotless subfloor | Small DIY rooms |
| Hard set | Permanent bond | Hard to remove later | High traffic corridors |
| Epoxy | Moisture and chemical resistance | Short working time | Basements and wet areas |
Tile Backing Comparison
| Backing Type | Main Strength | Main Trade-Off | Consider It When |
|---|---|---|---|
| Vinyl backed | Dimensional stability | Firmer underfoot | Commercial and basement use |
| Bitumen backed | Strong adhesive bond | Heavier and less flexible | Permanent installations |
| Cushion backed | Comfort and acoustics | Costs more | Bedrooms and living rooms |
Linking To Related Guides
For a broader view of carpet choices, see the carpet flooring guide.
Broadloom stretch in work is covered in carpet installation and stretching.
For hard surface installs, compare how to install ceramic tile and how to install porcelain tile.
Vinyl options are summarized in the vinyl flooring guide.