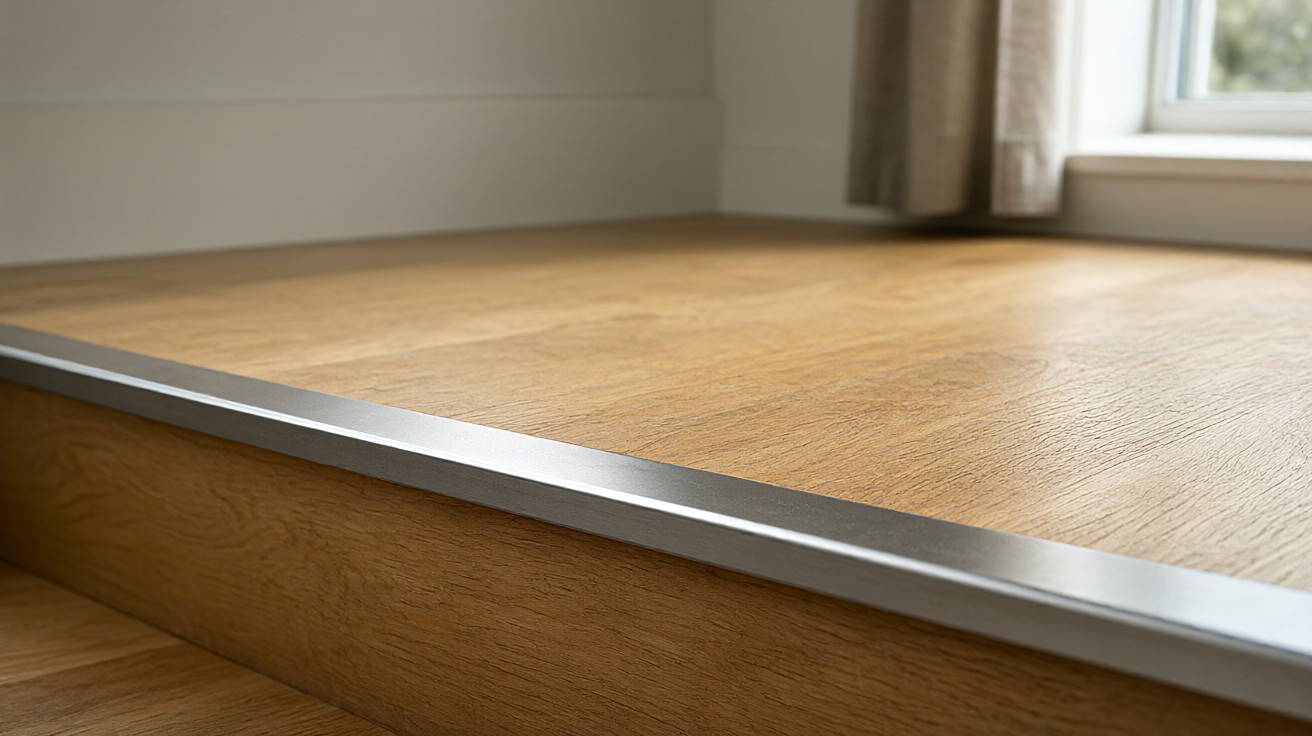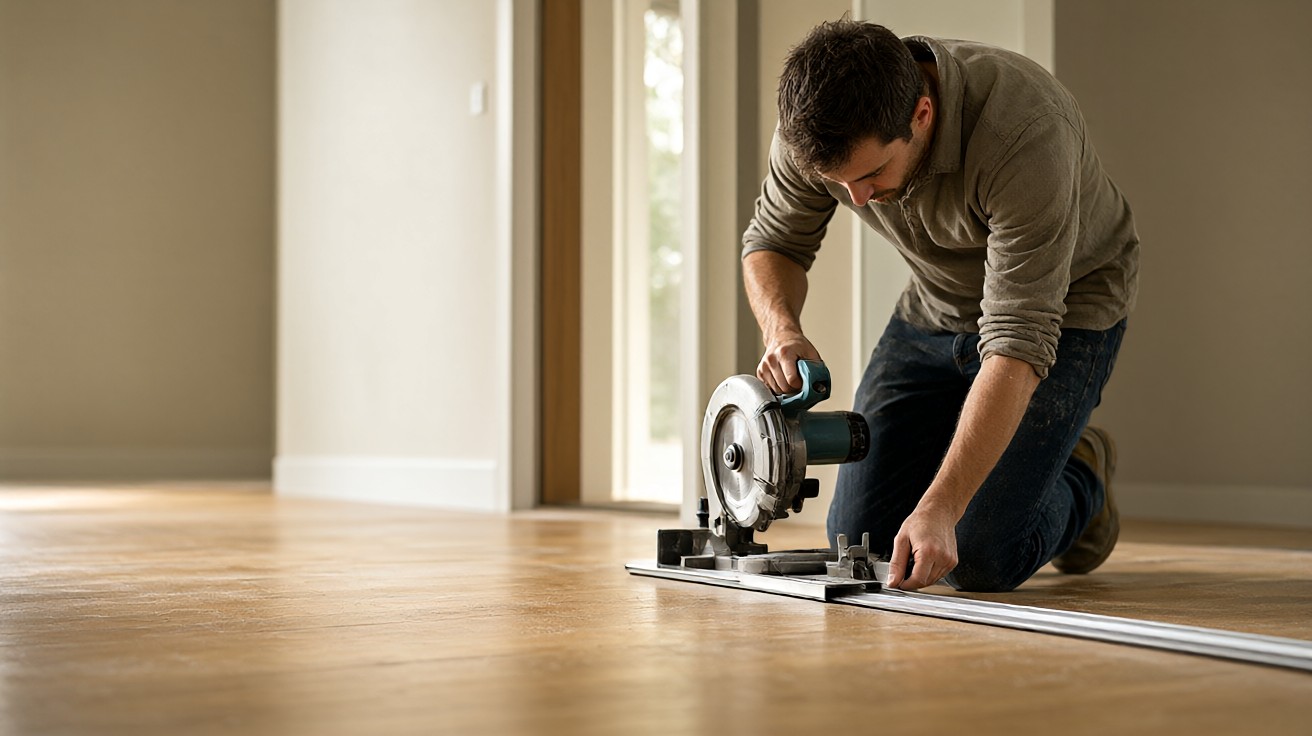

LVP and laminate can run through a doorway with no strip only when both floors finish at the same height and the expansion gap is handled at the perimeter.
If any one of those fails, a strip is required.
A seamless floor looks clean, but it removes the natural break that a transition strip provides. Plan the expansion gap, height match, and product limits before committing to a strip-free layout.
| Scenario | Strip needed? | Condition |
|---|---|---|
| Same flooring, two rooms | No, if heights match | Within 1 mm finished height |
| Different materials, flush | Often yes | Unless planned with movement joint |
| Carpet to hard floor | Yes | Carpet edge must be secured |
| Floating floor at doorway | Usually yes | Expansion break required |
When a strip-free floor works
A continuous floor works when three conditions are met. First, both floors finish at the same height within about 1 mm. Second, the installation method permits a continuous run without a movement break. Third, the product manufacturer allows it. When all three hold, the result is a clean, uninterrupted surface.
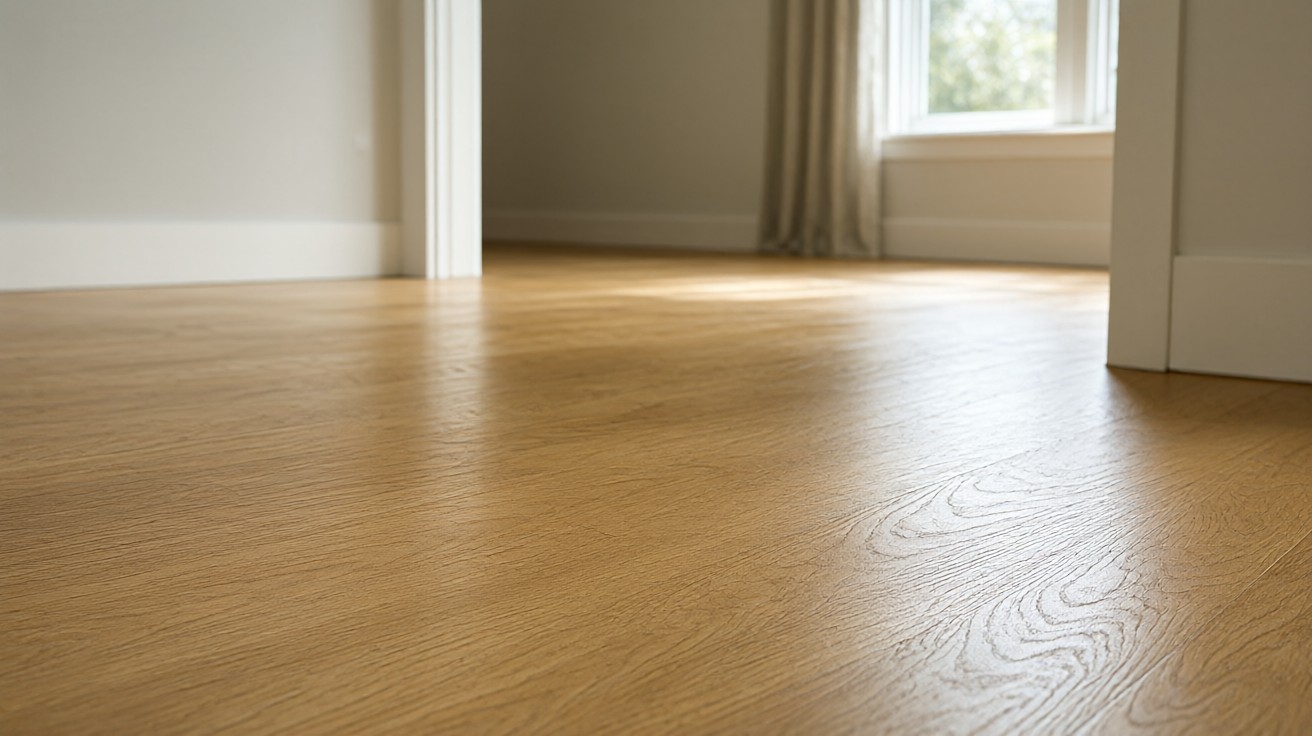
Open-plan layouts are the most common case. A continuous flooring field through open plan spaces reads as one surface and avoids visual breaks. The same flooring runs from the living room through the dining area and into the kitchen with no doorways or breaks. The expansion gap is handled at the room perimeter, not at internal joints.
Same flooring in adjoining rooms
Running the same product through two rooms is the simplest strip-free scenario. The flooring is one continuous field, and the only joints are at the walls. The main risk is height variation caused by different subfloor conditions or underlayment thicknesses in each room.
Measure the finished floor height in both rooms before ordering. A 3 mm difference between rooms turns a strip-free plan into a reducer or subfloor-levelling job. Correct the base, not the flooring, when heights differ.
Flush transitions between different materials
A flush transition between two different flooring materials is possible when both finish at the same height and the joint is planned in advance. Tile and hardwood, or LVP and tile, can meet flush if the subfloor and underlayment are adjusted to equalise heights.
The joint between two materials still needs a movement break unless the products are bonded and the assembly is stable. A flush transition between a floating floor and a glued floor is risky because the floating side moves while the glued side does not.
Expansion gaps and floating floors
Floating floors move with humidity and temperature. The expansion gap, typically 8 to 12 mm, must be preserved at every wall and fixed object. A 10 mm gap is the most common specification for LVP. Check the manufacturer’s guide, because some products need 12 mm. Never reduce the gap to zero.
In a strip-free layout, the gap cannot be hidden by a transition strip, so it must be handled at the perimeter or with a colour-matched filler.
Skipping the expansion break to achieve a seamless look is a common cause of buckling and tenting. The floor has nowhere to go when it expands, and the joint lifts or the planks peak. A strip-free floor is not a gap-free floor.
When transition strips cannot be omitted
A strip is required when the height difference exceeds about 1 mm, when the installation method needs a movement break, or when the product manufacturer specifies one. Most floating floors require a transition strip at doorways to allow expansion and to protect the exposed edge.
Carpet to hard floor always needs a transition, because the carpet edge must be secured and the hard floor edge protected. Tile to hardwood often needs a profile unless both are set at exactly the same height with a planned movement joint.
| Product | Continuous run limit | Notes |
|---|---|---|
| LVP / laminate | Per manufacturer guide | Often 10 m max in one direction |
| Nailed hardwood | Usually unlimited | Fixed to subfloor, no floating movement |
| Floating engineered wood | Per manufacturer guide | Expansion breaks at doorways |
| Tile | Unlimited with movement joints | Rigid; substrate must handle movement |
Product-specific requirements
LVP, laminate, and engineered wood each have their own rules for continuous runs. Some products allow runs up to 10 metres in one direction without a break; others require a break at every doorway. Check the manufacturer’s installation guide before planning a strip-free layout.
Hardwood floors that are nailed or glued can often run continuously because they are fixed to the subfloor. Floating hardwood still needs expansion breaks. Tile is rigid and can run continuously, but the grout joints and substrate must be designed for movement.
Risks of skipping required breaks
Skipping a required expansion break causes buckling, gapping, and joint failure. The floor peaks in the centre of the room or separates at the seams. In severe cases, the flooring delaminates or the subfloor is damaged by the pressure. Repair costs for a buckled floating floor often exceed the cost of the original installation.
A strip-free floor also removes the protection that a transition strip gives to exposed edges. Doorway edges take the most traffic and wear fastest without a strip. Chips and dents at the edge are common on strip-free floors in high-traffic doorways. A strip would have protected these edges.
Doorway edges take the most traffic and wear fastest without a strip. Chips and dents at the edge are common on strip-free floors in high-traffic doorways. A strip would have protected these edges.
Planning a strip-free layout
Start with the subfloor. It must be flat, level, and dry across both rooms. Any height variation must be corrected before flooring is laid. Plan the expansion gap at the perimeter, and decide how it will be hidden, whether with baseboard, quarter-round, or colour-matched filler. NWFA, RFCI, and TCNA all specify expansion requirements for their respective products.
Decide on the flooring direction. Running planks parallel to the doorway makes a continuous run easier to align. Running them perpendicular requires careful staggering at the joint to avoid a visible seam.
Order 10 percent extra material to cover cuts at doorways and to allow for future repairs. A strip-free floor is harder to patch than a floored one with a strip, because the joint is not hidden. Keep spare planks from the original batch for repairs. Store them flat in a dry place.
Subfloor preparation for a continuous run
A strip-free floor demands a flatter subfloor than a stripped one, because there is no transition strip to hide height variation. The subfloor must be within 3 mm over 2 metres in all directions. Level high spots by grinding and fill low spots with self-levelling compound. Allow the compound to cure for 24 hours before laying flooring.
Moisture must be tested and controlled. A concrete slab with elevated moisture will cause a floating floor to buckle regardless of how well the expansion gap is planned. Test moisture per the flooring manufacturer’s method and install a vapour barrier if required.
Acoustic and comfort considerations
A continuous floor transmits sound between rooms more easily than a floor with strips, because there is no break to interrupt vibration. In multi-room layouts, consider an acoustic underlayment with a rating of at least 20 dB impact sound reduction. This is especially important in upstairs rooms and apartments.
Thermal comfort also matters. A continuous floor over a cold subfloor feels cold underfoot. Underfloor heating can be installed under most floating floors, but the product must be rated for it and the expansion gap must be sized for the temperature range.
Visual design of a seamless floor
Plank direction affects how a continuous floor reads. Running planks parallel to the main sightline elongates the space. Running them perpendicular to a doorway can make the joint visible even without a strip. Choose the direction before ordering, and dry-lay a few rows to check the visual flow.
A dry lay takes 30 minutes and prevents a costly mistake. It also reveals colour variation before the floor is fixed.
Colour and pattern consistency across rooms matters more on a strip-free floor, because the eye travels further without interruption. Order all material from the same batch to avoid colour variation between rooms. ANSI and ASTM standards cover the testing methods for these products.
Measuring and ordering for a continuous run
Measure each room separately and add the areas together, then add 10 percent for waste. Doorways and closets create offcuts that cannot be reused. Order all material at once from the same batch to avoid colour variation.
Check the delivery for damage before accepting it. A damaged plank in the middle of a continuous run is harder to replace than one in a stripped layout, because the joint is not hidden by a strip.
When to add a strip later
If a strip-free floor develops problems, a transition strip can be added later at a doorway. The gap must be cut cleanly and the strip fitted to the new joint. This is more work than installing the strip during the original installation, but it is possible.
Adding a strip later is common when a floating floor starts to buckle at a doorway. The strip provides the movement break that was missing and relieves the pressure. It also protects the now-worn edge from further damage.
Case study: open-plan kitchen and living room
A homeowner wants oak LVP throughout the kitchen and living room with no transition at the doorway. The subfloor is level within 2 mm. The product allows a 10 metre continuous run. The expansion gap is handled with baseboard in both rooms. The result is a seamless surface that makes the space feel larger.
If the subfloor had been 5 mm out of level, the plan would have failed. The height difference would have required either subfloor levelling or a transition strip. Planning early saved the cost of a strip and the visual break it would have created.
Common mistakes
- Assuming the same product means the same height. Different underlayment or subfloor conditions create height differences even with identical flooring.
- Ignoring the manufacturer’s run limit. Exceeding the maximum continuous run voids the warranty and causes buckling.
- Hiding the expansion gap with filler only. Filler shrinks and cracks; a proper gap with baseboard cover is more durable.
- Skipping the strip at a carpet edge. Carpet edges must be secured, and a strip is the standard solution.
- Planning after the floor is laid. Strip-free layouts must be decided during subfloor preparation, not at the end.
When to call a professional
Consider a professional when the layout spans more than two rooms, when different flooring materials must meet flush, or when the subfloor is uneven. A professional can calculate expansion requirements and select the right installation method for a continuous run. A site visit is recommended for layouts over 50 square metres.
Summary
A strip-free floor works when heights match within 1 mm, the product allows a continuous run, and the expansion gap is handled at the perimeter. It removes the protection and movement break that a strip provides, so it must be planned from the start. For selection logic, see flooring transitions between rooms and levels.
A strip-free floor is a design choice, not a default. Plan it from the start, not at the end of the installation job ever now please. For installation of strips when one is needed, see how to install flooring transition strips.