
Dents in wood flooring form when impact crushes the wood cells, and many shallow dents can be lifted back with steam and moisture before any sanding is needed.
Use steam for shallow dents with intact fibers and filler or sanding for deep ones with broken fibers. Match the method to the depth before you start.
What Causes Dents in Wood Flooring
Wood is a natural material with a cellular structure that compresses under pressure. When force is applied faster than the wood can absorb it, the cell walls collapse and leave a depression. Several everyday sources create this kind of damage.
Impact and Dropped Objects
Dropping heavy or sharp items is the most common cause. A cast iron pan, a tool, or a glass bottle concentrates force on a small area and crushes the wood fibers.
The harder the object and the smaller the contact point, the deeper the dent. Kitchens and workshops see the most impact damage because hard objects are handled there daily.
Furniture Legs and Heavy Furniture
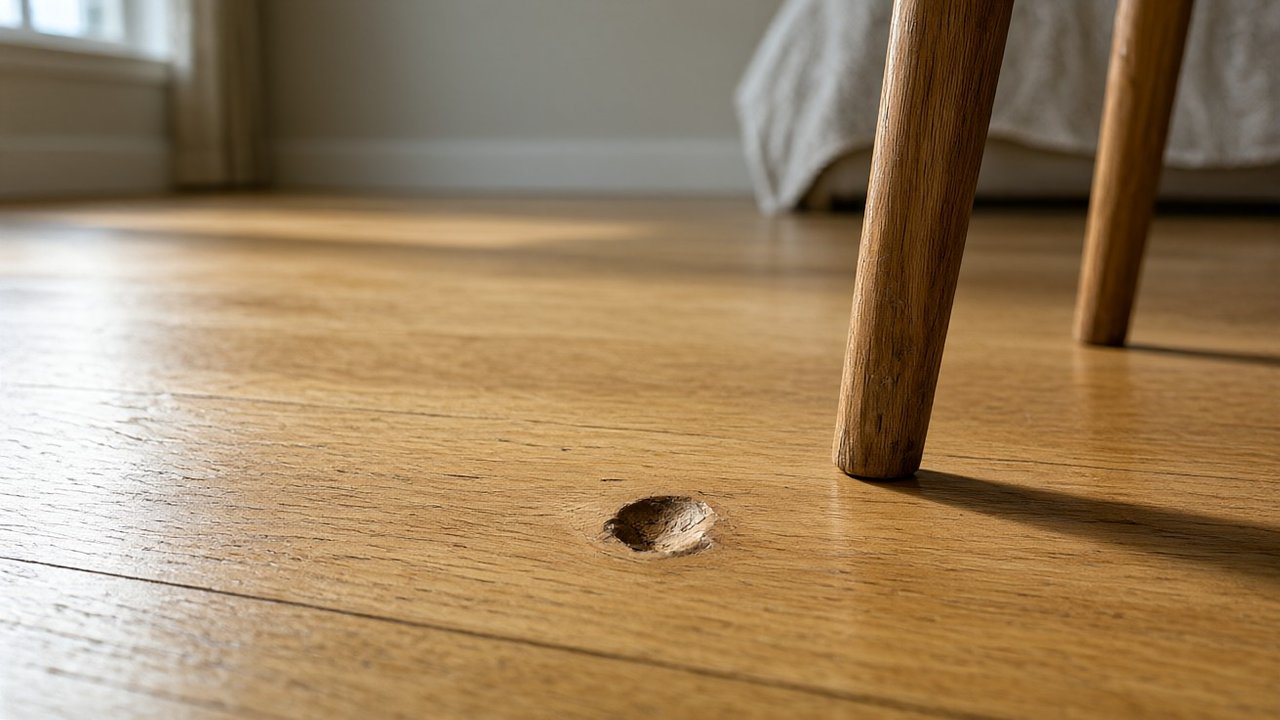
Chair legs, table legs, and appliance feet create dents through sustained pressure rather than sudden impact. When furniture is dragged instead of lifted, the leg acts like a chisel and gouges the surface.
Over time, even stationary heavy pieces can leave marks where the load exceeds the wood’s compression strength. Office chairs with hard casters are a frequent culprit on hardwood.
High Heels and Shoe Traffic
A 120 pound person in stiletto heels can exert over 2,000 pounds per square inch at the heel tip. That pressure exceeds the hardness of most domestic hardwoods and crushes the surface.
Entryways and kitchens see the most shoe related damage. Even flat shoes with hard soles can mark softer species over years of traffic.
Pet Claws
Dogs and cats running across a floor can leave small puncture marks, especially in softer species. These are usually shallow but numerous, and they collect dirt that makes them more visible over time.
Large dogs with untrimmed nails cause the most damage, particularly near doors and in hallways.
| Species | Janka Hardness (lbf) | Dent Resistance |
|---|---|---|
| Eastern white pine | 690 | Low |
| Black cherry | 950 | Low to moderate |
| Black walnut | 1010 | Moderate |
| Red oak | 1290 | Moderate |
| White oak | 1360 | Moderate to high |
| Hard maple | 1450 | High |
| Hickory | 1820 | Very high |
| Brazilian cherry (jatoba) | 2350 | Very high |
Source values from the National Wood Flooring Association (NWFA) Janka hardness list. Higher numbers mean greater resistance to denting and wear. Janka measures the force needed to embed a steel ball halfway into the wood, which correlates well with real world dent resistance.
Solid Hardwood vs Engineered Hardwood Dent Resistance
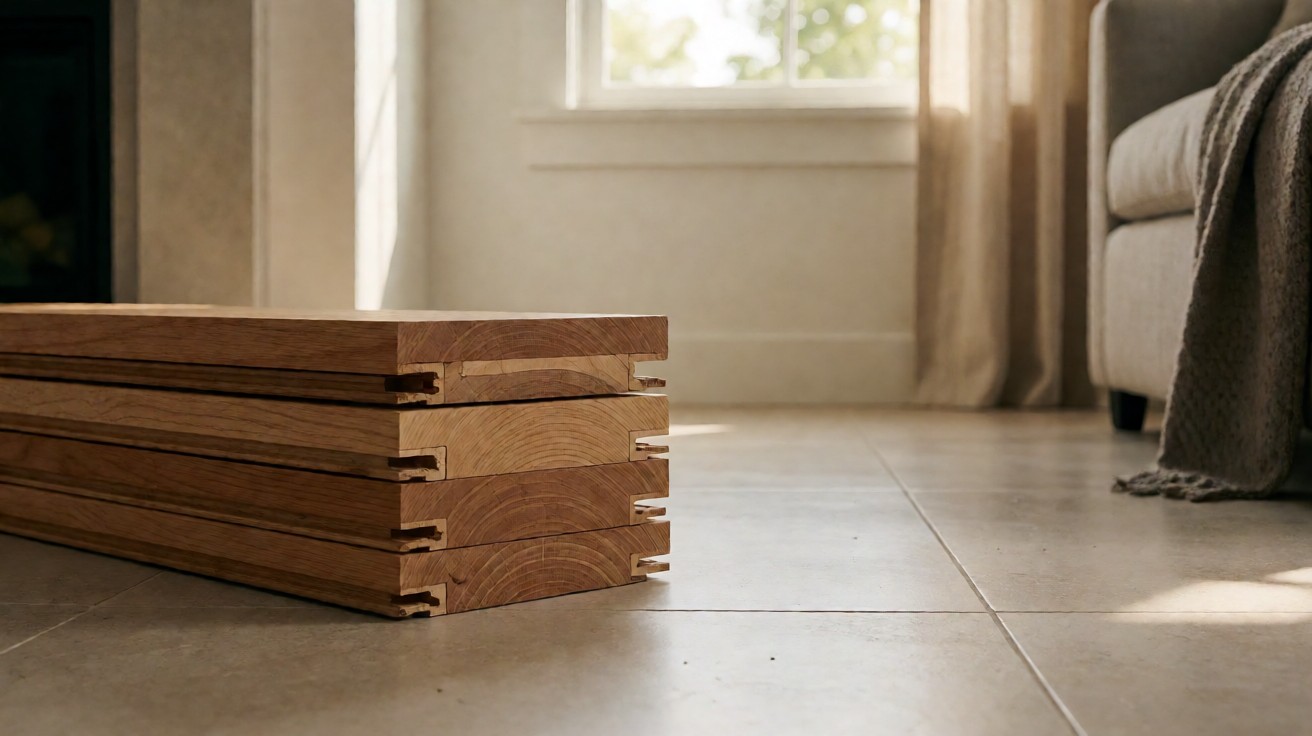
Solid hardwood is a single piece of wood from top to bottom, so its dent resistance depends entirely on the species. Engineered hardwood has a thin veneer of hardwood bonded to a plywood or high density fiberboard core.
The veneer is the same species as solid wood, so surface hardness is similar, but the core provides dimensional stability rather than impact resistance. For dent resistance, the top layer matters most.
A 3 mm oak veneer dents about the same as solid oak. The difference appears in deep damage: solid hardwood can be sanded and refinished multiple times to remove dents, while engineered floors have limited sanding depth.
Once the veneer is worn through, the core shows and cannot be repaired to match. NWFA, ANSI, and ASTM guidance all stress matching the repair method to the floor construction.
Which Species Resist Dents Best?
Harder species resist dents better. Hickory and maple outperform oak, while pine and cherry dent easily. Exotic species such as Brazilian cherry are very hard but can be brittle.
Choose based on traffic level and the cost of refinishing. For families with pets and kids, a mid to high Janka species with a durable finish is the safest bet.
Does Finish Matter More Than Species?
The finish layer absorbs the first impact and can prevent a dent entirely if it is thick and elastic. Aluminum oxide finishes on prefinished floors are harder than site applied polyurethane and resist marking better.
However, once the finish is breached, the wood beneath behaves according to its Janka rating. A 3 mm to 4 mm veneer is typical on engineered planks.
How to Assess Dent Depth
Before repairing, determine whether the dent is shallow (surface compression only) or deep (broken fibers). This decides which method to use. Rushing into the wrong repair wastes time and can damage the finish further.
Is the Dent Shallow or Deep?
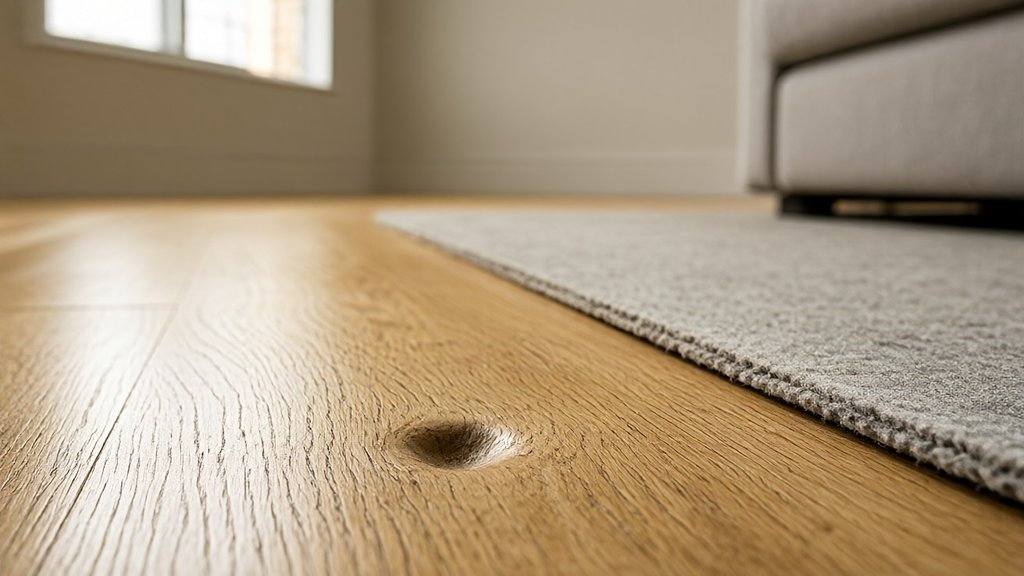
Look at the edges and test with water. Shallow dents have smooth, rounded edges and the wood fibers are intact. Deep dents have sharp edges, splintered fibers, or a cracked finish.
The distinction matters because shallow dents can often be reversed, while deep ones must be filled or sanded out.
The Water Test for Shallow Dents
Place a few drops of water on the dent and wait. If the wood swells and the dent rises, the cell walls are intact and the dent is shallow. This is a good candidate for the steam method.
If nothing happens, the fibers are broken and filler is needed. Do not leave standing water on the floor; wipe it up after testing.
Deep Dents and Broken Fibers
If the dent has sharp edges, splintered wood, or does not swell with water, the fibers are broken. These need filler or sanding rather than steam. Also check whether the finish is cracked around the dent, which indicates impact damage.
For floors that also show moisture problems, see how to repair water damaged wood flooring.
Repair Methods for Dents in Wood Flooring
Match the method to the depth. Start with the least invasive option and move up only if needed. Always test in a hidden area first.
Steam and Iron Method for Shallow Dents
For shallow dents with intact fibers, moisture and heat can swell the wood back to level. Place a damp cloth over the dent and press a hot iron on it for a few seconds. The steam penetrates the fibers and lifts them.
Repeat as needed, then let dry 24 hours and refinish if the surface is dull. Do not over wet the floor, as excess moisture can cause cupping. Test in an inconspicuous spot first. A clothes iron on medium heat with no steam setting works; the damp cloth supplies the moisture.
Wood Filler for Deep Dents
Deep dents and gouges need filler. Clean the dent, apply a stainable wood filler that matches the species, and level it with a putty knife. Once dry, sand smooth and apply matching finish.
For best results, tint the filler with the same stain used on the floor. Colored wax sticks work well for small marks on prefinished floors. Epoxy fillers are more durable for high traffic spots but harder to color match.
Sanding and Refinishing for Severe Damage
When dents are widespread or deep enough to break the surface, sanding and refinishing is the only lasting fix. This removes the damaged layer and applies new finish. It is labor intensive and requires dust containment.
Solid hardwood can be sanded multiple times; engineered floors only once or twice depending on veneer thickness. Sand with 120 grit, then 150 grit. Minor surface marks may be handled like scratched hardwood floors with a screen and recoat.
Board Replacement for Isolated Deep Dents
If a single board has a dent too deep to fill cleanly, replacing the board gives a better result. This requires cutting out the damaged board, fitting a new one, and refinishing to match.
It is skilled work and often needs a professional, but it avoids refinishing the whole floor.
Color Matching and Finish Repair
After filling or steaming, the repaired area may differ in color or sheen. Test stain on a scrap piece or hidden area first. Match the sheen level (matte, satin, semi gloss, gloss) of the existing finish.
Feather the new finish into the surrounding area to avoid a visible patch. For prefinished floors, use the manufacturer’s touch up kit and follow the product directions.
Keep in mind that wood ages and darkens over time, so a perfect match on a new floor may look slightly different on an older one.
Prevention
Prevention is cheaper than repair. Use felt pads under all furniture legs and replace them when worn. Place rugs in high traffic areas and entryways. Adopt a no shoes policy indoors, especially for heels.
Keep pet nails trimmed. Use a damp (not wet) mop and avoid harsh cleaners that soften the finish. Lift furniture instead of dragging it, and use a dolly or sliders for heavy pieces.
Maintain indoor humidity between 35 and 55 percent to keep wood stable and reduce movement.
When to Call a Professional
Call a pro when dents cover a large area, when the floor is engineered with a thin veneer, when the subfloor may be damaged, or when you are unsure about matching an existing finish.
A professional can also handle board replacement for isolated deep dents that filler cannot hide. If boards have separated and gaps have opened, see how to fix gaps between hardwood planks.
Squeaky boards may signal subfloor issues; see how to fix squeaky hardwood floors.
Cost Considerations
Costs vary by method and by region. The ranges below are typical for residential work in the United States and come from Angi (formerly HomeAdvisor) cost guides.
| Repair Method | Typical Cost (USD) | Notes |
|---|---|---|
| Steam and iron (DIY) | 0 to 20 | Materials only; time and care required |
| Wood filler (DIY) | 10 to 40 | Filler, stain, and finish |
| Professional spot repair | 100 to 300 | Per visit, small area |
| Sanding and refinishing | 3 to 8 per sq ft | Room or whole floor |
| Board replacement | 200 to 600 | Per board, including labor |
Steam repair is nearly free as a DIY project. Wood filler repair costs little for materials. Professional sanding and refinishing runs higher. Board replacement falls in between.
Get multiple quotes and confirm the contractor is experienced with your floor type.
Tools and Materials Checklist
Gather everything before you start. For steam repair you need a clothes iron, clean cotton cloth, and water. For filler repair you need wood filler, putty knife, sandpaper, stain, and finish.
For sanding you need a drum or orbital sander, edger, vacuum, and finish. Having the right tools prevents mid project trips to the store and reduces the chance of damaging the floor further.
Common Mistakes to Avoid
Over wetting the floor during steam repair causes cupping and staining. Using the wrong filler color leaves a visible patch. Sanding through the veneer on engineered floors ruins the board.
Skipping the test patch leads to a mismatched finish. Rushing the drying time between coats causes tackiness and poor adhesion. Take your time and follow product directions.
path: /root/.hermes/profiles/ngulas/sites/meiganflooring/drafts/how-to-repair-dents-in-wood-flooring.body.html
For more on this topic, see How to Repair Chipped Laminate Flooring