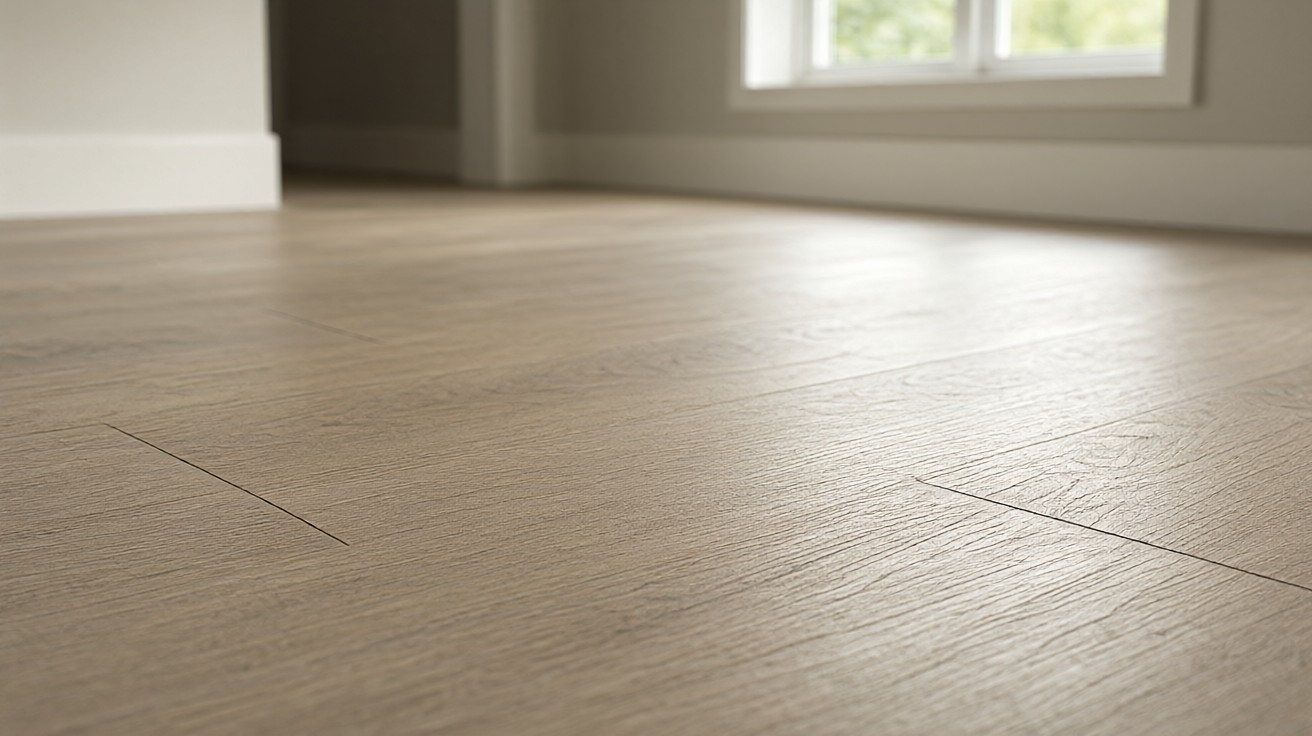

A line of daylight along the plank ends is rarely a defect; it is a floating laminate floor that moved and could not move back to where it started.
You should use a floor suction cup or a pull bar to close gaps under 3 mm, once you confirm the joint still locks and the cause is fixed. When the floor has nowhere to expand, cut a 6 to 10 mm expansion gap at the wall rather than pulling the planks tight.
What Causes Gaps in Laminate Flooring?
Laminate is a floating floor. It is not nailed or glued to the subfloor, so the entire connected field of planks is free to expand and contract as temperature and relative humidity change. Gaps are usually the floor reporting that it moved further than the joints allowed.
- Dry winter air pulls indoor relative humidity below the 35 to 55 percent range most manufacturers specify, and the planks shrink slightly at every joint.
- Missing or undersized expansion space at walls, door casings, and thresholds leaves the floor with no room to grow.
- A cabinet toe-kick, kitchen island, or radiator pipe pinned to the subfloor locks one spot while the rest of the floor moves.
- An uneven subfloor lets planks rock under traffic, which slowly wears out the locking profile.
- Poor acclimation, typically less than 48 hours, means the planks were installed at a moisture content unlike the room they sit in.
- Dragged furniture and heavy point loads snap click-lock tongues that were never designed to take that kind of shear.
Fixing the cause first matters.
A gap that gets filled and closed without removing the underlying cause usually reopens within weeks, and each cycle chips the locking profile a little more.
Why do gaps appear months after installation?
Seasonal movement is the usual reason. The first heating season in the house drops humidity, and any joint that was only marginally tight on day one opens. The same pattern shows up in coastal homes when summer humidity pushes the floor against a wall that has no expansion space.
How Wide Is Too Wide? Gap Tolerance Guide
Not every visible line is a defect. The European Producers of Laminate Flooring (EPLF) technical bulletin on installation states that openings in the finished surface with a maximum width of 0.2 mm are acceptable and reflect normal product tolerances rather than faults.
The same bulletin references EN 13329 for laminate performance and notes that wood-based cores are hygroscopic, so seasonal movement is expected. NALFA-certified products meet defined joint and wear standards, so a NALFA seal is a useful filter when you buy replacement planks.
| Gap width | Likely meaning | Recommended action |
|---|---|---|
| Under 0.2 mm | Normal manufacturing and seasonal tolerance | No repair needed; track humidity |
| 0.2 to 1 mm | Minor seasonal or humidity movement | Correct humidity and recheck in 2 to 4 weeks |
| 1 to 3 mm | Acclimation or installation issue | Close the joint with a suction cup or pull bar |
| 3 to 6 mm | Obstruction, subfloor, or locking failure | Diagnose the cause before touching the joint |
| Over 6 mm | Structural movement or a failed perimeter | Lift the row and rebuild the assembly |
If you are unsure of the width, slide a feeler gauge or a strip of card stock into the gap and measure it. A photograph of the gauge next to a ruler is useful evidence if you need to file a warranty claim.
Is a 1 mm gap normal in laminate flooring?
No. A 1 mm gap sits outside the EPLF tolerance of 0.2 mm and signals an installation or humidity problem. Correct the humidity first, then close the joint if it does not improve on its own.
Diagnose the Gap Before You Repair It
Spend ten minutes on diagnosis before you spend an hour on repair. The fix that works for a dry winter gap is completely different from the fix for a floor pinned under a cabinet.
| What you observe | Most likely cause | Best first step |
|---|---|---|
| Gaps open in winter, close in summer | Low relative humidity | Hold 40 to 60 percent humidity indoors |
| Gaps along one wall only | Missing expansion space | Remove baseboards and check the perimeter |
| One loose plank in a traffic path | Broken click-lock joint | Re-engage or replace the plank |
| Gaps within the first year | Short acclimation or uneven subfloor | Check flatness against ASTM F1868 |
| Gaps around an island or cabinet | Point load blocking movement | Remove the load and let the floor relax |
Check the perimeter next. Pull the baseboards carefully and confirm that the floor edge sits 6 to 10 mm away from the wall, which is a quarter inch at the wide end of the range. If the edge is tight against the wall, the floor cannot move and it will open gaps somewhere in the middle of the room instead.
Read the moisture data before you touch anything. ASTM F2170 in-situ probes give relative humidity inside the subfloor, and a reading outside the 3 to 5 percent range many manufacturers specify points to a damp slab or crawl space rather than to the laminate itself.
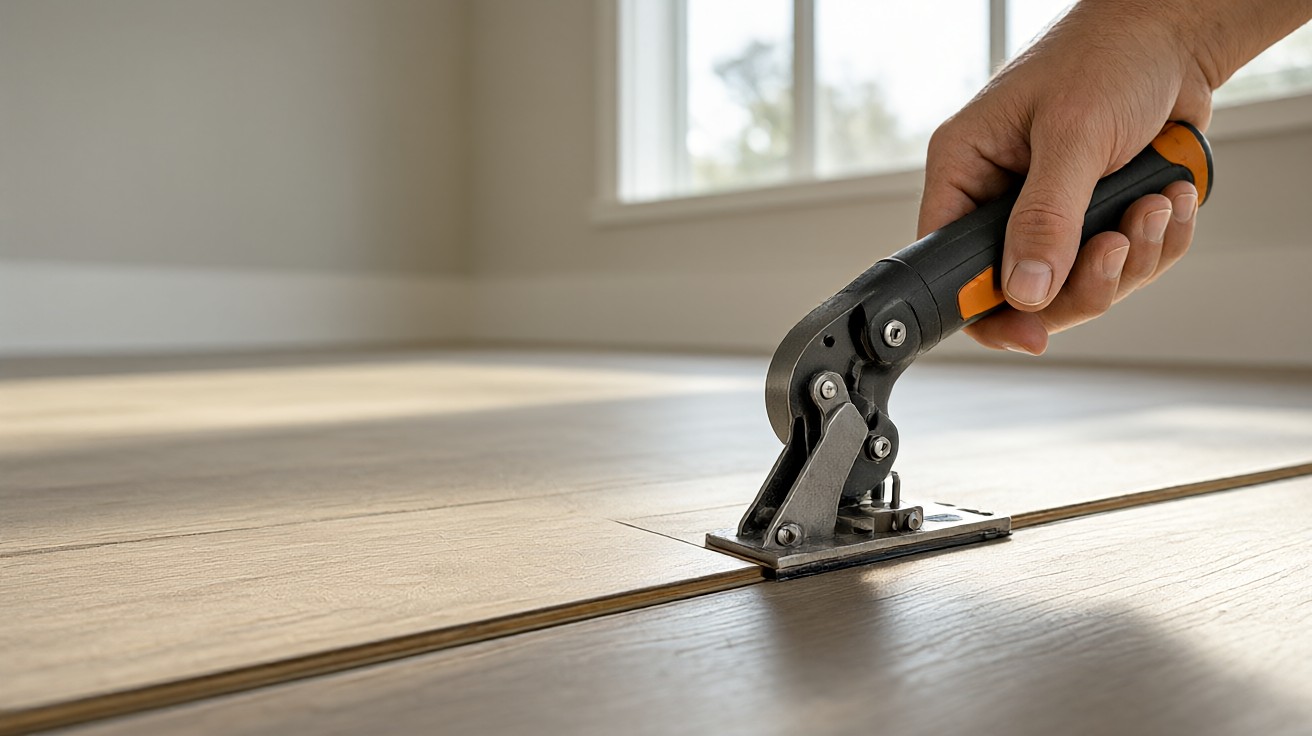
Method 1: Close a Small Gap with a Suction Cup or Gap Fixer Tool
A suction cup is the safest first method for a single small gap because it pulls one plank toward the other without drilling, prying, or levering on a locking profile.
- Wipe the plank surface so the suction cup seals on the finish.
- Set the cup on the plank next to the gap, well away from the joint.
- Pull steadily toward the gap until the joint closes.
- Tap the plank with a rubber mallet and tapping block if the joint needs seating.
- Hold for 10 seconds, release, and check that the joint stayed shut.
This method works best on gaps under about 2 mm and on smooth surfaces a cup can grip. If the plank is textured, use a larger cup or switch to a pull bar and tapping block, which works much better on a herringbone or beveled edge.
Stop if the joint will not close with moderate force.
Forcing a jammed joint chips the locking tongue, and a chipped tongue means the plank comes out next.
Method 2: Re-Lay Rows From the Nearest Wall
When several planks in a row have opened, the most reliable repair is to disassemble from the nearest wall and lay the row back down with proper pressure and spacing.
- Remove baseboards and transition strips along the starting wall.
- Release and lift the first row, working back toward the gap one plank at a time.
- Clear debris from the joints and vacuum the subfloor.
- Re-lay each plank, tapping every joint closed with a tapping block and mallet.
- Restore the 6 to 10 mm expansion gap and refit the baseboards.
Click-lock systems are designed to be taken apart and reassembled a limited number of times. If a joint still feels loose after you reset it, the locking profile is damaged and that plank should be replaced rather than forced again.
For a full refresher on floating installation basics, the laminate flooring guide covers acclimation, underlayment, and expansion spacing in detail.
Method 3: Free a Pinned or Obstructed Floor
If the floor is pinned against a wall, pipe, or door casing, no amount of pulling will close the gap until the obstruction is gone. The gap is a symptom, and the pin is the cause.
- Locate every point where the floor touches a fixed object.
- Remove the obstruction or trim the plank with an undercut saw so clearance remains.
- Let the floor relax for 24 to 48 hours in the room.
- Close whatever gaps remain using the suction cup or pull bar method.
Typical pin points include door casings, fireplace hearths, kitchen islands, and radiator pipes. A floor installed tight against those points has no travel in either direction, so it opens gaps along the shortest path between two fixed objects.
If you are weighing whether the flooring itself was the right choice for the space, flooring types compared covers where rigid vinyl behaves better in wet rooms.
Method 4: Fill Narrow Gaps That Will Not Close
Filler is a cosmetic fix, not a structural one. Use it only for narrow, stable gaps that will not close because of a damaged locking profile, and only after you have fixed the cause.
- Vacuum the gap and wipe it with a slightly damp cloth.
- Let the area dry completely.
- Run a thin bead of color-matched laminate repair filler along the joint.
- Smooth it flush with a plastic putty knife.
- Wipe the excess away immediately with a damp cloth.
- Allow at least 24 hours before walking on the repair.
Avoid hard-setting putty, wood glue, silicone, and construction adhesive in joints. Rigid materials crack when the floor moves, and glued joints restrict the floating design and can void the warranty.
Test the filler on a spare plank or in a closet first. Color shifts as it dries, and a small test patch prevents a visible mismatch in the middle of the room. Keep the room at normal living temperature and humidity during curing so the filler sets at the same width as the floor around it.
Can you glue laminate joints to stop gaps?
Only when the manufacturer instructions explicitly allow it. Most click-lock laminate is engineered to float, and gluing joints can restrict movement and void the warranty, so follow the specified adhesive and its open time if you are permitted to glue at all.
When to Replace a Damaged Plank
Replacement is the right call when the locking profile is broken, when a plank is swollen from moisture, or when the gap returns after a correct repair. A single plank can be swapped without lifting the whole floor.
- The joint will not stay closed after tapping.
- The plank edge is chipped, cracked, or swollen.
- The gap is wider than 3 mm and is tied to a damaged joint.
- The floor clicks or shifts underfoot near the gap.
Keep spare planks from the original installation, and match by brand, collection, and dye lot if you have to buy replacements. If you are new to the cut-and-lift method, the guide to replace a damaged LVP plank shows the lifting technique in detail.
Solid hardwood behaves differently when a joint opens, because the boards are nailed down rather than floating. If your floor is wood, read gaps between hardwood planks instead.
Worked Example: Closing a 4 mm Gap in a 12 by 15 Foot Room
Assume a 12 by 15 foot living room, which is 180 square feet of floating laminate installed 30 months ago with a 6 mm expansion gap at every wall. A gap of 4 mm now runs along the long edge of six consecutive planks near the window wall.
Step one is arithmetic on the floor area. If the planks run the 15 foot direction, the six affected planks cover 6 by 15, or 90 square feet, which is exactly half the room. Half a floor can move; the other half is held by the perimeter and the furniture.
Step two is a temperature check. Winter relative humidity in the room reads 28 percent, below the 35 to 55 percent band that Quick-Step and Pergo both document. A 4 mm gap on 90 square feet of HDF core is consistent with seasonal shrinkage, so the first move is a humidifier set to hold 40 to 60 percent.
Step three is a movement check. The window wall baseboard comes off, and the floor edge shows 7 mm of clearance, so the perimeter is not the culprit. The gap is expected to close roughly 2 to 3 mm once humidity is corrected and the floor has had 48 hours to respond.
Step four is the repair. If the gap has closed to 1 mm, a suction cup and mallet finish the job. If it has closed to 3 mm and still resists, the row is lifted with a pull bar and re-laid. If the gap has not moved at all after 2 weeks of corrected humidity, the locking profile has failed and the six planks get replaced with matching stock.
The cost difference drives the decision. Closing a joint with a suction cup takes about 15 minutes and costs almost nothing. Replacing 6 planks at 12 square feet per plank, roughly 72 square feet of material, is a much larger job that only makes sense once humidity is under control.
How to Prevent Gaps From Coming Back
Prevention is mostly about controlling the environment and respecting the floating design of the floor.
Most recurring gaps start with humidity.
- Hold indoor relative humidity between 40 and 60 percent year round.
- Acclimate laminate in the install room for at least 48 hours, or longer if the manufacturer specifies it.
- Keep the 6 to 10 mm expansion gap at every wall and fixed object.
- Use furniture pads, and lift rather than drag heavy pieces.
- Check subfloor flatness against ASTM F1868, which allows a 1/8 inch deviation over 10 feet.
- Mop with a damp, not wet, pad and dry spills promptly.
- Leave the floor free to move, rather than pinning it under fixed cabinetry.
Seasonal humidity swings trigger most recurring gaps. A small humidifier in winter and ventilation in summer prevents the majority of them. If a lifted vinyl plank is your other recurring floor issue, lifting vinyl planks share the same root cause.
Will a rug or heavy furniture close a gap?
No. Weight may hide a gap for a while, but it does not correct the cause, and it can pin the floor so that new gaps open elsewhere. Address the movement or the obstruction instead.
When to Call a Flooring Professional
Call a professional when the cause is unclear, when gaps are widespread, or when the floor shows signs of moisture damage. A certified flooring inspector can measure subfloor moisture, check flatness, and separate an installation problem from a product problem.
Professional help is especially worthwhile when gaps run across multiple rooms, when you see cupping or swelling, when ASTM F2170 readings fall outside the manufacturer range, or when a warranty claim requires documented inspection.
Fixing the root cause first protects the floor from larger failures and keeps a small repair from turning into a full replacement.