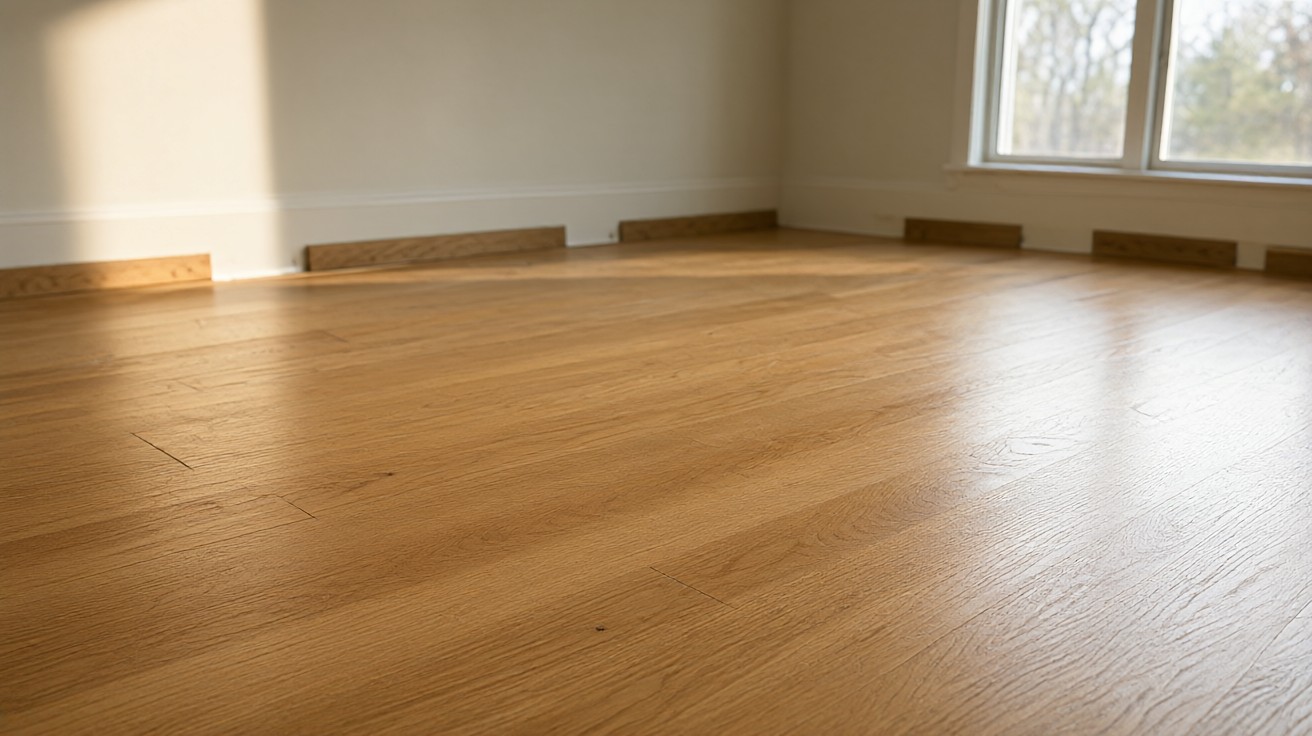

A hardwood floor whose finish has dulled but whose wood is still flat and tight is a refinishing job, not a flooring replacement project at all.
Start with a screen and recoat using a 120-grit screen and a water-based polyurethane when the damage is only in the top coat; sand to bare wood and refinish when scratches reach the stain layer.
Is The Damage In The Finish Or The Wood
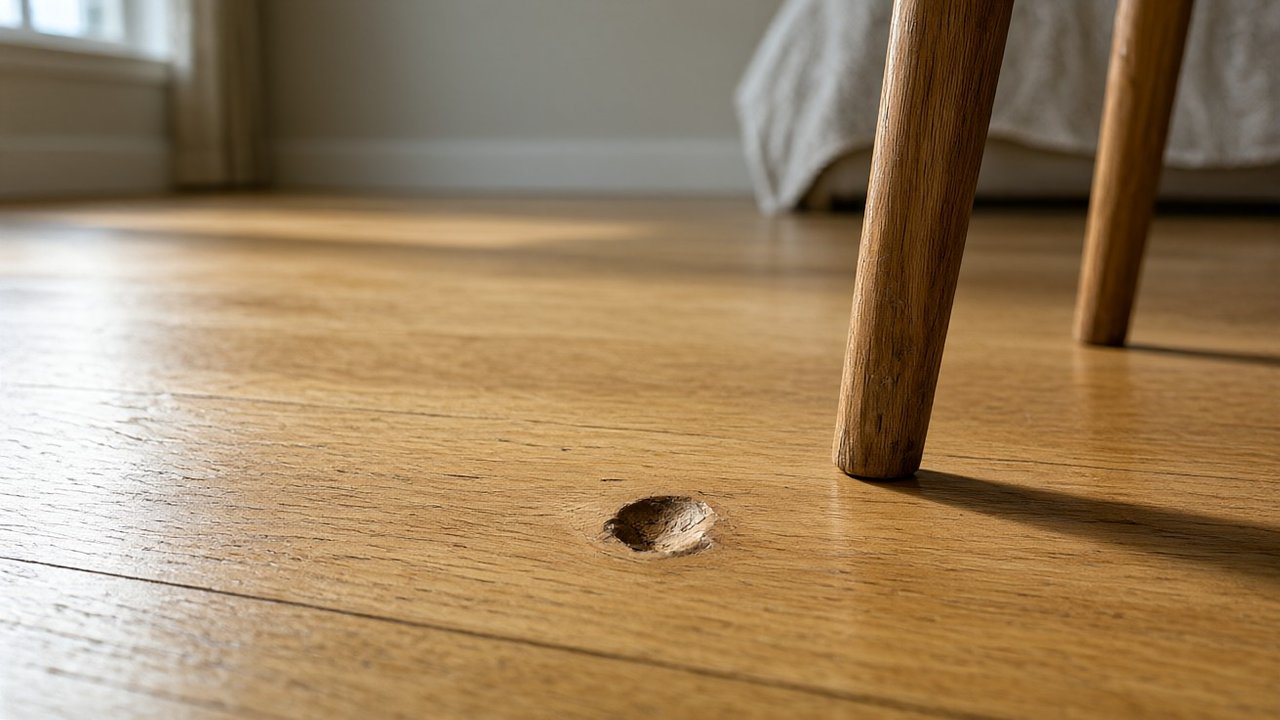
Finish damage sits on top of the wood. The plank stays flat, the edges stay tight, and a fingernail dragged across the scratch catches only the coating. Wood damage reaches the fiber: gouges, dents that crush the grain, cupping, or buckling that lifts the plank.
A simple water drop test separates the two. Place a drop on a worn area and wait three minutes. If the wood darkens, the finish is breached and moisture is reaching the fiber. If the drop beads, the top coat still seals and a screen and recoat is enough.
Finish wear also has a pattern. It thins first in traffic lanes, at doorways, and under chairs. Wood damage has no pattern: it follows a dropped object, a pet, or a water event.
Trust the pattern before you trust the scratch.
How Do You Tell Finish Wear From Wood Damage?
Look at the scratch under a raking light. A finish scratch is white or cloudy and stops at a clear line. A wood scratch shows the raw color of oak, maple, or walnut and has no clear edge. If the scratch is white, the wood is untouched.
Check the plank edges too. Finish wear does not lift boards. If two adjacent planks have separated by more than 1/16 inch, or one sits higher than its neighbor, the problem is moisture in the wood, not the coating.
Screen And Recoat: The Lightest Fix
A screen and recoat removes the top 1 to 2 mils of the existing finish with an abrasive screen, then applies one or two fresh coats. The stain layer and the wood stay untouched, so the floor keeps its color and the job finishes in one day.
This is the right path when the damage is only in the top coat: dullness, light scuffing, or fine scratches that never reach the stain. It is also the only path that makes sense on an engineered plank with a veneer under 3/8 inch, where sanding would cut through to the core.
Adhesion is the whole job. If the old finish is contaminated with wax, oil soap, or silicone, the new coat will fisheye or peel. Clean with a hardwood floor cleaner, never with Murphy oil soap or a wax-based polish, and test a small patch before coating the room.
When Is A Screen And Recoat Not Enough?
If a scratch shows bare wood, a screen will not hide it, because the screen never reaches the stain. If the finish is peeling in sheets, adhesion has already failed and screening only delays the peel. In both cases, sand to bare wood.
Sand And Refinish: When The Scratch Reaches The Stain
Sand and refinish removes the old finish and a thin layer of wood, then applies stain and two to three coats of polyurethane. It resets the surface completely and is the right path when scratches reach the stain layer or the finish is peeling.
The NWFA sanding grit progression runs 36, 60, 80, 100, then 120 grit. Each grit erases the scratch pattern of the one before it. Skipping a grit leaves swirl marks that show up only after the finish is applied, when they are too late to fix.
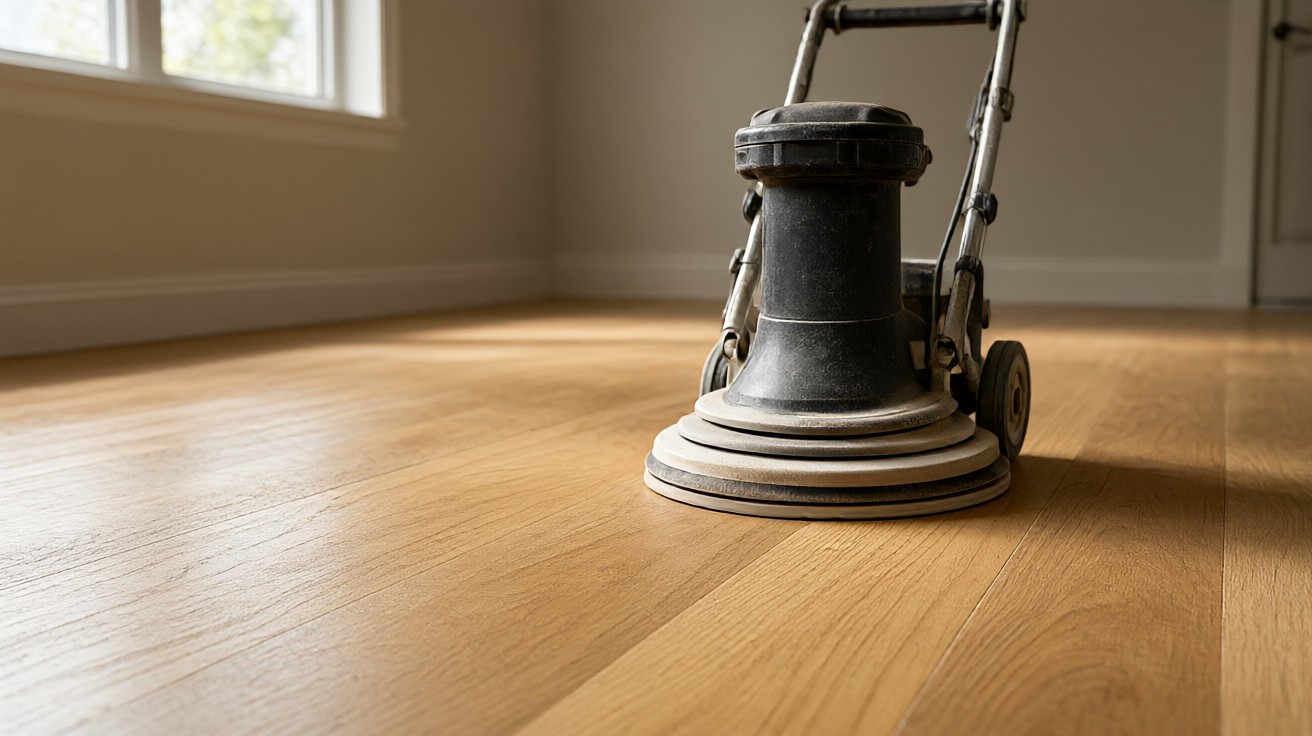
Drum sanders cut aggressively and can dish the floor in one pass. A random orbital or planetary sander is slower but far more forgiving for a first-time refinisher. Either way, keep the sander moving and never stop it in one spot.
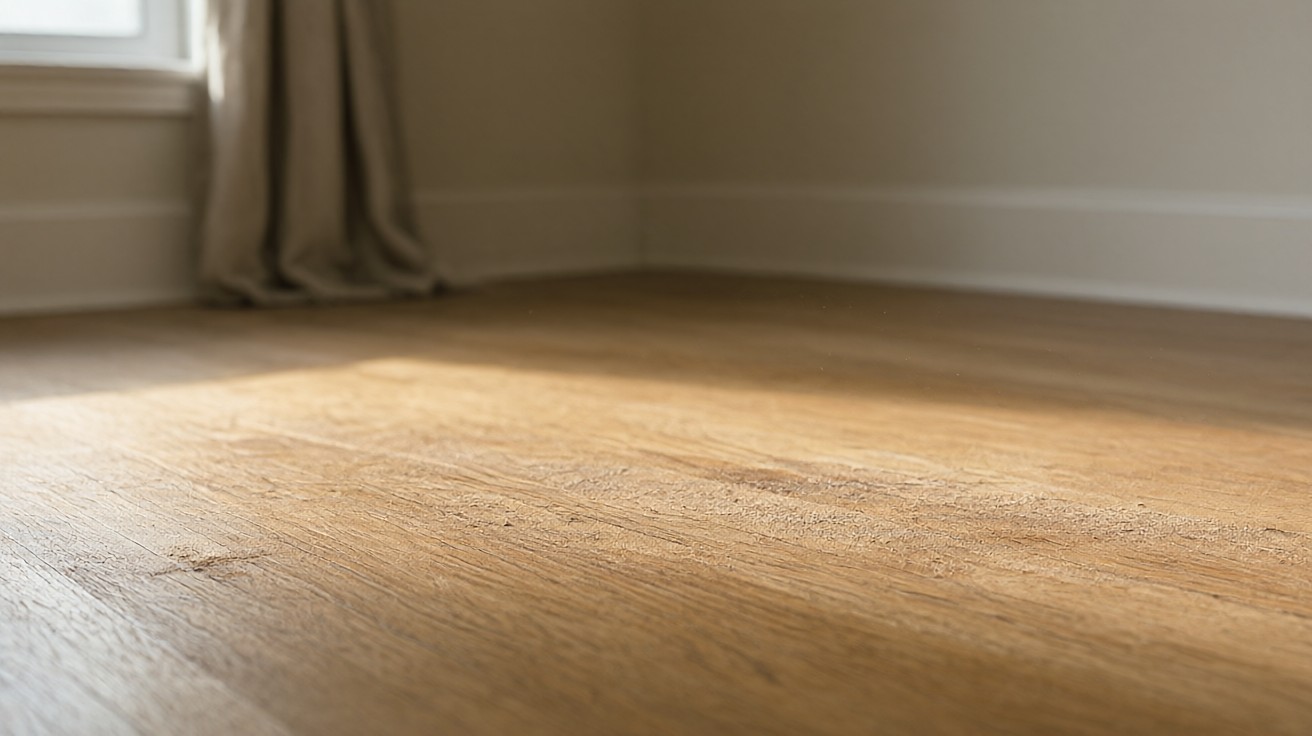
Plank Replacement: When Wood Is Damaged
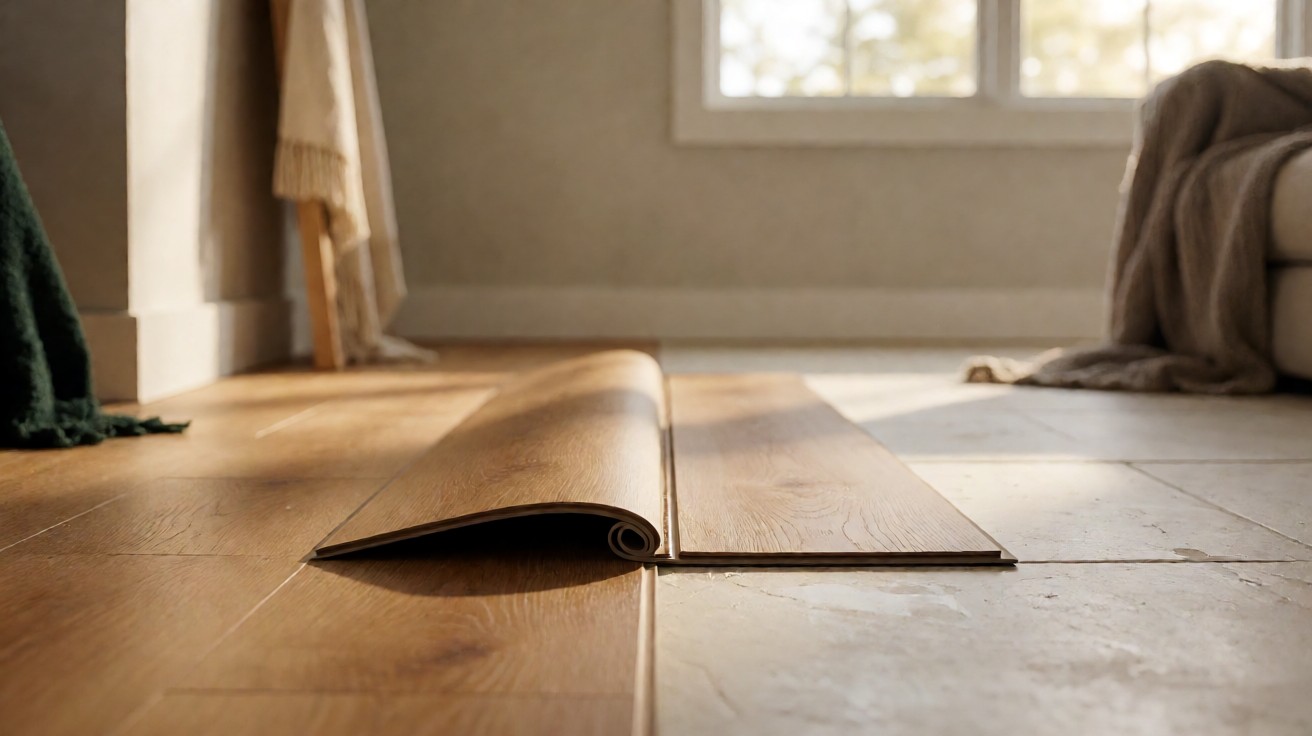
Plank replacement is the right path when the wood itself is damaged: deep gouges, pet stains that have turned black, water stains that reach the subfloor, or boards that are cupped or buckled beyond sanding. Refinishing cannot restore wood that is gone.
A single damaged plank can be cut out and replaced with a matching board, then sanded and stained to blend. If more than about 10 percent of the floor is damaged, full replacement of the field is usually cheaper than piecemeal repair.
Before replacing, confirm the cause is fixed. A plank replaced over an active leak or a damp slab will fail again within one season. Check moisture under the subfloor and read the cupped hardwood floors guidance if the damage followed a water event.
Which Approach Fits Your Floor
The decision comes down to three questions. Is the wood sound? Does the damage stop at the top coat? Is there enough wood left to sand? Answer those in order and the path is clear.
| Symptom | Where The Damage Sits | Repair Path |
|---|---|---|
| Dull, cloudy, or scuffed top coat with no color change | Top coat only | Screen and recoat |
| White scratches that do not reach wood color | Top coat or stain | Screen and recoat, or light sand |
| Scratches showing bare wood color | Through stain to wood | Sand to bare wood and refinish |
| Peeling or flaking finish | Finish adhesion failure | Sand to bare wood and refinish |
| Gouges, dents, or raised grain | Wood itself | Plank replacement or spot repair |
If the wood is sound and the damage is only in the top coat, screen and recoat is the cheapest honest fix. If scratches reach the stain, sanding is the only way to make them disappear. If the wood itself is damaged, no amount of finish will save it.
Tools And Materials For Each Approach
A screen and recoat needs a floor buffer or pole sander, 120-grit screens, a vacuum, tack cloths, and a water-based polyurethane such as Bona Traffic HD or a comparable product. Add painter’s tape and plastic sheeting to protect baseboards.
A full sand and refinish adds a drum or orbital sander, an edge sander, a detail sander for corners, and sandpaper in 36, 60, 80, 100, and 120 grit. You also need stain, two to three coats of finish, and a respirator rated for organic vapor if using oil-based polyurethane.
Plank replacement needs a circular saw set to the plank thickness, a chisel, a pry bar, construction adhesive, and a matching board. Stain and finish to blend the patch come last.
Step-By-Step: Screen And Recoat
Clear the room, remove base shoe if it is present, and vacuum twice. Tape off vents and doorways. Scuff the floor with a 120-grit screen on a buffer or pole sander, working in the direction of the grain.
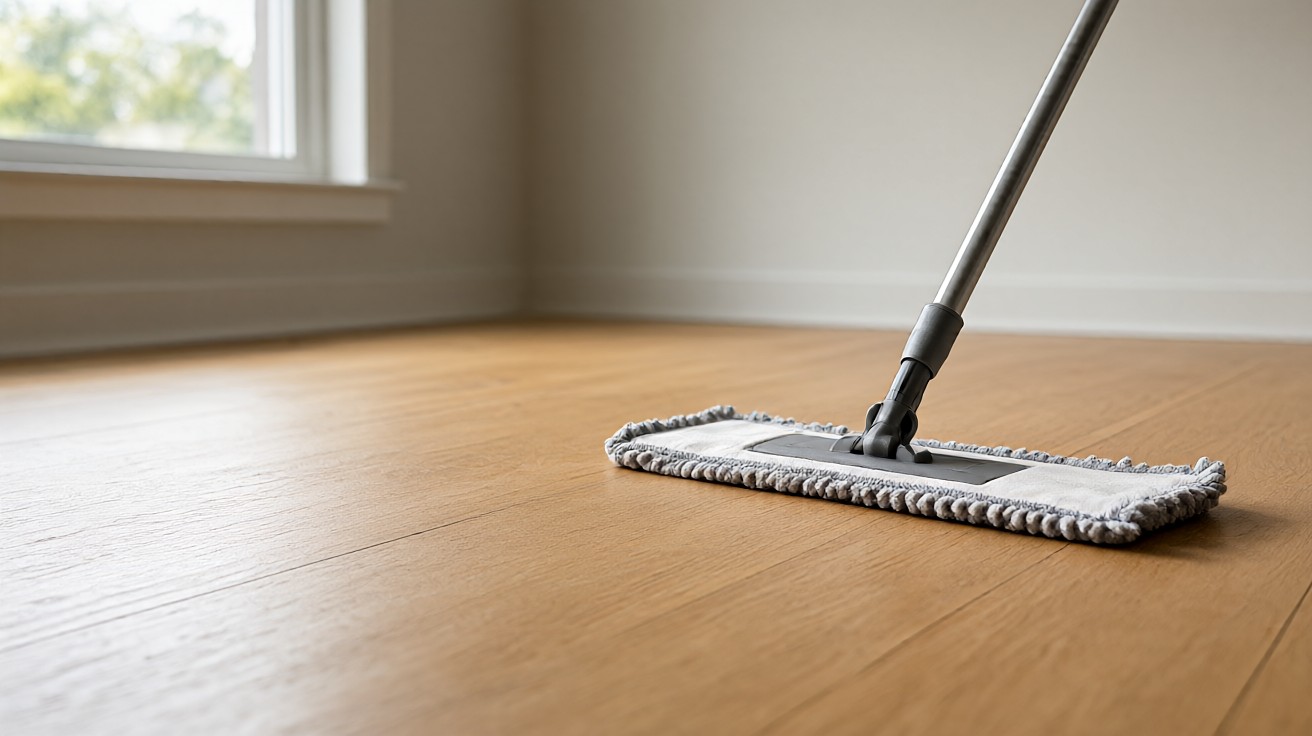
Vacuum again, then wipe with a tack cloth until no dust shows on a white rag. Apply the first coat with a T-bar applicator or a lambswool pad, keeping a wet edge and overlapping each pass by 4 to 6 inches.
Let the first coat dry per the manufacturer label, usually 2 to 4 hours for water-based. Lightly screen with 220-grit, vacuum, and apply the second coat if the wear was heavy. Wait 24 hours before light foot traffic and 72 hours before rugs or furniture.
Step-By-Step: Full Sand And Refinish
Start with 36-grit on the field and 60-grit on the edges, then move to 60, 80, 100, and 120 grit in sequence. Vacuum and tack-cloth between every grit. The last pass with 120-grit leaves a surface ready for stain.
Apply stain with a rag or applicator, wipe off the excess within the open time, and let it dry overnight. Apply the first coat of finish, let it cure, then screen with 220-grit and apply the second coat. A third coat is worth it in kitchens and hallways.
Keep the room between 65 and 75 degrees and 30 to 50 percent relative humidity while coating. High humidity slows cure and can cloud the finish. Low humidity makes it dry too fast and trap brush marks.
Curing Times And Recoat Windows
Water-based polyurethane dries to the touch in 2 to 4 hours and accepts a recoat in 2 to 6 hours. Oil-based polyurethane needs 8 to 12 hours before recoating. Full cure for either is 7 to 30 days, depending on the product and the room.
Foot traffic is safe after 24 hours for water-based and 48 to 72 hours for oil-based. Rugs, heavy furniture, and pet nails wait until the full cure. Moving in early leaves permanent dents in a soft finish.
The recoat window matters as much as the cure. If you wait too long between coats, you must screen again to get adhesion. Check the label: most water-based products allow 2 to 24 hours, and oil-based products allow up to 24 hours.
Read the label twice. Cure times vary by brand.
Common Mistakes That Ruin A Refinish
Sanding with a dull belt leaves ridges that only appear after the finish is down. Replacing the belt costs less than redoing the floor. Skipping a grit to save time leaves swirl marks that catch the light.
Cheap belts cost more in the end.
Applying finish over dust is the most common failure. Vacuum, then tack-cloth, then inspect on your hands and knees. If a white rag comes up gray, clean again.
Overloading the applicator creates puddles that dry as ridges. Thin, even coats beat thick ones every time. If a coat looks uneven, let it dry and screen it flat before the next coat.
When To Call A Professional
Call a pro when the floor has been sanded before and less than 3/8 inch of wood remains above the tongue, when the boards are cupped or buckled, or when the damage covers more than 10 percent of the field. A pro can also blend a patch so the repair disappears.
If the floor is an engineered plank with a veneer under 3 mm, do not sand it at all. Screen and recoat is the only safe option, and a pro can confirm the veneer thickness with a pin gauge before any abrasive touches the floor.
For a single damaged plank in an otherwise sound floor, a handy homeowner can do the cut-out and a pro can handle the stain match. Either way, fix the moisture source first, or the repair will not last.
How Much Wood Is Left To Sand
A solid 3/4 inch hardwood plank has about 1/4 inch of wood above the tongue and groove. Each full sand removes roughly 1/32 inch. That means a solid floor can be fully sanded about four to six times before the tongue is exposed.
Engineered flooring is different. A 3 mm veneer allows one light sand, and a 1.5 mm veneer allows none. Measure the veneer thickness before any abrasive touches the floor, because sanding through to the core ruins the plank.
If less than 3/8 inch of wood remains above the tongue, sanding is no longer safe and a screen and recoat or plank replacement is the only honest option. A pin gauge or a cross-section sample gives the answer in minutes.
What Grit Progression Does NWFA Recommend?
NWFA recommends starting at 36 grit for a heavily worn floor, then 60, 80, 100, and 120 grit in sequence. Each step removes the scratches of the previous one. The final 120-grit pass leaves a surface that accepts stain evenly.
Skipping from 36 to 80 leaves deep scratches that show through the finish. Going finer than 120 closes the grain and can cause stain to blotch. Stay inside the progression unless the species is prone to blotching, in which case stop at 100 grit.
When Is Plank Replacement The Only Honest Fix?
Plank replacement is the only honest fix when the wood is gone: deep gouges that reach the subfloor, black pet stains that have oxidized into the fiber, or boards that are cupped or buckled beyond what sanding can flatten. Finish cannot restore missing wood.
If more than 10 percent of the field is damaged, replace the whole field rather than piecing in boards. A patch in a large field reads as a patch, no matter how well it is stained. Blending works on one or two boards, not on a quarter of the room.
| Approach | Grit | Coats | Cure To Light Traffic | When To Use |
|---|---|---|---|---|
| Screen and recoat | 120-grit screen | 1 to 2 | 24 hours | Top coat wear only |
| Sand and refinish | 36/60/80/100/120 progression | 2 to 3 | 72 hours | Scratches reach stain |
| Plank replacement | Not applicable | Not applicable | 24 to 48 hours | Wood damage or moisture |
For more on the underlying floor, see the hardwood flooring guide. If the damage is only scratches, the scratched hardwood floors page goes deeper. For dents, read repair dents in wood flooring. Where the floor has cupped, the cupped hardwood floors page explains why moisture is the usual cause. If it has buckled, see buckled wood flooring. Compare options in flooring types compared.