A single damaged plank in an otherwise good looking floor is frustrating but rarely fatal, and the repair is simpler than it looks with the right tools.
The short answer is this. For click lock floors, unclip the row back to the damaged plank and reinstall. For glue down floors, cut out the damaged plank and bond a replacement into the gap. Either way, plan on two to four hours for a single plank, more if color matching requires searching for stock. Have the replacement plank, a sharp utility knife, a heat gun, and the right adhesive on hand before you start.
When To Replace Versus Repair
Surface Damage That Cleans Up
Light scuffs, heel marks, and dried adhesive on the wear layer usually respond to a vinyl floor cleaner and a soft pad. If the scratch has not cut through the printed film, repair is the right first step and costs nothing but time.
Deep Gouges And Cracks
A gouge that reaches the core, a crack that runs the length of the plank, or a plank that has cupped or buckled needs replacement. Patching these defects rarely holds and the patch telegraphs through the finish within months.
Water Damage And Swelling
If the plank has swelled at the edges or lifted off the subfloor, water has reached the core. Replace the plank and find the moisture source before reinstalling. Ignoring the source guarantees a repeat repair.
Is The Damage Isolated
One damaged plank in a high traffic zone is a straightforward repair. Three or more damaged planks in the same area suggest a bigger problem such as an uneven subfloor or poor acclimation, and the whole section may need rework.
Tools And Materials You Need
Basic Hand Tools
Gather a sharp utility knife with spare blades, a straightedge, a tape measure, a pencil, a rubber mallet, a tapping block, and a pull bar. Add a heat gun for glue down removal and a putty knife for scraping old adhesive.
Adhesives And Accessories
For glue down work you need the manufacturer recommended adhesive, a notched trowel sized to the plank, and a clean roller. For click lock work you need spare locking strips if the original ones break during removal.
Safety And Prep Supplies
Wear safety glasses and cut resistant gloves. Keep a vacuum and damp cloth nearby. A knee pad makes the work far more comfortable on a hard subfloor.
Before You Start
Acclimate The Replacement Plank
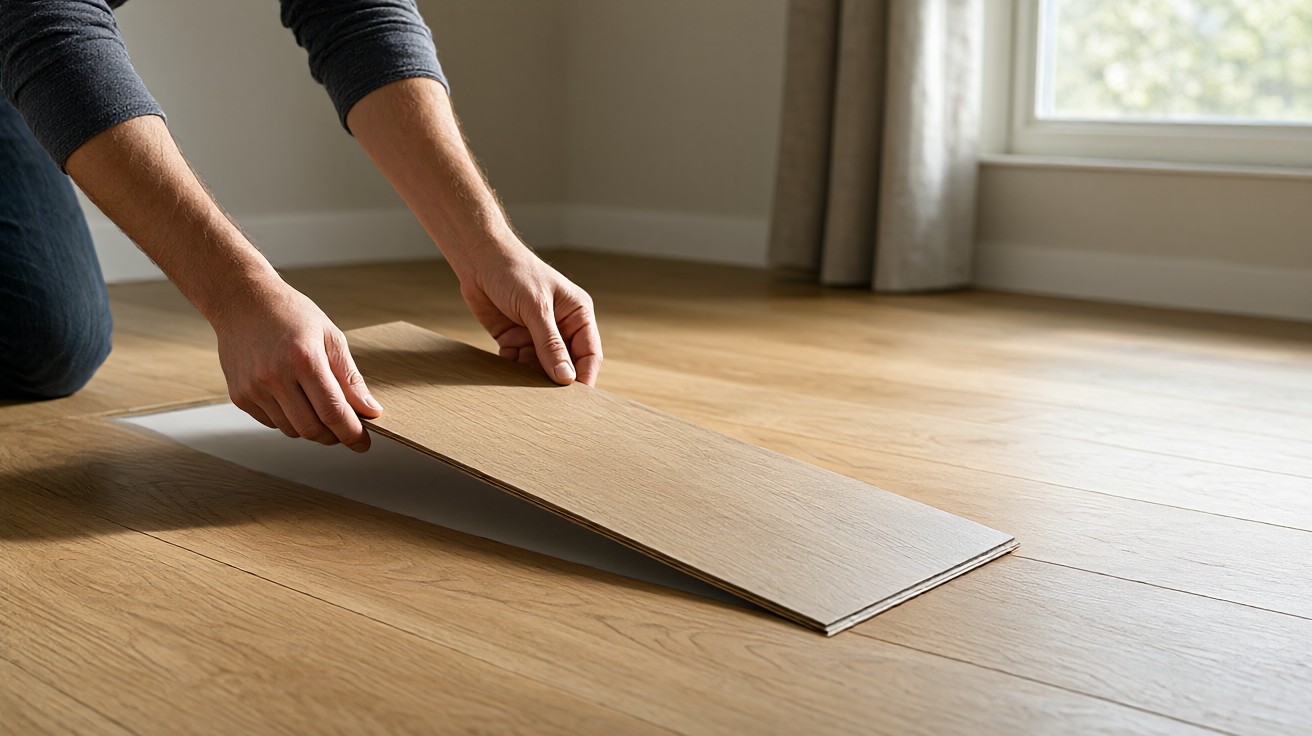
Lay the replacement plank flat in the room for at least 24 hours so it matches the temperature and humidity of the installed floor. Skipping this step leads to gaps or buckling after installation.
Check The Subfloor Condition
Inspect the exposed subfloor under the damaged plank for moisture, rot, or unevenness. Fix any defect before installing the new plank or the repair will fail again.
Confirm The Product Match
Verify the brand, collection, color name, and wear layer thickness on the replacement box. Even small differences in gloss or bevel show up under room lighting.
Click Lock Replacement Step By Step
1. Remove Baseboards Or Trim
Pull the baseboard or quarter round along the wall nearest the damaged plank. This frees the first row so you can disassemble back to the repair point without damaging the locking edges.
2. Unclip The Rows Back To The Damage
Work from the wall toward the damaged plank, lifting each plank at a low angle to disengage the long side lock. Stack the removed planks in order so reinstallation is fast and accurate.
3. Lift Out The Damaged Plank
Once the row is open, lift the damaged plank free. Inspect the locking tongues on the neighboring planks and replace any that are chipped or cracked.
4. Install The Replacement Plank
Angle the new plank into the short side lock, then lower it flat so the long side engages. Tap gently with a tapping block to seat the joint fully without crushing the edge.
5. Reinstall The Removed Planks
Reverse the removal order, clicking each plank back into place. Keep joints tight and stagger end joints by at least six inches from the row above.
6. Reattach Trim
Reinstall the baseboard or quarter round with finishing nails. Leave a small expansion gap at the wall as the original installation specified.
Glue Down Replacement Step By Step
1. Score The Damaged Plank
Use a straightedge and utility knife to score the damaged plank down the middle and across, creating four sections. This breaks the plank into removable pieces without cutting the subfloor.
2. Heat And Lift The Sections
Apply heat with a heat gun to soften the adhesive, then pry up each section with a putty knife. Work slowly to avoid gouging the subfloor.
3. Clean The Subfloor
Scrape away all old adhesive and vacuum the area. The new plank needs a flat, clean surface to bond correctly.
4. Dry Fit The Replacement
Place the new plank in the opening without adhesive to confirm it sits flush and the pattern aligns with surrounding planks.
5. Apply Adhesive And Set The Plank
Trowel adhesive into the opening at the manufacturer specified notch size. Press the plank into place and roll it with a hand roller to ensure full contact.
6. Weight And Cure
Place a flat weight over the plank and allow the adhesive to cure for the time stated on the container, usually 24 hours, before walking on it.
Color Matching And Pattern Alignment
Find The Same Dye Lot
Matching color starts with the original box. Check the dye lot number printed on the carton and request the same lot from your supplier. Different lots can shift noticeably under daylight.
Blend From A Hidden Area
If new stock does not match, pull a plank from a closet or under an appliance and move it to the visible repair. The slight difference hides better in low light areas.
Align The Print Direction
Luxury vinyl planks have a directional print. Rotate the replacement until the grain or stone pattern runs the same way as the surrounding floor before final installation.
Two Comparison Tables
| System | Main Advantage | Main Limitation | Best Fit |
|---|---|---|---|
| Click lock floating | Fast to remove and reinstall rows | Requires access to a wall edge | Floating installations over flat subfloors |
| Glue down | Repair one plank without disturbing neighbors | Needs heat, scraping, and cure time | Commercial and high traffic areas |
| Loose lay | Simplest single plank swap | Limited to specific products | Small residential rooms |
| Damage Type | Repair Or Replace | Typical Time | Key Risk |
|---|---|---|---|
| Surface scuff | Repair | 15 minutes | None if cleaned promptly |
| Deep gouge | Replace | 2 to 4 hours | Color mismatch |
| Water swelling | Replace plus fix source | Half day | Recurring moisture |
| Cracked plank | Replace | 2 to 4 hours | Locking edge damage |
Common Mistakes To Avoid
Cutting Too Deep
When scoring a glue down plank, stop at the vinyl layer. Cutting into the subfloor weakens it and can create squeaks later.
Skipping Subfloor Prep
Leaving old adhesive or debris under the new plank causes telegraphing and premature failure. Clean until the surface is smooth to the touch.
Forcing Locking Joints
Hammering a plank into place can crush the tongue. If resistance is high, check alignment and clear debris from the joint.
Ignoring Expansion Gaps
Reinstalling trim too tight against the floor removes the expansion gap and can cause buckling in warm weather.
Warranty And Documentation
Keep Your Receipts
File the original purchase receipt and the replacement plank invoice. Many warranties require proof of product and installation method.
Follow Manufacturer Instructions
Using a non approved adhesive or tool can void the warranty. Check the installation guide for the exact product before starting.
Photograph The Repair
Take before and after photos. They help with future claims and make it easier to match the floor if another plank fails.
When To Call A Professional
Large Areas Or Complex Layouts
If the damaged plank sits in the middle of a large room with no nearby wall, click lock disassembly becomes impractical. A pro can use specialized tools to lift a single plank.
Subfloor Damage
Rot, mold, or significant unevenness under the plank requires subfloor repair that goes beyond a plank swap.
Matching Discontinued Product
If the product is discontinued and no donor plank exists, a professional can blend a close match or recommend a transition strip solution.
Quick Reference Checklist
Before You Begin
Confirm product match, acclimate the replacement, inspect the subfloor, and gather all tools. Rushing this stage causes most failed repairs.
During Installation
Keep joints tight, maintain pattern direction, and follow adhesive cure times exactly. Clean squeeze out immediately with the recommended solvent.
After Installation
Reinstall trim with expansion gaps, vacuum the area, and avoid heavy traffic until the adhesive has fully cured.
Measuring the room before ordering replacement stock prevents a second trip to the supplier. Measure the damaged plank length and width, note the thickness, and record the wear layer rating printed on the carton. Bring a sample of the installed floor to the store under natural light to confirm the match.
Temperature affects both removal and installation. Work when the room is between 65 and 85 degrees Fahrenheit. Cold adhesive becomes stiff and does not bond well, while hot adhesive skins over before the plank is set. Adjust the thermostat the night before if needed.
When removing a glue down plank, score in stages rather than one deep cut. Two or three passes with a fresh blade give a cleaner edge and reduce the risk of slipping into the subfloor. Replace the blade as soon as it drags.
Protect surrounding planks with painter tape along the cut line. The tape catches stray knife marks and keeps the finished surface clean. Remove the tape immediately after cutting so adhesive does not bond to it.
For click lock floors in large rooms, consider removing only the damaged row plus one adjacent row rather than disassembling all the way to the wall. This works when the damaged plank sits near a doorway or transition strip that can be lifted instead.
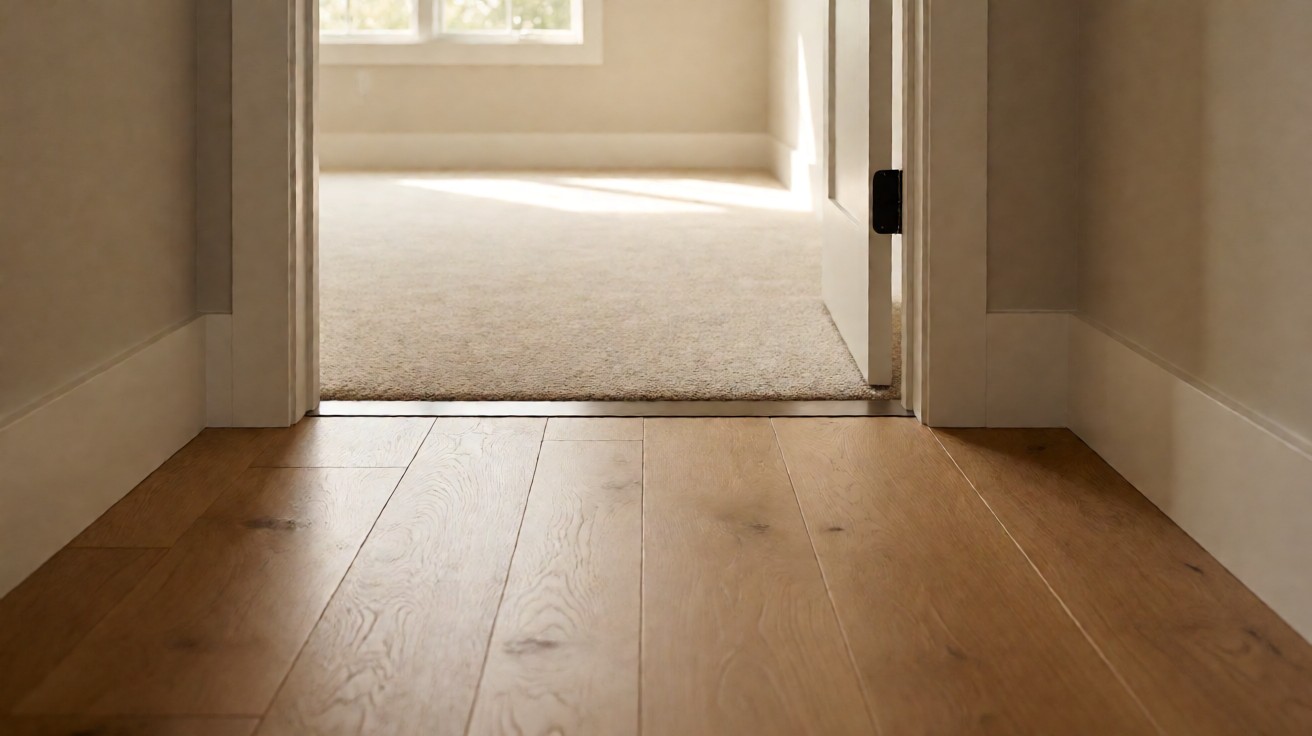
Transition strips and thresholds often hide the first row of a floating floor. Removing the strip carefully preserves the locking edge and makes reinstallation straightforward. Label each strip and its screws for easy reassembly.
Adhesive open time varies by product and humidity. Read the container and plan your work so the adhesive is still tacky when the plank goes down. If it skins over, scrape it off and apply fresh adhesive rather than pressing into dry glue.
After setting a glue down plank, check the height against neighbors with a straightedge. A plank sitting proud or recessed will catch shoes and collect dirt. Adjust immediately before the adhesive grabs.
Seam sealing is optional on most residential LVP but recommended in wet areas. Apply the manufacturer approved seam sealer along the joint after installation and wipe excess before it cures. This adds a moisture barrier at the most vulnerable point.
Keep a maintenance log with the product name, color, dye lot, and installation date. When a future repair is needed, this information saves hours of searching and ensures a closer match.
Inspect the floor annually for early signs of damage such as lifted edges or discoloration. Addressing small issues promptly prevents the spread of moisture or wear that leads to larger repairs.
If you cannot find an exact match, consider replacing a larger section to create a natural break at a doorway or transition. A clean intentional line looks better than a near miss in the middle of the room.
Dispose of old adhesive and vinyl scraps according to local regulations. Many municipalities accept vinyl flooring at construction recycling centers. Never burn vinyl, as it releases harmful fumes.
Test the repaired area by walking across it in different directions and inspecting the joints in raking light. Any visible gap or movement indicates the plank is not fully seated and needs rework before furniture returns.
Return the room to normal use gradually. Avoid rolling heavy furniture across the repair for at least 48 hours and use furniture sliders when moving large pieces.
Document the repair with photos and notes in your home maintenance file. Future buyers or contractors will appreciate knowing what was done and which products were used.
Finally, remember that a well executed plank replacement is invisible. Take the time to match color, align pattern, and seat joints fully, and the floor will look as good as the day it was installed.
Final Notes On Long Term Care
Use felt pads under furniture and a quality doormat at entrances. Clean with a pH neutral vinyl cleaner and avoid steam mops. These habits reduce the chance you will need this guide again.
For a broader overview of vinyl construction and selection, see our luxury vinyl tile guide and the vinyl flooring guide. To understand wear layers and cores, read wear layers, cores, and backing explained. For evaluating quality before you buy replacement stock, review how to evaluate vinyl flooring construction and quality. If your repair involves underlayment, consult underlayment for vinyl flooring.
Follow the referenced standards for substrate prep and adhesive performance: TCNA Handbook, ANSI A108/A118, ASTM F710, and NWFA guidelines where applicable.
Use a 1/16 inch notch trowel for adhesive, keep the room at 65 to 85 degrees Fahrenheit, and allow 24 hours of cure time before traffic.