Vinyl flooring bubbles when moisture, heat, or a weak adhesive bond lifts the sheet away from the subfloor, and the repair depends on the cause.
The fix depends on the cause: small air pockets can be flattened and re-glued, while widespread bubbling usually means moisture or a failed adhesive layer that needs a full replacement.
Why Vinyl Flooring Bubbles
Bubbling starts when the bond between the vinyl and the subfloor breaks. Trapped air, water vapor, or heat expansion push the flexible sheet upward into a dome. The dome grows as foot traffic pumps more air under the edge.
Moisture Under The Vinyl
Concrete slabs release water vapor even when the surface feels dry. When vapor pressure exceeds the adhesive strength, bubbles form. A reading above 75 percent relative humidity under ASTM F2170 calls for a moisture mitigation membrane before reinstallation.
Adhesive Failure
Old pressure sensitive adhesive loses tack over time, especially in rooms with temperature swings. Once the bond drops below the load of daily traffic, the sheet lifts in patches.
Heat And Sunlight
Dark vinyl in direct sun can reach surface temperatures above 120 degrees Fahrenheit. The material expands and the bond gives way at the hottest spot.
Trapped Air During Installation
Air rolled under a sheet that was laid too fast never escapes. These bubbles are usually small and firm, and they often appear within the first week.
Diagnosis Steps
Work through the checks in order before choosing a repair. Guessing the cause wastes adhesive and can damage the subfloor. Document each finding so the repair plan matches the evidence rather than the first guess.
1. Map The Bubble Pattern
Mark each bubble with tape and note its size and location. A cluster near an exterior door points to moisture, while scattered small domes suggest trapped air.
2. Test For Moisture
Use an in-situ relative humidity probe per ASTM F2170. Readings below 75 percent relative humidity are generally acceptable for most adhesives, while readings above 85 percent indicate a drainage or slab issue rather than a flooring defect.
3. Check The Subfloor
Lift a corner of the vinyl and inspect the substrate. Cracks, dust, or old adhesive residue explain poor bonding. The surface must be clean, flat, and dry. ASTM F710 preparation standards call for a clean, sound, and level substrate before any adhesive is applied.
4. Rule Out Heat
Feel the floor at midday and note south facing windows. If bubbles only appear in sunlit zones, temperature is the driver.
Repair Methods
Match the method to the diagnosis. Small localized bubbles can be repaired in place, while moisture driven bubbling needs the sheet removed.
Injecting Adhesive For Small Bubbles
Use a syringe with a 22 gauge needle to inject flooring adhesive under the bubble. Roll the surface flat with a hand roller and weight it for 24 hours. This works when the bubble is under 6 inches across and the subfloor is dry.
Slitting And Re-Gluing
For a larger bubble, make a small X cut with a utility knife, fold back the flaps, scrape the old adhesive, apply new adhesive, and press the vinyl down. Seal the cut with seam sealer so moisture cannot enter.
Removing And Replacing A Section
When several bubbles cluster in one area, cut out the damaged section along a grout line or pattern edge and patch with a matching piece. Keep 10 percent extra material from the original batch.
Full Replacement
If moisture readings exceed 85 percent relative humidity or more than 30 percent of the floor is affected, remove the vinyl, treat the subfloor, and reinstall. Patching in this case only delays the failure.
Tools And Materials
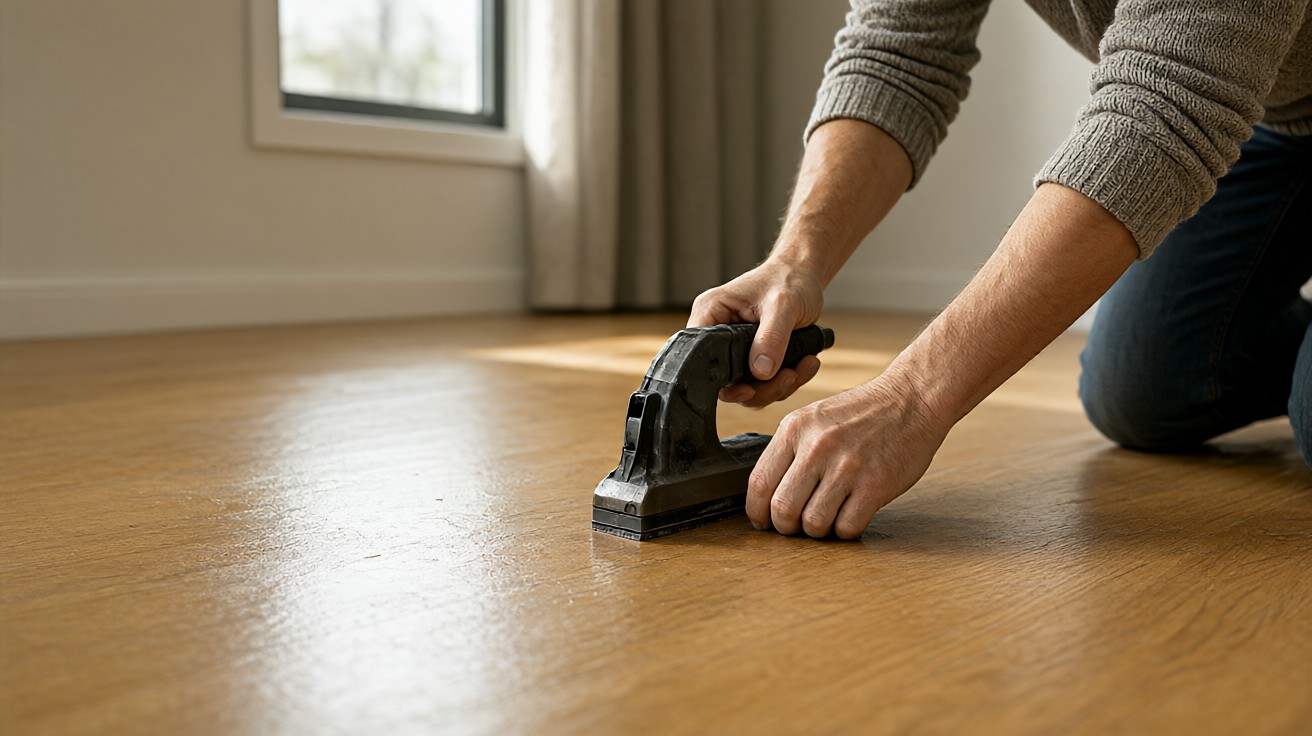
Gather the right tools before starting. A syringe with a 22 gauge needle, a hand roller, a utility knife, seam sealer, and a moisture probe cover most repairs. Keep extra vinyl from the original batch for patches.
Syringe And Needle For Injection
A 10 milliliter syringe with a 22 gauge needle delivers adhesive precisely under a small bubble. Clean the needle after each use to prevent clogging.
Roller And Weight For Setting
A 75 pound hand roller spreads the adhesive evenly. Weigh the repair for 24 hours with a stack of books or a sandbag.
Cost And Time
A single bubble repair costs under 20 dollars in materials and takes about 1 hour plus 24 hours of curing. A full replacement for a 200 square foot room ranges from 600 to 1200 dollars including labor and materials.
Time For Moisture Testing
ASTM F2170 in-situ probes need 72 hours to equilibrate. Plan the test before scheduling the repair.
Warranty Impact
Most manufacturers require moisture readings below 75 percent relative humidity and a clean subfloor. Keep the test results with the warranty paperwork.
Comparison Of Repair Options
| Repair Method | Best For | Main Limitation | Expected Life |
|---|---|---|---|
| Adhesive injection | Single bubble under 6 inches | May not hold on wet slab | 2 to 4 years |
| Slit and re-glue | Medium bubble on dry subfloor | Visible seam if not sealed | 3 to 5 years |
| Section replacement | Clustered damage | Color match can be difficult | 5 to 8 years |
| Full replacement | Moisture or widespread failure | Highest cost and labor | 10 to 20 years |
Prevention
Most bubbling is preventable with proper subfloor preparation and acclimation. The steps below cost less than any repair.
Acclimate The Material
Leave the vinyl in the room for 48 hours at 65 to 85 degrees Fahrenheit before installation. This reduces expansion after the floor is glued.
Prepare The Subfloor
Sweep, vacuum, and patch cracks. Remove old adhesive residue with a scraper. A flat subfloor within 3/16 inch over 10 feet prevents stress points. NWFA installation guidelines set this tolerance for vinyl over wood and concrete.
Use The Right Adhesive
Match the adhesive to the product type (see how to evaluate vinyl flooring construction and quality) and the subfloor. Pressure sensitive adhesive suits dry interior rooms, while epoxy systems suit high moisture areas.
Control Moisture
Install a vapor barrier over concrete and grade the site so water drains away. Test the slab before and after the barrier.
When To Replace Instead Of Repair
Replacement is the better choice when the damage is structural or the warranty is at risk. A repaired bubble that returns within 6 months signals a deeper problem.
Widespread Or Recurring Bubbles
If more than 30 percent of the floor shows bubbles, or the same spot returns after two repairs, the bond has failed across the slab.
Subfloor Damage
Soft spots, mold, or crumbling concrete under the vinyl require removal and repair of the substrate before any new flooring. Follow IICRC S500 drying principles when moisture has reached the subfloor.
Outdated Or Discontinued Product
When the original vinyl is no longer available, a patch will not match. Replacing the room gives a uniform finish.
Common Mistakes
Avoid these errors that turn a small bubble into a larger repair.
Using Too Much Adhesive
Excess adhesive squeezes out at the seams and prevents the sheet from sitting flat. Follow the manufacturer coverage rate, usually 1 gallon per 150 to 200 square feet.
Skipping The Moisture Test
Installing over a wet slab without testing voids most warranties. The test takes 72 hours and costs less than one repair visit.
Repairing In Direct Sun
Heat softens the vinyl and the adhesive sets unevenly. Work in the morning or shade the window.
Material And Subfloor Comparison
| Subfloor Condition | Vinyl Repair Outlook | Main Risk | Recommended Action |
|---|---|---|---|
| Dry concrete under 75 percent RH | Good | Surface dust | Clean and re-glue |
| Concrete 75 to 85 percent RH | Fair | Vapor pressure | Add moisture barrier |
| Concrete above 85 percent RH | Poor | Slab drainage | Full removal and mitigation |
| Wood subfloor with cupping | Poor | Movement | Stabilize before reinstall |
How To Protect The Repair
Once the bubble is fixed, protect the bond. Avoid heavy rolling loads for 72 hours and keep the room between 65 and 85 degrees Fahrenheit. Use felt pads under furniture and clean with a damp mop rather than soaking the floor.
When To Call A Professional
If the slab fails the moisture test or the vinyl is glued directly to concrete with old adhesive, a professional has the tools to remove it without damaging the substrate.
What To Expect From A Repair Visit
A technician will test moisture, inspect the subfloor, and quote either a patch or a full replacement. Ask for the moisture reading in writing.
For broader context, read the vinyl flooring guide, the luxury vinyl tile overview, and vinyl flooring construction and quality. For substrate and surface details, see underlayment for vinyl flooring and vinyl wear layers cores and backing.
Detailed Repair Walkthrough
Follow this sequence for a single bubble on a dry subfloor. Each step keeps the repair neat and durable.
Step 1: Clean The Surface
Wipe the bubble with a damp cloth and let it dry. Dirt under the needle blocks adhesive flow and creates a weak spot.
Step 2: Inject Adhesive
Insert the needle at the edge of the bubble and inject a thin bead. Move the needle to distribute the adhesive without overfilling.
Step 3: Roll Flat
Roll from the center outward to push air toward the edge. Repeat twice and check that the dome is gone.
Step 4: Weight And Cure
Place a flat board over the repair and add weight. Leave it for 24 hours before walking on the area.
Step 5: Seal The Entry Point
If a needle hole remains, seal it with a drop of seam sealer. This prevents moisture from entering the repair.
Repeat the process for each bubble, working from the driest area to the wettest. If the adhesive does not hold after two attempts, the subfloor needs attention.
Keep the room between 65 and 85 degrees Fahrenheit during curing. Cold adhesive sets slowly and can allow the bubble to return.
Document the moisture reading, the adhesive used, and the date of repair. This record supports warranty claims and future troubleshooting.
Before any repair, confirm the room humidity with a simple hygrometer. High indoor humidity above 60 percent can slow curing and reintroduce vapor pressure.
When patching, align the pattern direction with the surrounding floor. A rotated patch is visible even when the color matches.
Store leftover vinyl flat in a cool dry place. Rolled storage creates memory curves that make future patches harder to flatten.
Before sealing the repair, verify the adhesive coverage matches the manufacturer specification and confirm the vinyl sits flat with no residual dome. A final moisture reading taken after curing protects the warranty and catches hidden vapor pressure that could lift the patch later.
Final Checklist
Confirm the cause before repairing, match the method to the damage, and verify the subfloor is dry and flat. Keep extra material for color matching and document moisture readings for warranty claims.