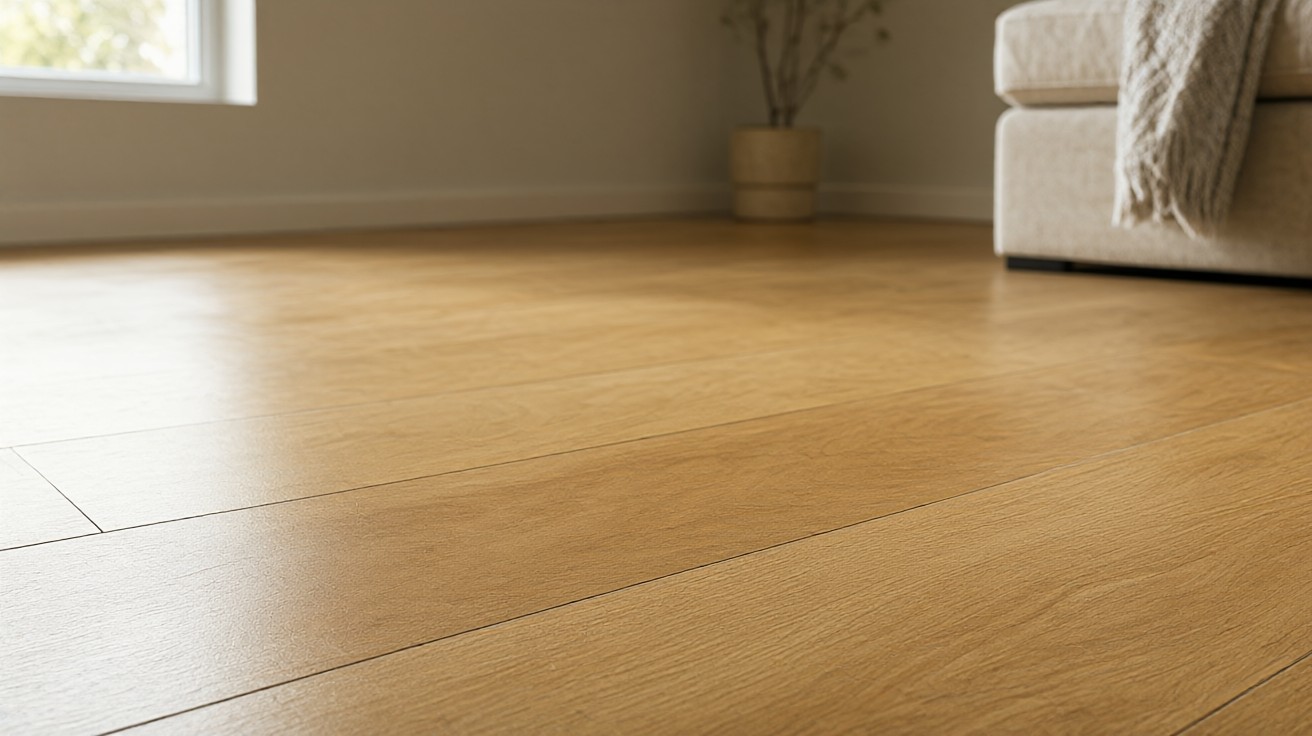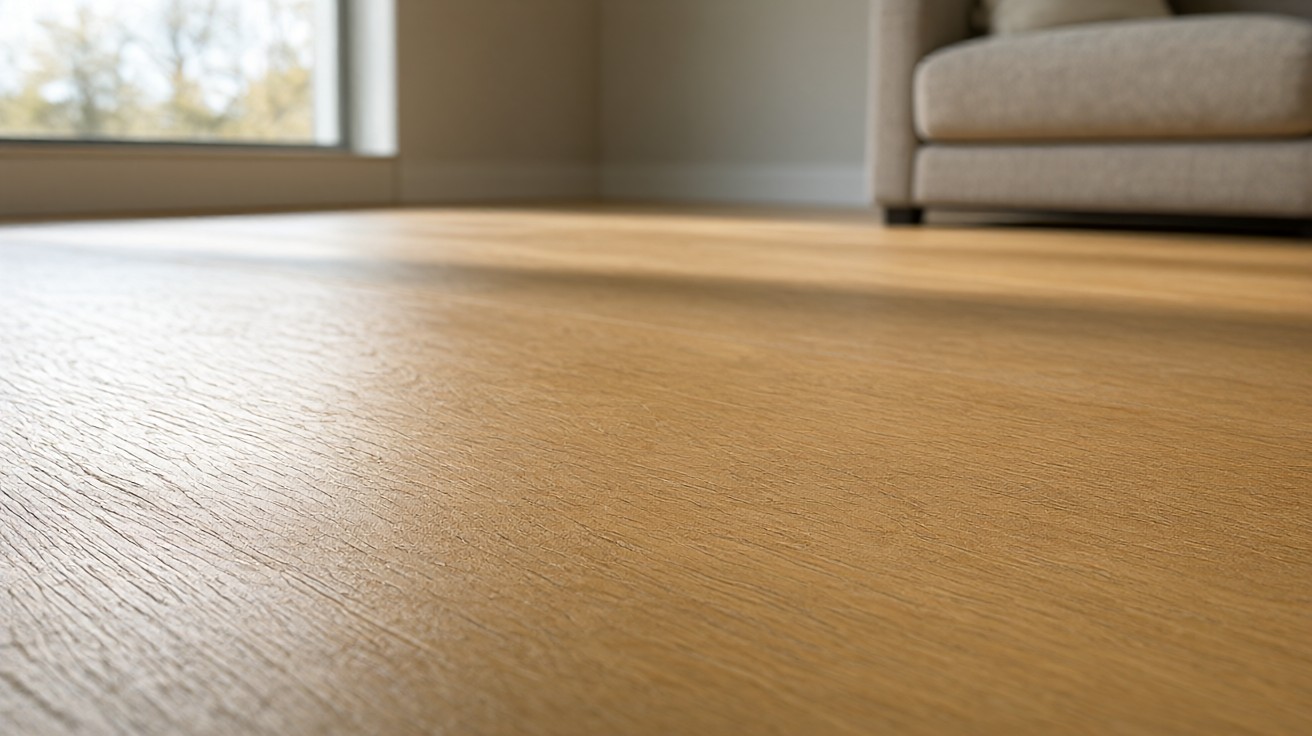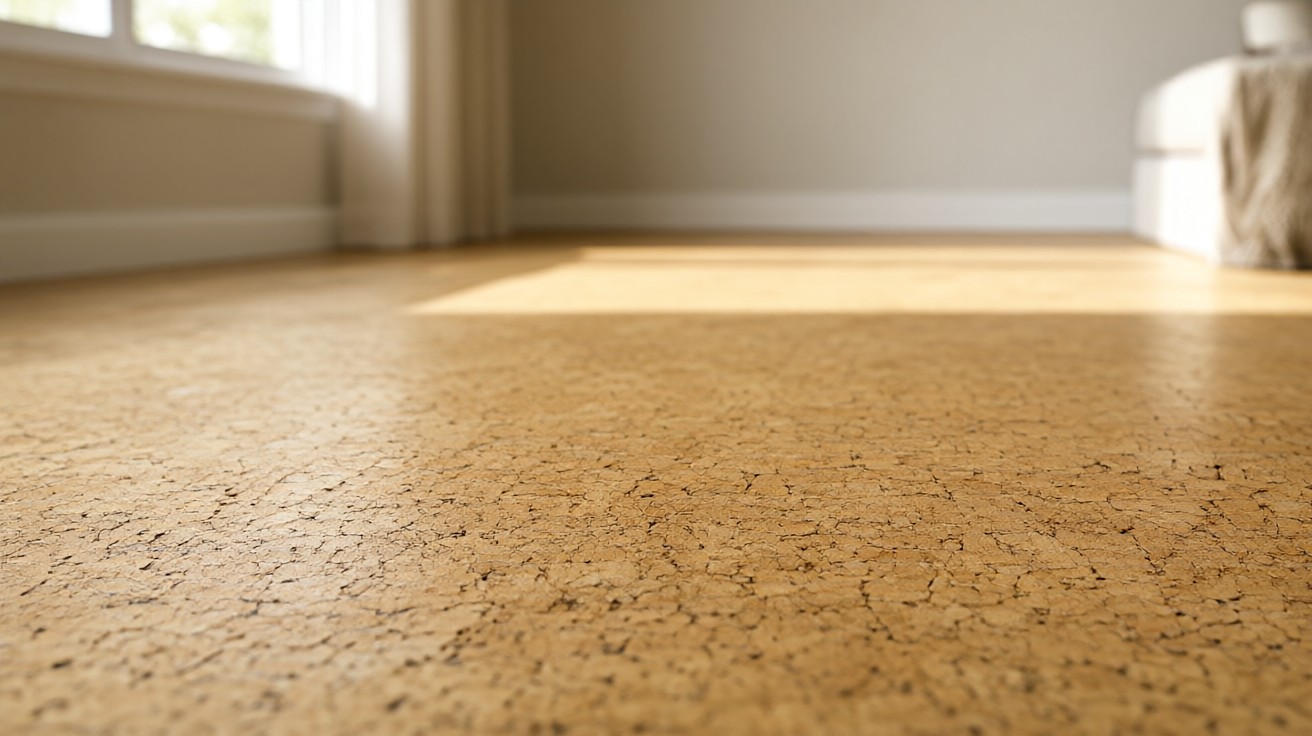

Baseboards and shoe molding are the trim pieces that cover the expansion gap between your new floor and the wall. Install them after the flooring is down, not before, and you will hide the gap, protect the wall edge, and give the room a finished look. The job is mostly measuring, cutting, and nailing, and a careful DIYer can finish a room in an afternoon.
The main decision is whether to use baseboard alone or baseboard plus shoe molding. Baseboard covers the gap by itself on flat, even floors. Shoe molding adds a thin quarter-round profile that follows an uneven floor line and covers a larger gap. Most installations use both, because real floors are rarely perfectly flat and the extra profile hides the imperfection.
Tools and materials you need
Gather everything before you start. You need a miter saw (or a hand saw with a miter box), a coping saw for inside corners, a nail gun or hammer and finish nails, a tape measure, a pencil, a level, a caulk gun with paintable caulk, wood filler, and sandpaper. Materials: baseboard and shoe molding in the same wood species and profile, plus touch-up paint or stain to match.
Buy about 10 percent more trim than your linear footage to cover miters, copes, and mistakes. A 12 foot room with 40 linear feet of wall needs roughly 44 feet of stock. Order all pieces from the same lot so color and grain match across the room.
Measure the room and plan the layout
Measure each wall segment between corners and door casings. Write the lengths on a sketch of the room. Start and end at door casings, not at corners, so the cut at the door looks clean. Plan joints so they land in inconspicuous spots, never in the middle of a sight line.
On long walls longer than your stock length, plan a scarf joint where two pieces overlap at a 45 degree angle. Place the joint over a stud so both ends can be nailed solidly.
How to cut and fit inside corners
Inside corners look best when one piece is coped to fit over the other. Cope the second piece: cut it at a 45 degree miter first, then follow the profile with a coping saw and file it to fit the face of the first piece. A coped joint stays tight even if the corner is not perfectly 90 degrees, which most corners are not.
For outside corners, miter both pieces at 45 degrees so they meet in a sharp 90 degree corner. Glue and nail both legs, and fill the tiny seam with wood filler before painting. On outside corners that are slightly out of square, adjust one miter to 44 or 46 degrees instead of forcing a 45-45 joint that leaves a gap. Dry-fit outside corners before nailing, since the miter is visible and any gap shows. Sand the joint lightly after filling so the paint hides the seam completely.
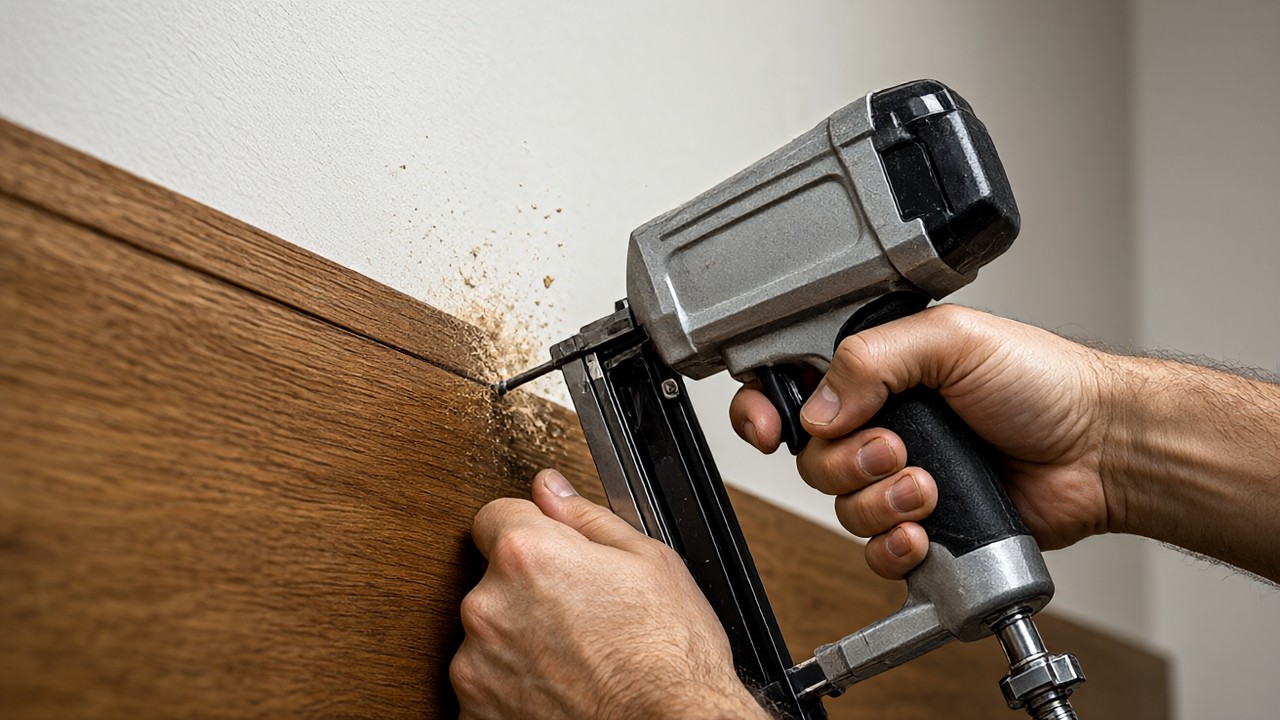
How to nail baseboards to the wall
Locate the studs with a stud finder and mark them lightly. Hold the baseboard in place, check it is level, and nail through the baseboard into each stud with 2 inch finish nails. Sink the nail heads slightly below the surface with a nail set, then fill the holes with wood filler.
Leave a small gap at the floor so the baseboard does not press down on the flooring and restrict expansion. A slip of cardboard under the baseboard sets a consistent gap. On a floating floor, never nail through the baseboard into the flooring itself; nail only into the wall.
| Fastener | Use | Notes |
|---|---|---|
| 2 in finish nail | Into stud through baseboard | Sink and fill |
| 1.25 in brad nail | Shoe molding to baseboard | Smaller, less splitting |
| Construction adhesive | Masonry or plaster walls | Use with nails |
How to install shoe molding
Shoe molding is a thin quarter-round or square profile that covers the gap between the baseboard and the floor. Measure and cut it the same way as baseboard, with coped inside corners and mitered outside corners. Nail it to the baseboard, not to the floor, with 1.25 inch brad nails. Nailing to the floor pins the floating floor and can cause buckling.
Leave a paper-thin gap between the shoe molding and the floor so the floor can move. Fill the nail holes, caulk the top edge where shoe meets baseboard, and touch up the paint.
How to handle door casings and transitions
Where baseboard meets a door casing, cut the baseboard to butt squarely against the casing. Do not miter it. If the casing has a profile, cope the baseboard to match. At a transition between flooring types, terminate the baseboard cleanly and use a threshold or reducer strip.
For stairs, see our guide on how to install flooring on stairs before you trim the stair area, since the trim must follow the stair profile.
Standards and best practices
Follow the flooring manufacturer’s trim recommendations, since some floating floors require a specific gap and trim method. The NWFA (National Wood Flooring Association) recommends a 3/4 inch minimum expansion gap for solid hardwood and 1/4 inch for engineered products. ANSI A108.02 covers tile trim details. Keep fasteners into studs spaced no more than 16 inches on center.
If the room has carpet, use a carpet gripper and transition strip instead of shoe molding, and leave the carpet edge exposed for the gripper teeth.
Common mistakes to avoid
Three mistakes recur. Nailing shoe molding to the floor, which pins a floating floor and causes buckling. Cutting all pieces before fitting, which leaves no room to adjust when a corner is out of square. And skipping the cope on inside corners, which leaves a visible gap that caulk cannot hide. Measure twice, cut once, and dry-fit before nailing.
Another frequent error is painting before installation. Pre-painted trim chips at the nail holes and miters; it is easier to install raw trim, fill, sand, and paint in place. Skipping the expansion gap check is equally costly: a gap that is too tight leads to buckling within one heating season, and fixing it means removing and reinstalling all the trim. Finally, using the wrong fastener length in plaster or masonry walls leaves trim loose; use construction adhesive plus masonry nails or Tapcons rated for the substrate. Removing old baseboard carelessly tears drywall and adds a day of patching. Score the caulk line first, pry at stud locations, and pull nails through the back of the board. Reusing solid-wood trim in good condition saves money and preserves a profile that is hard to match in modern stock.
Shoe molding profiles compared
Shoe molding comes in several profiles, and the choice affects both look and fit. Quarter round is a true quarter circle and covers the largest gap. Shoe molding (sometimes called base shoe) has a flatter face and a smaller radius, which looks more refined. Square-edge shoe is a simple rectangular strip that suits modern baseboards. Match the profile to the baseboard style and to the size of the gap you need to cover.
| Profile | Gap covered | Best for |
|---|---|---|
| Quarter round | Up to 3/4 inch | Large gaps, uneven floors |
| Shoe molding | Up to 1/2 inch | Standard installs, refined look |
| Square edge | Up to 3/8 inch | Modern baseboards, small gaps |
Should I use quarter round or shoe molding?
Use quarter round when the gap is large or the floor is uneven, since the round profile follows the floor line closely. Use shoe molding when the gap is small and you want a less bulky look. Either works; the difference is mostly aesthetic.
How to handle uneven floors
Real floors are rarely flat, and baseboard will not sit flush everywhere. Scribe the baseboard to the floor: hold it in place, mark the high spots with a compass set to the gap, and plane or sand the bottom edge so it follows the floor line. For shoe molding, the flexible profile usually conforms without scribing, but you may need to pin it with extra nails where it springs away.
If the floor has a dip larger than 1/4 inch, fill it with floor leveler before installing trim. Do not force the baseboard down to meet a low spot; that creates a gap at the next high spot.
Expansion gap rules by flooring type
The gap under the baseboard exists so the floor can expand and contract with humidity. The required gap depends on the flooring type and the manufacturer. Always check the installation guide for the product you bought, but these ranges are typical.
| Flooring type | Typical expansion gap | Trim method |
|---|---|---|
| Solid hardwood | 3/4 inch | Baseboard + shoe molding |
| Engineered hardwood | 1/4 to 1/2 inch | Baseboard + shoe molding |
| LVP / laminate | 1/4 inch | Baseboard + shoe molding, nail to wall only |
| Tile | 1/4 inch | Baseboard or quarter round, caulk joint |
What happens if the gap is too small?
A gap that is too small restricts expansion, and the floor can buckle, cup, or lift at the seams. If you see the floor pushing against the baseboard, remove the trim, enlarge the gap with a multi-tool, and reinstall. For more on installation risks, see our guide on installing flooring over existing flooring.
How to fill, caulk, and paint
After nailing, set all nail heads below the surface and fill the holes with wood filler. Sand smooth once dry. Caulk the top edge of the baseboard where it meets the wall, and the joint where shoe meets baseboard. Use paintable caulk and tool it with a damp finger for a clean bead. Touch up with the matching paint, blending into the wall color.
Paint the trim before installation only if you are using pre-primed stock and want to avoid cutting in. Otherwise, install raw, fill, sand, and paint in place for the cleanest result.
When should I caulk versus use wood filler?
Use wood filler on nail holes and small dents in the wood. Use caulk on gaps between trim and wall, and between trim pieces, because caulk flexes with seasonal movement. Never caulk a gap between trim and a floating floor; that joint must stay open.
Last updated: 2026-10-31. General information only, not professional installation advice. Standards referenced: NWFA, ANSI A108.02.
Bottom line
Baseboards and shoe molding are the finishing touch that makes a new floor look intentional. Measure carefully, cope the inside corners, nail into studs, and leave the floor free to move. With a miter saw and an afternoon, you can trim a room to professional standard. For the flooring itself, see our guide on how to install LVP flooring, and inspect the subfloor first using how to inspect flooring before installation.
Last updated: 2026-10-31. General information only, not professional installation advice. Standards referenced: NWFA, ANSI A108.02.