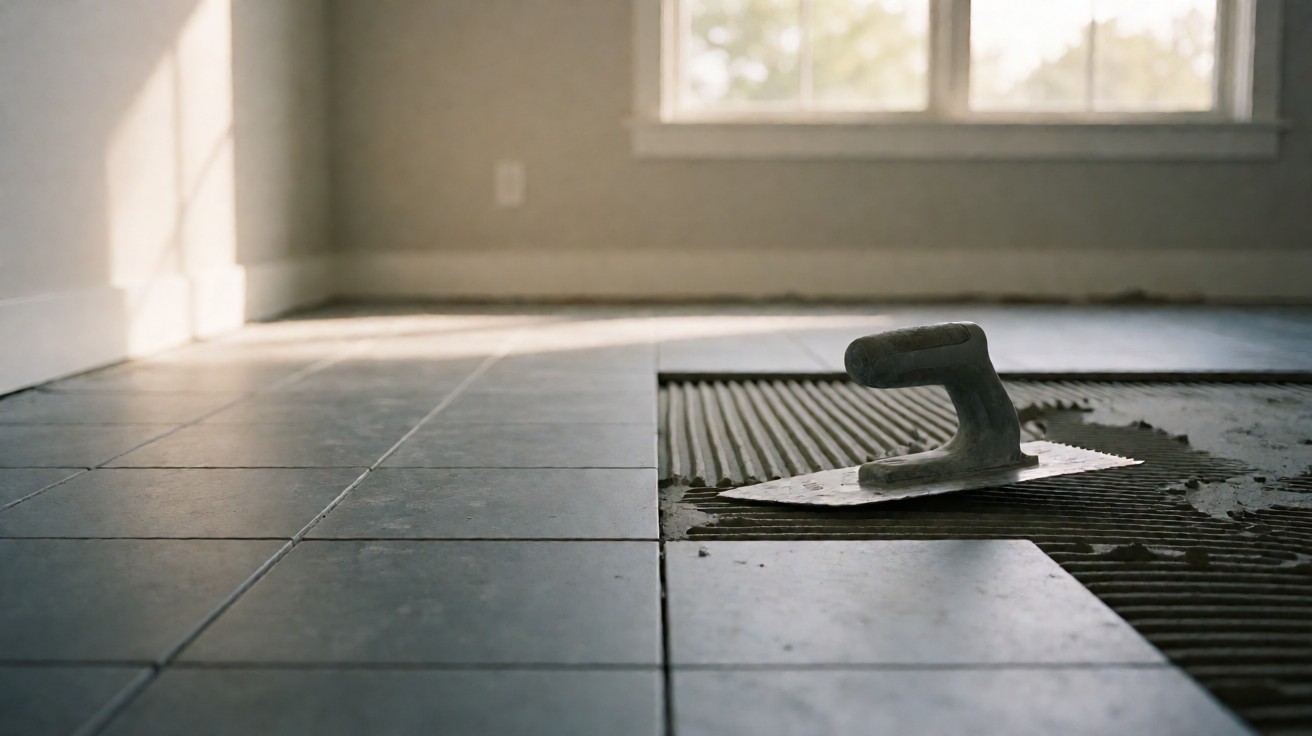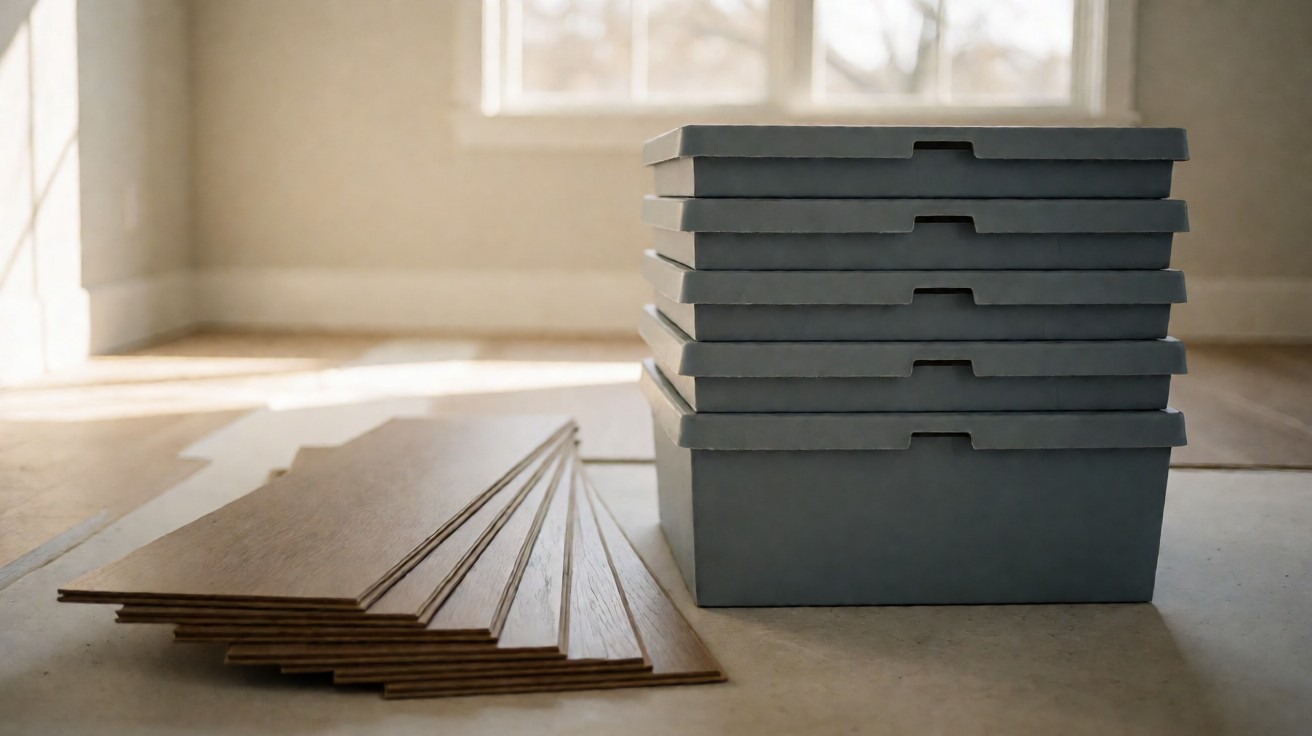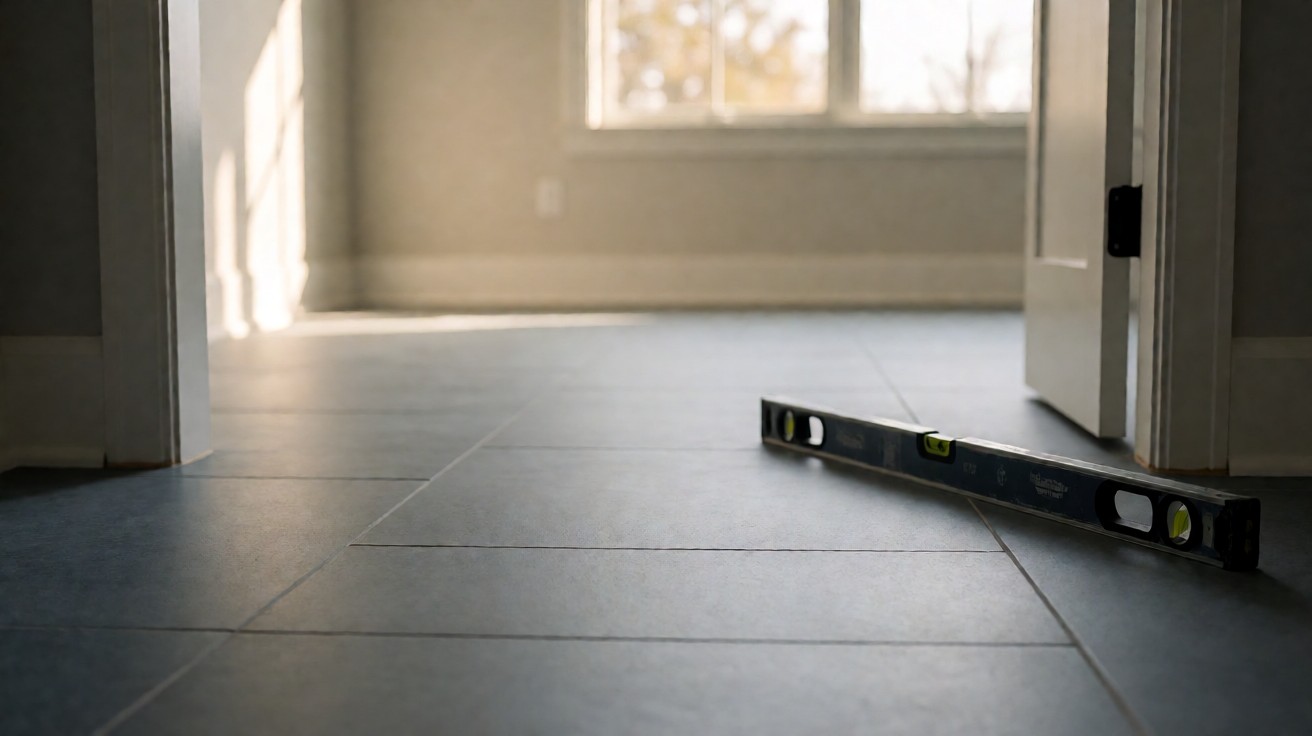

The installer’s last day is Thursday, the invoice is already in your inbox, and the floor already looks finished enough that paying feels automatic.
Run the walkthrough while the installer is still on site, and pay in full only after it. Most disputes about a completed floor come down to timing, and a proud seam or a short perimeter gap costs almost nothing to fix before the trim goes on and a great deal afterwards.
What you check is concrete: a long straightedge finds no hollow spots, every threshold sits flush with no transition lip, the perimeter gap is the width the product actually needs, and the subfloor meets ASTM F710 for cleanliness and moisture. Photograph each defect with the date before anything is trimmed in.
Timing Is The Variable That Decides The Outcome
The installer’s last day is Thursday, the invoice is already in your inbox, and the floor looks finished enough that paying feels automatic.
Most disputes about a completed flooring project come down to timing: what you noticed was real, but you noticed it after the crew pulled the last baseboard and drove away. Start with the walkthrough: a documented pass while the installer is still on site, with a written list and dated photographs. That session is worth more than any equipment you could buy, because defects that are cheap to fix now, such as a proud seam or a short perimeter gap, become expensive the moment the trim goes on and the crew leaves.
The installer is on site for a final day. That is the only window in which a proud board can be pulled up, a baseboard reset, and a seam sanded without a second crew on the clock.
After they leave, the same items become a return visit, a disposal fee, and lost days. A crew that resets a transition before leaving absorbs twenty minutes of its own labour. You asking for the same fix a week later absorb a service call and a scheduling window.
Timing also decides what you can prove. Trim, thresholds, and the last row of flooring all get cut and fastened on the final day. Once baseboards and caps are on, the condition of what sits behind them is invisible to everyone, including the crew.
If the crew finishes at four and the building sits empty until Monday, you have lost two days and most of your evidence. Say on the day that you want the walkthrough. Do not raise it after the final invoice has been chased once.
What To Bring And What To Photograph
Bring a 10-foot straightedge, a utility knife, a tape measure readable to 1/16 inch, a small flashlight, and a phone. That is the whole kit, and every item on it earns its place.
Photograph each room before you touch anything. Full-room shots from the doorway, then close-ups of every joint, threshold, and corner. A photo with no scale in frame is an argument. A photo with a tape measure in frame is evidence.
Capture what gets destroyed first. Perimeter gaps disappear under baseboards. Cut-outs around a toilet flange get covered by the flange. A squeaky board goes silent the moment somebody drives one more nail through it.
Write the list while you walk rather than afterwards. Memory is generous to the contractor and unexpectedly specific about the crack in the guest bedroom.
One page. One pen. Dated.
| Category | What to measure or look for | The figure that decides it |
|---|---|---|
| Flatness | Straightedge rocked and slid in at least four directions per room | 1/8 inch over 10 feet, or F15 under ASTM E1155 |
| Joints | Thumbnail along every seam; look for proud edges and shadow gaps | Lippage 1/32 inch, or 1/16 inch at joints 1/4 inch and wider |
| Wet-area tile | Manufacturer wet DCOF data for any bathroom or entry floor | 0.42 or greater to ANSI A137.1 |
| Perimeter | Flat card pushed into the gap at eight points around each room | 1/4 inch floating, 3/8 inch to 1/2 inch solid strip |
| Thresholds | Heel pressure on each end, toe catch, visible daylight beneath | Flush, or a declared ramp profile with no step |
| Colour | Batch or dye lot code on every carton still in the building | One batch per room wherever visibility allows |
| Moisture | Cupping read along the boards at floor level in daylight | 75 percent relative humidity ceiling over concrete |
| Cleanliness | Debris under doors, behind appliances, inside perimeter gaps | Vacuumed before baseboards went on |
Thresholds And Transitions
Thresholds are where an installer runs out of daylight, runs out of time, or both. This is the highest-yield check in the entire walkthrough, and it takes about ninety seconds per opening.
What you are looking for is height. A transition should sit flush, or be deliberately ramped and declared as such. What you do not want is a lip you can catch a bare toe on, or a slot where the eye drops into a dark line.
Where two different heights meet, ask which one governs. An interior doorway between two rooms at the same elevation can usually take a flat saddle or a T-moulding. A garage entry where the slab drops 3/4 inch wants a ramp profile, not a strip of trim laid over the step.
Check that each threshold is fastened rather than simply set. Lift one end slightly with your hand. If it moves, it was laid on adhesive alone and it will work loose under foot traffic.
Movement joints, where the floor meets a stair, and the corners where three materials converge are the other three places transitions get quietly fudged.
For the room-by-room breakdown of what each transition type is for, and where the detail usually fails, the difference between a threshold and a transition covers the types worth naming on a punch list.

Testing Flatness With A 10-Foot Straightedge
Lay the straightedge on the floor and slide it, first along the length of the room and then across it in at least four directions. On a flat floor you feel it touch continuously. Where it rocks there is a dip. Where it bridges there is a high spot.
Measure the gap rather than merely noticing it. With a wedge or a feeler gauge, 1/16 inch is ordinary on an older slab. 1/8 inch or more over a 10-foot span is where a resilient, vinyl, or LVT floor begins to telegraph the low spot into the walking surface.
The traditional concrete tolerance was 1/8 inch over 10 feet. ASTM E1155 replaced that method with F-numbers, where F15 is roughly equivalent to 1/8 inch over 10 feet and F25 to 3/16 inch. A spec that says F25 tells you more than a spec that says the floor should be flat.
ASTM F710 governs which concrete slabs are acceptable under resilient flooring, and it is worth reading for what it actually demands. It asks for a slab that is permanently dry, clean, smooth, and structurally sound, and it requires every slab to be tested for moisture regardless of age or grade. If no moisture test was recorded, that absence is itself a finding.
Your eye is poor at this, which is the entire point. A 1/8 inch dip across a 10-foot span is about one degree of slope. From standing height it does not read as a dip. It reads as a dent in the floor three months later, once furniture has settled into the low spot and stayed there.
Knock the floor as well. Run the heel of your hand along every board, working across the room in bands. A dull solid knock means a board bonded to a sound subfloor. A hollow echoing knock means a void underneath, and a void becomes a click, then a cup, then a squeak in a hard season.
If a dip is larger than 3/8 inch, stop and get it measured before you release payment. That is a levelling job with a real material cost, and the cost of leveling a subfloor turns almost entirely on how far out of tolerance the slab already is.
Joints, Seams, And Board Spacing
Run your thumbnail along every joint you can reach. If it catches, the joint is proud, and a proud joint wears through the finish layer before anything else in the floor does.
On tile, the governing figure is lippage. ANSI A108.02 allows 1/32 inch where the grout joint is under 1/4 inch, and 1/16 inch where the joint is 1/4 inch or wider, plus whatever inherent warpage the tile carries from the factory.
For tile in a bathroom or entry, there is a second figure to ask for. ANSI A326.3 is the test method for dynamic coefficient of friction, and ANSI A137.1, which defines porcelain as the tile class under 0.5 percent water absorption, sets the threshold at a wet DCOF of 0.42 or greater for a level interior space walked on when wet. Below 0.42, the material should not have been specified for that room.
On wood and laminate, what you want is an even joint with no daylight through it and no dark line of shadow between boards. A faint shade difference at a joint is normal. A gap you can put a coin into is not.
Rows should run consistent, and end joints should be staggered so you are not looking at a stair-step of aligned butt joints across the width of a room. Staggering is an aesthetic matter, but a wall of perfectly aligned end joints is a sign nobody planned the layout.
On any floating floor, check that the first and last rows were not pulled tight against the wall to save material. A tight cut is invisible the day it is done and it is the single most common cause of a floor that buckles in January.
Perimeter Gaps, Trim, And Baseboards
Every wood and laminate floor needs an expansion gap at the perimeter. Typically that is 1/4 inch for a floating floor and 3/8 inch to 1/2 inch for solid strip. Tile and stone do not move the same way and usually take a smaller gap, or none at all.
Check the gap before the baseboard hides it. Push a flat card into the space at eight points around each room, including every corner. If the card cannot go in, the floor was cut tight and it has nowhere to go when it expands.
If the floor was cut tight and it buckles in January, the cause is a decision made in the last hour of the install. That defect is expensive to correct because the whole floor has to come up.
Where a floor meets a wall that is not straight, the gap should stay consistent rather than rise and fall in a wave. Where it meets a kitchen cabinet toe kick, the gap is hidden and irrelevant. Where it meets a finished wall, it is the most visible line in the room.
Baseboards should sit flush against the wall and clear of the floor rather than bridging across it. Where the wall is out of plumb, a scribed baseboard follows the wall and leaves a visible, even floor gap behind it.
Colour And Batch Variation
This is the check homeowners fail most often, because normal variation looks exactly like a defect until somebody explains the difference.
Same product. Different dye lot. Different room.
Every manufacturer runs a shade variation rating. A product graded as low variation should read as one floor across a room. If you can see a hard line where two areas meet, the floor came from more than one batch.
The number that matters is printed on the box. Compare the dye lot or batch code on every carton still in the building against the cartons in the room you are standing in, and write the codes down while you still have the packaging.
Mild variation between boards inside one batch is normal, and no manufacturer warrants against it. A visible difference between two batches of the same product is not normal, and it is fixable today by replacing the affected boards while the matching material is still available.
A different colour altogether is not a variation question at all. That is a different product in the same room, and it is worth establishing whether it happened by choice or by accident.
Moisture And Cupping
Cupping shows as a raised board edge with a valley running down the middle, and it means the underside of the board took on more moisture than the finished face did. It is the most consequential item on the walkthrough and the hardest to argue about afterwards.
Wood flooring ships at 6 to 9 percent moisture content under the NWFA standard, with an allowance up to 12 percent. A floor installed at 12 percent into a house that later sits at 30 to 50 percent relative humidity has almost no margin left.
Where the floor runs over concrete, in-situ relative humidity testing to ASTM F2170 is the standard method, and most manufacturers will not accept a slab reading above 75 percent. Above that ceiling the floor needs a moisture mitigation system installed before anything goes down.
Walk every room and look along the length of the boards at floor level. Cupping catches light in a bright band across the room, and low daylight from a side window will show it hours before a ceiling light does.
If you have access to a pin-type moisture meter, a subfloor reading above 12 percent is a reason to pause the walkthrough rather than a reason to argue at the door. Get the number, photograph the display, and let the installer respond to evidence.
Where a floor has been soaked rather than merely damp, the restoration standard also applies. ANSI/IICRC S500 sets the dry target as a reasonable approximation of the moisture level a material held before the water arrived. In practice that means back inside the 6 to 9 percent band, not merely out of the wet.
Cleanliness And What Handover Should Include
Vacuum. A floor that was not vacuumed before the baseboards went on has debris trapped inside the perimeter gap, and you will find it in five years rather than five weeks.
Dust is not a defect. It is a receipt.
Check under the doors, behind the appliances, and in the corners nobody walks. Cutting waste left behind is not a defect, but it usually indicates the crew was cutting inside the room rather than outside it.
Handover should include the batch or dye lot numbers, the care instructions, the manufacturer warranty registration, the underlayment and adhesive data sheets, and the installer’s written warranty with a stated start date. If you cannot get the batch numbers on the day, you may not get them at all.
Ask for the moisture test results for the slab or the subfloor, in writing, with the date they were taken. A verbal assurance that the floor was tested is worth nothing once the crew has invoiced and moved on.
Defect Or Normal Variation
The distinction is not subtle once you know what causes it. Normal variation is what the product did on purpose. A defect is what the installation failed to prevent, and only one of those two things is going to be fixed for free.
| What you see | What it usually is | What to do about it |
|---|---|---|
| Soft shade variation between boards | Normal variation within one batch | Accept it. No manufacturer warrants against it |
| Hard colour line across a room | Two batches of the same product | Photograph with cartons, request matching material |
| One plank sits slightly higher | Minor variation, not a defect | Accept unless the edge is proud enough to catch a nail |
| A board that rocks under heel pressure | Hollow or out-of-flat subfloor | Measure flatness before accepting or paying |
| Wide open gap at one wall | Cut tight at install, no expansion allowance | Defect. Risk of buckling in the next dry season |
| Dark cupping band along a room | Moisture differential through the board | Document before payment and again next season |
| Transition lip at a doorway | Undeclared step, not a defect if declared | Ask which floor elevation governs the opening |
A slightly uneven plank sitting on a sound subfloor is normal. A plank that rocks is a subfloor problem, and subfloor problems come back.
A colour difference between boards in one batch is normal. A colour difference between two batches is fixable today and arguable in two years.
Before deciding a defect is not worth holding money back for, price the repair rather than the annoyance. For a wet board, a failed seam, or a floor that may need lifting entirely, repair against replacement is a cost calculation long before it is a matter of pride.
The Payment Conversation And A Fair Holdback
A documented list is worth money in a way a verbal complaint is not. Numbered items, dated photographs, and a stated remedy give the installer something specific to fix and a deadline to fix it by.
If the crew is still on site, the conversation is easy: fix it now, or record it as incomplete work. If they have gone, the same conversation is about money, and money moves faster than a promise does.
| Situation | Fair approach | What weakens it |
|---|---|---|
| Crew still on site | Fix before they leave and note nothing in writing | Saying yes to avoid a difficult conversation |
| Crew gone, items itemised | Hold the cost of the items, release on written confirmation | A list with no measurements or photographs |
| Crew gone, item vague | Return for a joint inspection before deciding | Paying in full against a promise to return |
| Flatness disputed | Hold the amount a measured correction would cost | Paying, then paying again for the levelling |
| Seasonal movement likely | Agree a re-check date and release at that date | Signing a final waiver at handover |
A fair holdback is a percentage tied to the estimated cost of the outstanding items, held for a stated period, and released on written confirmation that the work was done. It is not a penalty, and it does not need to be adversarial to be effective.
Paying the final invoice in full in exchange for a promise to return is the expensive option, because the promise carries no deadline and the evidence carries no date on it.
Get it in writing or get it paid for.
What Changes After The First Season
Wood moves with the season. A floor installed in January inside a dry heated house expands into the gap you left, and closes it. A floor installed in July in a humid house shrinks, and the same gap opens wider.
If a gap measuring 1/4 inch in July measures 1/8 inch in January, the floor is behaving exactly as designed. If it measured 1/4 inch and now measures 3/8, something moved that should not have moved.
Keep photographing after handover. A dated picture of a joint in July and the same joint in January tells a warranty assessor which direction the floor travelled and how far, and that is most of what a seasonal claim needs.
For anything that has already moved, write down the date, the room, and the weather that week. A damp January and a dry July produce opposite movement, and the season is part of the diagnosis rather than an excuse for it.
Landlords, Homeowners, And Where Inspection Money Goes
A landlord is not checking craft. They are checking liability and remaining service life. What fails first in a rental is water, a transition lip somebody trips over, and a floor that cannot be cleaned properly between tenants.
Where you hold units, weight the walkthrough toward thresholds, kitchen and entry transitions, and any floor within reach of a washing machine or a dishwasher. Those three areas generate most of what tenants complain about.
On the product side, flooring chosen for a rental property is a different calculation from flooring chosen for a home you will stay in, and the wear layer thickness and water resistance carry more weight than the finish.
Where inspection money is not worth spending: a moisture meter on a concrete slab the installer has already tested and documented, a specialist on a 200 square foot bathroom, and any inspection of a floor you are going to replace anyway next spring.
Where it is worth spending: a large room, a level that will be heavily furnished, a contested flatness question, a glued or engineered floor with no movement margin, and any job where the choice between professional and DIY installation turned out to be decided by the subfloor rather than by the boards.
Two hours of a competent floor inspector on a 1,500 dollar room of engineered hardwood costs less than one replaced floor.