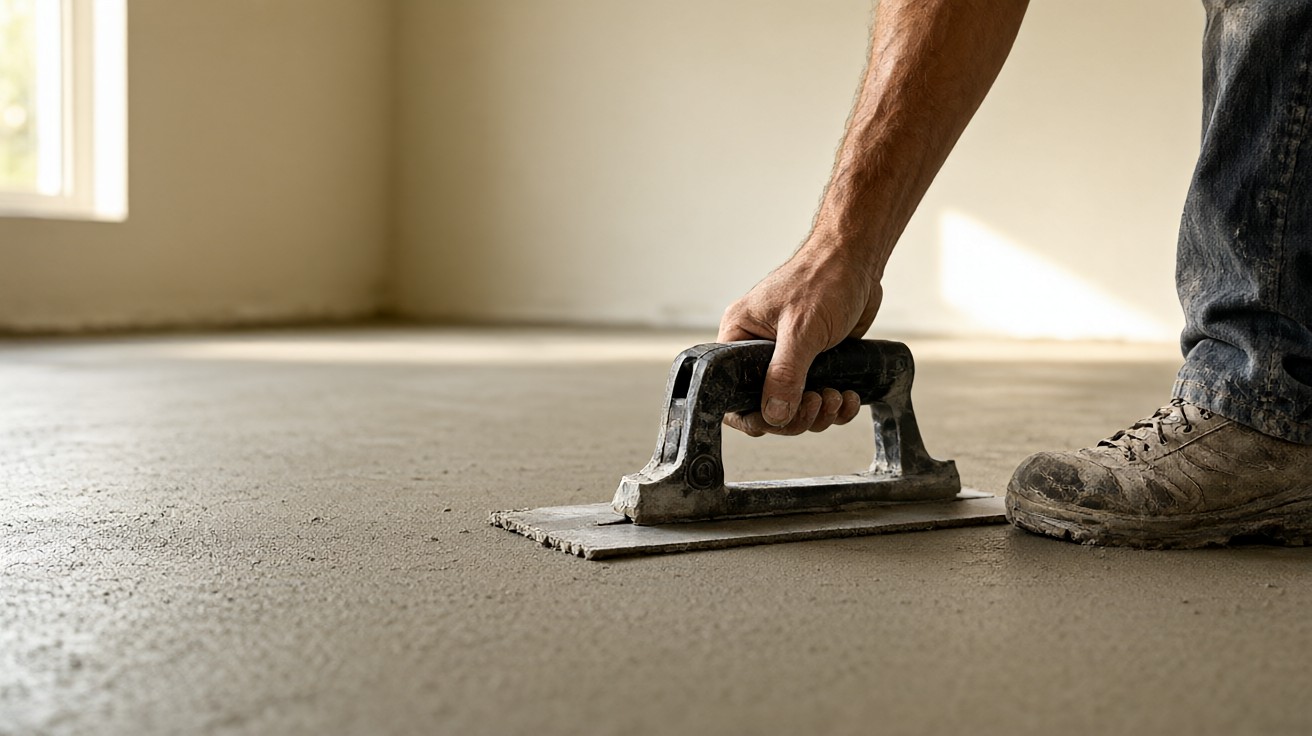

Patching fills small defects and leveling fixes whole-floor flatness. Choose the right compound, prime the slab, and the floor stays flat for decades.
The short answer: patch isolated chips, divots, and cracks; level when the whole floor is out of flat. Prime first, respect thickness limits, and let the compound cure before flooring goes down.
What Patching and Leveling Actually Are
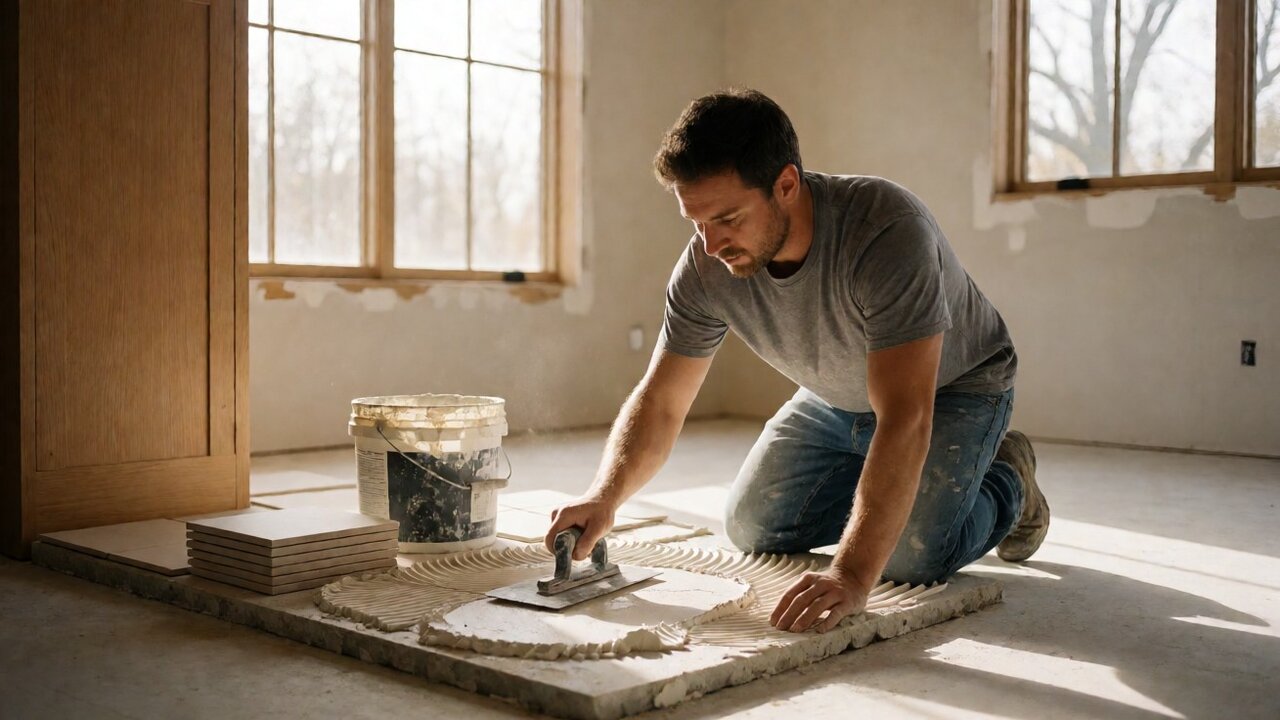
Patching is a spot repair. You fill a single hole, crack, or low spot with a stiff compound and feather the edge to nothing. Leveling is a floor-wide correction. You pour or trowel a flowing compound so the whole surface meets a flatness tolerance.
The compounds differ in flow. Patching compound holds its shape like stiff mortar, so you can build it up in one spot. Self-leveling underlayment flows like thin batter, so it seeks its own level across the whole floor. Both bond to concrete or wood, but only when the surface is clean and primed.
Thickness separates them too. Patching compounds handle defects from a skim coat up to about 1/2 inch in one pass. Self-leveling underlayment handles 1/8 inch to 1 inch across the whole area. Neither is meant to fix a structurally bad slab.
| Job | Typical thickness | Tool | Best use |
|---|---|---|---|
| Patching | Skim to 1/2 inch | Trowel | Chips, divots, cracks, seams |
| Leveling | 1/8 to 1 inch | Gauge rake, spike roller | Whole-floor flatness correction |
When to Patch Instead of Level
Patch when defects are isolated and the rest of the floor is already flat. A few nail holes, a chipped concrete corner, or a recessed seam in plywood are patch jobs, not leveling jobs.
Patch when the deviation is local. If a 6-foot straightedge rocks on one high spot and sits flat everywhere else, grind the high spot and patch the low one. Patching keeps cost and cure time low.
Patch before underlayment too. Even a floor that will be leveled needs cracks and holes filled first, or the leveling compound drains into them and leaves voids. When in doubt, patch first and level second.
If the defect is deeper than 1/2 inch, fill it in lifts. Let each lift set before adding the next, because a single deep pour shrinks and cracks. Where the hole runs through to dirt or gravel, pack it with gravel and a repair mortar first.
When to Level Instead of Patch
Level when the whole floor is out of flat. If a 10-foot straightedge shows a 3/16 inch gap in three places, patching three spots leaves a wavy floor. A single pour of self-leveling underlayment fixes all three at once.
Level when you are installing large-format tile or rigid vinyl. These materials telegraph subfloor waves. A flat base is cheaper than replacing a cracked tile later.
Level when the floor slopes toward a drain or doorway. Self-leveling underlayment can be feathered to a taper, but it will not hold a slope on its own. For a true slope, use a sloped mortar bed instead.
Level when patching would take longer than pouring. Ten spot repairs across a basement can take a full day. One pour takes two hours plus cure time. When the math favors the pour, level.
\n\n
Self-Leveling Underlayment: What It Is and Where It Belongs
Self-leveling underlayment is a Portland cement based compound that flows under its own weight. You pour it, spread it with a gauge rake, and roll it with a spike roller to release air. It seeks a flat plane within minutes.
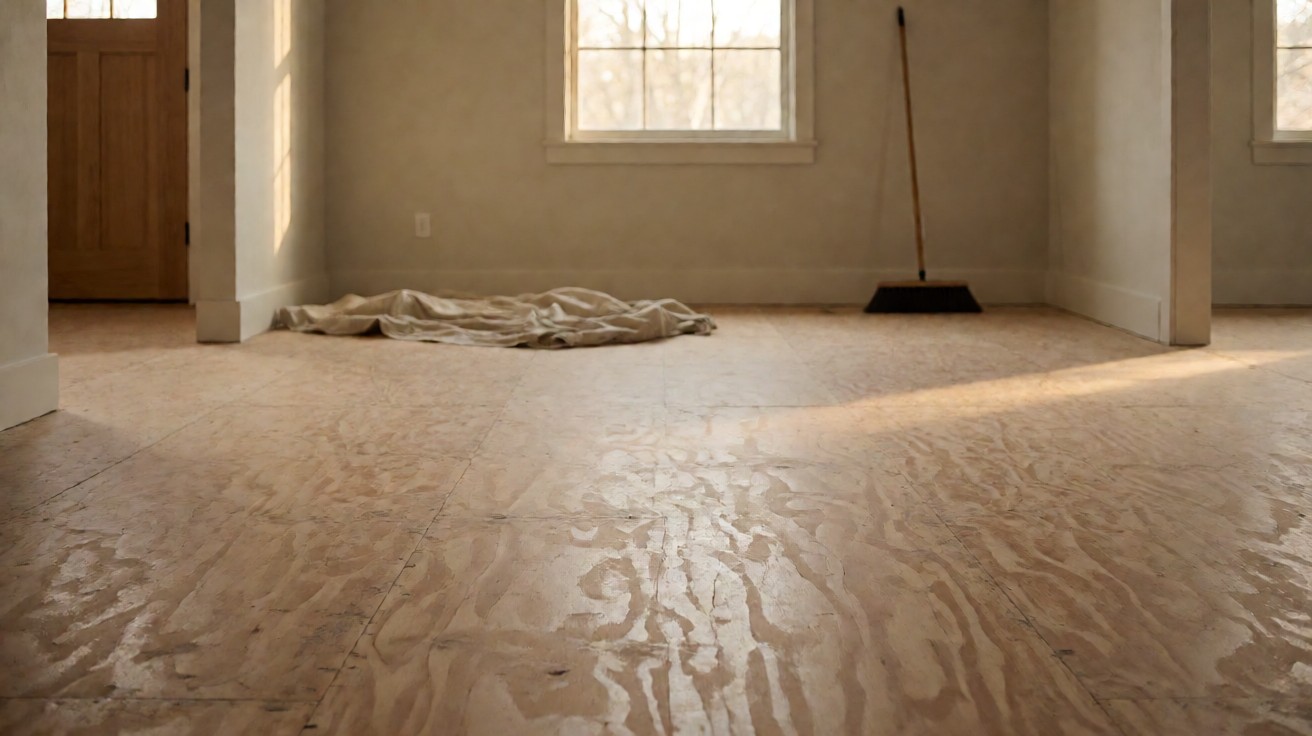
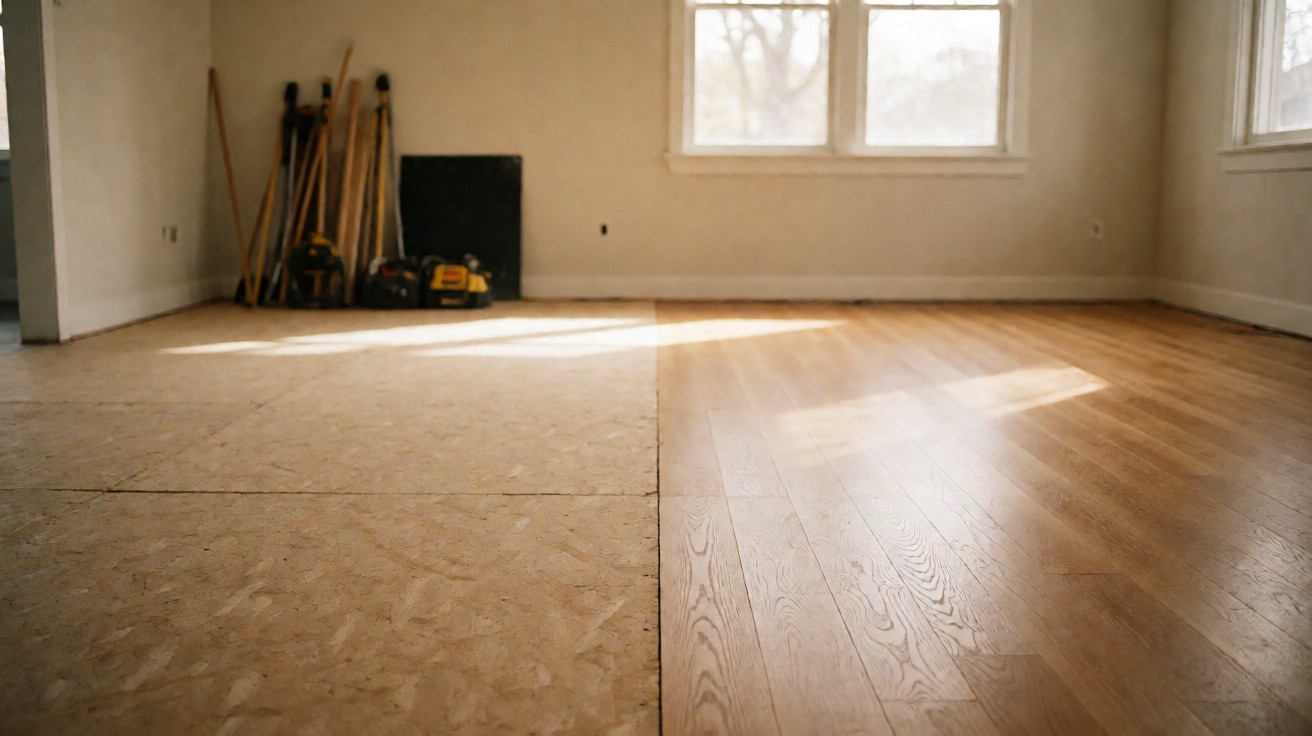
It belongs on concrete slabs and on plywood or OSB subfloors that are structurally sound but out of flat. It does not belong on floors that move, on wet slabs, or over loose tile. Fix movement and moisture first.
Mix it to the water ratio on the bag, not by feel. Too much water weakens the cured slab and causes dusting. Too little water keeps it from flowing and leaves ridges. Use a drill mixer and a clean bucket every batch.
Pour in sections you can finish in 10 to 15 minutes. Self-leveling compound sets fast, and a cold joint between old and new pours shows as a ridge. Plan the pour path before you open the first bag.
Self-leveling underlayment is not a structural fix. If the slab is cracked through or the joists are undersized, the compound cracks with them. Repair structure first, then level the surface.
Patching Compounds: Types and Uses
Cement based patching compound is the workhorse. It bonds to concrete and wood, accepts most finishes, and handles 1/8 to 1/2 inch in one pass. Use it for divots, cracks, and seams.
Latex fortified patching compound adds flexibility. It tolerates slight movement and bonds well to plywood. Use it where the subfloor sees seasonal humidity swings.
Epoxy patching compound is for heavy loads and chemical exposure. It costs more and sets fast, but it holds up in garages and commercial kitchens. Match the compound to the load.
Gypsum based patching compound is for dry interior slabs only. It cannot handle moisture, so keep it away from basements and bathrooms. Read the bag before buying.
Feather-finish patching compound is for skim coats. It goes down in a thin layer to smooth minor texture, not to fill depth. Use it as a final pass before flooring.
Feather-Edging: Getting the Edge Right
Feather-edging means tapering the compound to zero at the edge of the repair. A hard edge telegraphs through vinyl and laminate and shows as a bump under tile. A feathered edge disappears.
Trowel from the center of the patch outward in long strokes. Lift the trowel slightly at the end of each stroke so the compound thins to nothing. Do not scrape the trowel dry across the edge.
Feather self-leveling underlayment at doorways and transitions. Use a notched trowel or a feathering tool to taper the pour to zero where it meets an existing floor. A ridge at a doorway becomes a trip point.
Sand the feather edge after cure if it feels sharp. Use a medium grit block and light pressure. Over-sanding exposes aggregate and weakens the edge, so stop when it is smooth.
Feather edges are where cracks start. Keep the edge thin and well bonded, and the repair lasts. A thick, abrupt edge is a stress riser.
Priming: Why the Bond Depends on It
Primer seals the substrate and gives the compound something to grip. Skip it and the compound can delaminate in sheets. Prime every surface, even clean concrete.
Match the primer to the substrate and the compound. Concrete usually takes a water based acrylic primer. Plywood often takes a latex primer or a diluted patching compound. Follow the compound maker’s chart.
Apply primer in a thin, even coat with a roller or brush. It should look damp, not pooled. Pooled primer dries into a weak film that the compound cannot bond to.
Let primer dry to the touch before pouring. Most primers are ready in 1 to 2 hours at 70 degrees. If you pour too soon, the compound dilutes the primer and the bond fails.
Re-prime if the first coat soaks in fast. Porous concrete and old plywood drink primer. A second thin coat costs little and saves the job.
Moisture and the Subfloor
Moisture is the main enemy of patching and leveling compounds. Water vapor pushes up through concrete and lifts the compound. Test before you pour, not after.
For concrete, check relative humidity in the slab per ASTM F2170 or calcium chloride per ASTM F1869. Many compounds require 75 percent RH or less and a vapor emission rate under 3 pounds per 1000 square feet per 24 hours. Match the numbers to the product sheet.
For wood subfloors, check moisture content with a pin meter. Keep it within 2 to 4 percent of the finished flooring moisture. Patching over wet wood traps moisture and rots the subfloor.
If moisture is high, use a moisture tolerant primer or a vapor barrier system rated for the reading. Do not guess. A moisture failure shows up months later as bubbling and delamination.
Let the slab cure before leveling. New concrete needs at least 28 days. Pouring over green concrete traps water and the compound never bonds.
Thickness Limits and Curing Times
Every compound has a minimum and maximum thickness. Self-leveling underlayment usually needs at least 1/8 inch to flow and level, and tops out at 1 to 1 1/2 inches per pour. Patching compound can go from a skim coat to 1/2 inch per lift.
Respect the maximum. A pour that is too thick shrinks as it cures and cracks. If you need more depth, pour in lifts with the recommended wait between them.
Cure times vary by product and conditions. Most patching compounds are ready to sand in 2 to 4 hours and to floor over in 24 hours. Self-leveling underlayment is often walkable in 2 to 4 hours and ready for flooring in 24 to 48 hours.
Temperature and humidity change cure times. Cold slows curing and high humidity slows drying. Add time in a cool basement and check the surface before flooring.
Do not rush the cure. Flooring over a soft compound leaves trowel marks and weakens the bond. When the surface is hard and dry to a fingernail, it is ready.
| Compound | Min thickness | Max thickness | Ready for flooring |
|---|---|---|---|
| Cement patching | Skim coat | 1/2 inch per lift | 24 hours |
| Latex fortified patch | Skim coat | 3/8 inch per lift | 24 hours |
| Self-leveling underlayment | 1/8 inch | 1 to 1 1/2 inches | 24 to 48 hours |
| Feather-finish skim | 1/32 inch | 1/8 inch | 2 to 4 hours |
Compatibility by Finished Floor Type
Vinyl needs a smooth, flat base. Patch and level to the manufacturer’s flatness spec, usually 3/16 inch over 10 feet. Any ridge telegraphs through sheet and LVT. Use a cement based compound and prime well.
Laminate needs flatness more than smoothness. A 3/16 inch over 10 feet tolerance is common. Patching low spots is enough for most laminate, but leveling helps on wavy slabs. Keep moisture low, since laminate swells.
Tile needs the flattest base of all. Large-format tile demands 1/8 inch over 10 feet. Level before tiling, and use a compound the tile mortar bonds to. Check the tile maker’s substrate rules.
Hardwood needs a flat, dry, and stable base. Patching and leveling over plywood is common, but the compound must be rated for wood and for the hardwood adhesive. NWFA guidelines set flatness at 3/16 inch over 10 feet for most products.
Always check the finished flooring warranty. Many warranties void if the substrate was leveled with an unapproved compound. Match the compound to the floor, not just the slab.
Common Failures: Cracking and Delamination
Cracking comes from movement, shrinkage, or too much thickness. A crack in the slab travels through the compound if the slab is not repaired first. Fill slab cracks with a flexible repair before leveling.
Shrinkage cracks come from too much water in the mix or from pouring too thick. Mix to the bag ratio and respect lift limits. If a crack appears, cut it out and re-patch.
Delamination comes from poor prep or skipped primer. Dust, oil, or a damp surface breaks the bond. Clean, prime, and pour, and the compound stays put.
Delamination also comes from pouring over a bond breaker. Curing compounds, sealers, and paint stop the bond. Grind or shot-blast them off before priming.
Telegraphing is a slow failure. A patch edge or a crack shows through vinyl months later. Feather edges well and fill cracks, and the surface stays invisible.
Prep and Cost
Prep is 80 percent of the job. Scrape off old adhesive, grind high spots, vacuum dust, and prime. A clean, primed surface makes the compound perform as rated.
Cost runs about $1.50 to $4.00 per square foot for materials and labor on a typical residential job. Self-leveling underlayment costs more per bag but covers more area per hour. Patching costs less but takes more labor.
DIY is realistic for small patching. A bag of patching compound, a trowel, and primer cost under $40. Leveling a whole floor needs a mixer, gauge rake, spike roller, and planning, so many homeowners hire it out.
Get the flatness right the first time. Re-leveling a failed floor costs more than doing it right, because the old compound must be removed first. Prep and prime, and you level once.
For deeper background on flatness, moisture, and materials, see subfloor preparation for flooring, subfloor moisture testing, and how to level a subfloor for flooring.
Key Takeaways
Patch isolated defects; level whole-floor flatness problems. Prime every surface, respect thickness limits, and let the compound cure. Test moisture before you pour, and match the compound to the finished floor.
When the prep is right, the compound disappears under the floor and the floor stays flat for the life of the house. When the prep is skipped, cracks and bubbles show up later and cost more to fix.