
The right installation method is the one your subfloor allows: choose fastening over joists, glue-down over concrete, floating where nothing can be fastened.
Solid boards over a wood subfloor get nailed or stapled. Engineered boards over a concrete slab get glued. A floating floor needs a flat, dry base and nothing else.
Quick Answer: How to Choose Between the Four Methods
The four methods do not compete on quality. Each one differs in how the floor attaches to the building, and each one is correct in a specific situation.
Nail-down and staple-down fasten boards into wood with steel cleats or staples. Glue-down bonds boards to a slab or plywood with adhesive. Floating lets a plank sit on an underlayment pad, attached to nothing.
Plank thickness settles most cases.
A solid board at 3/4 inch thick has the mass to be fastened and survives two or three refinishes over its life. An engineered board at 1/2 inch thick with a 3 millimeter veneer cannot be sanded through, so those floors are glued or floated instead.
When the base cannot hold a fastener, only two methods remain. Over a concrete slab, glue-down is the default, because nothing can be driven into the slab itself.
Floating also works over concrete if the surface is flat to within 3/16 inch over 10 feet. The pad spreads the load instead of concentrating it on one nail hole.
Over joists, fasten the floor.
A floating floor over a joisted subfloor adds a springy layer to an already springy structure. That doubled movement is where the knocking sound in upstairs hardwood comes from.
What Floating Installation Actually Is
A floating floor is a plank floor installed over an underlayment pad with no fasteners and no adhesive. The boards butt against one another and weigh each other down.
The pad, usually 1/8 inch thick foam or fiberboard, carries the load and gives the wood room to move as humidity changes.
The word floating describes the assembly rather than the wood. A tongue and groove profile locks neighbouring boards together, and that lock is what makes the floor behave as one wide slab instead of a pile of loose planks that click underfoot.
Because nothing anchors the floor, the base has to be right. Subfloor flatness matters more here than anywhere else, and the tolerance is tighter than most people expect at 3/16 inch over 10 feet.
A 6 mil polyethylene barrier belongs under the pad over concrete or a crawl space floor.
Floating wins where demolition is expensive and reversibility matters. It is also the standard method for engineered hardwood over radiant heat, because an adhesive bond over a heating loop is a liability nobody wants to sign.
The floating floor installation guide covers the pad, the barrier and the click sequence in full.
How Glue-Down Installation Works
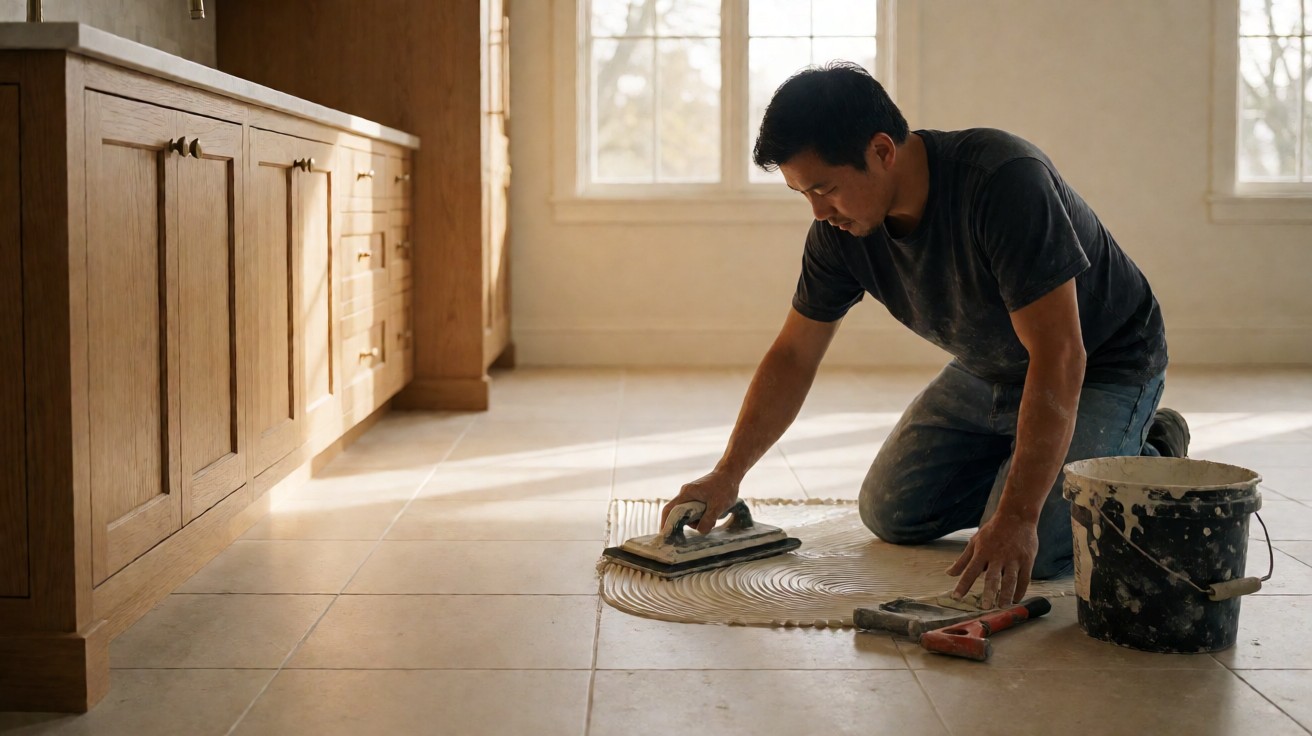
Glue-down spreads adhesive in parallel ridges with a notched trowel and sets the plank into it. The ridges collapse under the board, the adhesive grabs the face or the tongue, and the floor becomes one bonded surface with the substrate.
The adhesive is not what holds the floor for the next twenty years.
It only has to hold a board while the floor is walked on during installation, which is why a workable spread rate is about 15 lb per 100 sq ft, or roughly 40 sq ft per gallon.
Bonding changes how the floor behaves. Because glued boards cannot lift, they cannot move much, which is why a glued floor over concrete sounds quieter than a floating one.
Bonding also traps moisture, so the wood below has to be dry. Boards should read a moisture content 6-9% on the meter before the first gallon of adhesive is opened.
Adhesive working time has nothing to do with cure time. Spread only what the trowel can hold, because adhesive that skins over before the plank lands will not wet out, and a dry spot under a board stays hollow forever.
The glue-down installation guide covers ridge pattern, notch size and layout order.
Nail-Down and Staple-Down: Two Ways to Hit Wood
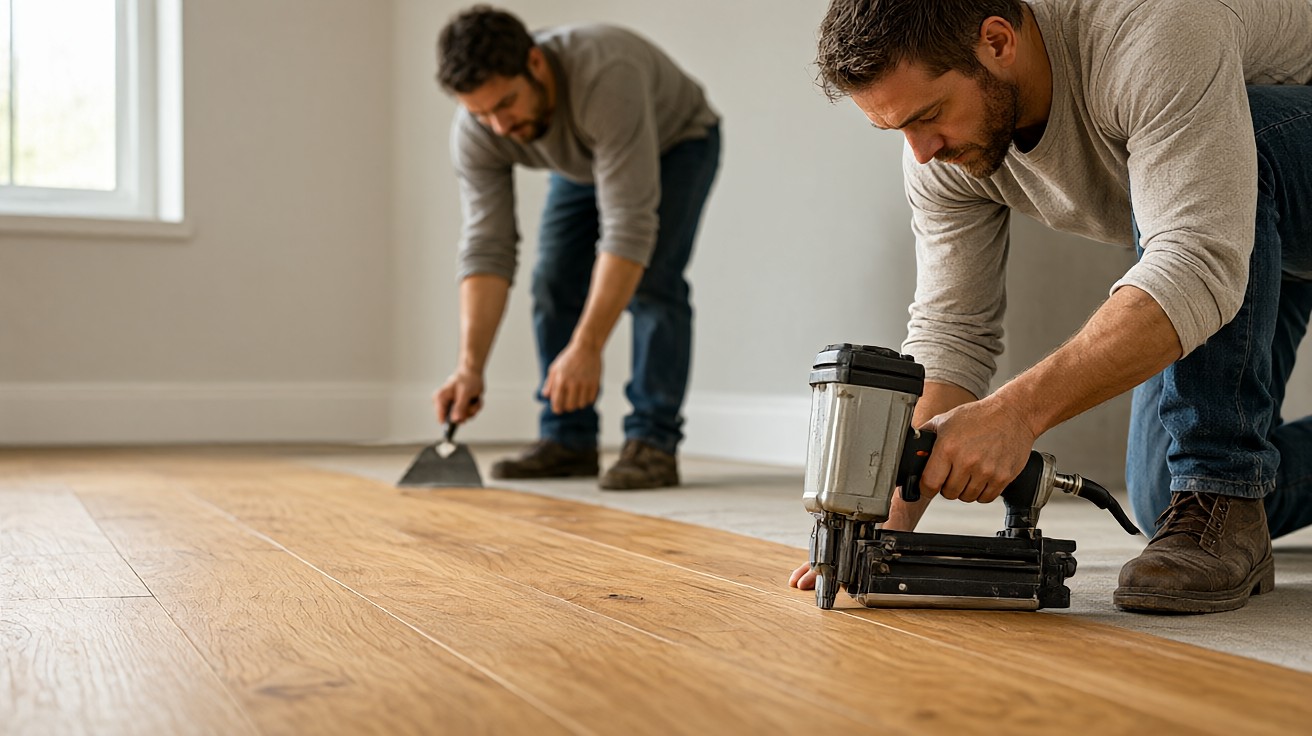
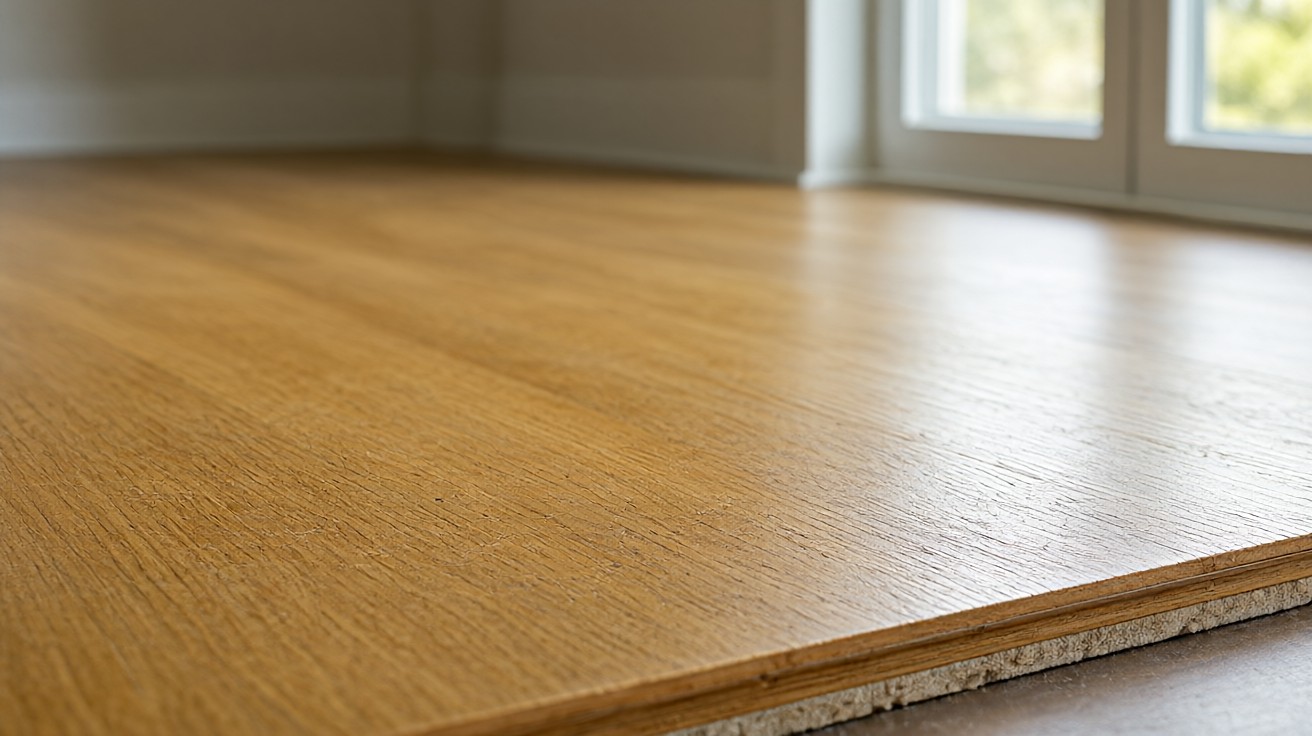
Both methods drive a fastener through the tongue of each plank and into the subfloor or a joist. Nail-down uses a pneumatic nailer that drives nails at an angle through the tongue.
Staple-down uses a pneumatic stapler that drives crown staples 2 to 3 inches long, set every 8 to 10 inches along the plank and 4 to 6 inches from each end.
Can engineered hardwood be nailed down?
Not with a nail, usually.
An engineered plank has a cross-ply core and a thinner tongue with no room for a nail shank, and its soft veneer will not survive a fastener driven too deep. Solid hardwood at 3/4 inch thick accepts a nail or a cleat cleanly, which is why the two fastening methods divide by board type rather than by preference.
| Method | Fastener | Spacing along the plank | Distance from plank ends | Typical material |
|---|---|---|---|---|
| Nail-down | 8d to 10d nail or 2 by 1 inch cleat | 8 inches | 4 to 6 inches | Solid hardwood at 3/4 inch |
| Staple-down | Crown staple 2 to 3 inches | 8 to 10 inches | 4 to 6 inches | Engineered hardwood at 1/2 inch |
The difference between the two comes down to the width of the steel. A cleat is a 2 by 1 inch piece of steel hammered to the side of the joist, and the plank clips onto it.
Staples are narrower, so less steel sits inside the board and the tongue is less likely to split, but they also hold less.
Fastening changes how the floor sounds. Because each plank is held to the structure, the assembly is quieter underfoot than a floating floor, but it passes impact sound to the room below, which is a separate measurement from airborne noise.
The nail-down installation guide and the staple-down installation guide set out the tool settings for each method.
The Four Methods Side by Side
Read across a row rather than down a column. The subfloor column decides first, the sound column describes what you will hear, and the refinishing column tells you whether the floor is a twenty year asset or a ten year one.
| Method | Best subfloor | Sound under foot | Refinishable | Installed cost per sq ft |
|---|---|---|---|---|
| Floating | Concrete, plywood, existing floor, over radiant heat | Softest, hollow, pad dependent | No, engineered only | $4 to $7 |
| Glue-down | Concrete slab, plywood, masonry | Quietest, no hollow | Yes, if solid | $5 to $9 |
| Nail-down | Wood joists with plywood subfloor | Firm, low hollow, transmits impact | Yes, 2 to 3 times | $6 to $11 |
| Staple-down | Wood joists with plywood subfloor | Firm, less hollow than nail-down | No, veneer too thin | $6 to $10 |
Cost follows labor, and labor follows the method. Adhesive and a trowel add an afternoon to a glued floor, while a pneumatic nailer adds a full day of equipment, prep and fastener checks.
A floating floor adds a day of pad rolling and care in keeping boards flat, because a floating floor is only as flat as the last board you set.
Which Method Your Subfloor Allows
Most wrong floors are not a bad product decision. They are a method applied to a base that could not carry it, which is why the subfloor check comes before the plank check.
| If the base is | Then use | Because |
|---|---|---|
| Wood joists at 16 inches on center with plywood | Nail-down for solid, staple-down for engineered | Fastening ties the floor to the structure and kills the hollow |
| Concrete slab, flat within 3/16 inch over 10 feet, moisture tested | Glue-down | Nothing can be driven into a slab, so the bond carries the load |
| Concrete slab that may come up later | Floating | The pad is reversible and the slab stays clean |
| Plywood over joists spaced wider than 16 inches | Floating, or add blocking first | A wider span deflects more and pulls the fastener out |
| Floor below a bedroom or study | Glue-down or a fastened floor with a sound underlayment | Impact sound travels through the structure, not the finish |
Three numbers settle most of these arguments.
Sixteen inches is the maximum joist spacing for a fastened floor without added support. Three sixteenths of an inch over 10 feet is the flatness limit for a floating floor. And a moisture content 6-9% reading is the window in which the boards will stay put through a seasonal swing.
Sound: IIC Ratings, Underlayment and Deflection
Two different sounds get confused constantly. Airborne sound is the conversation travelling through the air, and underlayment with a floating floor helps it.
Impact sound is a footfall hitting the structure, and only the structure can stop it. That is what the IIC rating measures under ASTM E90, and no finish or pad changes the number on its own.
On a scale where IIC 50 is loud and IIC 60 is noticeable in a quiet room, a floating floor over a 3 mm closed cell foam pad usually scores 5 to 8 points better than the same floor over a 2 mm pad.
That is the whole argument for paying for a better pad rather than a thicker board.
The structural side of the same problem is deflection. The American Wood Council span tables and the NWFA guidelines both use L/360, meaning a floor joist may deflect no more than the span length divided by 360 under 40 pounds per sq ft of live load, with L/480 used for heavier loads.
ANSI A135.4 carries the same principle into the flooring specification, and APA rated plywood sheathing sets the deck side of it. A floor that is fastened to an under-sized joist fails the acoustic test even when the workmanship is good.
A joist that deflects past that limit pulls the fastener out of the subfloor and thumps on every step. Sound underlayment is a floor choice and a structure choice at the same time.
If the joists are undersized for the span, no pad on top will fix the knock. The fix is blocking, a thicker subfloor, or a method that adds no load to the joists.
Thickness and Refinishability
Refinishability follows how much solid wood sits under the finish. A solid plank at 3/4 inch thick gives you 19 millimeters to sand, which supports 2 to 3 refinishes over a 40 year life.
Every sanding takes about 1/32 inch off the face, so the wear layer has to survive several passes before it reaches the fastener holes underneath.
An engineered plank at 1/2 inch thick carries a veneer of 3 to 6 millimeters over a cross-ply core. That veneer can usually take one light refinishing, and only if the wear layer has not been sanded before, which is why an engineered floor bought new deserves a careful first finish.
Fastened methods make the point sharper. A nail hole has to be filled and the surrounding wood has to be sound enough to accept a filler, and a staple hole in a 3 millimeter veneer can open into a visible defect the moment the floor moves.
The solid versus engineered hardwood comparison sets out that difference in detail.
If the floor will be fastened, solid hardwood and the solid hardwood installation guide go together.
If it will be glued or floated, engineered hardwood and the engineered hardwood installation guide are the pairing that makes sense, because the cross-ply core tolerates the movement a floating floor allows.
Moisture Content and Expansion Gaps
Wood moves with humidity, and two numbers keep a floor still: moisture content and the expansion gap. Boards should arrive at the job with a moisture content 6-9% reading for interior conditions, measured with a pin or pinless meter rather than read off the packaging.
How wide should the expansion gap be?
Usually 1/4 inch at every wall, doorway and obstruction.
Wide solid planks over 6 inches need 3/8 inch, and a heated floor wants the larger end of that range because the seasonal swing is bigger. Baseboard covers the gap, which is the reason it exists at all.
Acclimate the flooring in the room it will live in for three to five days, at a relative humidity of 30 to 50 percent and a temperature near 70 degrees Fahrenheit.
Acclimation does not dry wet boards, it simply equalises them with the air. Skipping it is what produces the gaps that open in January and close in July.
Fastener holes are where a careful installer loses the most value. Nail holes get filled with a matching filler and sanded flush, staples get filled the same way, and a board that has been over-nailed will split along the tongue no matter how dry the room is.
What Each Method Costs Per Square Foot
Installed hardwood runs from $4 to $11 per sq ft depending on the method, and the spread comes from what has to happen before the first board is laid.
A floating floor over a clean slab needs a pad, a barrier and no prep, which is why it sits at the bottom of the range. A nail-down floor needs a flat, dry plywood deck plus a fastener line for every board.
Should you price each method separately?
Yes, and split every quote into material and labor.
A quote that bundles the floor, the pad, the fasteners and the adhesive into one figure makes it impossible to tell whether the installer is charging for a method or for a product.
Run the arithmetic yourself on adhesive: a 12 by 16 foot room is 192 sq ft, and at 15 lb per 100 sq ft that is about 29 lb of adhesive, or 5 gallons at 40 sq ft per gallon.
Material is the second half of the number, and it moves the figure more than labor does. A 3/4 inch solid oak plank and a 1/2 inch engineered oak plank are not the same price per sq ft, and the engineered board saves money on the surface while nail-down labor adds it back on site.
A 1926 House With 2 by 6 Inch Joists
Imagine a 1926 house with 2 by 6 inch joists at 16 inches on center, a single layer of 1/2 inch plywood over them, and a 12 by 16 foot living room that needs to come up this spring.
That is 192 sq ft of floor, and every method in this article is available to you. The joists decide.
Two 6 inch joists at 16 inches on center are marginal for a heavily loaded floor, because the American Wood Council span tables put that joist near its L/360 deflection limit before the new floor weight is added.
A 3/4 inch solid nail-down floor puts 192 sq ft of new mass directly onto those joists, and every footfall then becomes a noise problem downstairs.
The workable answer is engineered hardwood at 1/2 inch thick, staple-down at 8 inch spacing, over a sound underlayment, with the joists reinforced by blocking at mid-span if the deflection test shows more than 1 inch of movement.
The staples enter a 5/8 inch tongue without splitting it, and the veneer stays intact because nothing has been driven through it.
Adhesive would be wrong here, because there is no slab to bond to. Floating would be the second wrong call, because a floating floor over joists adds a springy layer and leaves the original hollow of a 1926 subfloor in place.
Blocking the joists costs a day, and it fixes the reason the floor sounded bad in the first place.
How to Decide: Four Questions in Order
Work through four questions and the method picks itself. First, what is the base: concrete, masonry, plywood or an existing floor? Second, can that base hold a fastener, and is it flat within 3/16 inch over 10 feet?
Third, how thick is the plank, and do you want to refinish it in fifteen years? Fourth, how much noise does the room below need to not hear?
Concrete under a bedroom points to glue-down, because impact sound there is a problem no finish can solve. Joists under a quiet study point to a fastened floor with a sound underlayment. Joists that deflect more than 1 inch under load point to blocking first, whichever method follows.
The method is a consequence of the substrate, the plank and the room below. Nail-down and staple-down serve solid and engineered boards over wood, glue-down serves slabs, and floating serves reversibility, radiant heat and the cases where fastening is not an option.
Choose the one the conditions allow, and you will not be back on the floor in a year.
Last updated: November 2026