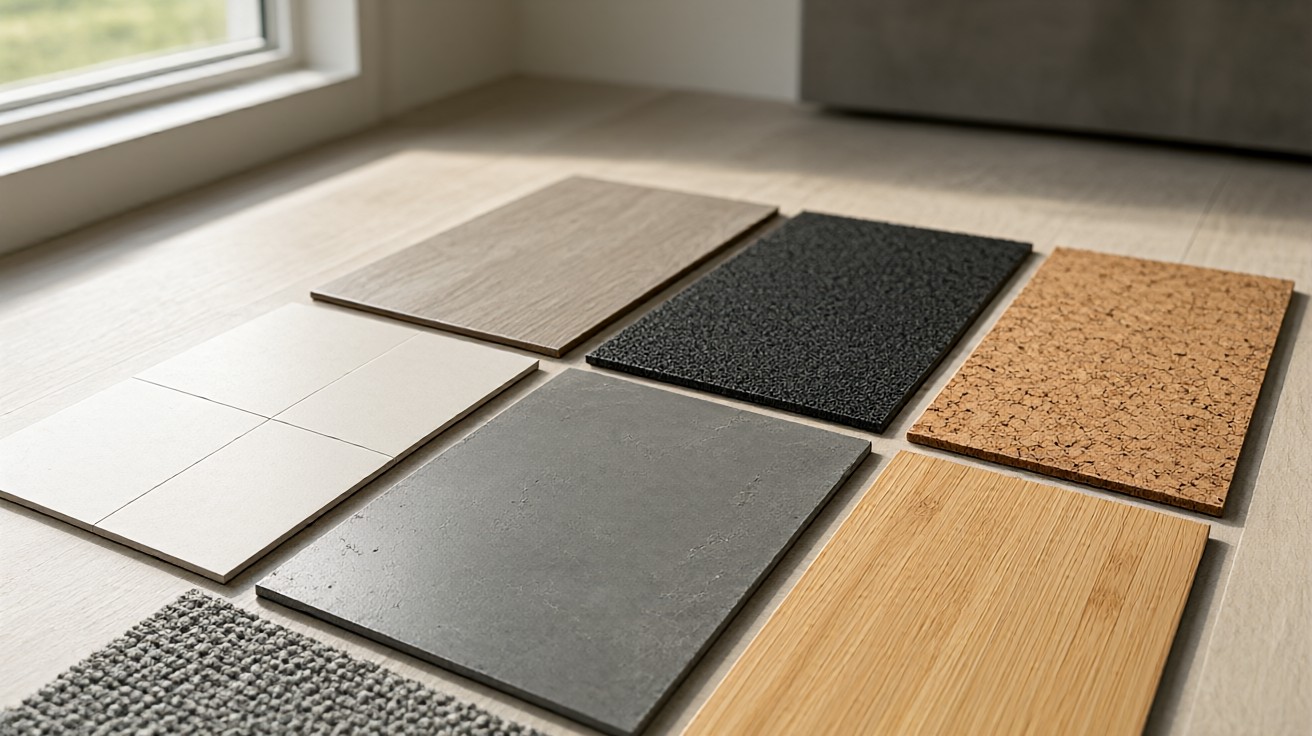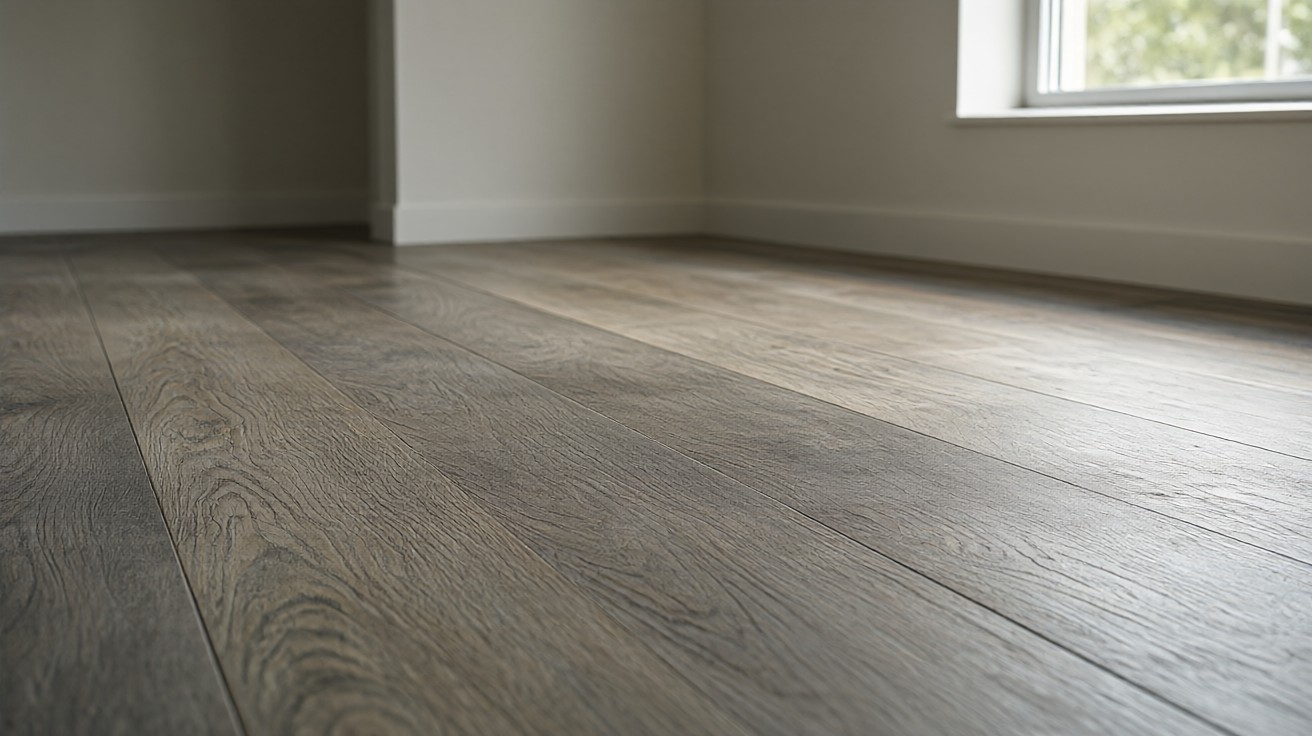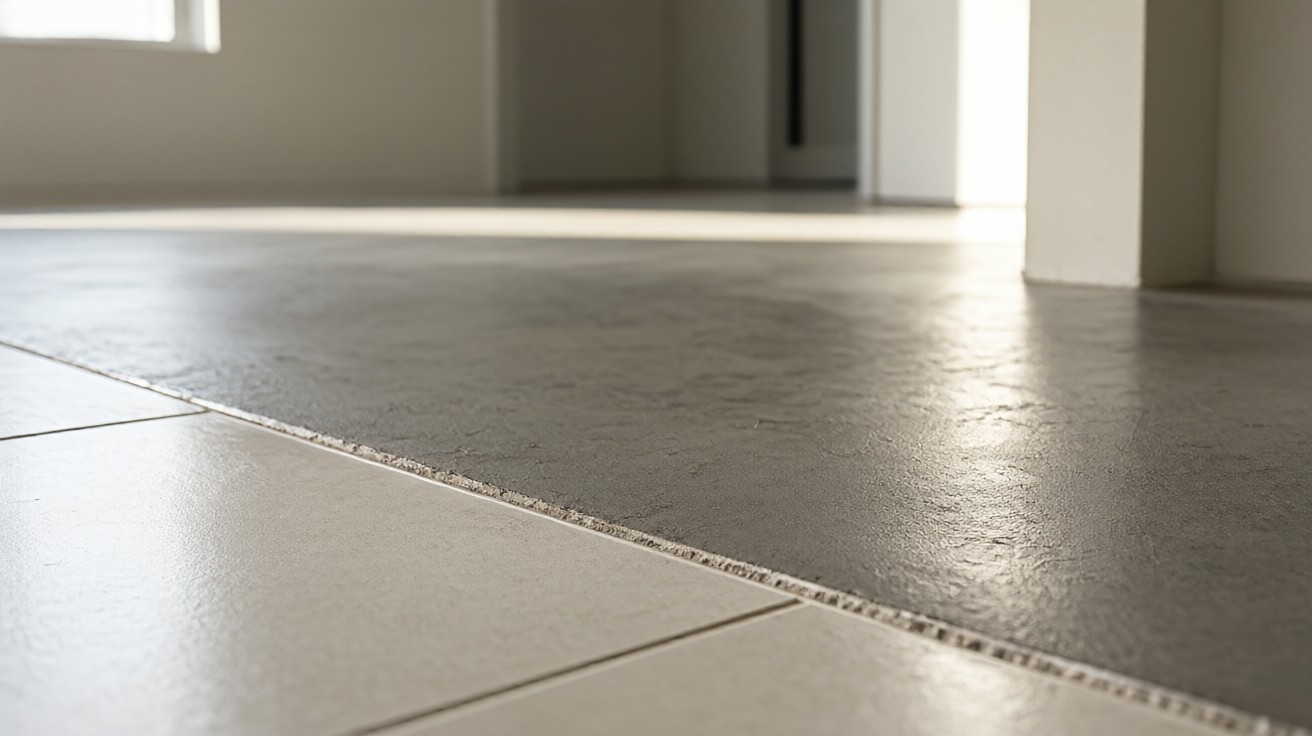

Quick answer: measure the height difference, then pick the transition profile that covers it, a reducer ramp over 1/4 inch or a T-molding on a flush joint.
Most height mismatches come from work that happened before you arrived: a tile bed built proud of the hallway, a subfloor that was never leveled, or a floating floor that grew 3/16 inch and stayed high at the doorway.
What Actually Creates a Floor Height Difference Between Two Rooms
Tile set over mortar or thinset is the usual culprit. Because the bed is built up on the slab, the finished tile face ends up above the flooring next door, and that difference becomes permanent once the grout is swept into the joints.
An unleveled subfloor is the second cause. When a plank floor goes down over an old tile floor without flattening the substrate, the plank face sits above the tile by however much the substrate was off, plus the full thickness of the new plank.
Floating floors create a third. Engineered wood and vinyl plank expand across the seasons, so the panel edges lift slightly and the surface is no longer flat where it meets the next room.
Because the cause decides the fix, a built-up bed gets a transition strip and a dished slab gets a subfloor correction. A strip covers the difference you can measure; it does not flatten a floor that waves 3/8 inch across 4 feet.
Measure before you buy anything.
How to Measure the Height Difference Before You Buy
Measure from the top of one finished floor to the top of the other, not from subfloor to subfloor. A straightedge laid across the joint, with a feeler gauge or a stack of washers under the low end, gives you the true step in minutes.
Put a tape measure in the frame when you photograph the joint. A number in a photo settles the argument with the installer faster than three phone calls, and it keeps the profile choice honest.
Record three things: the difference in inches, the width of the doorway or opening, and the thickness of the material on the high side. Those three numbers decide whether you need a flat saddle, a ramp, or a step.
Treat 1/16 inch as flush and 1/4 inch as the largest step a single flat saddle strip can hide. Past 1/4 inch, the strip has to slope, and past 3/8 inch, it needs a ramp long enough that nobody catches a toe on it.
A wrong measurement sends you to the wrong profile, because the gap is what makes a strip work. Each of the main types of transition strips solves a different range of difference, so the measurement picks the profile before the shopping does.
Transition Profiles by Height Difference
Four profiles cover nearly every residential joint. The choice is not decorative: each one handles a different range of height difference and a different pair of edge conditions, and picking the wrong one leaves either a gap or a trip hazard.
| Transition profile | Height difference it covers | Typical installation | Watch for |
|---|---|---|---|
| T-molding | Flush, up to 1/16 inch | Screws to the subfloor, both floors butt into it | Needs a flat, solid base, not a floating floor |
| Saddle strip | Up to 1/4 inch | Flat strip nailed down, no slope | Its own width becomes a small raised edge |
| Reducer ramp | 1/4 inch to 3/8 inch | Sloped aluminum or wood, screwed at both ends | Run length must match the rise for a gentle slope |
| Overlapping reducer | 3/8 inch to 1/2 inch | One edge overlaps the other floor, the other ramps down | The overlapping lip can catch a raised heel |
| Threshold or saddle | Up to 1/2 inch, doorway only | Fixed to the jamb or the subfloor across the opening | Door swing clearance and undercut the stop |
The rule behind the table is simple: a strip that lies flat handles a small difference, and a strip that ramps handles a large one. When the measured gap falls between two rows, choose the ramp, because a flat strip forced over a bigger step just lifts at its edges.
Two numbers matter more than the profile name: the rise and the run.
Match the Profile to the Flooring on Both Sides
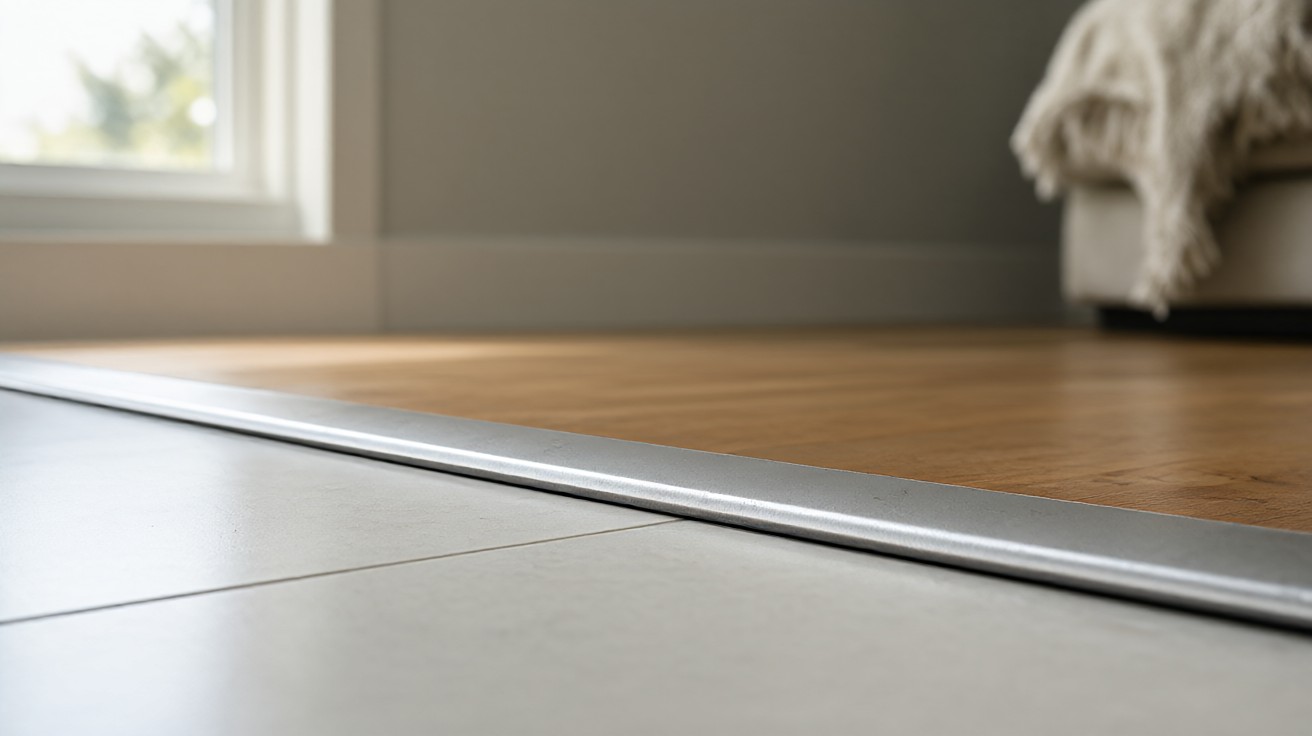
The two materials meeting at the joint decide how the profile is fixed, and they also decide how much tolerance you have. A hard, thick edge like porcelain tile gives you a clean square cut, while a floating vinyl plank profile gives you almost none at all.
| Flooring pair | Recommended profile | How it is fixed | Main limit |
|---|---|---|---|
| Porcelain tile to hardwood | Reducer ramp | Screw to subfloor, tape or nail the hardwood edge | Tile edge must be square, never chipped |
| Ceramic tile to vinyl plank | Reducer ramp | Adhesive and fasteners into the subfloor | The vinyl plank profile must be rigid, not flexible |
| Hardwood to carpet | Saddle strip | Nail the hardwood, tuck the carpet | Carpet pile height eats most of the allowance |
| Tile to tile, different rooms | Reducer or saddle | Grout the joint, screw the strip | Heights must match within 1/8 inch |
| Tile to laminate | Reducer ramp | Screw through the ramp into the subfloor | The laminate expansion gap of 1/4 inch stays clear |
Read the pair, not just the profile name. A reducer that works between tile and hardwood can be wrong between tile and a thick carpet, because carpet pile acts as a spring that keeps the strip from seating flat against the floor.
If the high side is a floating floor, choose a profile that fastens into the subfloor rather than into the floating panel. Driving a screw into a floating plank locks that panel, and because the plank can no longer expand, it eventually squeaks or buckles.
The installer detail that matters is the method for installing transition strips, because the profile only works if it is fixed to solid material.
Tile to Wood and Tile to Vinyl: The Two Hardest Joins
Imagine the bathroom tile sitting 3/8 in above the hallway oak. That difference comes from a 1/4 inch mortar bed, 1/8 inch of thinset, and a 3/8 inch porcelain tile, all of it built on a slab the hallway never shared.
A reducer ramp handles this cleanly. A 3/8 inch rise spread over a 4-1/2 inch run is a slope of 1 to 12, which reads as a ramp rather than a step, and the same slope over a 3 inch run would be too abrupt to cross barefoot.
The arithmetic is worth doing once, because run length is what sellers leave out of the box. A 1/4 inch rise needs a 3 inch run at the same slope, and a 1/2 inch rise needs a 6 inch run. If the doorway is 32 inches wide, a 6 inch ramp still leaves 26 inches of flat floor.
Tile to vinyl plank is harder because the vinyl plank profile is thin and floats. The plank edge has to be cut back and the ramp fixed to the subfloor, because a strip screwed through the plank into the slab pins the panel and stops the expansion it needs.
Porcelain also carries weight. A 3/8 inch porcelain tile adds roughly 5 lb per square foot, so a bathroom of 50 square feet puts about 250 lb on a subfloor that then has to carry the finish floor and the person standing on it.
If the existing tile edge is already chipped, replace it rather than building a ramp over the damage. A ramp hides a small chip, but a cracked tile under a screwed strip moves under load and breaks the fixings.
Matching Tile Height to Existing Tile
When you are matching tile height to existing tile in another room, you are matching the finished face, and the face is the sum of the bed, the adhesive, and the tile. Existing porcelain at 3/4 inch total means a 1/4 inch bed, 1/8 inch thinset, and 3/8 inch porcelain.
Because the finished face is a sum rather than a single number, matching the wrong component still leaves a mismatch. Build the new area to the same total and the two floors read as one plane. If the new work lands at 5/8 inch instead, you have created a 1/8 inch step that a flat saddle hides and a ramp makes safe.
Porcelain and ceramic do not sit identically underfoot. A porcelain tile with water absorption below 0.5% under ASTM C373 behaves differently from a ceramic tile above 5%, and the grout joint can look recessed next to a denser body.
The safe way to match is to bring a sample of the existing tile and set it in the new bed while the mortar is still workable. Ten minutes of comparison on site costs less than grinding a whole bathroom floor to fix a 1/16 inch mismatch.
Where the doorway is the meeting point, our guide to flooring transitions and thresholds covers the jamb detail that tile to tile joins need.
Thresholds, Waterproof Thresholds, and Wet Rooms
A waterproof threshold is the right answer in a bathroom doorway or an exterior entry, because it laps over the junction and keeps water from tracking under the finish floor. It is also the only profile that works where a shower or tub abuts finished flooring.
Height rules are strict here. ADA 303.3 permits a change in level up to 1/4 inch, which is 6.4 mm, and allows a beveled edge from 1/4 inch to 1/2 inch, or 12.7 mm, at a slope no steeper than 1 to 2.
Beyond 1/2 inch, a threshold is a step, and a step at a bathroom door is both a trip hazard and a place where water pools. If the measured gap is larger, fix the subfloor rather than buying a taller ramp.
Material choice matters as much as the profile. A solid surface or porcelain threshold with a sealed edge resists water better than a wood or laminate saddle, and because it does not absorb moisture, it will not swell and creep when a wet mop sits against it.
The same profile logic applies indoors, where a T-mould, sold in the trade as a T-molding, handles a flush joint and nothing else.
Subfloor Height, Undercutting, and Scribe Fit
Undercutting and scribe fit solve the same problem at opposite ends of the job. Undercutting means trimming the base of a door stop or casing so carpet can tuck under it, and scribe fit means scribing a tile or plank edge to an irregular wall.
Both exist because the subfloor height was never controlled. When the subfloor is off by 1/4 inch, scribe fit absorbs the difference in the finish material, and when a door stop sits on top of the carpet line, undercutting gives the pile somewhere to go.
Before you fit any profile, check the moisture content of a wood subfloor. NWFA guidance puts interior wood flooring moisture between 6% and 9%, and a reading above 8% means the site is not ready for a hardwood transition.
If the gap at the joint comes from a dished concrete slab rather than from the finish floors, no strip is a fix. Confirm a stable substrate of at least 3,000 PSI compressive strength, or the profile will follow the slab down as it settles.
Not every opening needs a strip at all, and running two floors together without a transition works when the heights are already equal.
Vinyl Plank Profile, Expansion Gaps, and Floating Floors
Every floating floor needs an expansion gap at its perimeter, and 1/4 inch is the usual figure. It is not a defect to be filled with caulk; it is a working gap that lets the floor grow in summer without buckling against the wall.
A vinyl plank profile carries a wear layer that is usually 12 mils to 20 mils thick, and it moves with the room. That movement is why a transition strip over vinyl plank should be screwed to the subfloor and only lightly fastened at the plank edge.
Where the joint sits next to tile, the tile side is fixed and the vinyl side moves, so the strip has to tolerate a gap opening and closing across the door swing. A rigid aluminum reducer handles that better than a long wood saddle.
In a wet area, use 1/2 inch at the perimeter instead of 1/4 inch. The wider gap gives a swollen vinyl plank room to move without lifting at the doorway where the transition sits.
Temperature matters during acclimation as well. Keep the room between 65 °F and 80 °F for 48 hours before installation, because a plank conditioned in a cold room will shrink later and leave the expansion gap wider than you planned.
Trip Hazards, Clearance, and Accessible Thresholds
The reason the numbers matter is a trip hazard. A trip hazard is an edge high enough to catch a foot, and the level that separates a safe transition from an unsafe one is a quarter inch.
That is why ADA 302.3 treats a change in level over 1/4 inch as a hazard and requires it to be beveled, and why a reducer ramp with a 1 to 12 slope is safer than an abrupt 1/2 inch lip even when both are legal in a private home.
Because an edge that catches a shoe turns a doorway into an obstacle, check the door swing before you order. A threshold that sits high enough to stop the door opening fully, or a strip that fouls the door stop, becomes a repair visit a week later, and undercutting the stop solves it in ten minutes.
ANSI A108.1 and the TCNA installation detail both assume a supported substrate, and neither covers the case where the finish floor is the thing that is out of level. Measure the finished floors, not the drawings.
Sound is the other side of the same joint. An IIC rating of IIC-50 is the accepted minimum for multi-family housing, and a floating floor dropped onto a wood subfloor without an underlayment can measure well below the IIC-60 target common in single-family homes.
Decision Rules for Choosing the Right Transition
Use the measured difference and pick from these rules. Up to 1/16 inch, use a T-molding for two flush floors or a flat saddle strip if there is any step at all.
From 1/16 inch to 1/4 inch, use a saddle strip where the joint is flat and the opening is wide. From 1/4 inch to 3/8 inch, use a reducer ramp with a run of at least 3 inches for every 1/4 inch of rise.
From 3/8 inch to 1/2 inch, use an overlapping reducer or a two-piece ramp, and check the door swing and the accessible route before ordering. Beyond 1/2 inch, the answer is a step or a subfloor correction, not a taller strip.
Where either side is tile, the edge must be square and the profile must be screwed into solid material. Where either side is floating, leave the expansion gap of 1/4 inch clear and fasten the profile to the subfloor instead.
Order the profile before the finish flooring if you can. A reducer that arrives after the tile is set usually ends up trimmed into something that no longer covers the gap, because the finished edge set the height for everything else.
Last updated: November 2026