
Adhesive residue left after removing old flooring can stop a new floor from bonding properly, and safe removal depends on floor type and the adhesive used.
The short answer: match the remover to the adhesive and the substrate, scrape dry residue first, and never pour solvent on a wood subfloor. You must remove or grind all residue before installing new flooring. Vinyl plank, tile, and hardwood all require a clean, flat, dry substrate per NWFA and TCNA guidelines, and ASTM F2170 limits concrete moisture to 80 percent relative humidity.
What Adhesive Residue Is and Why It Matters
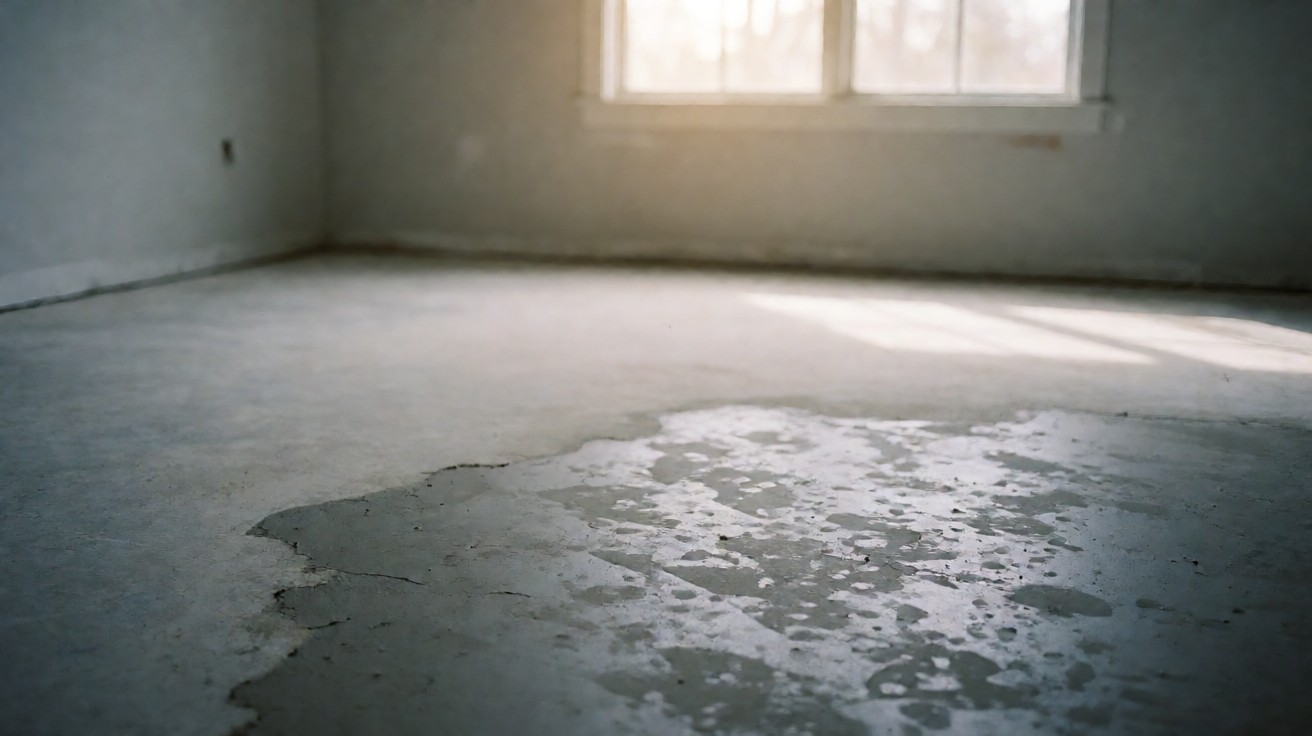
Adhesive residue is the dried film or lumps of glue left when old vinyl, tile, or carpet is pulled up. It can be thinset, mastic, or pressure-sensitive adhesive. Even a thin film can telegraph through new flooring.
Residue also blocks new adhesive from gripping. A new vinyl plank laid over residue can rock and gap within weeks. Removing it is part of subfloor prep, not an optional cleanup step. Adhesive residue is not cosmetic; it is a bond breaker that must be removed or ground flush before new flooring is installed. Leaving residue voids most manufacturer warranties and leads to hollow spots, telegraphing, and premature failure.
Identify the Adhesive Before You Start
Thinset is cement-based and grey or white. Mastic is tan or brown and rubbery. Pressure-sensitive adhesive is tacky and stays sticky for years. Each responds to a different remover.
Use the scrape test: a sharp chisel lifts thinset in chips, mastic peels in strings, and pressure-sensitive adhesive gums up the blade. Knowing which one you have saves an hour of wrong-method scrubbing.
How Do You Tell Thinset From Mastic?
Thinset is cement-based and usually under ceramic or porcelain tile. Mastic is organic and was common under vinyl tile and sheet vinyl before 1980. If the glue is black or smells like asphalt, treat it as cutback mastic.
Tools and Safety Gear You Need
A 4-inch floor scraper, a stiff putty knife, a heat gun, and a bucket of hot water handle most jobs. Add a chemical adhesive remover rated for your adhesive type. Wear nitrile gloves and a respirator rated for organic vapors.
Protect the room: plastic sheeting over vents, fans for airflow, and a drop cloth. Some removers soften paint and baseboards, so tape the trim before you start.
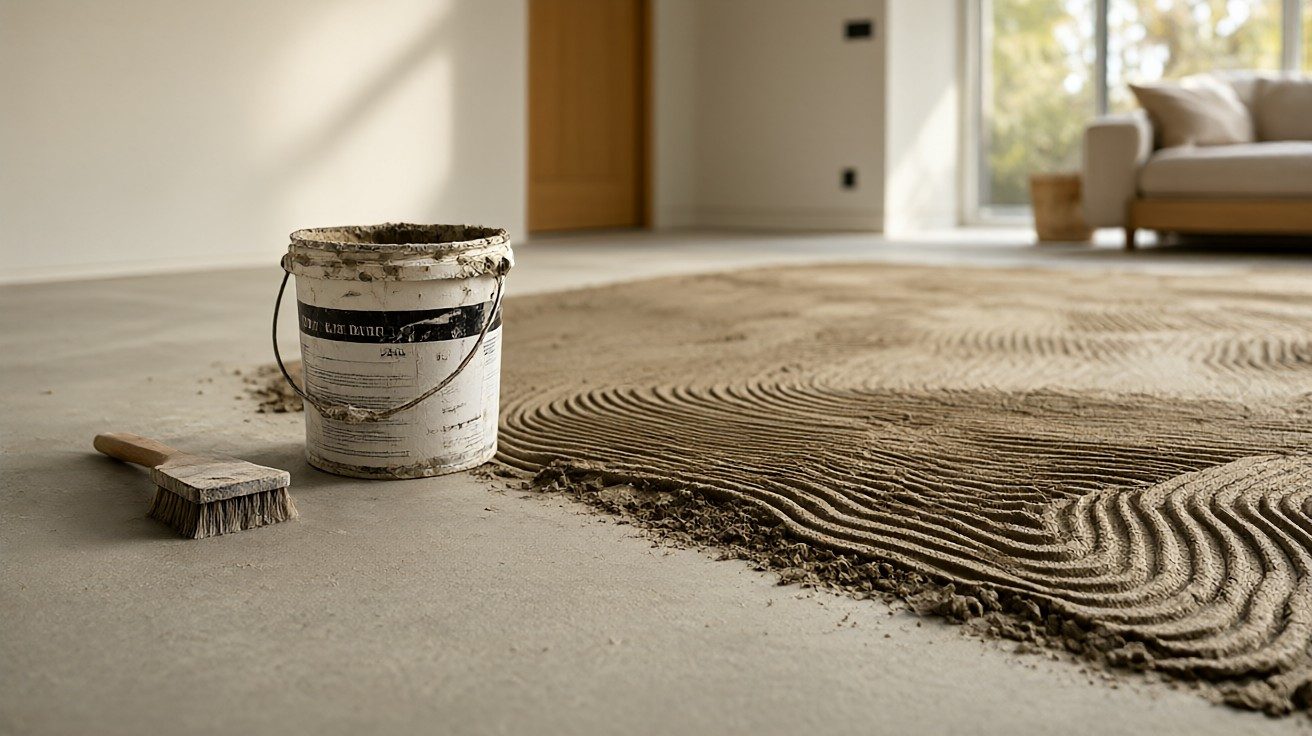
Removing Residue From Concrete Subfloors
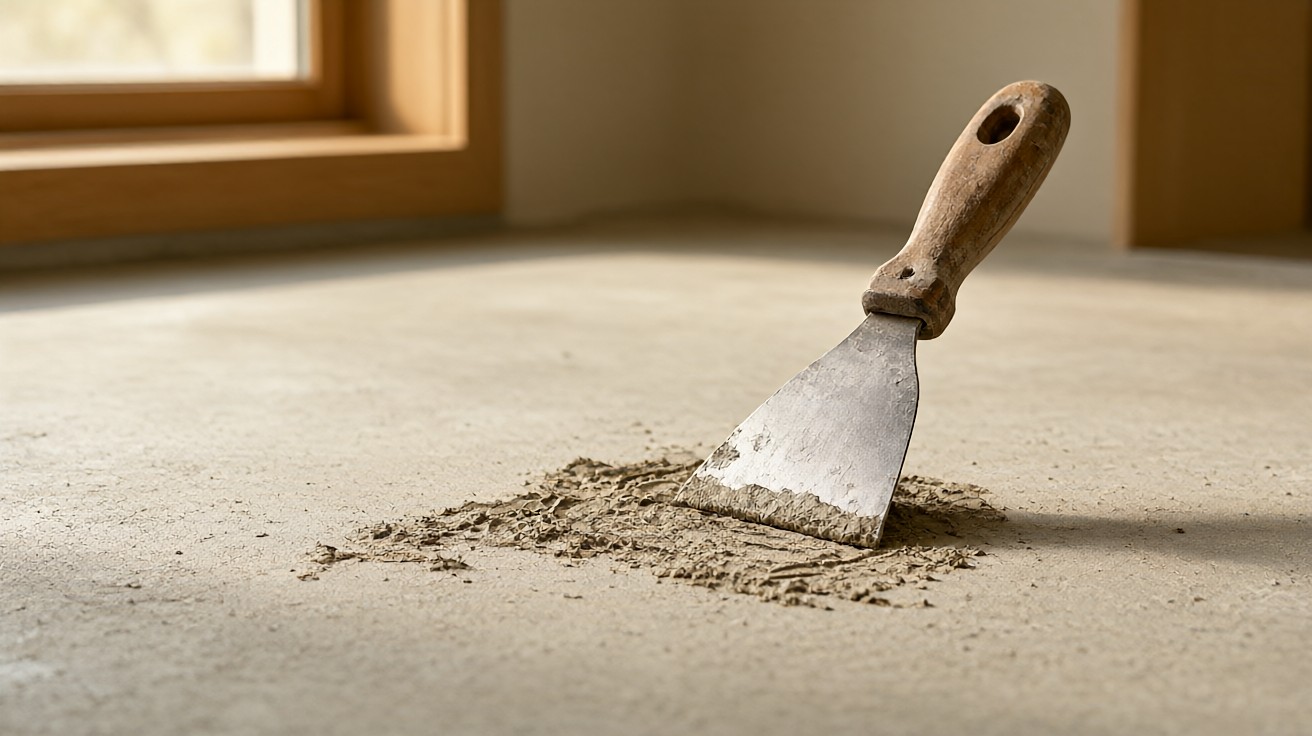
Concrete tolerates water and scrapers well. Start dry: scrape ridges and high spots with a long-handled floor scraper held at 30 degrees. Vacuum dust before adding any liquid.
For thinset, soak with hot water for 20 minutes, then scrape again. A chemical remover labeled for cementitious adhesive speeds the job. Rinse and let the slab dry to under 4 percent moisture before new flooring.
What Moisture Level Is Safe Before New Flooring?
Most vinyl and laminate manufacturers require concrete moisture under 4 percent by weight or under 80 percent relative humidity by ASTM F2170. Test with a calcium chloride kit or an in-situ probe before installing.
Removing Residue From Wood Subfloors
Wood subfloors need a dry approach. Scraping is fine, but solvents and soaking can warp plywood and OSB. Use a heat gun to soften mastic, then scrape in short strokes. Work one small section at a time.
If residue is widespread, consider sanding with a drum sander and 36-grit paper, then vacuum. Replace any delaminated plywood. Never leave standing water on a wood subfloor.
Removing Residue From Tile and Stone
Glazed tile and stone can be scraped with a plastic blade, then cleaned with a pH-neutral cleaner. Avoid acidic removers on marble or limestone, which etch the surface. Rinse thoroughly and dry.
For grout lines filled with old adhesive, a grout saw or oscillating tool clears the joint. Seal the tile after cleaning so new adhesive does not stain.
Chemical Adhesive Removers: How to Choose
Match the remover to the adhesive: citrus-based for mastic, alkaline for thinset, soy-based for pressure-sensitive glue. Check the label for substrate compatibility. Always test a 1-square-foot patch first.
Ventilation matters. Open windows, run fans, and follow dwell times exactly. Longer is not better; over-soaking can damage the subfloor.
| Adhesive type | Best remover | Dwell time | Substrate caution |
|---|---|---|---|
| Thinset | Hot water plus alkaline remover | 20 min | Keep wood dry |
| Mastic | Citrus-based solvent | 15 min | Ventilate well |
| Pressure-sensitive | Soy-based remover | 10 min | Scrape while wet |
Heat and Mechanical Methods
A heat gun softens mastic so it peels in sheets. Keep the gun moving at 6 inches per second and hold it 4 inches from the surface. Stop if the subfloor scorches or smells.
Mechanical removal with a floor grinder or scarifier works for large concrete areas. Rent a machine with a dust shroud and HEPA vacuum. This is the fastest route for 500 square feet or more.
Dealing With Black Cutback Mastic
Black cutback mastic may contain asbestos if installed before 1980. Do not sand or grind it. Have it tested before removal. If positive, hire a licensed abatement contractor.
If testing is negative, use a wet method and a chemical remover. Keep the material damp to limit dust. Bag debris in 6-mil plastic and dispose per local rules.
When to Repair the Subfloor Instead of Cleaning
If scraping leaves gouges or the plywood is delaminated, replace the affected sheet. A new 3/4-inch plywood panel costs less than a failed floor. Level the seams with patching compound.
On concrete, fill spalls and cracks with a polymer-modified patch. Grind high spots flush. The goal is a flat, clean, dry surface within 3/16 inch over 10 feet.
Verification Before Installing New Flooring
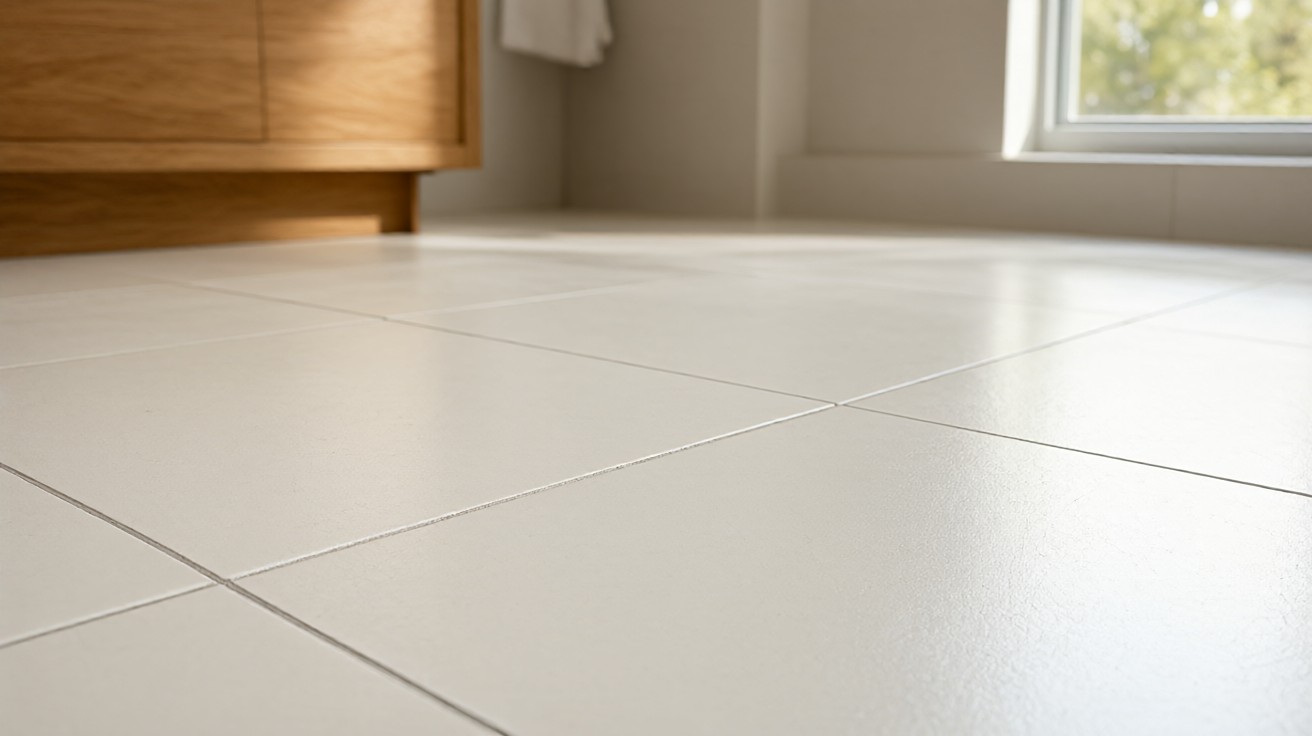
Run a hand test: slide a 10-inch drywall knife across the surface. It should not catch. Wipe with a damp rag; if it turns brown or tacky, residue remains.
Check flatness with a 6-foot straightedge. Gaps under the edge should not exceed 3/16 inch. Only then roll out new adhesive or click-lock planks.
Documenting Moisture and Flatness Readings
Record every moisture reading with date, time, and location. Manufacturers often require documentation for warranty claims. A simple spreadsheet with grid references works well.
Take three readings per 100 square feet and average them. If any reading exceeds the limit, delay installation and retest after 24 hours of ventilation.
Photograph the subfloor under raking light before and after removal. Visible residue shows as sheen or texture. These photos support warranty claims if a floor fails later.
Store test kits sealed and within their expiration dates. Calcium chloride kits lose accuracy after opening. In-situ probes need calibration checks per manufacturer instructions.
For gluedown installations, perform a bond test: spread a small patch of new adhesive and let it cure for 24 hours, then try to lift it with a putty knife. If it peels easily, residue remains. Repeat removal until the patch holds firm.
For click-lock floors, check for hollow sounds by tapping with a rubber mallet. Hollow spots indicate high residue or unevenness that must be corrected before locking planks.
Document all results in the project file. Future maintenance or warranty claims depend on proof that the subfloor met manufacturer specifications at installation time.
Common Mistakes to Avoid
Using a metal blade on vinyl can gouge the subfloor. Over-wetting wood causes swelling. Skipping the patch after grinding leaves low spots that crack grout.
Another error is rushing: most residue removal takes 2 to 4 hours for a 200-square-foot room. Plan for a full day including drying time.
Quick Reference: Method by Subfloor
| Subfloor | Safe method | Avoid |
|---|---|---|
| Concrete | Scrape, soak, grind | None major |
| Plywood or OSB | Dry scrape, heat, sand | Soaking, solvents |
| Tile or stone | Plastic scrape, pH-neutral cleaner | Acid on marble |
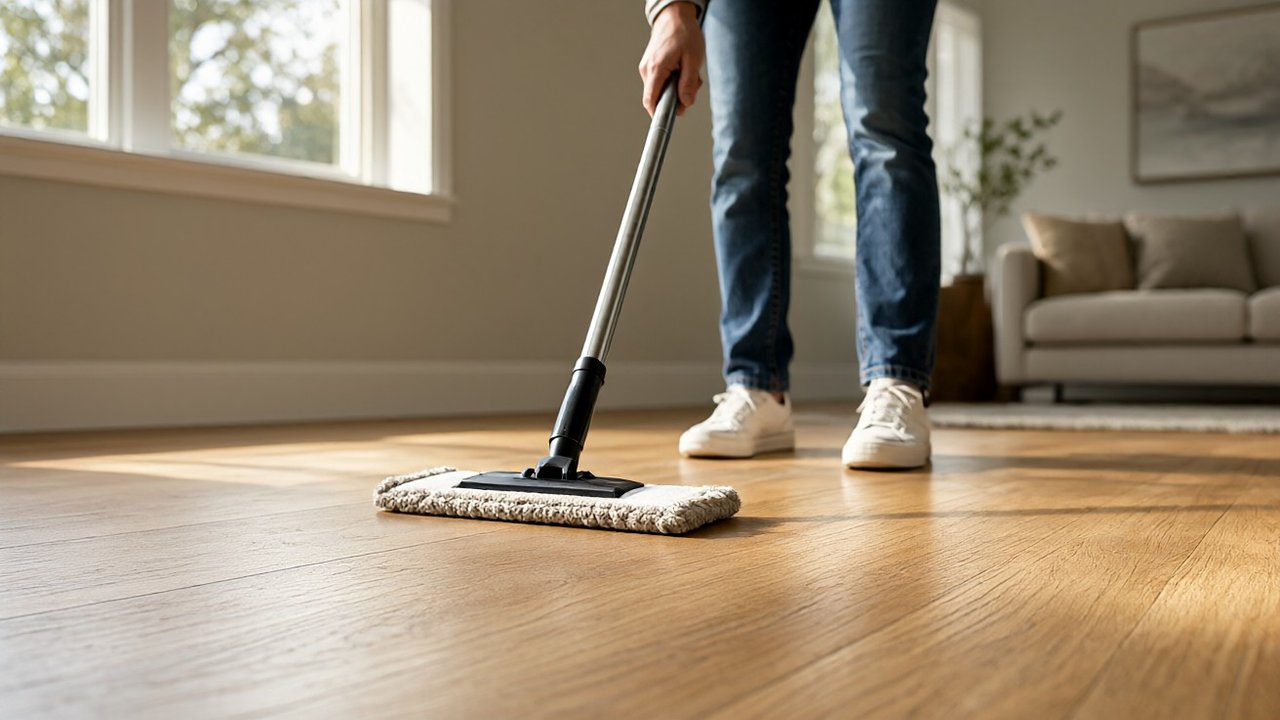
For related cleaning tasks see our guides on how to remove dirt from textured flooring and how to mop floors without streaks. For material selection background see the vinyl flooring guide.
Choosing Removal Based on the New Flooring
If you are installing vinyl plank, the subfloor must be smooth to 1/8 inch over 6 feet. If you are installing tile, a slightly rough concrete surface actually helps mortar bond. If you are installing hardwood, the subfloor must be flat and dry.
When the new floor is click-lock vinyl, you can tolerate minor residue under a floating installation, but ridges over 1/16 inch will telegraph. When the new floor is gluedown vinyl, any residue ruins adhesion and must be fully removed.
If you are unsure, remove everything. The cost of rework far exceeds the cost of an extra hour of scraping.
How Long Does Residue Removal Usually Take?
A 200-square-foot room with thinset on concrete takes 3 to 5 hours including drying. A room with mastic on wood takes 4 to 6 hours because of heat and careful scraping. Large areas over 500 square feet may need a full weekend.
Cost and Tool Rental Estimates
A hand scraper and heat gun cost under 60 dollars to buy. Chemical remover for 200 square feet costs 30 to 60 dollars. Renting a floor grinder with dust shroud costs 80 to 120 dollars per day plus 40 dollars for HEPA filters.
If you hire a professional, expect 2 to 4 dollars per square foot for scraping and cleaning. Abatement for asbestos mastic costs 8 to 15 dollars per square foot and requires licensed contractors.
Disposal and Cleanup
Bag all debris in heavy plastic. If the adhesive was tested and is asbestos-free, normal construction waste rules apply. If it contains asbestos, follow local hazardous waste procedures and never put it in household trash.
Vacuum with a HEPA filter, then damp-mop the subfloor. Let concrete dry fully and wood acclimate before installation. Keep windows open for 24 hours after using chemical removers.
After finishing, inspect the subfloor under bright light and run a straightedge across the full room. If any residue remains, repeat the targeted method before installing. A clean subfloor is the cheapest insurance against floor failure.
Final Checklist Before You Install
Confirm the subfloor is clean, flat, and dry. Confirm moisture readings meet manufacturer limits. Confirm no residue transfers to a damp rag. Confirm all cracks and gouges are patched. Only then begin installation.
If any item fails, stop and fix it. Installing over a bad subfloor voids most warranties and leads to costly callbacks.
Remember that subfloor preparation is the foundation of every successful flooring project. Skipping residue removal saves a few hours now but risks thousands in replacement costs later. Work methodically, test as you go, and document moisture readings for warranty claims.
With the right tools and patience, most homeowners can handle residue removal. Start small, follow safety rules, and test each section before moving on. Your new floor will thank you.
Take photos before and after removal to document the condition for your records and any warranty claims.
Label all chemical containers and store them away from children and pets.
Good luck.