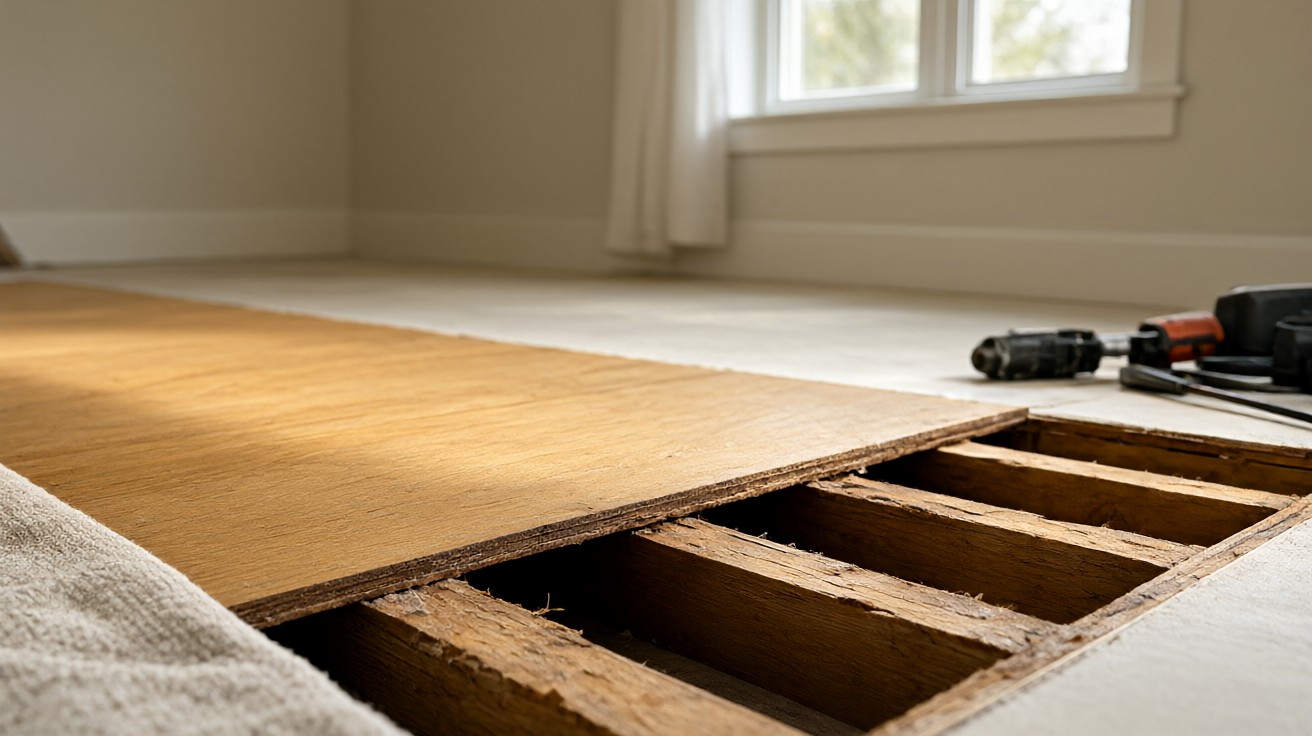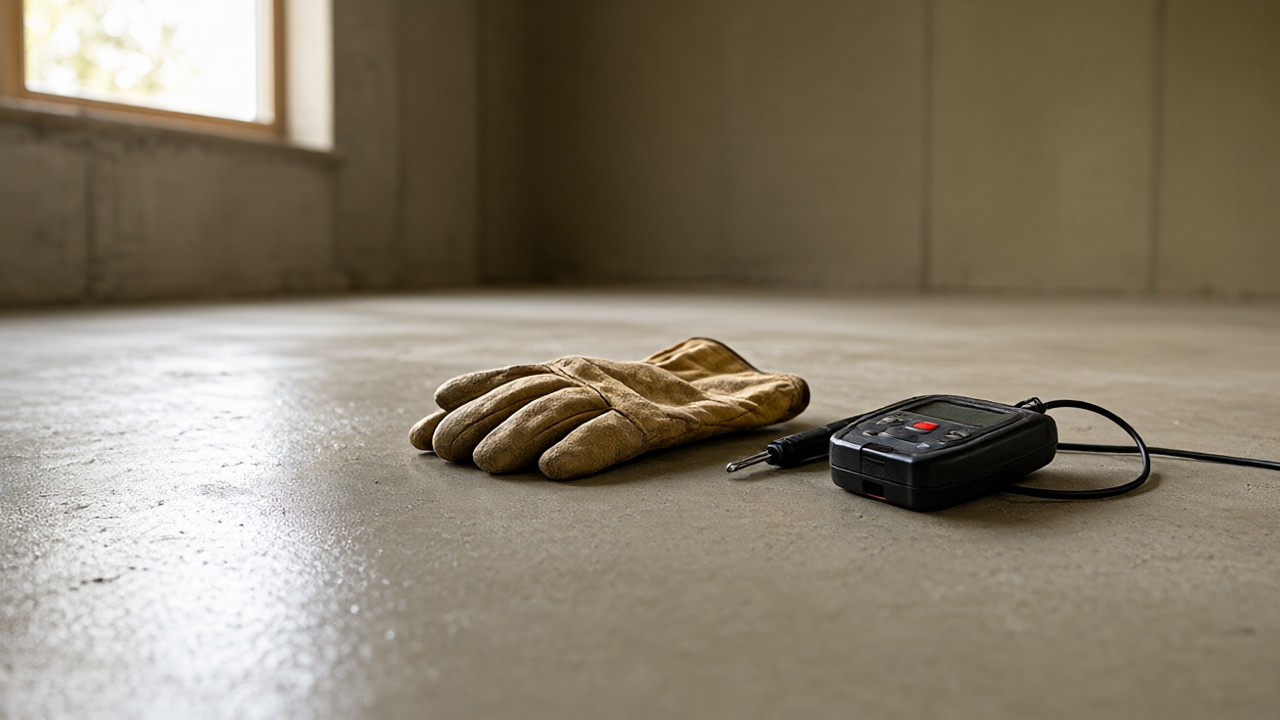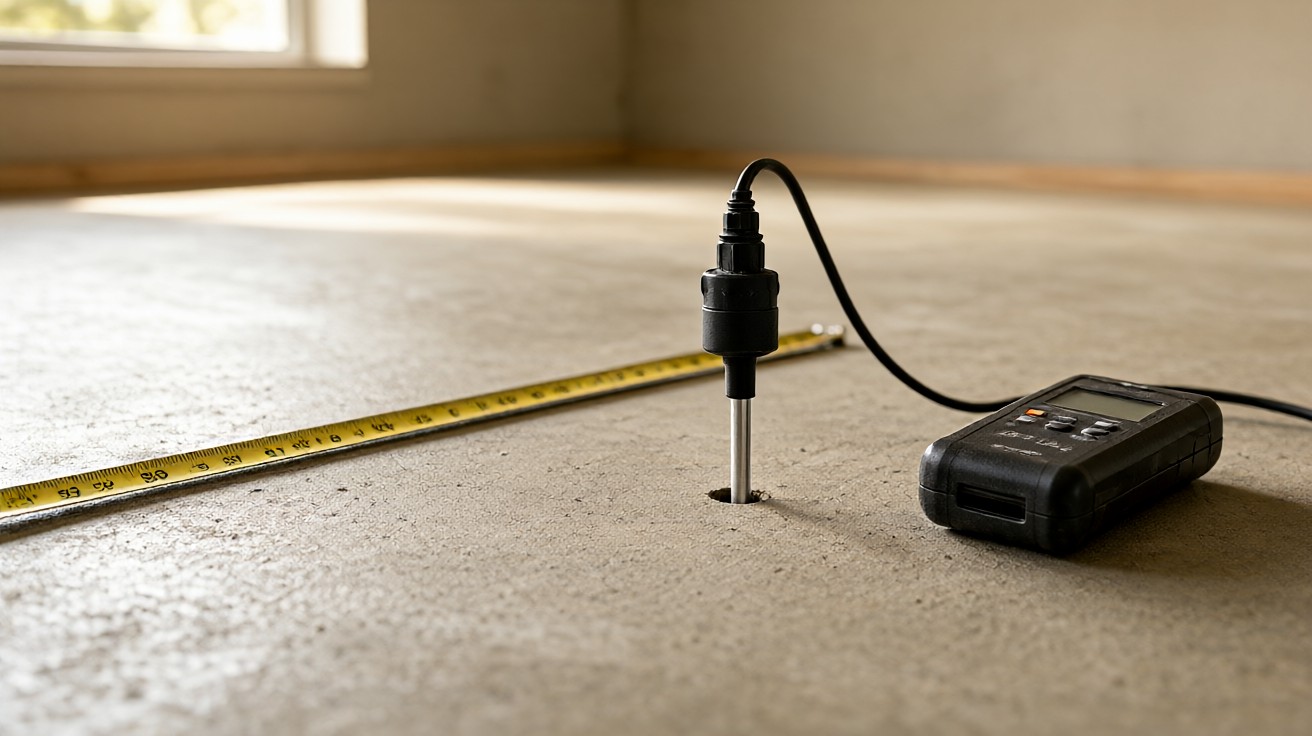

Concrete looks dry long before it is truly dry, and moisture hidden deep inside a slab is the leading cause of floor failure on new construction projects.
Test every slab with ASTM F2170 in-situ relative humidity probes before a floor is installed, and compare the reading to the manufacturer’s written limit.
Why Concrete Moisture Testing Comes First
A freshly placed slab can look ready in days while holding thousands of pounds of water that will migrate upward for months. Flooring installed over that moisture traps it, and the result is adhesive failure, cupping, blistering, or mold. Testing before installation is the only reliable way to know whether the slab is ready.
Manufacturer warranties for flooring almost always require documented moisture testing before installation. A slab that passes visual inspection but fails a probe test voids the warranty before the first board is laid.
Testing is also required regardless of slab age. An old slab can re-wet from a failed vapor barrier or a changed drainage condition, so age alone is not evidence of dryness.
What Moisture Does to Finished Flooring
Moisture moves as water vapor through the capillary pore structure of concrete. When it reaches the flooring layer it changes the dimensional stability of wood, dissolves adhesive bonds, and feeds microbial growth. The damage is slow at first and then sudden.
Wood and Engineered Wood
Solid and engineered hardwood absorb moisture from below and expand across the grain. The first sign is cupping, then gapping as the floor dries unevenly. Severe cases require full replacement.
Resilient and Vinyl Flooring
Sheet vinyl and luxury vinyl plank rely on adhesive or a tight click joint. Moisture breaks the adhesive bond and causes blistering, edge lifting, or telegraphing of substrate irregularities. Many vinyl products tolerate higher moisture than wood, but only when the manufacturer’s stated limit is met.
Tile and Stone
Tile itself is moisture tolerant, but the setting bed and grout are not. Trapped moisture can cause efflorescence, hollow sounding tiles, and bond failure in the mortar. A concrete slab subfloor must be evaluated as a system, not just the surface.
The Three Standard Test Methods
Three methods dominate concrete moisture testing. Each measures a different property, and each has limits. Use the method the flooring manufacturer specifies, and when in doubt run two methods and compare.
| Method | Standard | What it measures | Typical acceptance |
|---|---|---|---|
| In-situ relative humidity | ASTM F2170 | RH at 40 percent of slab depth | 75 percent RH or lower |
| Calcium chloride | ASTM F1869 | Moisture vapor emission rate at surface | 3 lb per 1000 sq ft per 24 hr |
| Non-destructive meter | ASTM F2659 | Surface moisture content | Manufacturer specific |
For a deeper look at slab construction and vapor barriers, see our guide to subfloor preparation for flooring.
ASTM F2170 Relative Humidity Probes
ASTM F2170 measures relative humidity inside the concrete, not at the surface. A small hole is drilled to a calculated depth, a sleeve is inserted, and a sensor equilibrates before a reading is taken. Because the probe sits deep in the slab, it captures the moisture that will actually migrate upward over time.
How Deep Should the Probe Hole Be?
Depth depends on slab thickness and drying direction. Drill to 40 percent of slab thickness when the slab dries from one side, and 20 percent when it dries from both sides. On a 6 inch slab drying from one side, that is 2.4 inches.
How Many Test Locations Are Needed?
ASTM F2170 calls for three test holes for the first 1000 square feet and one additional hole for each additional 1000 square feet. Spread them across the slab, including near walls, columns, and any area with suspected moisture.
Before testing, the building must be enclosed and the HVAC running at service conditions for at least 48 hours. Probes must equilibrate for 24 hours before a documentable reading. Sensors need NIST traceable calibration verified within 30 days of use.
When the slab is part of a larger subfloor leveling project, test after leveling compound cures, not before, because the compound changes the surface layer.
ASTM F1869 Calcium Chloride (MVER)
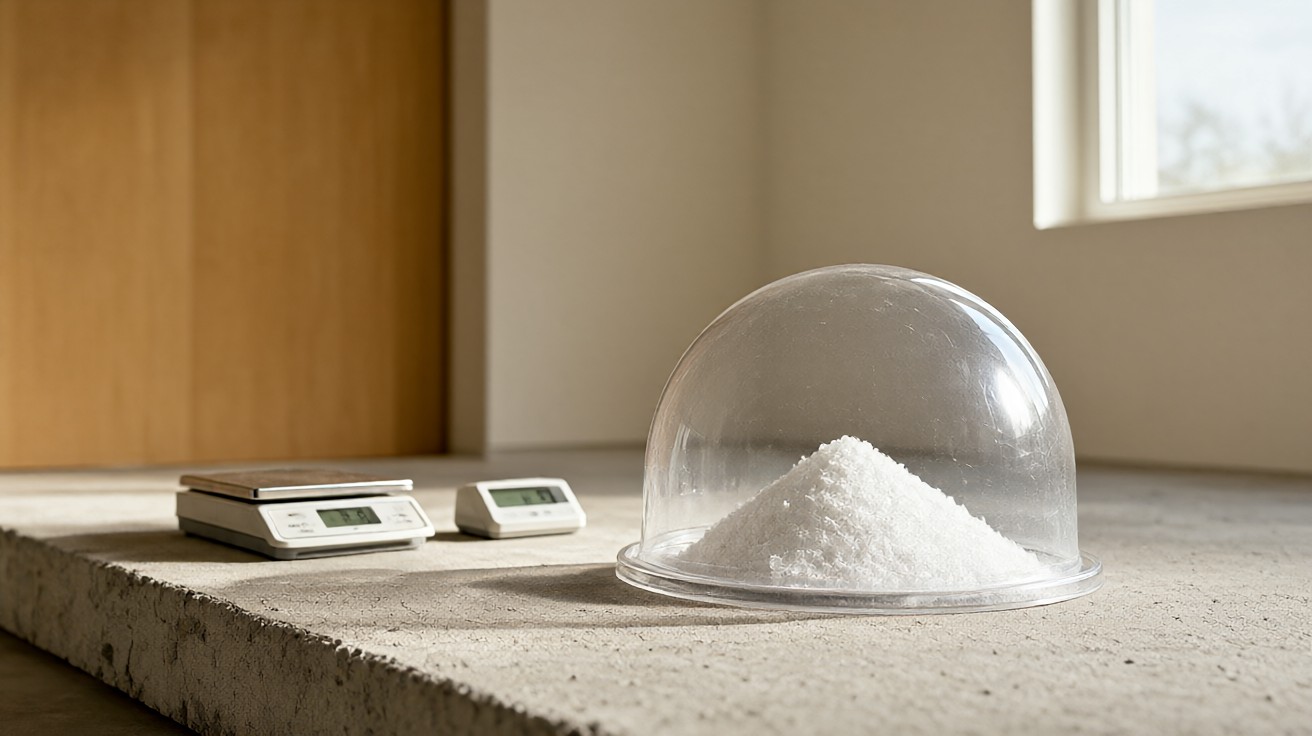
ASTM F1869 measures the moisture vapor emission rate at the slab surface. A dish of anhydrous calcium chloride is sealed under a plastic dome for 60 to 72 hours, then weighed. The weight gain converts to pounds of water per 1000 square feet per 24 hours.
The widely cited 3 lb per 1000 sq ft per 24 hr threshold is a manufacturer acceptance value, not a limit written into the standard. ASTM F1869 itself sets no pass or fail criteria. Always compare the result to the specific flooring product’s written moisture tolerance.
Calcium chloride testing is invalid on gypsum concrete, lightweight aggregate concrete, sealed or coated surfaces, and over patching compounds or leveling underlayments. If the surface has been treated, remove the treatment or choose a different method. This matters when floor patching and leveling compounds have already been applied.
Because the test reads only the top quarter to half inch of slab, it can miss deeper moisture. On below grade slabs or slabs without an effective vapor retarder, pair it with ASTM F2170.
Non-Destructive Moisture Meters
Pin and pinless meters give fast, non-destructive readings under ASTM F2659. They are useful for screening and for mapping moisture gradients across a slab, but they measure surface or near surface moisture content, not internal relative humidity.
A meter reading of 14 percent moisture content correlates to roughly 75 percent relative humidity in the concrete at that spot and time. The correlation varies by meter and mix, so contact the meter manufacturer for conversion data. Never treat a meter reading as an RH percentage.
Use meters to decide where to place probe holes, not as the final acceptance test. Final acceptance should follow the method the flooring manufacturer requires.
Reading and Interpreting Results
A single number is not the whole story. Read the result against four conditions: the test method, the flooring product’s written limit, the slab’s drying history, and the ambient conditions during the test.
What If the Slab Fails the Test?
A failing result means the slab is not ready. Do not install. Options include extending the drying period with HVAC running, applying a moisture mitigation system such as a two part epoxy coating or a roll on membrane, or selecting a flooring product with a higher moisture tolerance. Re-test after any mitigation. For slabs receiving a structural topping, confirm compressive strength in psi and deflection limits such as L/360 before installation.
Investigate external causes too. Poor site drainage, missing or damaged vapor barriers, and unsealed penetrations can keep a slab wet regardless of drying time.
When a slab passes but the project involves flooring over old adhesive residue, remove residue first, because residue can block vapor and skew readings.
Thresholds by Flooring Type
Limits vary by flooring type and by manufacturer. The table below lists commonly cited values; the product’s written specification always governs.
| Flooring type | Common RH limit (ASTM F2170) | Common MVER limit (ASTM F1869) |
|---|---|---|
| Solid hardwood | 75 percent or lower | 3 lb per 1000 sq ft per 24 hr |
| Engineered hardwood | 75 to 80 percent | 3 to 5 lb per 1000 sq ft per 24 hr |
| Luxury vinyl plank and tile | 80 to 90 percent | 5 lb per 1000 sq ft per 24 hr |
| Sheet vinyl | 80 percent or lower | 3 to 5 lb per 1000 sq ft per 24 hr |
| Ceramic and porcelain tile | 75 to 80 percent | 3 lb per 1000 sq ft per 24 hr |
| Epoxy and resinous coatings | 75 to 80 percent | 3 lb per 1000 sq ft per 24 hr |
| Laminate | 75 percent or lower | 3 lb per 1000 sq ft per 24 hr |
Maple sport floors require 85 percent RH or lower for non glue down systems and 75 percent or lower for glue down systems. Always verify against the specific product data sheet before installation.
For installations over underlayment for vinyl flooring, confirm the underlayment’s own moisture rating, because some underlayments add a vapor retarder that changes the test result.
When Testing Is Not Enough (Mitigation)
Testing measures conditions at a moment in time. A slab that passes today can fail later if the vapor barrier is damaged or drainage changes. Mitigation is required when results exceed limits or when risk is high.
Common mitigation options include epoxy moisture barriers, roll on membranes, and sheet applied vapor retarders. Each has its own application thickness, cure time, and re-test requirement. Follow the manufacturer’s instructions and re-test after cure.
For slabs with chronic moisture, consider a flooring system designed for wet conditions, such as porcelain tile with an appropriate membrane, or a raised subfloor system. See our guide to best flooring for basements for material choices in high moisture rooms.
Common Mistakes
Testing too early in the construction schedule, before the building is enclosed and conditioned, produces false lows. Testing over a sealed or patched surface invalidates the result. Testing too few locations misses wet spots. Relying on a single method on a high risk slab increases failure risk.
Another common error is accepting a passing result without checking it against the actual flooring product’s written limit. A slab at 78 percent RH passes a generic 80 percent rule but fails a product rated to 75 percent.
Skipping moisture testing on an old slab is also risky. Re-wetting from a failed barrier or changed drainage can raise moisture years after placement. Test before every installation, regardless of slab age.
For related substrate checks, see how to inspect a subfloor before installation and plywood subfloors preparation and suitability.
Test Report Checklist
A complete report documents the method, location, date, ambient conditions, and results. Include the following for every test.
- Project name and test date
- Test method and standard reference
- Number and location of test points
- Slab thickness and probe depth
- Ambient temperature and relative humidity
- HVAC status and duration of conditioning
- Individual and average results
- Flooring product and its stated moisture limit
- Pass or fail determination
- Tester name and calibration certificate
Keep the report with the project file. It is the evidence that supports the warranty if a failure is later disputed. When the project involves OSB subfloors preparation and limitations, include those substrates in the same report.
Key Takeaways
Test every concrete slab before flooring installation using the method the flooring manufacturer requires. Prefer ASTM F2170 for internal relative humidity, and pair it with ASTM F1869 on high risk slabs. Compare results to the product’s written limit, not a generic threshold. Mitigate or re-test when results exceed limits, and document everything.
A passing moisture test is the cheapest insurance against a failed floor. For slabs with height or transition issues, our guide to floor height differences and transitions covers the next step after moisture is resolved.