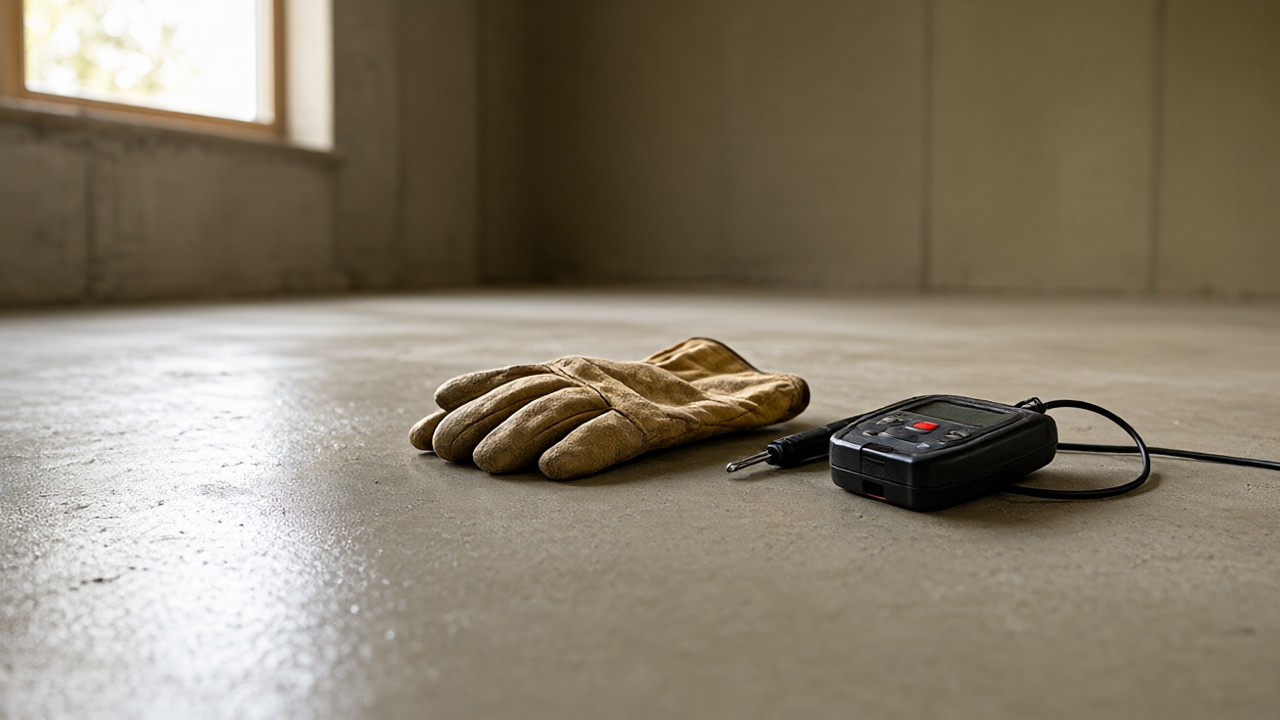

A concrete slab subfloor can make or break a flooring project, so test its moisture, flatness, and vapor retarder before you buy a single plank.
Those three checks cost a weekend and a few dollars in test kits. Skipping them can cost the whole floor. The answer is simple: verify first, then choose the flooring.
What A Concrete Slab Subfloor Actually Is
A concrete slab subfloor is a cast-in-place concrete floor, usually 4 inches thick, poured over a prepared base of compacted gravel or crushed stone. Residential slabs are typically specified at 3000 to 4000 psi compressive strength with air entrainment for freeze-thaw resistance in climates where temperatures drop below freezing. The concrete pH at the surface affects adhesive bonding, so pH testing with phenolphthalein is part of every moisture evaluation. It is the structural floor and the subfloor at once. There is no plywood layer under it and no joist system to ventilate it.
The slab sits directly on the ground or on a basement floor, so it exchanges moisture with the soil below and the air above. That exchange never fully stops. Even a slab poured decades ago can still move moisture upward when the water table rises or the indoor humidity climbs.
Slabs are classified by where they sit. A slab on grade rests at ground level. A suspended slab spans between foundation walls or grade beams. A basement slab sits below grade and is the wettest of the three, because groundwater pressure pushes against it from below.
The distinction matters because the moisture risk rises as you move from suspended to on-grade to below-grade. A suspended slab in a dry climate may need almost no mitigation. A basement slab in a humid climate almost always does.
How Concrete Slabs Are Made And Finished
Concrete is placed, leveled, and then finished with a power trowel or hand trowel to close the surface and bring up cement paste. ACI 302, the guide for concrete floor and slab construction, describes the finishing sequence and warns against overworking the surface, which traps water at the top and weakens the slab.
The finish you want for flooring is a hard, dense, smooth surface with a light broom or steel-trowel texture. A burnished, mirror-smooth finish is actually a problem, because flooring adhesives need a slightly open pore structure to grip. If the slab is glassy, it has to be ground before anything is glued down.
Curing matters as much as finishing. Concrete gains strength over weeks. A slab loaded or covered too early can crack or delaminate. Most residential slabs reach enough strength for foot traffic in 1 to 2 days and enough strength for flooring work in roughly 28 days, which is why new construction schedules often wait a month before the flooring crew arrives.
The water-cement ratio in the mix also sets slab porosity.
A wetter mix is easier to place. It also leaves more capillary channels for moisture to travel through later. A drier mix is harder to finish but produces a denser, less permeable slab. You cannot change the mix after the pour, so the specification has to be right on day one.
Is The Slab Dry Enough To Start?
Never assume a slab is dry because it looks dry or because it is old. Concrete can hold water for months after a pour, and a slab that dried in a heated room can re-wet from below when the seasons change. The only way to know is to test.
Moisture: The Test That Decides Everything
Picture a basement in Atlanta in July: the slab feels dry to the touch, the humidity is 85 percent, and the LVP installer skips the moisture test to save a day. Six months later, the planks cup and the adhesive releases. The slab was wet; the surface just lied. That is why every slab gets tested, even when it looks fine.
Moisture is the single biggest cause of flooring failure over concrete. Water vapor moves upward through the slab by capillary action and evaporation, and it can lift vinyl, blister epoxy, and warp wood. Two ASTM tests measure how much moisture is moving.
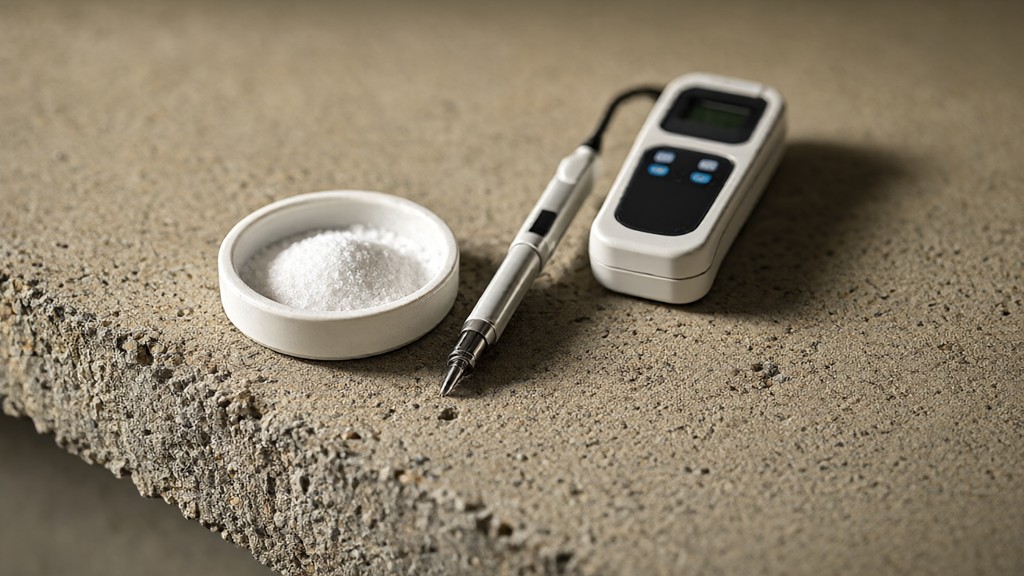
ASTM F1869, the anhydrous calcium chloride test, measures moisture vapor emission rate. A dish of calcium chloride sits on the slab under a sealed dome for 60 to 72 hours, and the weight gain is converted to pounds per one thousand square feet per twenty-four hours. Most flooring manufacturers require a result below 3 to 5 pounds per 1000 square feet per 24 hours.
ASTM F2170, the in-situ relative humidity test, measures the moisture inside the slab rather than what escapes from the surface. A hole is drilled to 40 percent of the slab depth, a probe is inserted and sealed, and the reading is taken after 72 hours. Most manufacturers require a relative humidity below 75 to 80 percent.
The two tests measure different things and can disagree. A slab with a dense surface may show a low calcium chloride result while the interior is still wet, which is why ASTM F2170 is now preferred by most resilient flooring manufacturers and by the Resilient Floor Covering Institute.
Test in multiple locations, especially near exterior walls, plumbing, and any area that was wet during construction. A single test in the middle of a dry room will not catch a wet corner. Plan on one test per 200 to 300 square feet, and always test the worst-looking spot.
| Test method | What it measures | Typical limit | When to use |
|---|---|---|---|
| ASTM F1869 calcium chloride | Moisture vapor emission rate at the surface | 3 to 5 lb per 1000 sq ft per 24 h | Quick screening, older slabs |
| ASTM F2170 in-situ RH probe | Relative humidity inside the slab | 75 to 80 percent RH | Preferred for resilient and wood flooring |
| Alkalinity (pH) test | Surface pH from cement chemistry | Below 9 to 10 | Before adhesive bonding |
If either moisture test fails, do not lay the floor. The slab has to dry further, or it has to be treated with a moisture mitigation system. Laying flooring over a wet slab voids the flooring warranty and usually produces a failure within the first heating season.
What Does A Failed Moisture Test Mean?
A failed test means the slab is still releasing more moisture than the flooring can tolerate. It does not mean the slab is defective. It means the floor is not ready, and the answer is either more drying time or a mitigation system, never a thinner underlayment.
Flatness And Levelness: FF And FL Numbers
Flatness and levelness are two different properties, and flooring cares about flatness, not levelness. A floor can be sloped and still be flat, which is fine. A floor can be level on average and still have waves and dips, which is not fine.
FF, the floor flatness number, measures how much the surface deviates from a straight line over a short distance. FL, the floor levelness number, measures how much the surface deviates from a horizontal plane over a long distance. ASTM E1155 is the test method for both.
Resilient flooring and tile need a flatter slab than carpet does. Most resilient flooring manufacturers call for a maximum deviation of 3/16 inch over 10 feet, which roughly corresponds to an FF of about twenty-five or higher. Wood flooring tolerates slightly more, but the tighter the floor, the better it looks and performs.
Flatness is checked with a ten-foot straightedge or a laser. Lay the straightedge on the slab. Measure the gap under it with a feeler gauge or a ruler. Any gap larger than the manufacturer’s tolerance has to be filled with a cementitious leveling compound before the floor goes down.
Leveling compound is not a fix for a structurally uneven slab. It fills low spots and smooths waves, but it cannot correct a slab that is out of plane by more than about 0.5 inch without a primer and a deep-pour product.
If the slab is badly out of level, the fix is grinding the high spots and pouring a self-leveling underlayment, not a skim coat.
Vapor Retarders Under The Slab
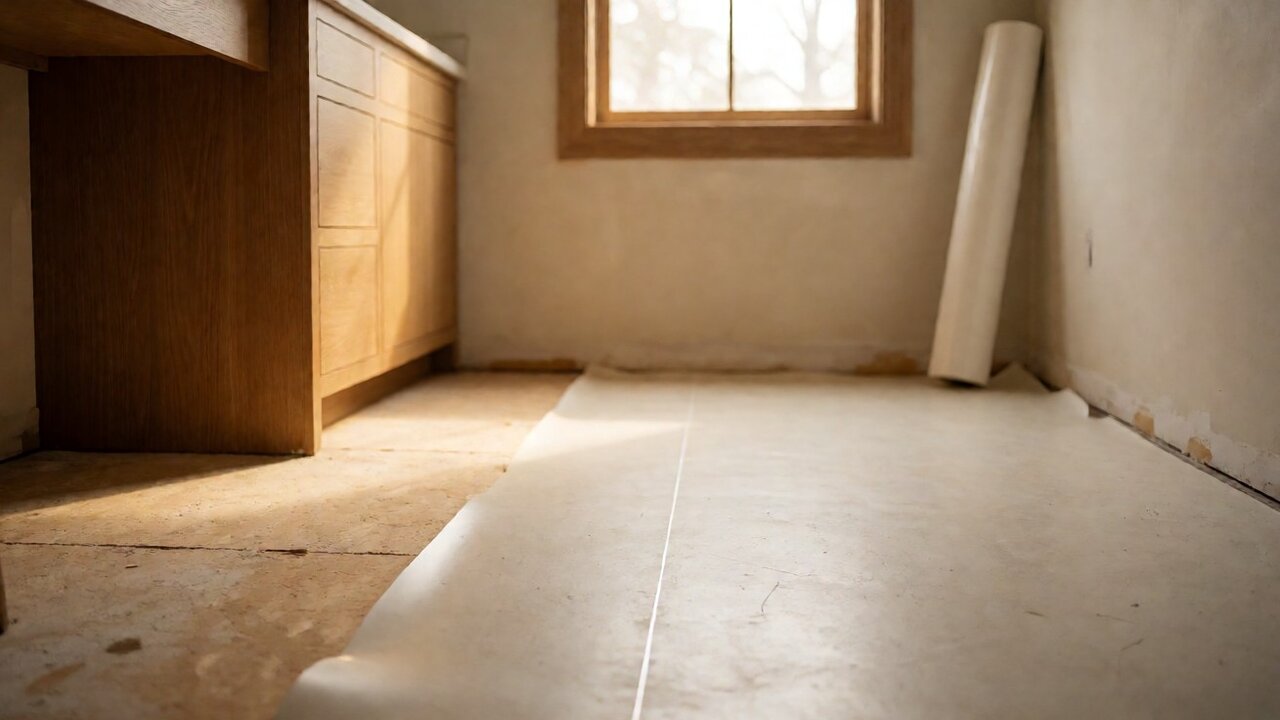
A vapor retarder is a sheet or coating placed under the slab to slow moisture migration from the soil. ASTM E1745 classifies sheet vapor retarders for use under concrete. Class A is the most impermeable, Class B is the middle grade, and Class C is the least impermeable and is not recommended for slabs that will receive flooring.
The retarder goes under the slab, not over it. A retarder placed on top of the slab traps moisture between the retarder and the concrete, which is the opposite of what you want. If a retarder is missing or damaged, the fix is a surface-applied moisture mitigation system, not a sheet on top.
For a new slab, specify a Class A vapor retarder under the entire slab, sealed at seams and penetrations, and placed directly under the concrete with no sand layer between the retarder and the slab. A sand layer between the retarder and the slab creates a reservoir that holds water against the bottom of the slab.
For an existing slab with no retarder, the moisture tests decide what happens next. A slab that passes both tests may need no mitigation at all. A slab that fails one or both needs a surface-applied system before flooring.
| Vapor retarder class | Permeance | Use under a slab receiving flooring |
|---|---|---|
| Class A (ASTM E1745) | 0.01 perms or less | Recommended for all new slabs |
| Class B (ASTM E1745) | 0.1 perms or less | Acceptable where soil moisture is low |
| Class C (ASTM E1745) | 0.3 perms or less | Not recommended for flooring applications |
| No retarder | Unrestricted | Mitigation system required if tests fail |
Crack Repair And Surface Prep
Cracks in a slab are normal, but not all cracks are harmless. A hairline crack from shrinkage is cosmetic. A crack that is wide, offset, or actively leaking water is a structural or moisture problem that has to be diagnosed before flooring goes over it.
Structural cracks, which are wide or show vertical displacement, should be evaluated by a structural engineer before any flooring work. Covering a structural crack with a floor does not fix it, and the crack will telegraph through the finish within a season.
Non-structural cracks are repaired by routing and filling. The crack is widened with a grinder or chisel to create a reservoir, cleaned of dust, and filled with a rigid or semi-rigid epoxy or polyurethane filler. The filler has to be flush with the surface and fully cured before the floor is installed.
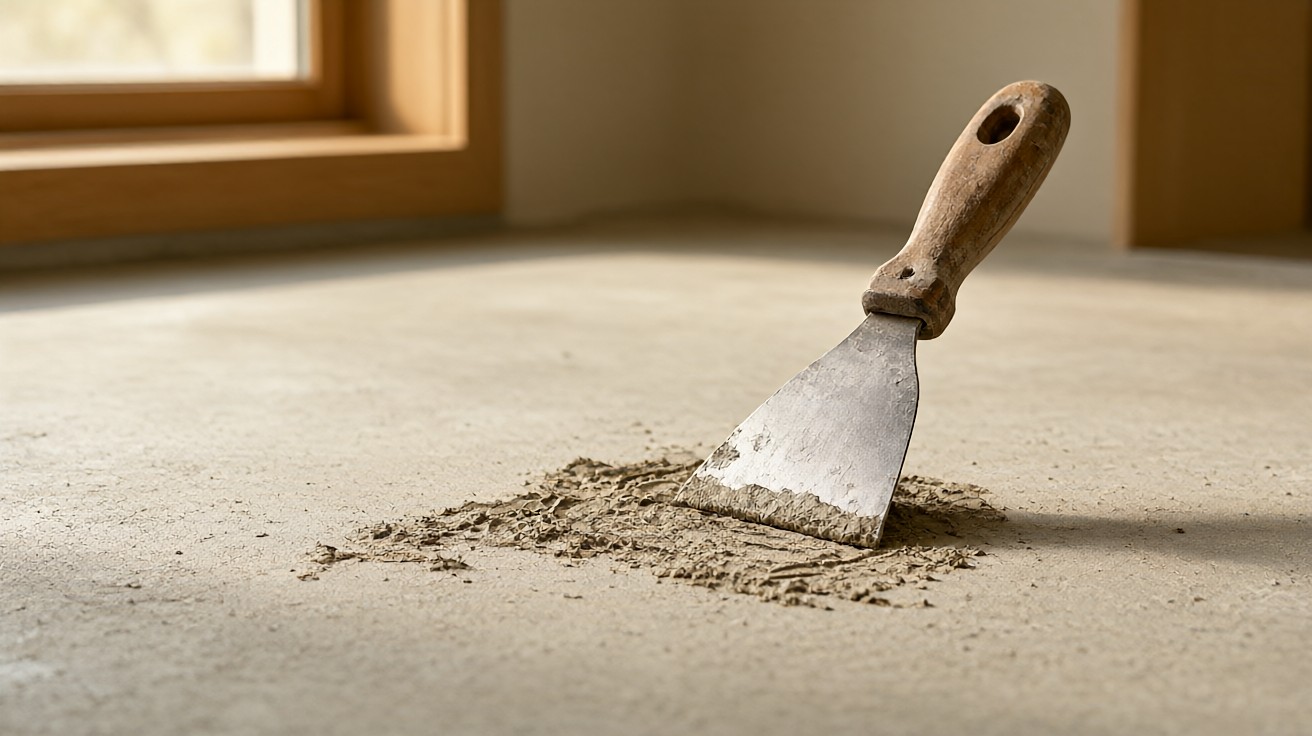
Surface prep also means removing anything that would interfere with bonding. Paint, old adhesive, curing compound, and laitance, the weak cement paste layer on the surface, all have to come off. ASTM F710, the standard practice for preparing concrete floors to receive resilient flooring, requires mechanical cleaning by scraping, brushing, and vacuuming, and prohibits chemical strippers and adhesive removers.
A slab that has been sealed or painted is not ready for flooring until the coating is removed by grinding or shot blasting. Adhesives will not bond to a sealed surface, and the floor will peel up in sheets if it is laid over one.
Should You Grind Or Shot Blast?
Grinding is the right tool for small areas, high spots, and removing coatings. Shot blasting is faster and more aggressive, and it is the right tool for large areas and for opening the pore structure of a dense or burned slab. Either method leaves a clean, open surface that adhesive can grip.
When A Slab Is Too Wet: Mitigation Options
When a slab fails the moisture tests and cannot be dried further, a moisture mitigation system is applied to the surface before flooring. These systems are coatings or membranes that slow vapor transmission enough for the flooring to survive.
Epoxy moisture mitigation systems are the most common. A two-part epoxy is rolled or squeegeed onto the prepared slab in one or two coats, and it cures into a barrier that reduces vapor transmission to a level the flooring can tolerate.
Most systems are rated for a specific moisture level, and the slab has to be tested again after the system is installed to confirm it works.
Other options include moisture-tolerant adhesives, which are formulated to bond even when the slab is slightly wet, and loose-lay or floating floors, which are not bonded to the slab at all and can tolerate more moisture because air can circulate beneath them. Each option has a moisture limit, and none of them make a wet slab dry.
Mitigation systems are not cheap, and they are not a substitute for testing. They are a fix for a slab that cannot be dried, applied after the test results are known. If the slab can be dried by improving drainage or ventilation, that is almost always the better and cheaper path.
Basement slabs that fail moisture tests often improve when the exterior drainage is fixed. Downspouts that discharge next to the foundation, a negative grade that slopes toward the house, and a missing or clogged perimeter drain all push water under the slab. Fixing the drainage can drop the moisture test results below the limit without any coating at all.
Choosing Flooring Over Concrete
Not every flooring material is happy over concrete. The slab’s moisture level, flatness, and temperature all filter the choices. The table below summarizes how common materials handle a concrete subfloor.
Vinyl and tile are the most forgiving. Sheet vinyl, luxury vinyl plank, and ceramic or porcelain tile all tolerate moisture well and bond reliably to a properly prepared slab. Carpet with a moisture-barrier pad is also common over concrete, especially in basements.
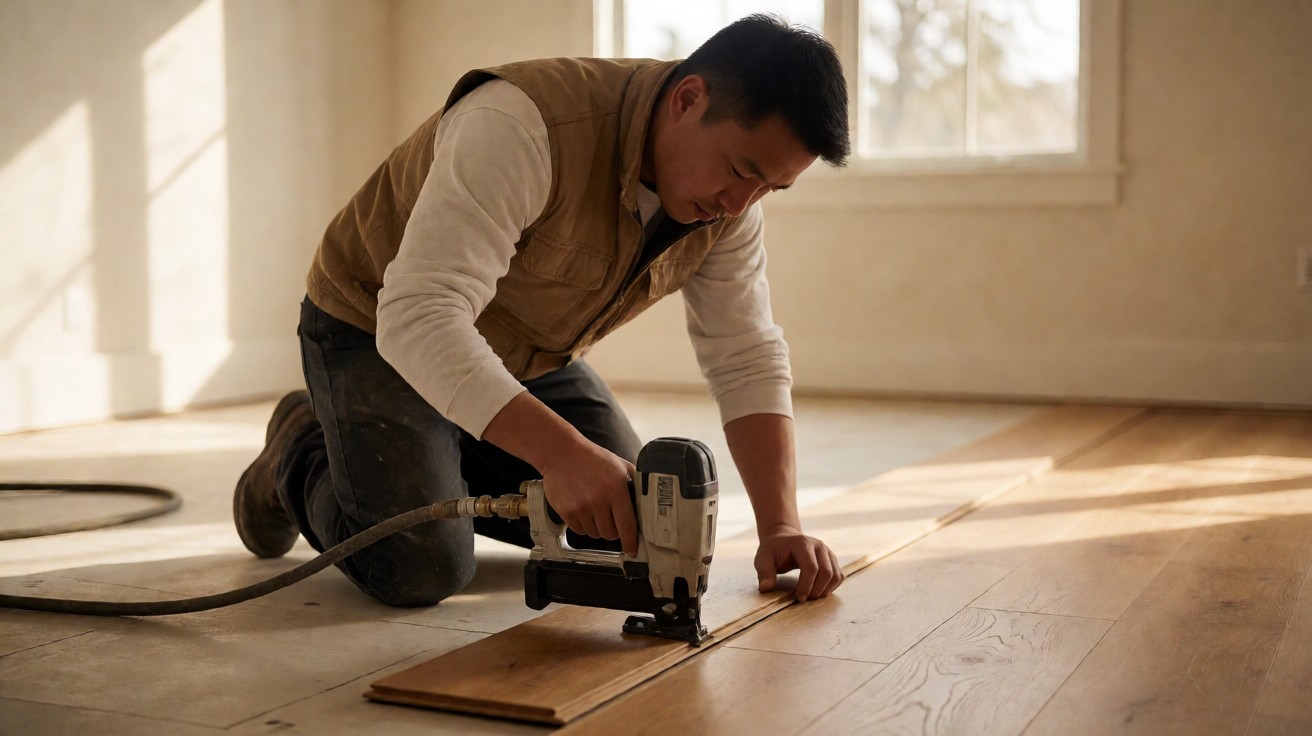
Solid hardwood is the least forgiving. It needs a dry slab, a vapor retarder, and usually a plywood subfloor layer over the concrete to give the nails something to grip. Engineered hardwood is more tolerant but still needs a dry slab and a vapor retarder.
Laminate and hybrid products sit in the middle. Most are installed as floating floors over a foam or cork underlayment, which decouples them from the slab and tolerates minor moisture. They still need a slab that passes the moisture tests, because a wet slab will swell the core from below.
Polished concrete is its own category. Instead of covering the slab, you finish it. That removes the moisture question for the floor, because there is no floor, but it requires a slab that was poured and finished to a high standard. A slab that was not, cannot be polished into a good floor.
Radiant Heat And Concrete Slabs
Radiant heating is often embedded in a concrete slab, and it changes the moisture and flooring calculations. A heated slab dries faster during construction, but it also expands and contracts with temperature, which stresses the flooring above it.
Flooring over a radiant-heated slab has to be rated for radiant heat by the manufacturer. Most resilient and wood flooring has a maximum surface temperature, often around 85 degrees Fahrenheit, and exceeding it voids the warranty and can damage the floor. The heat has to be brought up gradually after installation, never all at once.
Expansion gaps are more important over radiant heat, because the slab moves more. Floating floors need the manufacturer’s recommended gap at every wall and obstruction, and the gap has to be maintained, not filled with caulk or trim.
Testing a heated slab for moisture requires turning the heat off for at least 48 hours before testing, so the slab is at its normal moisture state. Testing while the heat is running gives a falsely low reading.
Common Mistakes With Concrete Subfloors
The most common mistake is skipping the moisture test. Homeowners and even some contractors assume that a dry-looking slab is dry. The test is cheap and the failure is expensive, so the test always pays.
The second most common mistake is using the wrong adhesive. A standard adhesive over a slab that is slightly wet will fail. A moisture-tolerant adhesive over a slab that is very wet will also fail. The adhesive has to match the test result, and the test result has to be known before the adhesive is chosen.
The third mistake is ignoring flatness. A floor laid over a wavy slab will telegraph every dip and ridge, and the joints will open and close as the floor flexes. Leveling compound is cheap compared to replacing a floor that has failed because of an uneven base.
The fourth mistake is covering a crack instead of repairing it. A crack that is covered will eventually show through, and by then the floor is already installed. Repairing a crack before the floor goes down takes an hour. Repairing it after takes a day and a new floor.
The fifth mistake is assuming that a floating floor needs no prep. Floating floors are more tolerant, but they still need a flat, clean, dry slab. A floating floor over a wet or uneven slab will buckle, gap, and squeak.
Cost And Time For Slab Prep
Slab prep costs vary with the condition of the slab and the size of the room, but the major items are predictable. Moisture testing runs roughly 1 to 2 dollars per square foot when a professional does it, or a few dollars per test kit for a do-it-yourself project.
Grinding runs 2 to 4 dollars per square foot. Leveling compound runs 3 to 6 dollars per square foot for a skim coat and more for a deep pour.
Moisture mitigation systems are the expensive item, running 5 to 15 dollars per square foot depending on the product and the moisture level. If the slab needs mitigation, it often costs more than the flooring itself, which is why testing early matters.
Time is also a factor. A slab that needs drying can take weeks to months. A slab that needs mitigation can be ready in a few days once the system is applied. Planning the schedule around the slab, rather than around the flooring delivery, prevents the most common project delay.
If you are buying a house with a concrete slab that will receive flooring, ask for the moisture test results and the flatness report before closing. A slab that fails either test is a real cost that should be reflected in the price.
Quick Reference: Slab Acceptance Checklist
Before any flooring goes over a concrete slab, confirm all of the following. If any item fails, stop and fix it before the floor is installed.
The slab must be structurally sound, with no active cracks or movement. The moisture test must be below the manufacturer’s limit, whether by ASTM F1869 or ASTM F2170. The surface pH must be below 9 to 10. The flatness must be within the manufacturer’s tolerance, usually 3/16 inch over 10 feet for resilient flooring.
The surface must be clean, dry, and free of paint, adhesive, and curing compound.
A vapor retarder must be in place under the slab, or a mitigation system must be installed on top of it. The flooring must be rated for use over concrete and, if applicable, for radiant heat.
Work through the checklist in order and do not skip a step because the slab looks fine. A slab that looks fine can still fail a moisture test, and a slab that passes the moisture test can still be too rough for adhesive. Each check catches a different failure mode, and all of them are cheap compared to replacing a floor.
If you are unsure about any item, hire a flooring contractor or a concrete specialist to assess the slab. A professional assessment costs a few hundred dollars and can save a project that would otherwise fail in the first heating season.
For more on preparing the base, see our guide to subfloor preparation for flooring.
If you are deciding between base materials, the subfloor versus underlayment versus finished flooring breakdown explains where concrete fits, and the underlayment for vinyl flooring guide covers what goes on top. If the slab is plywood instead, our plywood subfloors preparation and suitability guide is the matching reference.