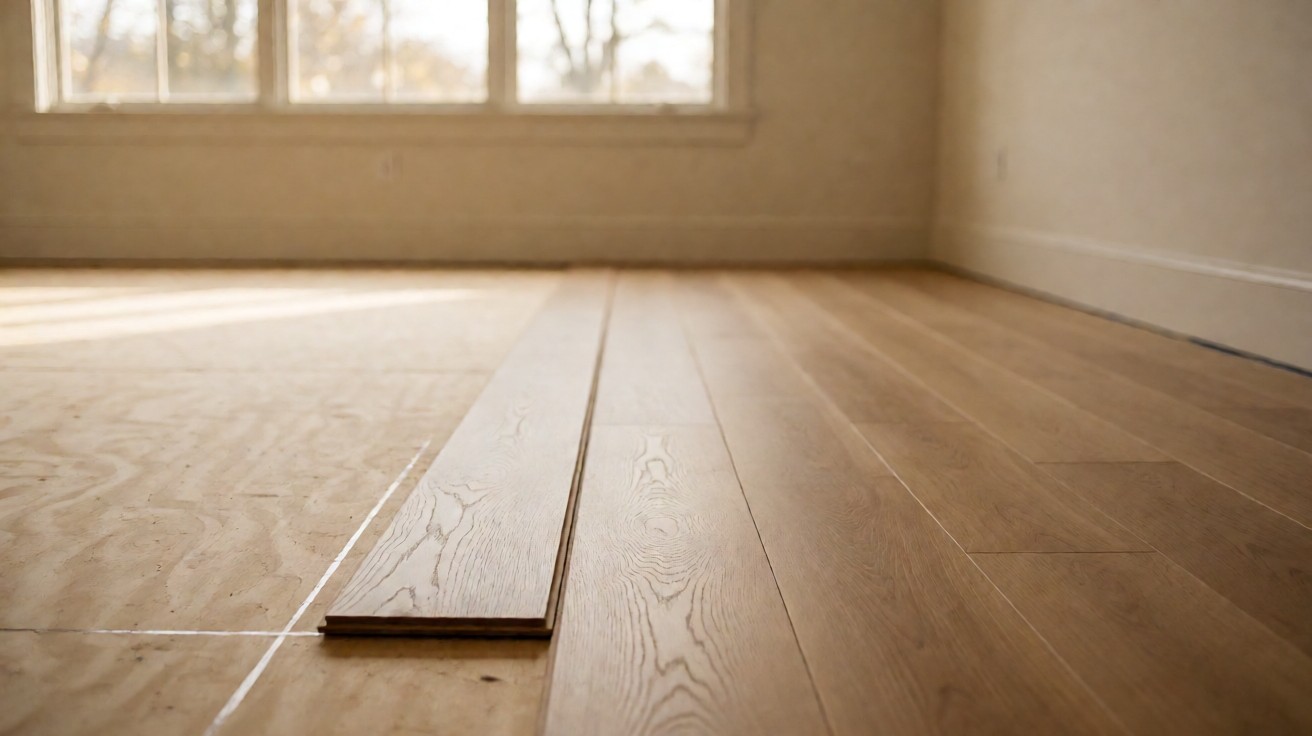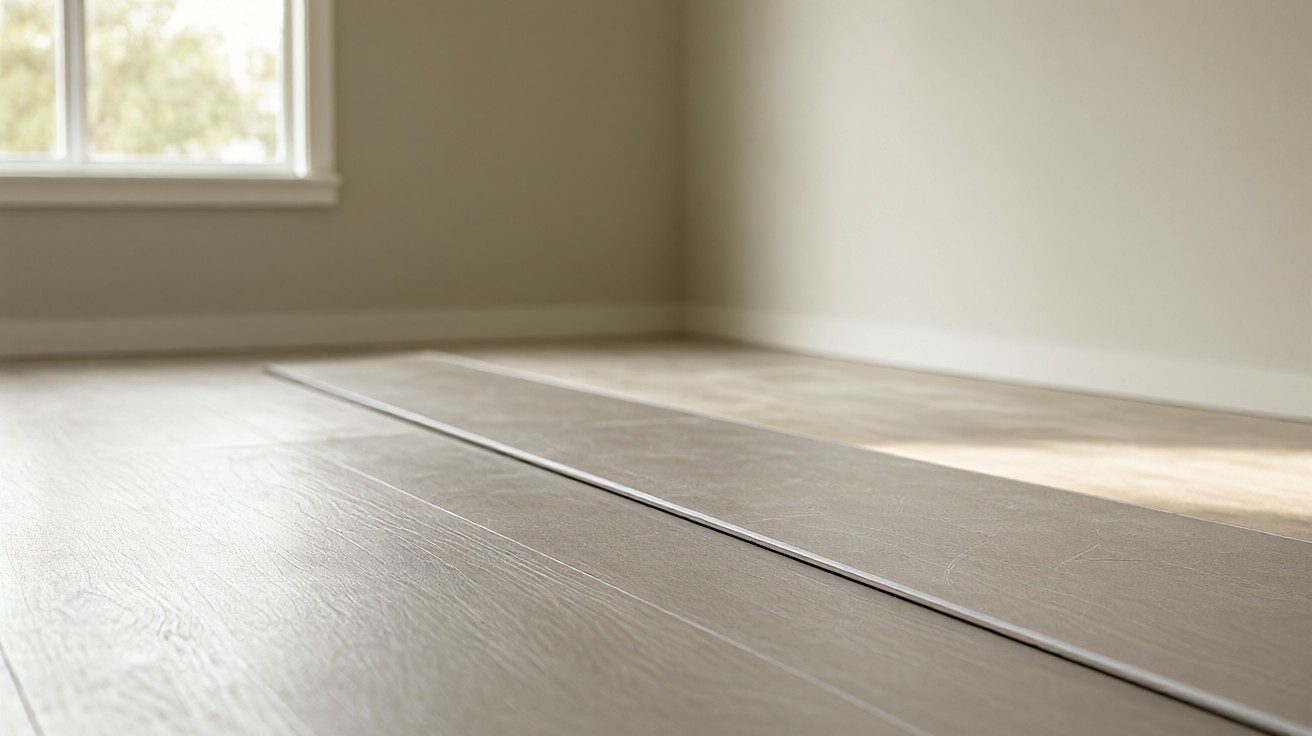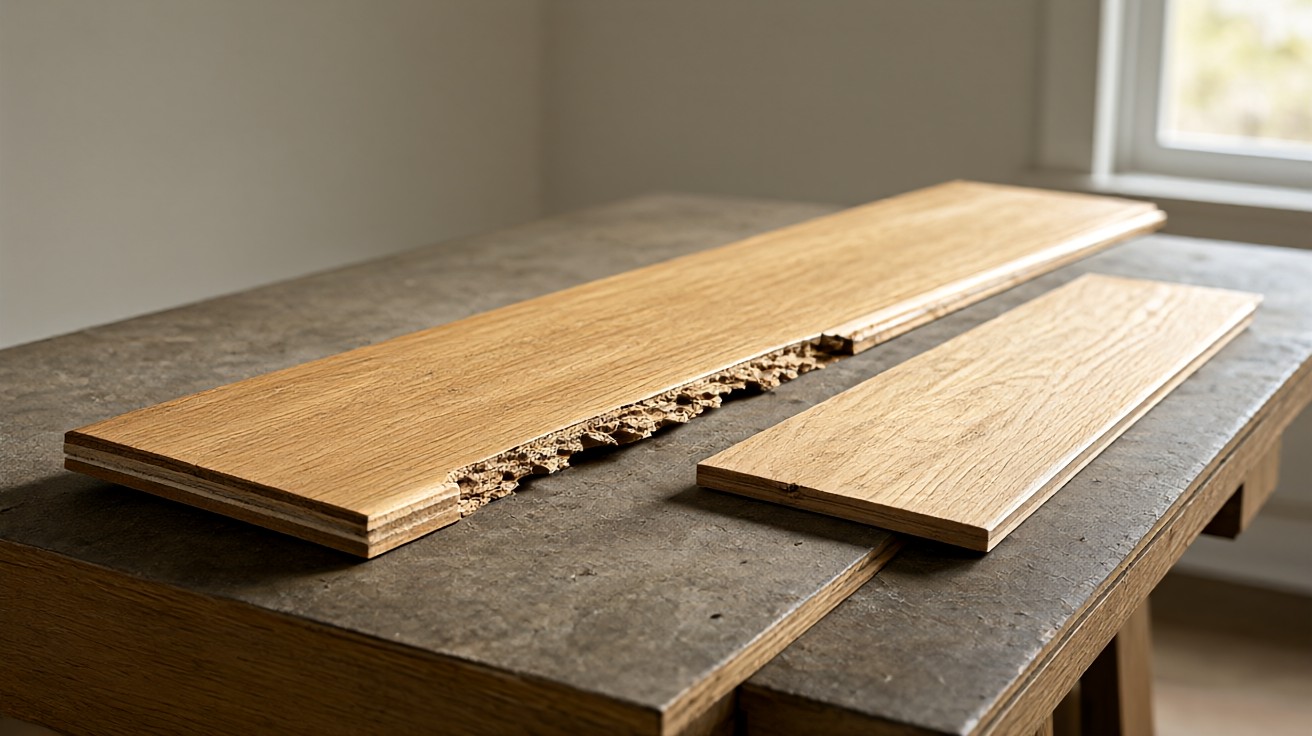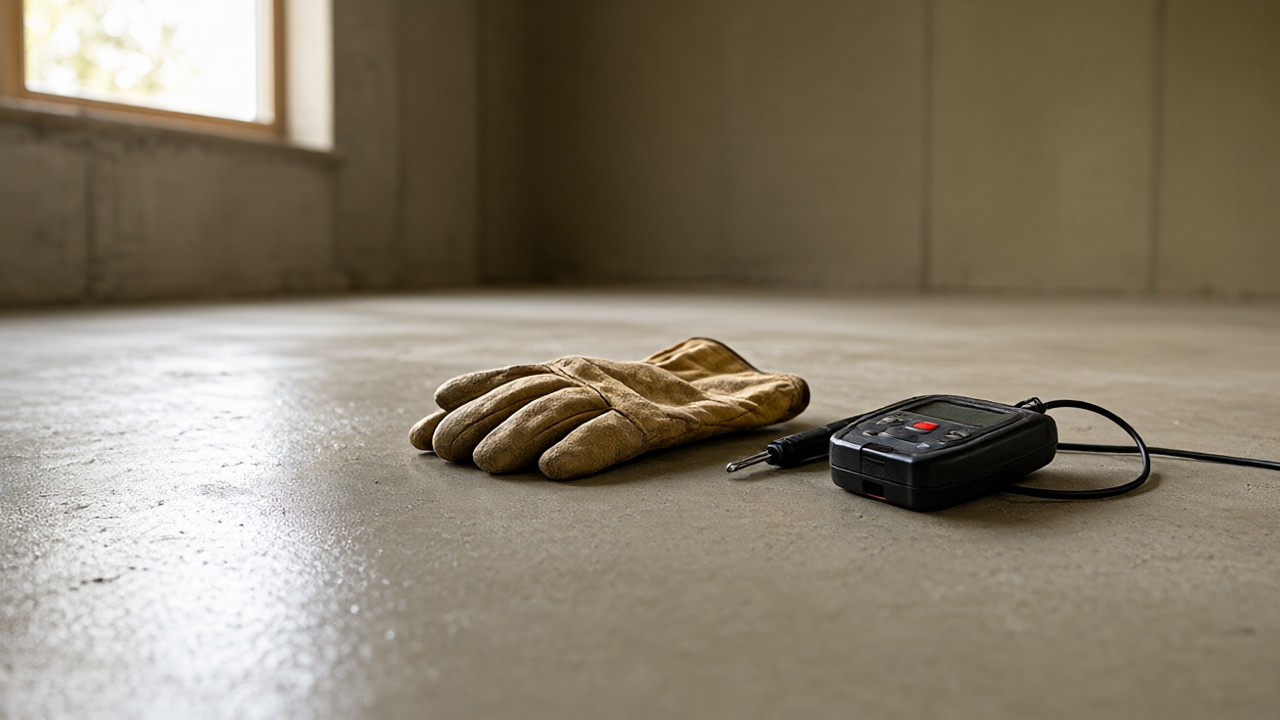

Tile cracks when the base moves, is out of flat, or moisture gets underneath. Wood flexes and recovers. Tile cannot. Check every spec before starting.
Concrete and wood both work as substrates, but each demands different treatment. The answer is simple: check the spec before starting. Both paths have clear pass-fail criteria you can confirm with rented tools.
Should You Tile Over This Subfloor? (Verdict)
Tile over concrete when the slab is flat within 1/8 inch over 10 feet, dry by ASTM F2170 or F1869, and free of cracks wider than 1/16 inch. Tile over wood when the subfloor is at least 1 1/8 inches total thickness (subfloor plus underlayment), deflection is under L/360, and the wood moisture is within 4 percent of the tile adhesive manufacturer’s limit.
If either path fails, fix the subfloor before tiling. Tile does not forgive shortcuts. Verify every specification before starting.
Picture a bathroom remodel in Denver: the homeowner pulls up old vinyl and finds 3/4 inch plywood over 16 inch on center joists. That is 3/4 inch total, not 1 1/8. The tile will crack within a year. The fix is a layer of 1/2 inch cement board or an uncoupling membrane, not thicker tile or better adhesive.
What Tile Demands from a Subfloor
Tile needs three things from whatever is underneath it: flatness, stiffness, and moisture control. Flatness prevents lippage and stress concentration. Stiffness prevents cracking from deflection. Moisture control prevents adhesive failure and efflorescence. Miss any one and the tile fails, usually within the first heating season.
The TCNA Handbook and ANSI A108/A118 are the governing standards for tile substrate preparation in the United States. They specify maximum deflection of L/360 for ceramic tile and L/720 for natural stone. They specify flatness of 1/8 inch over 10 feet for standard tile and 1/16 inch over 10 feet for large-format tile (edges longer than 15 inches). They specify moisture limits by adhesive type.
Specifications That Matter
Three numbers decide whether a subfloor is ready for tile. Every other detail is secondary.
| Specification | Ceramic Tile | Natural Stone | Large-Format Tile (>15 in edge) |
|---|---|---|---|
| Max deflection | L/360 | L/720 | L/360 |
| Max flatness deviation (10 ft) | 1/8 in | 1/8 in | 1/16 in |
| Max flatness deviation (2 ft) | 1/16 in | 1/16 in | 1/32 in |
| Min total thickness over wood | 1 1/8 in | 1 1/4 in | 1 1/8 in |
L/360 means the joist span divided by 360. A 12 foot span (144 inches) divided by 360 gives 0.4 inches maximum deflection under load. That is the ceramic tile limit. Stone is half that: 144 divided by 720 gives 0.2 inches.
Most residential floors built to code (L/360) pass for ceramic but fail for stone.
Tiling Over Concrete
Concrete is the easiest tile substrate when it meets spec. The slab must be flat, dry, and clean. No underlayment is needed if the concrete passes all three tests. This saves both time and money.
Flatness: check with a 10 foot straightedge. Gaps over 1/8 inch need leveling compound. Self-leveling underlayment (cementitious, 1/4 to 1 inch pour depth) handles most residential slabs. Gypsum-based leveler is cheaper but not moisture-tolerant; use cementitious for bathrooms and basements. See concrete slab subfloors for full moisture testing details.
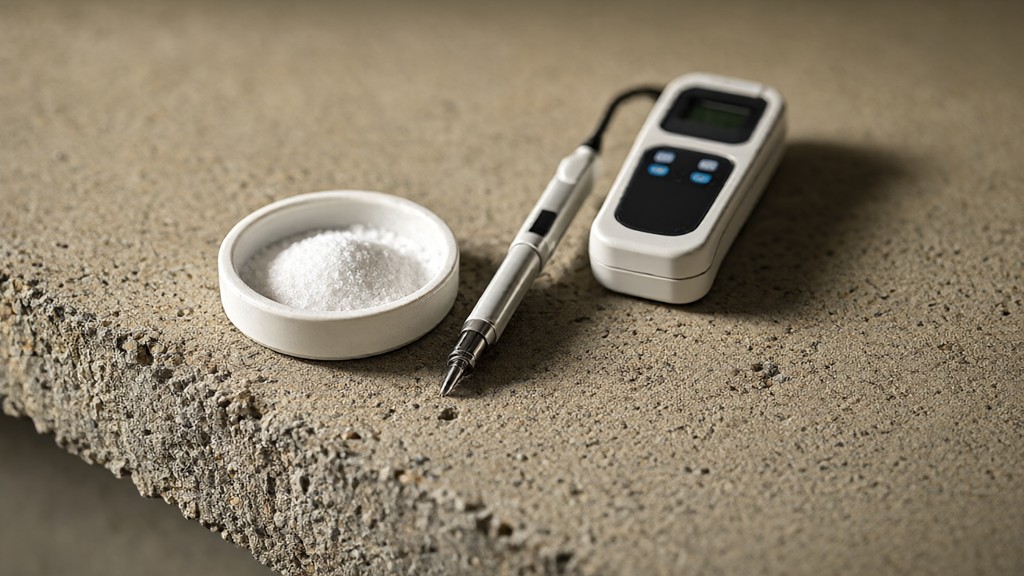
Moisture: test with ASTM F2170 (in-situ relative humidity, 72 hours) or ASTM F1869 (calcium chloride, 72 hours). Most tile adhesives tolerate up to 75 percent RH or 3 lbs per 1000 square feet per 24 hours. Above that, use a moisture-tolerant adhesive or apply an epoxy moisture mitigation system.
For a broader look at subfloor preparation, see subfloor preparation for flooring.
Cleanliness: the slab must be free of paint, adhesive residue, curing compound, and oil. Shot blasting or grinding exposes clean concrete. A simple water drop test confirms absorption: if water beads, the surface is sealed and needs profiling.
Crack repair: hairline cracks (under 1/16 inch) can be ignored if they are stable. Wider cracks need epoxy injection or routing and sealing. Moving cracks (active) indicate structural issues that must be resolved before tiling. Do not tile over a crack that is still growing.
Tiling Over Wood
Wood subfloors need more preparation than concrete. The wood itself is the subfloor, but tile cannot bond to wood directly. An underlayment layer bridges the gap.
The total thickness rule: subfloor plus underlayment must be at least 1 1/8 inches. That means 3/4 inch plywood or OSB subfloor plus 1/2 inch cement board, or 3/4 inch subfloor plus an uncoupling membrane. Single-layer 3/4 inch plywood over joists is not enough for tile. For plywood-specific guidance, see plywood subfloors preparation and suitability.
Deflection: check the joist span against L/360. If the joists are undersized or the span is too long, the floor will flex and crack tile regardless of underlayment. Sistering joists or adding blocking reduces deflection.
Joist spacing also matters. Sixteen inch on center is standard for 3/4 inch subfloor. Twenty-four inch on center requires thicker subfloor (7/8 inch or 1 inch) to prevent bounce. Check the span tables in the IRC for your joist size and species before tiling.
Underlayment options for tile over wood:
- Cement board (CBU): 1/2 inch minimum, screwed and thinset to the subfloor. Heavy, stiff, water-resistant. Best for wet areas.
- Uncoupling membrane: 1/8 inch polyethylene sheet with a grid pattern. Allows independent movement between subfloor and tile. Lighter than cement board, faster to install.
- Self-leveling underlayment over plywood: requires a primer and a crack isolation layer. Not recommended for wet areas unless sealed.
Moisture and Flatness Limits
Wood subfloor moisture must be below 12 percent and within 4 percent of the tile adhesive manufacturer’s limit. Test with a pin or pinless moisture meter at 20 or more points per room. If the subfloor is wet, let it dry before installing underlayment.
Flatness over wood is harder to achieve than over concrete because wood subfloors have seams, fastener heads, and thickness variations. Sand high spots, fill low spots with floor leveling compound, and check with a straightedge before installing underlayment. The underlayment itself does not fix flatness; it follows the subfloor contour.
Acclimation matters for wood subfloors too. Bring the subfloor to the same moisture content as the finished tile installation environment. If the house is heated and the subfloor is cold and damp, let it dry for at least 48 hours with HVAC running before tiling.
Cost Comparison
Tile substrate preparation costs vary by starting condition and chosen underlayment.
| Scenario | Material Cost per Sq Ft | Labor Cost per Sq Ft | Total per Sq Ft |
|---|---|---|---|
| Concrete slab, flat and dry, no prep | /usr/bin/bash | /usr/bin/bash | /usr/bin/bash |
| Concrete slab, needs leveling compound | $2 to $4 | $2 to $3 | $4 to $7 |
| Concrete slab, needs moisture mitigation | $3 to $8 | $2 to $4 | $5 to $12 |
| Wood subfloor, add cement board | $2 to $3 | $3 to $5 | $5 to $8 |
| Wood subfloor, add uncoupling membrane | $2 to $4 | $2 to $4 | $4 to $8 |
| Wood subfloor, needs joist reinforcement | $1 to $3 | $4 to $8 | $5 to $11 |
These ranges cover materials and professional labor in the US market as of 2026. DIY installation reduces labor cost by 40 to 60 percent but increases risk if the substrate is not verified first.
Compatibility Matrix
Not every tile works over every subfloor. Large-format tile over a flexible wood subfloor is a crack waiting to happen. Natural stone over a wood subfloor requires L/720, which most residential floors do not meet without reinforcement.
| Tile Type | Over Concrete | Over Wood (1 1/8 in min) | Over Wood (3/4 in only) |
|---|---|---|---|
| Ceramic (under 15 in) | Yes | Yes | No |
| Large-format ceramic (over 15 in) | Yes (1/16 in flatness) | Yes (1/16 in flatness) | No |
| Porcelain | Yes | Yes | No |
| Natural stone | Yes (L/720) | Only if L/720 met | No |
| Glass tile | Yes (flat substrate) | Yes (flat substrate) | No |
Common Mistakes
The most expensive tile failures come from substrate shortcuts, not tile defects.
Mistake one: tiling over a single layer of 3/4 inch plywood. The subfloor flexes, the grout cracks, the tile cracks. The fix is adding cement board or an uncoupling membrane to reach 1 1/8 inches total.
Mistake two: skipping the flatness check. A 1/4 inch dip over 3 feet is invisible to the eye but creates a void under the tile. The tile cracks under point load. The fix is leveling compound before tiling.
Mistake three: ignoring moisture over concrete. A slab that feels dry can have 90 percent RH at 40 percent depth. The adhesive fails in 6 to 12 months. The fix is testing before tiling.
Mistake four: using the wrong adhesive for the substrate. Standard thinset over a wood subfloor without a crack isolation layer transfers subfloor movement to the tile. The fix is a polymer-modified thinset plus an uncoupling membrane.
Mistake five: tiling over an existing floor without checking what is underneath. Old vinyl or linoleum may hide a damaged subfloor. Remove the old flooring and inspect the base before tiling. If the old floor is well-bonded and flat, some tile systems allow tiling over it, but only with the manufacturer’s approval.
Inspection Points
Before tiling, verify each of these. A single fail stops the job.
- Deflection: L/360 for ceramic, L/720 for stone. Measure with a dial indicator or calculate from joist span and size.
- Flatness: 1/8 inch over 10 feet for standard tile, 1/16 inch for large format. Check with a straightedge.
- Thickness: 1 1/8 inches minimum over wood. Measure subfloor plus underlayment.
- Moisture: below 12 percent for wood, below 75 percent RH for concrete. Test with appropriate method.
- Cleanliness: no paint, adhesive, oil, or curing compound. Water drop test on concrete.
- Cracks: no cracks wider than 1/16 inch in concrete. Repair with epoxy injection or routing and sealing.
- Sound: tap the subfloor with a hammer. A hollow sound indicates delamination or void. Replace delaminated panels.
- Fasteners: check that all screws are flush or slightly below the surface. Proud fasteners create point loads under tile.
Summary
Tile demands more from a subfloor than any other finished floor. Flatness within 1/8 inch, deflection under L/360, total thickness of 1 1/8 inches over wood, and moisture within adhesive limits. Every one of these is measurable before the first tile goes down. No guesswork required.
Skip the measurement and the tile will tell you where the subfloor failed, usually within the first year. The cost of verification is a weekend and a few test kits. The cost of failure is a tear-out and a new floor.
Key Takeaways
- Tile needs flatness within 1/8 inch over 10 feet and deflection under L/360 (L/720 for stone).
- Over wood, total thickness must be at least 1 1/8 inches (subfloor plus cement board or uncoupling membrane).
- Over concrete, the slab must be flat, dry (below 75 percent RH), and clean.
- Large-format tile (over 15 inches) needs 1/16 inch flatness, not 1/8 inch.
- Common failures: single-layer plywood, skipped flatness check, ignored moisture, wrong adhesive.
- Every specification is measurable with a straightedge, moisture meter, and deflection calculation.