
Moisture damage in hardwood floors shows up as cupping, buckling, and meter readings above 12 percent moisture content. Catching it early saves the floor.
The signs appear in a predictable order, and each one points to a specific source: surface water, ambient humidity, or vapor rising from the subfloor or slab. The tests below separate those three.
What Moisture Damage Looks Like on a Floor
Water changes a floor in two stages. First it swells the material and the finish. Then it breaks the bond between the floor and the subfloor. The first stage is reversible in some materials. The second stage is not.
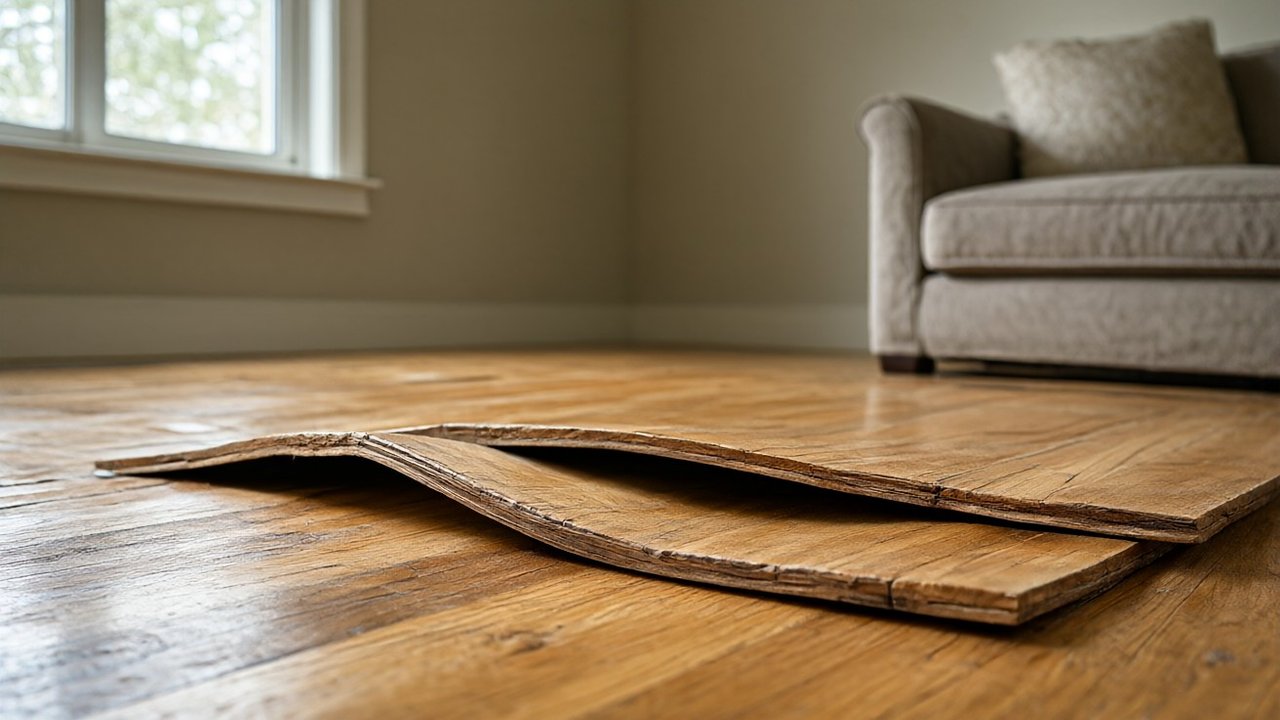
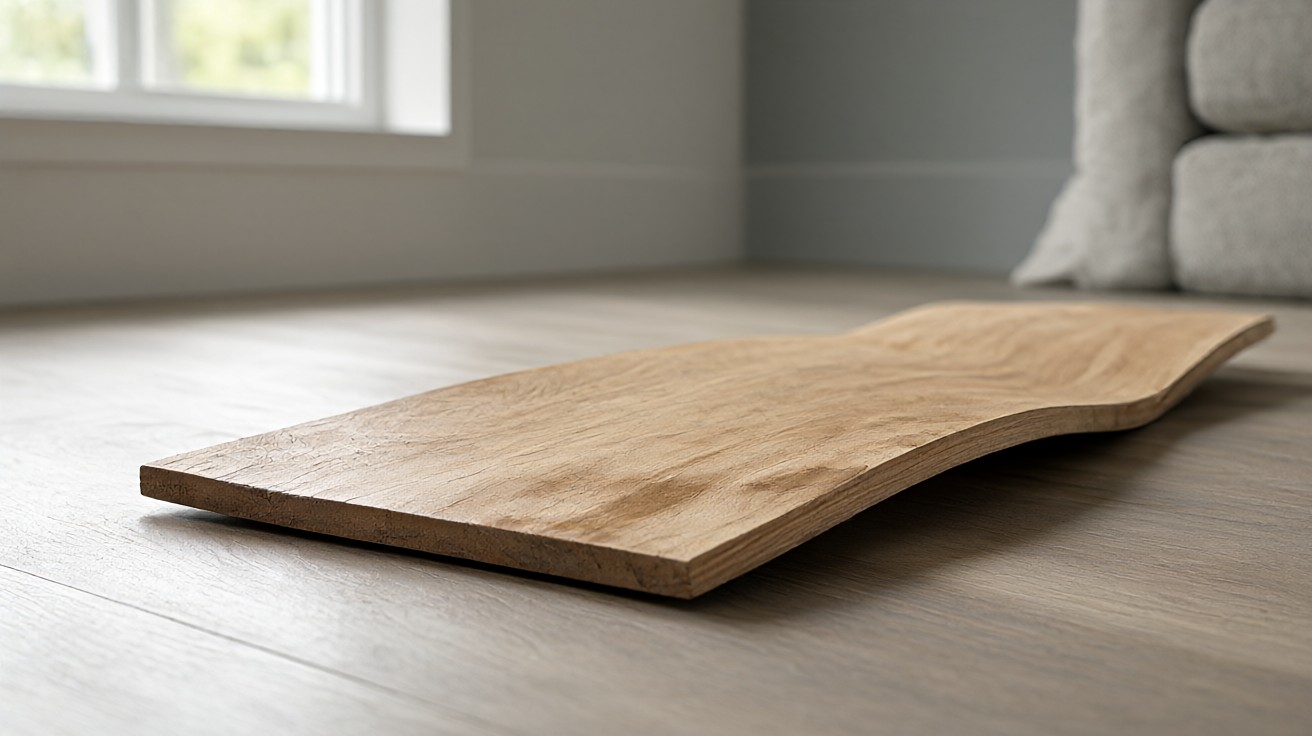
On solid hardwood, early moisture shows as cupping. The edges of a plank rise above its center. The board looks slightly wavy when light hits it at a low angle. On engineered hardwood, the same cupping appears, but the top layer can also delaminate and lift away from the core.
Laminate reacts faster and more dramatically. Its fiberboard core swells when wet, so a single spill can raise a seam by a millimeter within a day. The surface may stay intact while the core bulges. That is why a laminate floor can look flat and still be ruined underneath.
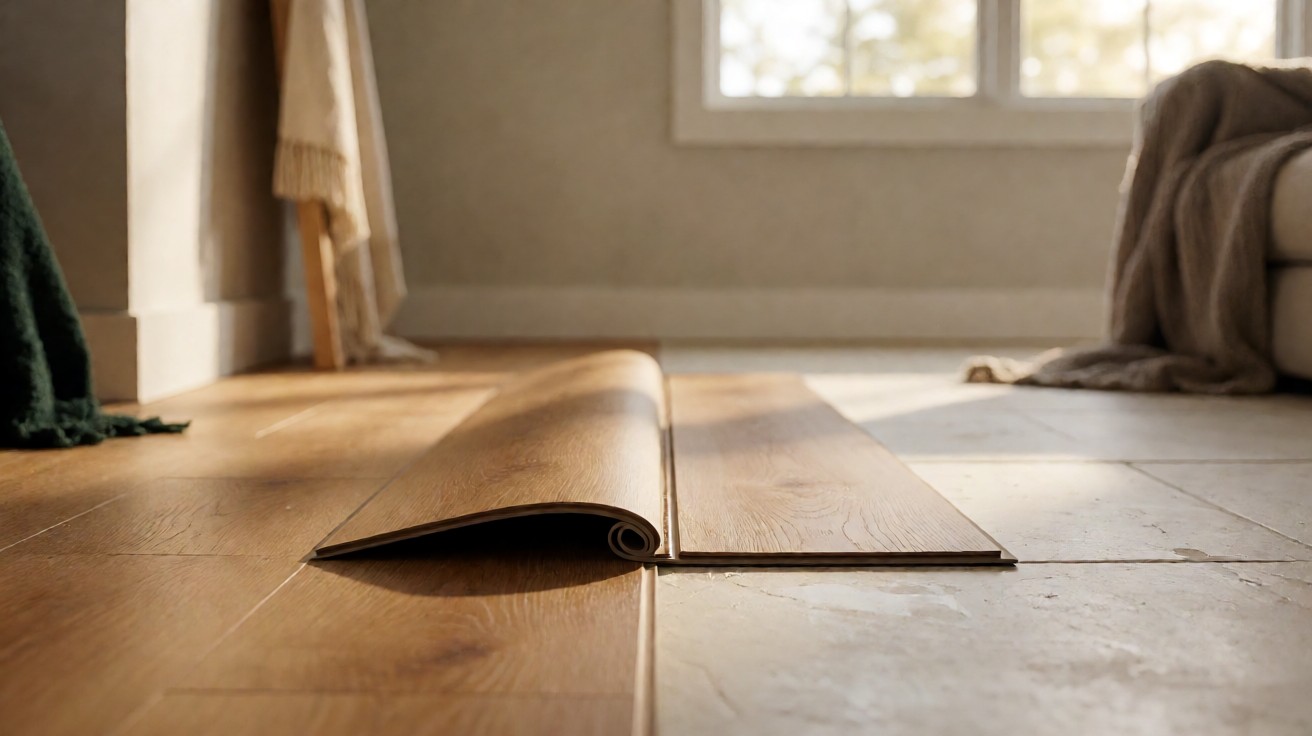
Vinyl and luxury vinyl plank (LVP) are waterproof on the surface, but water can still reach the subfloor through seams, perimeter gaps, and cuts. The planks themselves rarely swell. Instead, the floor lifts, bubbles, or develops a soft spot where the adhesive has released.
Why Moisture Reaches the Floor From Below
Moisture that damages flooring comes from three places: the air above, spills on the surface, and water vapor rising from below. The first two are visible. The third ruins floors, because it is invisible until the damage is done.
Concrete slabs hold water from the original pour, from groundwater, and from rain that soaks the soil around the foundation. Even a slab that is decades old can emit vapor if the water table rises or if a vapor barrier was skipped. Wood subfloors absorb that vapor and pass it to the flooring above.
Seasonal humidity does the same job more slowly. In summer, warm air carries more moisture, and the subfloor gains a few percentage points of moisture content. In winter, heating dries the air and the floor shrinks. That annual cycle is normal. A floor that was installed with too little acclimation, or over a wet subfloor, fails during the first cycle.
For homes in flood-prone areas, the risk is sudden and severe. If your home sits in a flood zone, the guidance in our guide to flooring for homes at risk of flooding covers material choices that survive standing water.
Visual Signs on Hardwood and Laminate
Hardwood and laminate share most of the same visual cues, because both are wood-based. The difference is speed: laminate reacts in hours, hardwood in days.
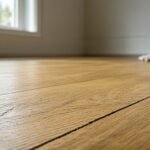
Cupping is the earliest reliable sign. Run your hand across the floor with your eyes closed. A healthy floor feels flat. A moist one feels ridged, with high edges and low centers. Shine a flashlight along the surface at a shallow angle and the cups cast small shadows.
Crowning is the opposite: the center of the plank is higher than the edges. It usually follows cupping, after the floor has dried unevenly. Crowning means the damage is not fresh, and the moisture event happened weeks ago.
Buckling is the late stage. The floor lifts off the subfloor and forms a tent or ridge. It is often accompanied by a hollow sound and visible gaps at the perimeter. Buckling is common after a leak, a flood, or a slab that never dried.
Dark stains along seams, especially near exterior walls, kitchens, and bathrooms, point to water that has wicked into the joints. On hardwood, these stains are often permanent because tannins in the wood react with water and iron.
Signs on Vinyl, Tile, and Carpet
Vinyl hides moisture better than wood, which makes it more dangerous. The surface looks fine while the subfloor rots.
Look for lifting at the edges of planks or tiles, especially in doorways and along baseboards. A plank that was flat last month and now rocks underfoot has lost adhesion, usually because water reached the adhesive.
Bubbling is the vinyl equivalent of cupping. A bubble that moves when you press it is trapped water or air under the sheet. A bubble that stays put is usually an adhesive failure, which moisture can cause.
Tile floors fail at the grout. Dark, soft, or crumbling grout is a moisture sign. Efflorescence, the white powder that appears on grout or tile, is salt left behind by water that passed through the slab. A hollow sound when you tap a tile means the bond has broken, often from moisture.
Carpet shows moisture as odor first. A musty smell that returns after cleaning is usually mold in the pad. Lift a corner and check the pad. If it is damp, discolored, or crumbling, the subfloor beneath is wet. Carpet can hide a problem for months.
Smell, Sound, and Touch Clues
Not every sign is visual. A floor can look perfect and still be wet.
Smell is the most honest indicator. A musty or earthy odor that is stronger on humid days points to mold or mildew in the subfloor or pad. If the smell is strongest near an exterior wall or a bathroom, trace the plumbing and the foundation.
Sound changes with moisture. Tap a wood floor with a coin or the handle of a screwdriver. A sharp, high tick means a solid bond. A dull thud means the floor has lifted. Walk the floor slowly and listen for squeaks that were not there before. New squeaks mean movement, and movement means moisture or fastener failure.
Touch completes the picture. A floor that feels cool and slightly damp to the bare foot in summer is emitting vapor. A floor that feels springy or bouncy has lost support from a softened subfloor. Either one is worth a meter reading.
Is a musty smell always a sign of moisture damage?
Not always, but it is the most reliable early warning. A musty odor that returns after cleaning usually means mold in the pad, subfloor, or wall cavity. Treat it as a moisture problem until a meter or an inspection proves otherwise.
Moisture Meter Readings and What They Mean
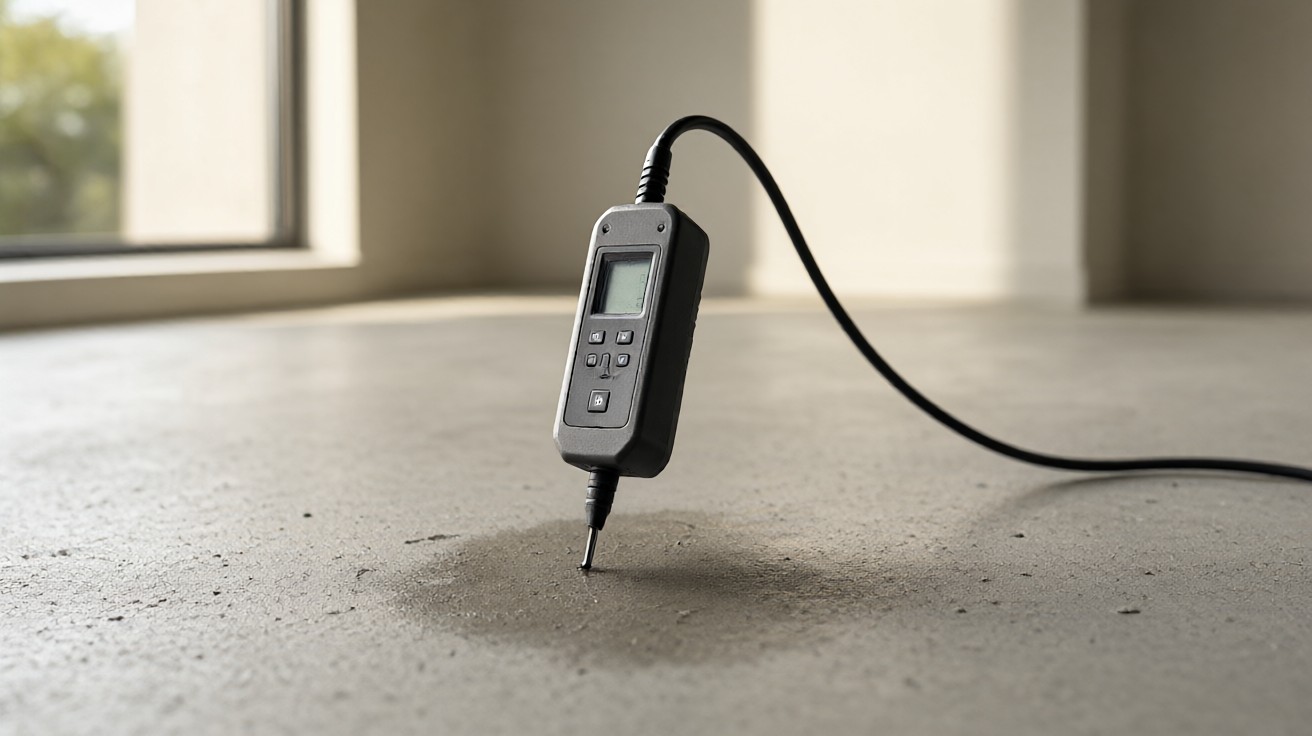
A moisture meter turns suspicion into a number. Pin-type meters push two pins into the wood and read the electrical resistance. Pinless meters scan the surface without holes. Both are useful, and neither is perfect.
For wood flooring and wood subfloors, the reading is expressed as moisture content (MC), a percentage. The National Wood Flooring Association (NWFA) Installation Guidelines, as summarized by Wood Floor Business, state that a dry subfloor ready for work in most regions has a moisture content of 12 percent or lower. The same guidelines require that solid strip flooring (less than 3 inches wide) be within 4 percentage points of the subfloor moisture content, and wide plank (3 inches or wider) within 2 percentage points.
Here is a practical reading guide for wood floors in a climate-controlled home.
| Reading (MC) | Condition | Action |
|---|---|---|
| 6% to 9% | Normal for conditioned interior | No action needed |
| 10% to 12% | Acceptable for subfloor | Monitor, acclimate flooring before install |
| 13% to 16% | Elevated | Find the moisture source, do not install |
| 17% or higher | Saturated | Stop work, dry the structure, inspect for mold |
Pinless meters read deeper but are affected by density and by metal fasteners. Pin meters are more accurate on the surface but can miss moisture deeper in the board. Take both readings when the result matters.
Always calibrate the meter for the species you are testing. Red oak and maple have different density settings, and using the wrong one shifts the reading by several points. The Wood Floor Business guidance on subfloor prep notes that each species has its own specific gravity setting on the meter.
What moisture level is too high for a wood floor?
For a conditioned home, normal interior wood runs 6 to 9 percent moisture content. A subfloor above 12 percent is elevated. Anything above 17 percent is saturated and needs professional drying before any flooring work.
Concrete Slab Testing: RH Probes and Calcium Chloride
Concrete is tested differently from wood. You are not measuring the moisture in the concrete. You are measuring the humidity inside the slab, which predicts how much vapor will reach the floor after installation.
ASTM F2170 is the standard for in-situ relative humidity (RH) testing. A small hole is drilled into the slab, a probe is inserted, and the hole is sealed. The probe reads the RH at a fixed depth: 40 percent of the slab thickness when the slab dries from one side, and 20 percent when it dries from both sides. The f2170.org explanation of the standard notes that this position more accurately predicts the final RH the slab will reach once it is sealed by flooring.
The number of tests matters. Wagner Meters, in its guide to concrete moisture testing, states that ASTM F2170 requires at least three tests for the first 1,000 square feet, plus one additional test for every 1,000 square feet after that. Testing fewer points is a common cause of missed wet spots.
The calcium chloride test (ASTM F1869) is the older method. A dish of calcium chloride is sealed to the surface for 72 hours, and the weight gain is converted to a moisture vapor emission rate in pounds per 1,000 square feet per 24 hours. It is surface-based, so it fluctuates with room humidity and misses moisture deeper in the slab. Most flooring manufacturers now prefer the RH method for slab-on-grade installations.
Readings are compared against the flooring manufacturer’s published limits. Many resilient and wood products specify a maximum of 75 percent RH. Always use the limit printed on the product data sheet, not a generic rule.
How to Tell Surface Water From Subfloor Moisture
The question that matters most is whether the water came from above or below. The repair is completely different.
Surface water leaves a pattern. It pools near the source, stains the top of the floor, and dries when the source is removed. A cup of water spilled on hardwood will cup the board directly under it and leave a ring. Remove the water and the cup often relaxes over a few weeks.
Subfloor moisture leaves a different pattern. It affects a broad area, often along exterior walls or over a slab. It does not dry when the surface is wiped. The floor may look fine in the morning and cup by afternoon, because the vapor rises with the day’s heat.
The simplest test is isolation. Tape a 2-foot square of clear plastic to the floor with duct tape, sealing all four edges. Wait 24 to 48 hours. If condensation forms under the plastic, moisture is rising from below. If the plastic stays dry, the moisture is coming from the room air or a surface leak.
A second test is to dry the room aggressively. Run a dehumidifier for a week and re-read the meter. If the readings drop, the source was ambient humidity. If they stay high, the source is the slab or subfloor, and the floor needs to come up.
How can I tell if my hardwood floor has moisture damage?
Look for cupping, crowning, dark stains at seams, and gaps that open and close with the seasons. Run a moisture meter on both the floor and the subfloor. If the difference is more than 4 percentage points on strip flooring or 2 on wide plank, moisture is the cause.
Can a moisture-damaged floor dry out on its own?
Sometimes. A floor that cupped from a single spill can relax over a few weeks once the source is removed and the room is dehumidified. A floor that buckled or delaminated will not recover, and the damaged boards need replacement.
Where to Test and How Many Readings
One reading is not a diagnosis. Moisture is uneven, and a single dry spot can hide a wet one three feet away.
Test at least at the perimeter and the center of each room, plus every area near plumbing, exterior doors, and windows. For wood subfloors, the NWFA guidance summarized by Wood Floor Business calls for a minimum of 20 tests per 1,000 square feet, averaged. For concrete, follow the ASTM F2170 count of three tests for the first 1,000 square feet and one more per 1,000 square feet after that.
Test before and after any suspected event. A baseline reading taken during a dry season is the only way to know whether a later reading is abnormal. Photograph the meter display with a ruler or a dated note in the frame so the record is credible.
If you are preparing a slab for new flooring, the steps in our guide to how to prepare concrete for new flooring cover the full sequence from moisture testing to primer.
When to Call a Professional
Some situations are beyond a homeowner’s tools. Call a flooring inspector or remediation contractor when any of the following are true.
- The moisture reading is above the manufacturer’s limit and you cannot find the source.
- The floor is buckling, tenting, or has lifted off the subfloor.
- There is a musty odor that does not go away after drying the room.
- The home has had a leak, flood, or sewer backup within the last 90 days.
- You suspect mold behind baseboards or under cabinets.
A certified inspector can take core samples, measure the slab profile, and produce a report that supports an insurance claim. The cost is small compared to replacing a floor twice.
If the damage is already visible, our guide to how to repair water damaged wood flooring covers what can be saved and what must be replaced.
Common Mistakes That Hide the Problem
The most common mistake is trusting the surface. A dry-looking floor can sit over a wet slab. The second is testing too few points. The third is testing at the wrong depth on concrete, which gives a falsely low number.
Other mistakes that delay diagnosis:
- Using a meter calibrated for the wrong species, which shifts the reading by several points.
- Testing in winter only, when the slab is at its driest, and concluding the slab is fine.
- Installing over a wet subfloor because the schedule demanded it.
- Painting or sealing a cupped floor before it has dried, which traps moisture.
- Ignoring a musty smell because the floor looks normal.
Each of these turns a small problem into a full replacement. The cost of a meter and an extra hour of testing is trivial compared to the cost of a new floor.
Quick Reference: Sign to Likely Cause
Use this table to match what you see to the most likely source. It is a starting point, not a diagnosis.
| Sign | Likely Source | First Test |
|---|---|---|
| Cupping along edges | Subfloor or slab vapor | Moisture meter, both floor and subfloor |
| Buckling or tenting | Flood, leak, or saturated slab | Remove a plank, inspect subfloor |
| Lifting vinyl planks | Adhesive release from moisture | Plastic sheet test on slab |
| Dark grout or efflorescence | Slab vapor through tile | RH probe in slab |
| Musty odor in carpet | Wet pad or subfloor | Lift corner, inspect pad |
| Hollow sound under tile | Bond failure from moisture | Tap test, remove suspect tile |
If several signs appear together, treat the floor as failed until testing proves otherwise. When in doubt, pull a plank or a tile and look at what is underneath. The subfloor never lies.
If your floor is already cupping or buckling, our guide to why flooring is buckling or lifting explains the common triggers and the repair options.