
Cracked flooring is rarely a material defect; it is usually moisture loss, subfloor movement, or a missing expansion gap working against the floor.
The answer is to find the cause before touching the surface: wood cracks from dry air, tile cracks from substrate movement, and vinyl cracks from point loads or poor flatness.
What Cracking Actually Means
A crack is a break in the surface or through the body of a plank, tile, or sheet. It is not the same as a gap, a chip, or a scratch, and the repair differs for each.
Cracking tells you that stress exceeded the strength of the material or its bond. The stress can come from below (subfloor movement), above (impact or load), or within (moisture change).
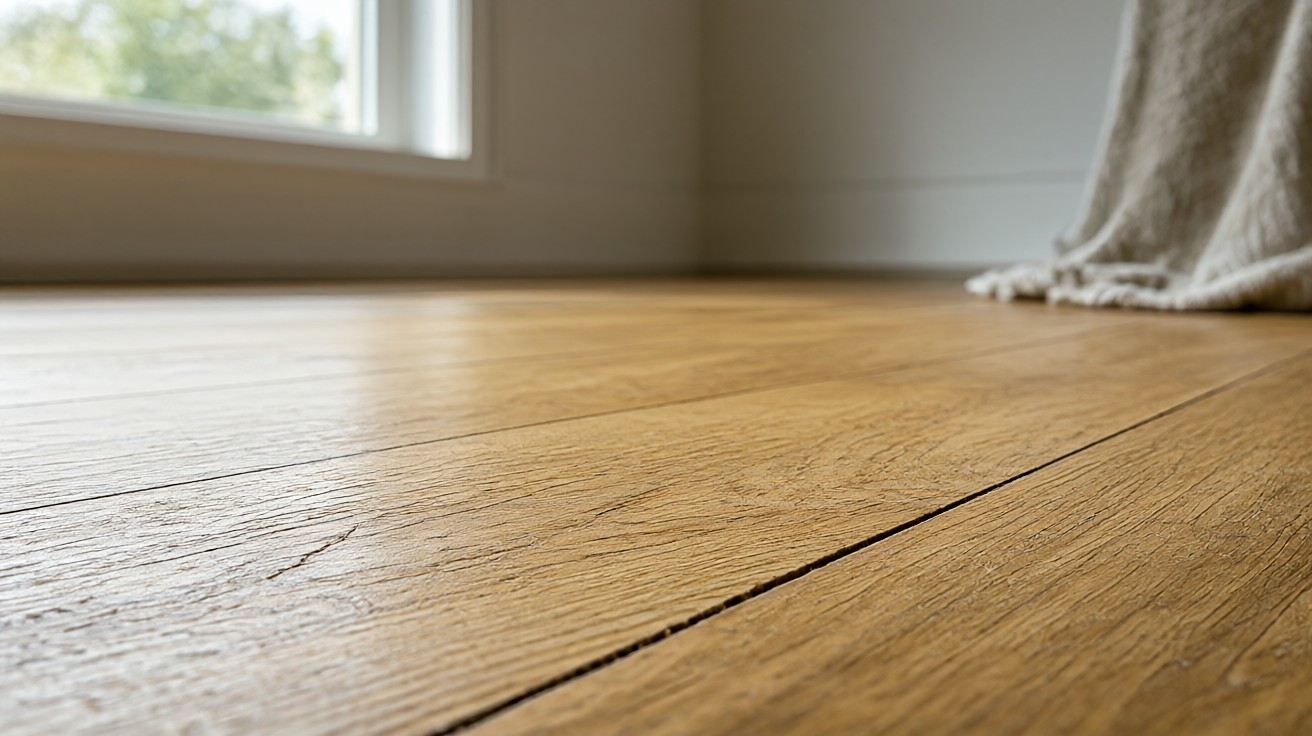
If the crack is shallow and follows the grain, it is usually a surface check. If it runs across the width or through the body, treat it as structural and stop using the floor until you know the cause.
If you are unsure whether a crack is cosmetic or structural, place a straightedge across it. A gap under the straightedge means the plank or tile has moved, not just checked.
Wood Floors: Moisture Loss and Dry Air
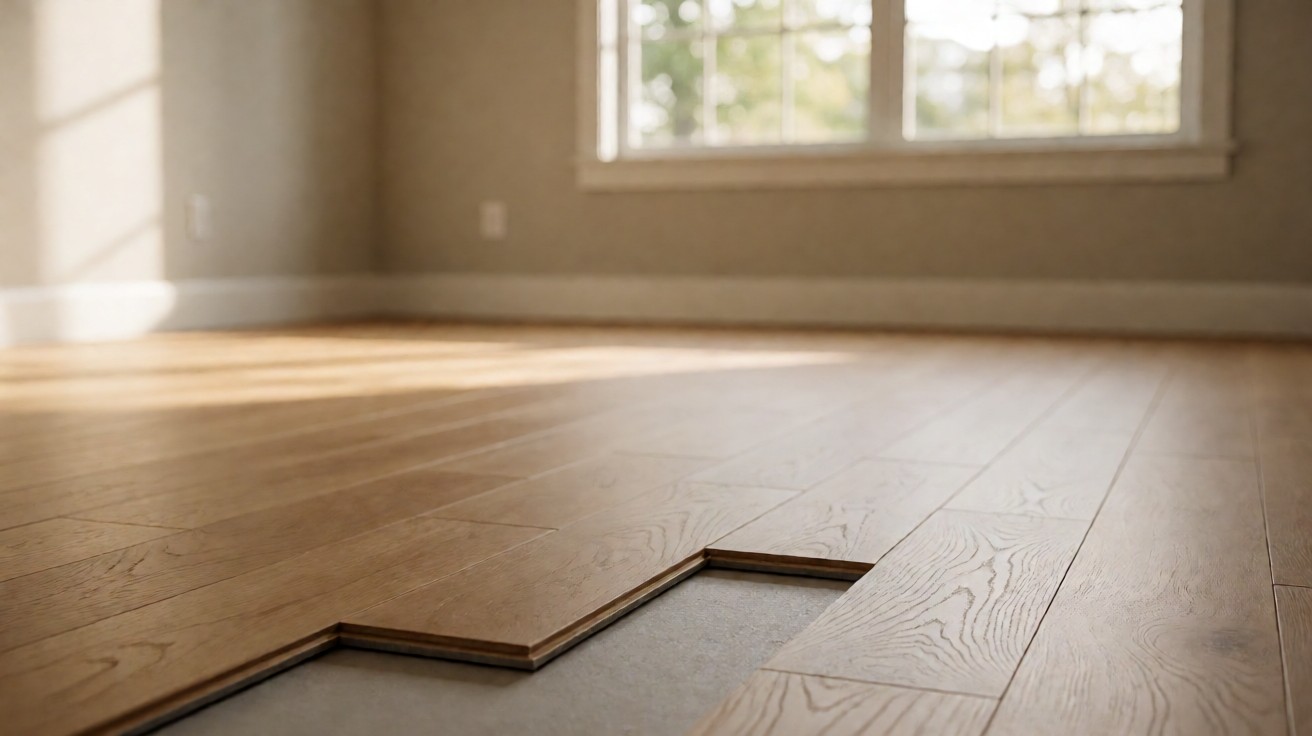
Hardwood and engineered wood lose moisture when indoor relative humidity drops below the 30 to 50 percent range cited by the NWFA. Boards shrink across the grain and split along the growth rings.
Seasonal winter heating is the usual trigger. Boards acclimated to a wet summer shrink in a dry winter and the surface checks or splits.
If your furnace runs hard from November to March, expect checking in solid hardwood unless you add humidification. If the cracks close in April, the cause is seasonal dryness, not a defect.
If the cracks stay open through spring, the boards were installed too wet or the subfloor is pulling moisture away. Test moisture before blaming the wood.
How Do You Tell Seasonal Cracking From a Leak?
Seasonal checks run along the grain, appear across many boards, and close in humid months. Leak damage is localized, often near a wall or appliance, and does not reverse with humidity.
Check the moisture content with a pin meter. Wood above 12 percent near a wall points to a leak, not the furnace.
If the meter reads 6 to 9 percent in the field and 14 percent near a dishwasher, stop and find the leak before repairing the wood. If both readings are under 10 percent, focus on humidity control.
If you cannot reach the source of the moisture, call a plumber or flooring inspector. Patching wet wood traps water and rots the subfloor.
Tile Floors: Substrate Movement
Ceramic and porcelain tile is rigid. It cannot bend, so any movement in the substrate telegraphs through as a crack in the tile or grout.
The TCNA handbook requires a deflection limit of L/360 for ceramic tile and L/720 for natural stone. Floors that flex more than that will crack tile.
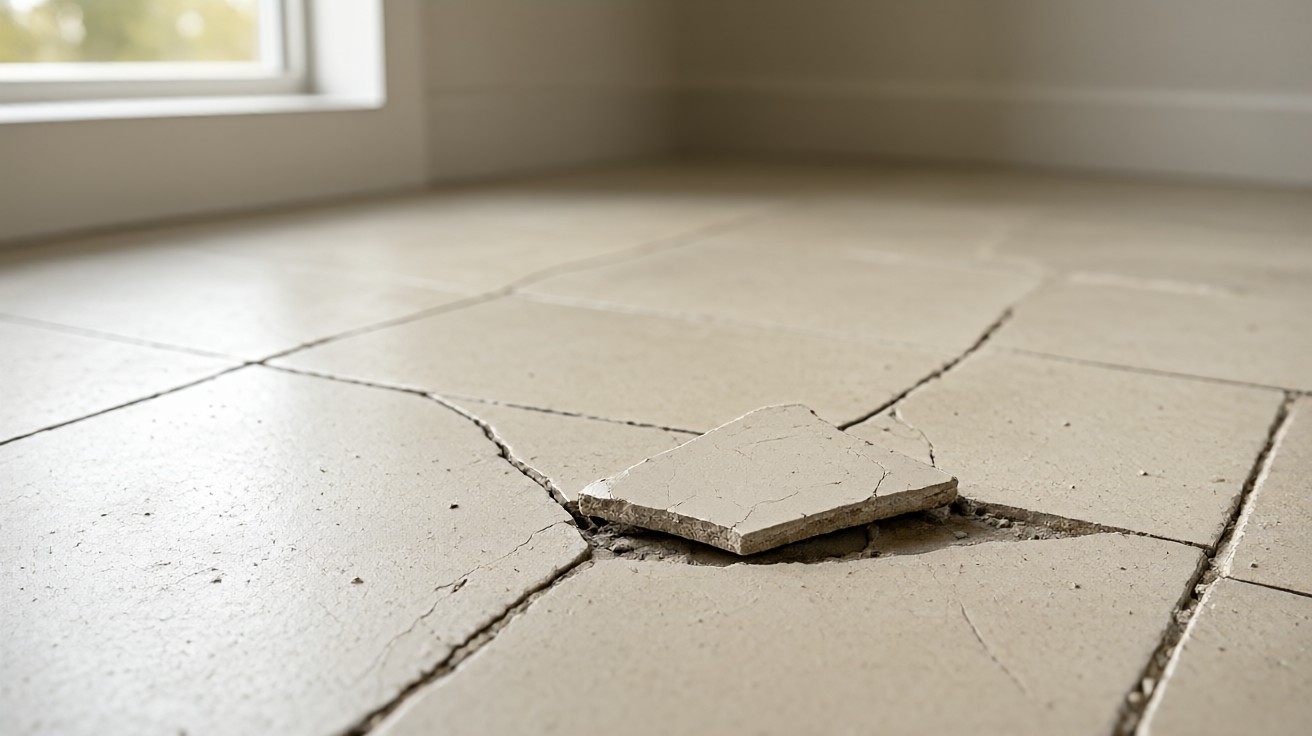
If a tile cracks in a straight line across three or four tiles, the joist or subfloor is moving. If one tile cracks in the center, suspect a void under the tile or a point impact.
If the crack follows the grout joint, the grout failed first and the tile may still be sound. If the crack cuts through the tile body, the tile must be replaced.
| Cause | Typical sign | Fix direction |
|---|---|---|
| Subfloor deflection | Crack across several tiles in a line | Stiffen joists or add underlayment |
| Missing uncoupling membrane | Random cracked tiles | Replace with membrane under new tile |
| No expansion joint | Crack at a doorway or long run | Add movement joint |
Vinyl and Laminate: Point Loads and Flatness
LVP and laminate are thin. A 2 to 5 mm plank telegraphs every subfloor ridge and crack, and a heavy point load can punch through.
Manufacturer flatness specs are commonly 3/16 inch over 10 feet. Skipping prep is the fastest way to crack a vinyl plank.
If a plank cracks near a kitchen island leg or a piano caster, the cause is point load, not material failure. Add a load-spreading pad and replace the plank.
If cracks appear along a subfloor seam, the prep was skipped or the seam was not feathered. Grind and fill before reinstalling.
If you are installing over concrete, test moisture and flatness together. A flat but wet slab will still fail a vinyl floor over time.
Concrete Slabs: Shrinkage and Settlement
Concrete cracks as it cures and as the soil beneath settles. Hairline cracks are cosmetic; wide or vertical cracks signal movement.
ASTM C373 and ACI guidance treat cracks over 1/8 inch as structural concerns. Map the crack pattern before deciding to patch or rebuild.
If the crack is under 1/16 inch and does not change seasonally, seal it with epoxy and monitor. If it widens or offsets vertically, call a structural engineer.
If the crack runs from wall to wall, the slab may be settling. Do not install flooring over an active crack without a crack-isolation membrane.
Installation Errors That Lead to Cracks
Common mistakes include skipping acclimation, ignoring moisture tests, and fastening through movement joints. Each creates a stress point that fails later.
Our guide on common flooring installation mistakes covers the full checklist. Follow the manufacturer’s acclimation window of 48 to 72 hours.
If the installer skipped moisture testing, assume the floor is at risk regardless of material. If acclimation was under 24 hours, expect seasonal movement in wood and laminate.
If expansion gaps were omitted at walls or doorways, the floor has nowhere to move and will crack or buckle. Remove baseboards and verify gap width before any repair.
How to Diagnose the Cause
Start with the pattern: linear cracks point to substrate movement, random cracks to impact or thinset voids, and widespread checking to humidity.
Use a moisture meter, a straightedge for flatness, and a tap test for hollow tile. Document with photos before any repair.
If the moisture meter shows a gradient from wall to center, suspect a leak at the wall. If readings are uniform and low, suspect humidity or flatness.
If a straightedge rocks on a ridge, mark the high spot and grind it before reinstalling. If the floor is flat but cracked, look up at loads and impacts.
What Tools Do You Need for a Crack Inspection?
A pinless moisture meter, a 6 foot straightedge, a rubber mallet, and a flashlight. These four cover wood, tile, and vinyl diagnosis.
Add a hygrometer to track indoor RH over a week. The cost is under 40 dollars and it removes guesswork.
If you own only one tool, make it the moisture meter. If you own two, add the straightedge. Those two answer most crack questions before you spend on repairs.
If you cannot interpret the readings, photograph them and send to a flooring pro. A 15 minute consult costs less than a misdiagnosed repair.
Repair Options by Material
Wood: fill small checks with color-matched filler, replace split boards, and stabilize humidity. Tile: replace cracked tiles after fixing the substrate, as in how to repair cracked floor tiles. Vinyl: replace planks and correct flatness.
Never patch a crack without fixing the cause. The patch will re-crack within one season.
If the wood crack is under 1/32 inch, filler and a refinish may be enough. If it is wider, replace the board before the crack spreads.
If a tile crack is isolated and the substrate is sound, replace the single tile. If three or more tiles cracked, fix the substrate first.
| Material | Minor crack repair | Major crack repair |
|---|---|---|
| Hardwood | Color-matched filler | Replace board and refinish |
| Tile | Epoxy grout touch-up | Remove and re-tile with membrane |
| Vinyl plank | Replace single plank | Re-prep subfloor and reinstall |
| Laminate | Replace plank | Replace section with expansion gap |
When to Call a Professional
Call a pro for structural cracks, repeated tile failure, or moisture readings above 12 percent in wood. These point to substrate or moisture problems beyond a surface repair.
Our guide on why flooring is buckling or lifting helps separate moisture damage from structural movement. Get an inspection before spending on finishes.
If the crack returns within six months of repair, the cause was not fixed. If the crack is wider than 1/8 inch, treat it as structural.
If you see cracks in two different rooms at once, the problem is likely the slab or joists, not the flooring. Get a structural assessment before replacing anything.
Prevention Checklist
Keep indoor RH between 30 and 50 percent, acclimate all wood flooring 48 to 72 hours, and test subfloor moisture before install.
Use uncoupling membranes under tile, leave expansion gaps, and protect floors from heavy point loads with pads under furniture.
If you live in a dry climate, run a humidifier all winter. If you live in a wet climate, run a dehumidifier in basements and crawlspaces.
If you are remodeling, test the slab and joists before choosing a material. Some rooms are better suited to tile or vinyl than wood.
How Often Should You Check Indoor Humidity?
Check weekly during heating and cooling seasons. A 5 dollar hygrometer is enough to catch the dry-air months that crack wood.
Log readings for one month before blaming the material. Patterns show up in the data, not in a single reading.
If RH stays below 30 percent for two weeks, add humidification. If RH stays above 60 percent, run a dehumidifier to prevent swelling and cupping.
If you rent and cannot modify HVAC, use portable units and track which rooms stay in range. Move rugs and furniture to protect the driest areas.
Cost of Ignoring Cracks
If you leave a cracked floor unrepaired, moisture and dirt enter the crack and degrade the subfloor. If the crack spreads, the repair moves from a single plank to a full section.
If tile cracks are ignored, water can reach the underlayment and rot the joists. If vinyl cracks are ignored, the plank lifts and becomes a trip hazard.
If you catch the crack early, the fix is usually under 200 dollars. If you wait a season, the fix can exceed 1000 dollars in labor and materials.
If you are unsure of the scope, get a written estimate before authorizing work. If the estimate includes subfloor repair, ask for photos of the damage.
Key Takeaways
Cracking is a symptom, not a defect. Match the crack pattern to the cause, fix the cause, then repair the surface.
Stable humidity, a flat subfloor, and correct expansion gaps prevent most cracks before they start.
If you remember one rule, make it this: never repair the surface until you have ruled out moisture, movement, and missing gaps. If you skip that step, the crack will return.
Print this checklist and keep it with your flooring records for the next inspection.