
Sheet vinyl floors collect grit, scuffs, and adhesive residue faster than most people expect, and the wrong cleaner can ruin a seam in a single mop.
The right answer is a damp mop with a neutral pH cleaner around 7, a dry sweep every day or two, and spot treatment only where the stain actually is. Never flood the floor, never use vinegar or oil soap, and keep solvents out of the seams.
Why Sheet Vinyl Cleans Differently
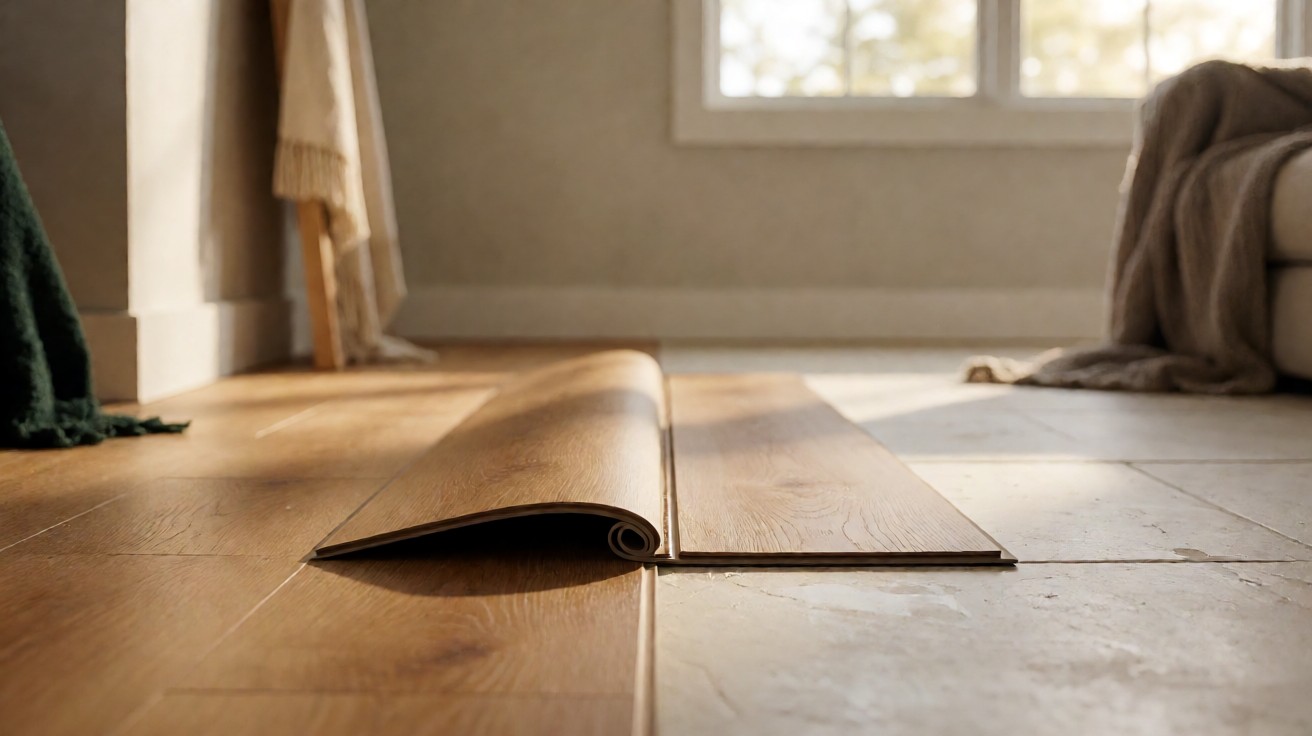
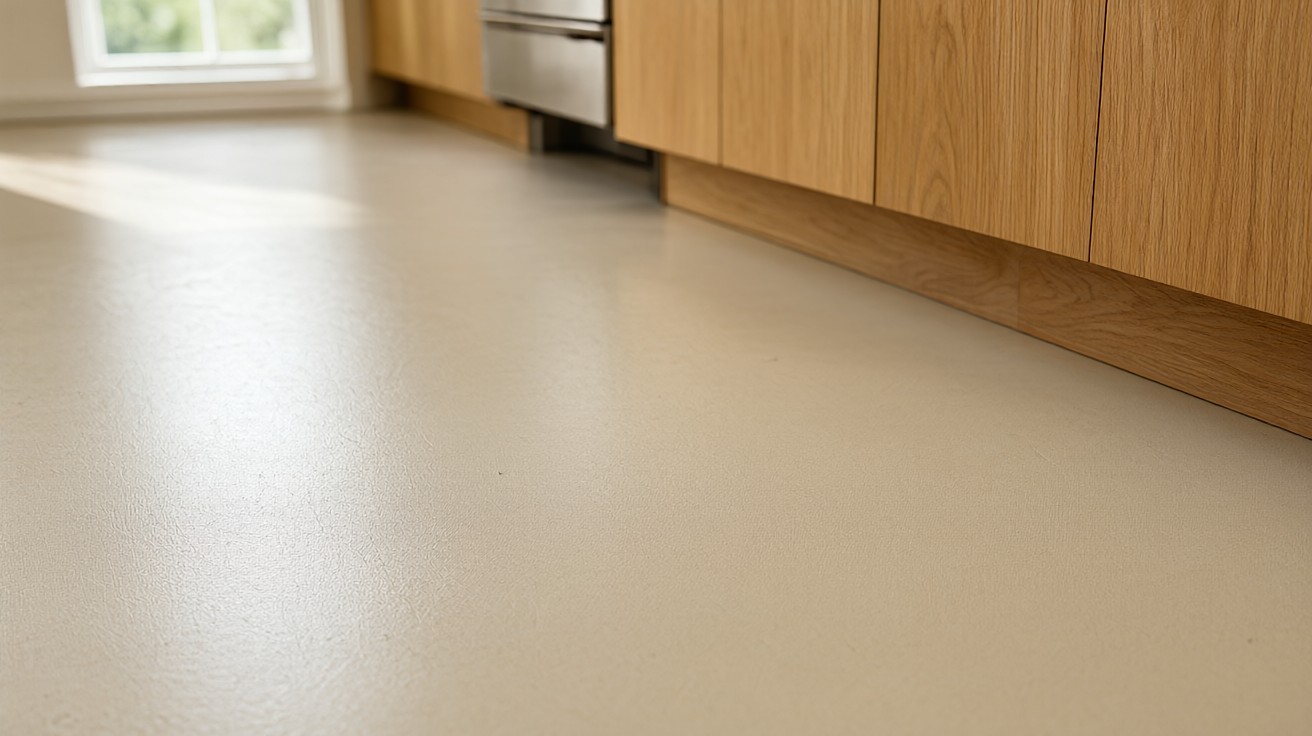
Sheet vinyl is one continuous piece of vinyl with a wear layer over a backing and a seam wherever two sheets meet, so the weak spots are the seam lines and the perimeter rather than the joints between planks. The construction and the benefits are detailed in what sheet vinyl flooring is.
That geometry changes the cleaning problem. Water that pools at an edge or runs into a seam has somewhere to go, and the usual result is delamination, adhesive failure, or a discolored line you can never scrub out.
A routine built for luxury vinyl plank is not the same answer. The cleaning routine for luxury vinyl plank assumes sealed plank edges that water cannot reach, while sheet vinyl hands water a seam and an edge to find every time.
Is Sheet Vinyl The Same As Luxury Vinyl Plank?
No. A plank or tile floor is assembled from pieces that interlock or are glued edge to edge, so each unit is small and can be lifted. Sheet vinyl is a single roll good sheet that has to be adhered to a subfloor, which is why moisture control matters more here than anywhere else in the house.
The material comparison is laid out in sheet vinyl versus luxury vinyl flooring. The two products simply make different trades, and sheet vinyl is thinner and more forgiving in a wet room while demanding a stricter routine.
Why The Seams And Edges Matter Most
Because those are the only two places where water can get underneath. Sheet vinyl is most vulnerable at the seam lines and around the perimeter, where excess moisture can cause discoloration, adhesive failure, and delamination. Every rule below follows from that one fact.
Know Your Floor Before You Clean
You cannot clean what you cannot identify. Vinyl composition tile (VCT), sheet vinyl with a backing, and loose lay sheet are three different formats with three different care routines, and using the wrong one is how floors get dulled, stained, or stripped.
Start with the wear layer, because it is the layer you are actually cleaning. Once it is gone, cleaning has nothing left to work with. The wear layer thickness guide explains how the number is measured and why a thicker layer tolerates more aggressive care.
ASTM F1303, the standard specification for sheet vinyl floor covering with backing, sorts products by type and grade. Type I sheet carries at least 90 percent binder content, and its minimum wear layer thickness is 0.020 inch for Grade 1 commercial, 0.014 inch for Grade 2 light commercial, and 0.010 inch for Grade 3 residential.
Type II sheet allows a lower 34 percent binder content in exchange for thicker wear layers, with minimums of 0.050 inch for Grade 1, 0.030 inch for Grade 2, and 0.020 inch for Grade 3. The consequence for cleaning is simple: the thicker the wear layer, the more scrubbing and solvent work the surface can absorb.
What A 20 Mil Wear Layer Means For Cleaning
A 20 mil wear layer is the Grade 1 commercial minimum under ASTM F1303, and it is thick enough to tolerate a low speed rotary machine with a nonabrasive pad. A 10 mil residential Grade 3 layer is half of that, so a method that suits a busy corridor can dull a bedroom floor in one pass.
Indentations follow the same logic. ASTM F1914 sets the residual indentation test that ASTM F1303 requires, and Type I sheet must recover to less than 0.012 inch after 1 hour under a 50 pound load on a 3/4 inch ball tip held for 5 minutes. A dent that stays is a wear layer problem rather than a mopping problem.
The subfloor matters as much as the surface. Recommended installation practice for fully adhered homogeneous sheet flooring calls for documented moisture and pH testing on all concrete substrates, with acceptable readings of 3.0 pounds per 1,000 square feet per 24 hours by ASTM F1869 or less than 75 percent relative humidity by ASTM F2170.
If the subfloor failed those readings before installation, delamination at the seam is a subfloor problem, and no cleaner fixes it. Sheet vinyl rolled over a damp slab will lift at the seam no matter how carefully you mop it.
The Daily Routine That Keeps Sheet Vinyl Clean
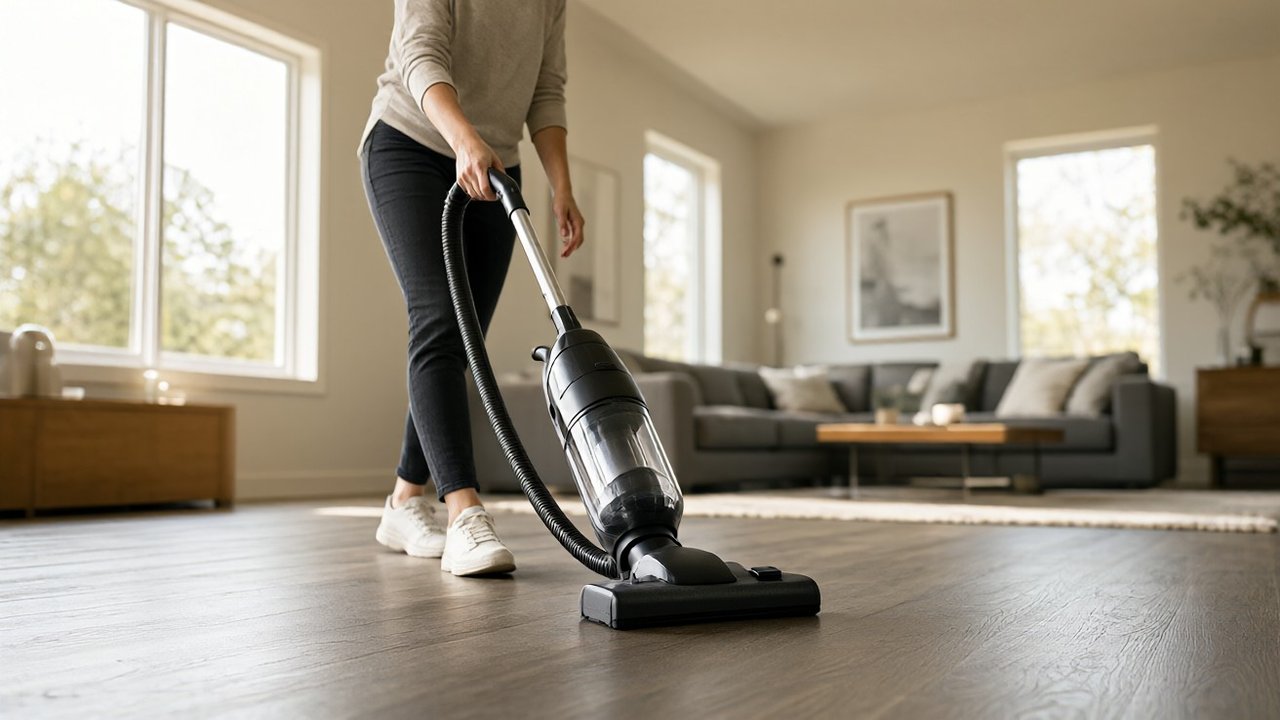
Sweep or dust mop your residential sheet vinyl once per day or every few days. Sand and grit act as abrasives, and every grain dragged under a shoe polishes the wear layer dull.
A soft broom and a microfiber dust mop handle most of the daily load in a residential room.
A vacuum is fine as long as it has no beater bar. A rotating brush roll can scratch the surface film, and on sheet vinyl that scratch is permanent because the film is the wear layer.
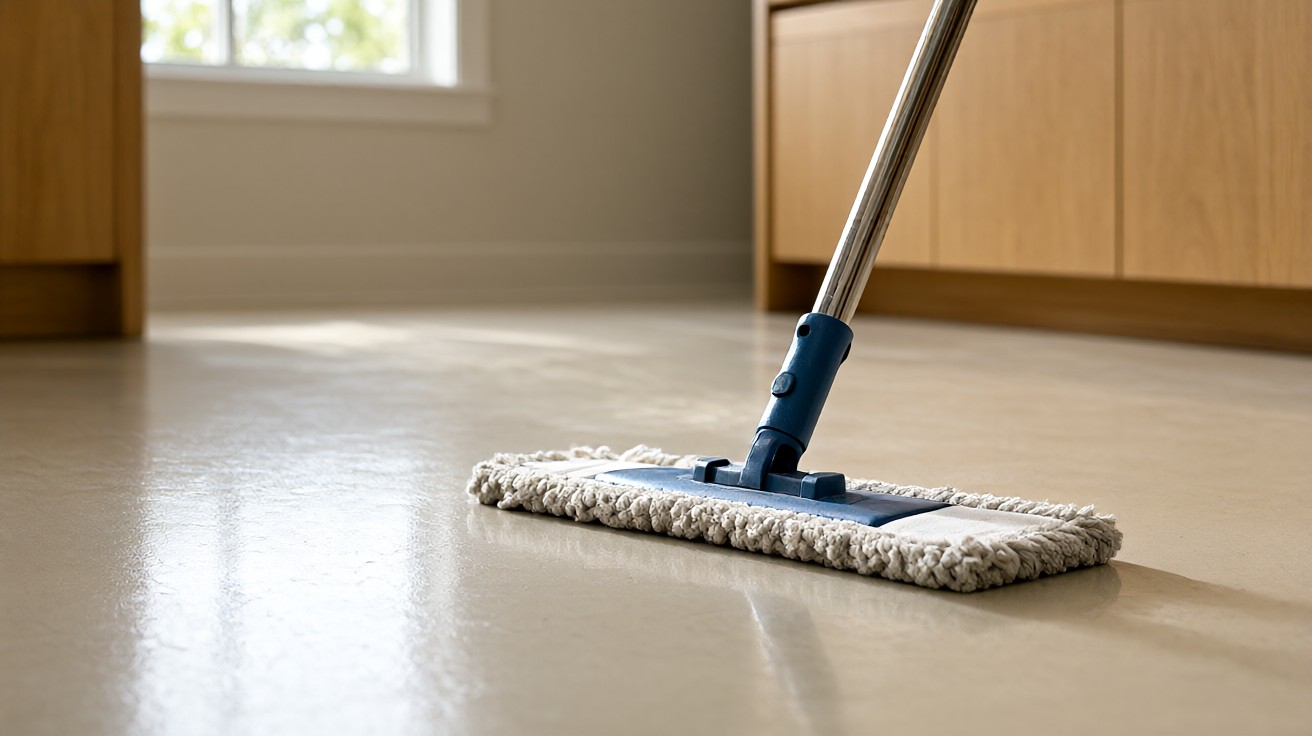
Damp mop on a weekly schedule, or more often in a kitchen or an entry. The mop head should be damp rather than wet, and you should rinse and re-wring it every few passes so you are not spreading the dirt you just lifted.
How Often Should You Damp Mop Sheet Vinyl?
Weekly is the baseline for a quiet room, twice a week for a kitchen or a hall, and every few days in a bathroom where moisture is constant.
If you are mopping far more often than that, you are probably mopping too wet.
Choosing The Right Cleaner And Mop
Water and a neutral pH cleaner around 7 is the whole routine. Acidic cleaners and vinegar attack the finish and dull it, one step cleaner and polish products leave a film that traps dirt, and oil soaps leave a residue that makes a floor slippery.
Dilute to the label. Manufacturer guidance for resilient flooring is explicit that the dilution ratio depends on the soil condition, and no label sets one fixed ratio for every floor. More cleaner is what leaves the haze behind.
Let the cleaner work without letting it dry. Commercial resilient flooring practice sets a dwell time of 5 to 15 minutes depending on soil, and the rule that matters at home is the second half of it: do not allow the solution to dry on the floor.
A dried film has to be scrubbed off rather than rinsed off.
That is how a routine that should take ten minutes turns into an afternoon with a rented machine.
| Product Or Method | What It Does To Sheet Vinyl | Verdict |
|---|---|---|
| Neutral pH cleaner around 7 | Cuts soil without touching the wear layer or the adhesive | Use it for routine damp mopping |
| Alkaline cleaner at pH 7 to 10 | Higher pH for stubborn scuffs and ground in soil | Use it in small areas, then rinse |
| Vinegar or acidic cleaner | Attacks the finish and can dull the surface film | Do not use it |
| One step cleaner and polish | Leaves a film that traps dirt and dulls | Do not use it |
| Oil soap | Leaves an oily residue and a slippery surface | Do not use it |
| Floor wax or mop and shine | Builds a film you will have to strip later | Do not use it |
| Steam or very hot water | Pushes moisture into seams and softens adhesive | Do not use it |
Do not flood the floor. A saturated mop puts water into the seam, and excess water at the seam is what causes adhesive failure and delamination.
If the pad drips as you set it down, it is too wet.
If you own a rotary machine, the accepted commercial method is a single disc machine at 175 to 350 RPM with a blue nonabrasive pad, and residential sheet vinyl guidance caps a similar machine at 300 RPM or less. That method belongs to a crew with a wet vacuum, not to a weekend project.
Removing Scuffs And Black Marks
Black marks on a resilient floor are almost always rubber transferred from a shoe sole, a mat edge, or a furniture leg.
They sit on the surface, so they come off without any abrasive work at all.
Start with water and a towel, then move up the ladder. Manufacturer care guidance for sheet vinyl recommends water and a towel first, and a diluted nonabrasive alkaline cleaner with a pH of about 7 to 10 for stubborn scuffs and black heel marks.
Skip the abrasive pad, because the mark is on the finish rather than in the wear layer.
A scouring pad on a 10 mil residential sheet floor removes the mark and part of the surface with it.
Will Bleach Remove Black Heel Marks?
Sometimes, and it depends on whose instructions you follow. One residential care guide permits a 10 to 1 dilution of water to liquid bleach as a stain remedy, while another residential guide tells homeowners not to use bleach or strong detergents at all.
When guidance conflicts, use the milder option first, test on a hidden corner, and keep bleach off the seam entirely. A diluted bleach solution on a mark that sits on the finish will do less harm than a full strength solution on a mark that does not.
Is Isopropyl Alcohol Safe On Sheet Vinyl?
In small amounts, yes, and it is one of the few things residential care guides recommend for scuffs and smudges. It is a solvent, so keep it away from the seams, where solvent contact can trigger adhesive failure.
Treat the area, then keep traffic off it for about 30 minutes so the solvent finishes evaporating instead of sitting under a shoe. Rinsing with clean water afterward removes any residue.
Getting Out Adhesive Residue And Old Finish
Adhesive residue is a different problem from a scuff. It is a layer of dried adhesive on the surface, and it responds to a solvent rather than to alkaline cleaner. Guidance for freshly installed sheet vinyl calls for a clean white cloth dampened with mineral spirits.
Another guide uses lighter fluid on a clean cloth for scuff marks and adhesive residue, and both warn that these products are flammable solvents. Open a window, work a small section at a time, and never pour solvent into a seam.
Timing matters more than product here. If the floor was installed full spread, keep traffic light during the first 24 hours so the adhesive can dry, and if the floor has been seamed, avoid stepping on the seam sealer for 24 hours.
One residential guide goes further and advises avoiding all contact with the seam area for the first 12 hours. Another asks you to hold room temperature at a minimum of 65 degrees Fahrenheit for 48 hours so the adhesive bonds properly.
| Problem | Likely Cause | What Actually Fixes It |
|---|---|---|
| Black marks on the surface | Rubber transferred from soles or mat edges | Water and a towel, then alkaline cleaner at pH 7 to 10 |
| Adhesive residue | Dried adhesive left from installation | Mineral spirits on a clean white cloth |
| Cloudy film after mopping | Too much cleaner or construction dust | Wipe, rinse with clean water, then an alkaline cleaner |
| Loose or lifting seam | Moisture or a poor bond at the perimeter | Repair, not cleaning |
| Dull worn lane | Wear layer thinned by traffic | Strip and recoat, or replace the sheet |
| Persistent odor at the seam | Trapped moisture and adhesive | Dry the subfloor, then lift and re-adhere |
How Long To Wait Before The First Real Clean
Long enough for the adhesive. Residential guidance for fully adhered sheet vinyl says to keep traffic light for the first 24 hours, to keep off the seam sealer for 24 hours, and to avoid scrubbing or washing the floor for three days after installation.
Tile manufacturers go further. Maintenance guidance for vinyl composition tile puts the first cleaning no earlier than 72 hours after installation, and residential tile guidance says floors should not be washed for the first five days. When in doubt, follow the sheet that came with your floor.
Bleach, Alcohol, And What To Leave In The Cabinet
Most products that damage sheet vinyl do it in one of two ways: they dissolve the adhesive at the seams, or they grind down the wear layer. Anything in either category is out, no matter how well it works on the mark in front of you.
Keep away from steel wool and from brown or black scrub pads, from abrasive powders and liquid abrasives, from wire and nylon scouring pads, from gasoline, turpentine, and acetone, and from all purpose household cleaners built for tile.
Mops treated with petroleum solvents or silicone compounds are the same problem in a different shape. A contaminated mop head spreads solvent over the whole floor rather than the one spot you meant to treat.
Also leave the floor wax and the mop and shine products in the store. Residential care guidance for resilient flooring specifically says to avoid mop and shine products, and wax on a modern no-wax finish simply traps dirt in a film.
Why Does My Floor Look Cloudy After Mopping?
A cloudy film after mopping is almost always one of two things: excess cleaner that has dried on the surface, or construction dust that was wet mopped before it was fully swept up. Neither one needs a machine to fix.
Wipe the area with a clean damp cloth and a little neutral pH cleaner, then rinse with clean water. If the haze returns after the rinse, the film is embedded in the finish and needs an alkaline cleaner rather than more mopping.
The Deep Clean For A Worn Finish
When a damp mop stops cutting it, the routine changes from mopping to agitation. The commercial method for resilient flooring starts the same way, with a thorough sweep or vacuum to remove loose dirt and grit.
You then dilute a pH neutral cleaner per the label, apply it with a nylon or rayon mop or a pump sprayer without flooding the floor, and let it dwell for 5 to 15 minutes. Scrubbing comes next with a single disc rotary machine at 175 to 350 RPM and a blue nonabrasive pad.
Removal, a rinse with clean water, and full drying finish the job.
If the floor is still soiled after one pass, the process can be repeated rather than escalated to harsher chemicals.
For residential sheet vinyl, keep the machine at 300 RPM or less and work in small sections, because the same pad that works on a busy corridor can burnish a worn wear layer in seconds.
Rinse each section before the cleaner dries on it, and dry the floor completely before anyone walks on it. Trapped moisture under a mat or a rug is how a clean floor turns into a stained one overnight.
Do I Need A Machine Or Can I Do It By Hand?
The professional cleaning standard for resilient flooring, BSR/IICRC S250, is still in development, which is why manufacturer care guidance remains the operative reference for a residential floor.
You can do it by hand on a residential floor, and most people should. A flat microfiber pad with light hand pressure does the same work as a low speed machine on a floor that has never been finished, and it removes the risk of spinning a rented machine across a seam.
Kitchen And Bathroom Details
The kitchen tests the routine more than any other room. Cooking oil, tomato sauce, and wine sit on the surface until they cure into the finish, so wipe them up while they are still wet and clean the area in front of the stove on a weekly rotation.
The bathroom is a moisture test. Standing water at the tub or shower edge travels along the sheet, and the first thing it finds is the seam. Use a bath mat without a rubber or latex backing, because those backings can discolor the floor.
Dry the perimeter after every shower, and do it with a towel rather than a fan alone.
A fan dries the surface while the water under the edge of the sheet stays exactly where it was.
How To Clean Around A Bathtub Without Damaging The Seam
Work outward from the tub and dry inward to it. Spray nothing directly on the seam, damp mop the surrounding floor with a wrung out pad, and use a separate cloth for the last few inches of the overlap.
If the sheet is already lifted at the tub edge, stop cleaning and deal with the repair first. A cleaner worked under a lifted edge loosens the adhesive further, and the repair gets larger every time.
Wax And Polish: When It Makes Sense
Sheet vinyl that has a factory finish is meant to be cleaned, not polished, and polishing it is a separate project. If a previous owner waxed the floor, adding another layer of wax or floor finish gives you a film you will have to strip off later, and stripping takes the surface with it.
Vinyl composition tile (VCT) is the format where finish is part of the system, and the guidance for it is the opposite of what most people assume. Residential tile guidance states plainly that VCT floors do not have a no-wax finish and must be polished, because polish is what keeps the tile looking bright.
Tile guidance calls for three to five coats of floor finish, spread over 3 or 4 square feet at a time, with at least 30 minutes of drying time between coats and traffic held off until the floor is dry. A sheet vinyl floor gets no such step.
If your floor is an older waxed sheet and the finish is worn or uneven, restoring it means stripping and recoating rather than more mopping. That is a bigger project, and the general flooring cleaning and maintenance routine for the rest of the house covers how to sequence it.
When Cleaning Cannot Fix The Problem
Cleaning stops working when the problem is not on the surface. A seam that has lifted, a bubble that will not flatten, or a wear layer worn through are conditions that no amount of mopping addresses.
Pushing solvent or alkaline cleaner into any of them makes the damage worse, because the cleaner reaches the adhesive that was already failing.
Recognizing that difference saves you a weekend of scrubbing and the cost of a replacement sheet.
Lifted or peeling sheet vinyl has its own repair sequence, and it starts with identifying why the adhesive let go. The repair method for peeling sheet vinyl covers the cases where the fix is adhesive and a roller rather than a new floor.
Should You Repair Sheet Vinyl Or Replace It?
Repair it when the sheet is intact and only the bond failed, because a repair costs a fraction of a replacement. Replace it when the wear layer is gone in a traffic lane, when the sheet has been torn, or when the subfloor was wet enough to break the bond everywhere.
Once the wear layer is through, cleaning has nothing left to preserve. That is the point at which a new sheet is the cheaper answer than another round of mopping.
A Simple Care Schedule
A workable schedule is simple. Sweep or dust mop every day or two, damp mop with a neutral pH cleaner weekly in living areas and twice a week in a kitchen or bath, and spot treat spills the moment they happen.
Then check the seams and the perimeter every few months for the first signs of lifting.
A seam that catches a fingernail now is a seam that costs a replacement later.
Two habits do most of the work. Keep grit off the floor so it never becomes an abrasive, and keep water out of the seams so the adhesive never has to fight it. Protect those two things and the rest of the routine stays boring, which is exactly what you want.