Peeling sheet vinyl usually starts at a seam or an edge where the adhesive has lost its grip, and the fix depends on whether moisture, heat, or a di
The repair is straightforward once you know the cause. A small lifted corner can be re-glued in an hour, while a sheet that is bubbling across a whole room usually means the subfloor is wet and the vinyl needs to come up.
Why Sheet Vinyl Peels
Sheet vinyl is a single continuous sheet bonded to the subfloor with adhesive. When that bond breaks, the vinyl lifts. The bond fails for a handful of predictable reasons, and matching the repair to the cause is the whole job. Most failures trace back to one of four conditions: moisture, heat, contamination, or the wrong adhesive. Identifying which one applies to your floor is the first step toward a repair that lasts.
Moisture Under The Sheet
Water vapor rising through a concrete slab or a damp plywood subfloor softens water-based adhesives and breaks the bond. You see this as bubbles that grow over weeks and a musty smell near the floor.
Heat And Sun Exposure
Direct sun through a south-facing window heats the vinyl and the adhesive beneath it. Repeated heat cycles creep the sheet and break the edge bond, especially where the vinyl meets a threshold.
Dirty Or Glossy Subfloor
Adhesive sticks to clean, porous, flat surfaces. Dust, wax, paint, or a glossy sealed surface gives the glue nothing to grab, so the sheet peels even when the adhesive was applied correctly.
Wrong Adhesive For The Job
Using a pressure-sensitive adhesive where a wet-set adhesive is required, or spreading glue too thin, leaves a weak bond that fails under traffic and temperature swings.
Diagnosis Steps
Before you glue anything down, find out why the vinyl peeled. Skip this and you will be re-gluing the same spot in a month.
Step 1: Map The Lifted Areas
Walk the floor and mark every bubble, loose seam, and lifted edge with painter’s tape. A single lifted corner is a local repair. Bubbles scattered across the room point to a subfloor moisture problem.
Step 2: Test The Subfloor Moisture
For concrete, use a calcium chloride test kit per ASTM F1869 or an in-situ relative humidity probe per ASTM F2170. The NWFA and most vinyl manufacturers set a maximum of 5 lbs per 1000 sq ft per 24 hours for calcium chloride, or 75 percent relative humidity for in-situ probes. Anything above those numbers means the floor is too wet to bond.
Step 3: Check The Subfloor Flatness
Sheet vinyl telegraphs subfloor defects. Lay a 6-foot straightedge and look for gaps over 3/16 inch in 10 feet. High spots and dips break the adhesive bond under foot traffic.
Step 4: Inspect The Adhesive
Lift a corner and look at the glue. If it is chalky, crumbled, or missing, the adhesive failed. If the glue is tacky and intact, the subfloor was dirty or wet and the glue never bonded.
Repair Methods
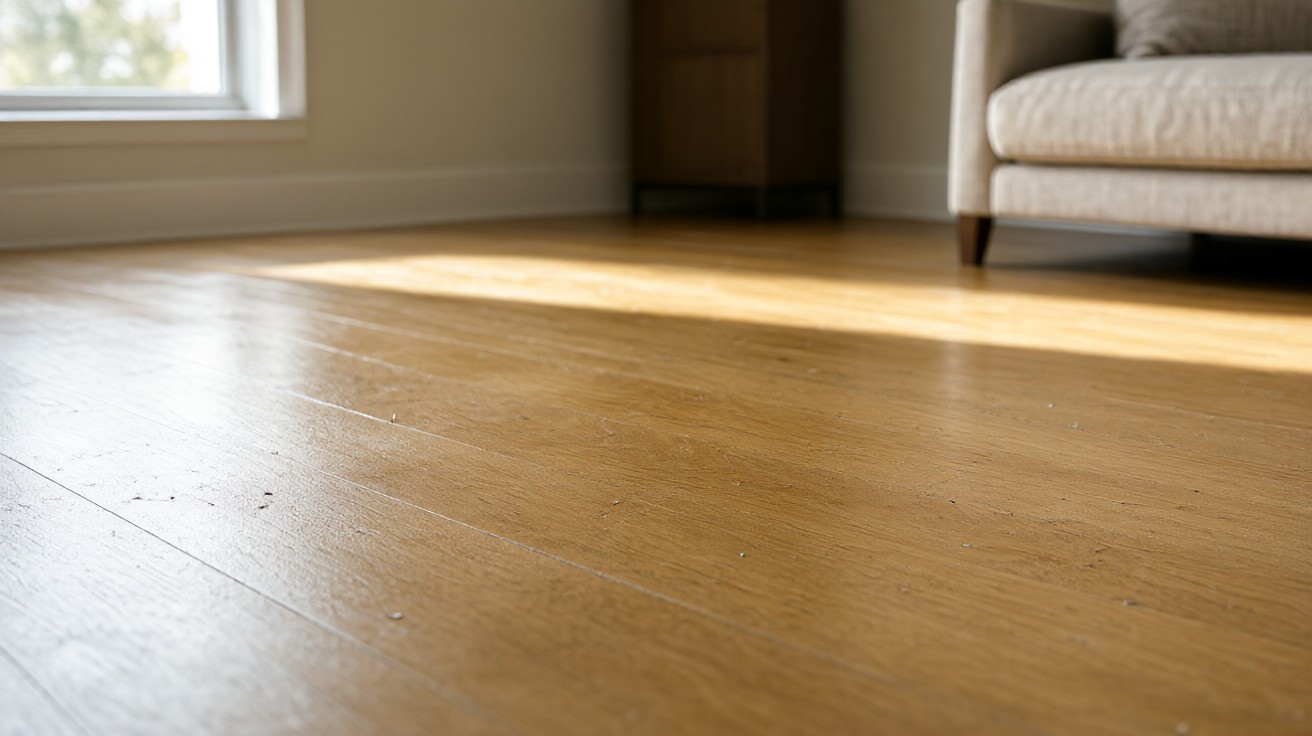
The right repair depends on the size of the lift and the cause. Work from smallest to largest.
Re-Gluing A Lifted Corner Or Edge
Lift the loose vinyl, scrape off old adhesive, clean the subfloor with a solvent compatible with the new adhesive, and spread a thin layer of vinyl floor adhesive with a 1/16-inch notched trowel. Press the vinyl back down and roll it with a 75-pound roller or a hand roller. Weight it for 24 hours before traffic.
Repairing A Bubble Or Blister
For a small bubble under 6 inches, inject vinyl adhesive through a small slit cut with a utility knife, press the vinyl flat, and seal the slit with seam sealer. For larger bubbles, cut an X, fold back the flaps, scrape the old adhesive, re-glue, and re-seal the cuts with seam sealer.
Fixing A Loose Seam
Clean both seam edges, apply seam sealer or a compatible adhesive, press the edges together, and weight them. Do not overlap the edges; sheet vinyl seams should meet flush. A gap over 1/16 inch will not seal and the section needs replacing.
Patching A Damaged Section
For a burn, tear, or stain that will not clean, cut out the damaged area in a square or rectangle, remove the old adhesive, and fit a patch from leftover sheet vinyl. Match the pattern direction before you cut, and use seam sealer on all four edges.
When To Replace Instead Of Repair
Some damage is past the point of repair. Knowing when to stop saves time and money.
Widespread Moisture Damage
If calcium chloride readings exceed 5 lbs per 1000 sq ft or relative humidity exceeds 75 percent, the subfloor must be remediated before any new flooring goes down. Re-gluing over wet concrete fails again.
Sheet vinyl installed before 1980 may contain asbestos in the backing or adhesive. Do not sand, scrape, or cut it. Test first through an EPA-recognized lab and follow EPA guidance for removal or encapsulation. Brittle or heavily discolored vinyl from UV exposure cannot be repaired because the plasticizers have broken down and the sheet will keep failing. If the plywood subfloor is rotted or delaminated, replacing the vinyl alone will not fix the floor; repair the subfloor first, then install new sheet vinyl.
Comparison: Repair Vs Replace
Use this table to decide whether a repair is worth the effort or whether replacement is the better call.
| Condition | Repair | Replace |
|---|---|---|
| Single lifted corner under 2 sq ft | Yes, re-glue | No |
| Bubble under 6 inches | Yes, inject adhesive | No |
| Loose seam under 3 ft | Yes, seam sealer | No |
| Bubbles across whole room | No | Yes, fix moisture first |
| Pre-1980 asbestos-backed vinyl | No | Yes, test and remove properly |
| Cracked or brittle sheet | No | Yes |
Prevention
Most peeling is preventable with proper installation and moisture control. These habits keep sheet vinyl flat for its full lifespan.
Acclimate The Sheet
Roll out the vinyl in the room for 24 to 48 hours before installation so it relaxes and reaches room temperature. Cold vinyl cracks; hot vinyl stretches.
Prepare The Subfloor Properly
Sweep, vacuum, and damp-mop the subfloor, then let it dry. Remove wax, paint, and old adhesive residue. Prime porous concrete or plywood per the adhesive manufacturer’s instructions.
Use The Right Adhesive
Match the adhesive to the sheet vinyl type and the subfloor. Wet-set adhesives give a stronger bond than pressure-sensitive types for full-spread installations. Follow the spread rate on the bucket, usually 1/16 inch with a 1/16-inch notched trowel.
Control Moisture
Test concrete before installation and remediate if readings exceed manufacturer limits. In basements and slabs, a vapor barrier or moisture mitigation system protects the bond.
Protect From Heat
Use window coverings or UV film on south-facing windows. Keep heat registers and direct sunlight off the vinyl surface to prevent adhesive creep.
Common Mistakes
These errors turn a small repair into a bigger one. Avoid them.
Gluing Over Dirt Or Old Adhesive
Skipping subfloor prep is the top cause of repeat peeling. New adhesive over old glue or dust will not bond.
Using The Wrong Glue
Construction adhesive and general-purpose glues are not vinyl floor adhesives. They off-gas, stain the vinyl, and fail under moisture.
Not Rolling The Repair
Hand pressure is not enough. A roller forces adhesive into the subfloor pores and removes air pockets. Skipping this step leaves bubbles.
Ignoring Moisture
Re-gluing a wet subfloor is temporary. Test first and fix the moisture source before repairing.
Cutting Patches Without Matching Pattern
A patch with the wrong pattern direction is visible forever. Dry-fit and rotate before cutting.
Tools And Materials
Having the right tools on hand makes the repair cleaner and faster. Most of these are available at any hardware store.
Adhesive And Seam Sealer
Use a vinyl floor adhesive rated for sheet vinyl and the subfloor type. Seam sealer bonds the cut edges and prevents dirt from collecting in the seam.
Trowel And Roller
A 1/16-inch notched trowel spreads adhesive evenly. A hand roller or 75-pound floor roller presses the vinyl into the adhesive.
Cleaning Supplies
Mineral spirits or the adhesive manufacturer’s recommended solvent cleans old glue. A vacuum and damp mop prepare the subfloor.
Comparison: Repair Adhesives
Not all adhesives suit every repair. This table compares the common types.
| Adhesive Type | Best For | Limitation |
|---|---|---|
| Wet-set vinyl adhesive | Full-spread re-gluing | Requires open time and rolling |
| Pressure-sensitive | Small edge repairs | Weaker bond on concrete |
| Seam sealer | Seam and cut repairs | Not for large areas |
| Latex floor adhesive | Porous subfloors | Not for wet concrete |
How Long Repairs Last
A properly re-glued section can last the remaining life of the sheet vinyl, which is typically 10 to 20 years for residential installations. Always verify manufacturer warranty terms before starting, since some warranties require certified installers for repairs to remain valid. Keeping receipts and product labels helps document the repair for future claims. This includes checking for hidden moisture sources such as leaking pipes, condensation on cold concrete, and improper grading around the foundation. Addressing these sources before repairing the vinyl prevents the same failure from returning within a few months. The repair fails again only if the original cause, usually moisture or poor prep, is not fixed.
Signs The Repair Failed
If the same spot lifts again within 30 days, the subfloor is still wet or dirty. Stop re-gluing and address the root cause before trying again.
Maintenance After Repair
Keep the repaired area dry for 72 hours. Avoid heavy traffic and furniture placement for 48 hours. Use a pH-neutral cleaner and avoid excessive water.
Safety And Subfloor Prep Details
Before cutting or scraping, test any vinyl installed before 1980 for asbestos in the backing or adhesive, and follow EPA guidance for removal or encapsulation. Work in a ventilated area and wear a respirator when scraping old adhesive. Protect baseboards and thresholds with painter’s tape before applying solvents.
Subfloor preparation determines whether the repair lasts. After scraping, vacuum thoroughly and damp-mop with clean water, then allow the surface to dry completely. Fill dips and grind high spots so the surface is flat within 3/16 inch over 10 feet. Prime porous concrete or plywood per the adhesive manufacturer’s instructions so the glue can bond to a stable, clean surface.
Temperature and humidity matter during repair. Work between 65 and 85 degrees Fahrenheit and keep relative humidity moderate. Cold adhesive skins over and will not transfer; excessive heat makes it run. Acclimate repair materials to room conditions for 24 hours, and do not install or repair over a subfloor that is still drying.
Finally, document the repair. Note the adhesive type, trowel size, and moisture readings so future work or replacement is straightforward. Photograph the subfloor before and after prep, and keep leftover sheet vinyl for future patches. A small record like this saves hours when the floor needs attention again.
Related Flooring Topics
Peeling sheet vinyl is one part of vinyl flooring care. For broader context, see vinyl flooring guide, sheet vinyl flooring explained, luxury vinyl tile LVT flooring explained, how to evaluate vinyl flooring construction and quality, and underlayment for vinyl flooring.