
A floor that buckles or cracks within a year was usually decided before the first plank was cut, and the evidence is still sitting under the floor.
The answer is the substrate, not the flooring. Moisture, flatness, lippage, expansion gaps, adhesive coverage, and acclimation cause most of the failures that show up months later.
Every mistake below has a symptom you can look for, a specification it violates, and a check that catches it before the floor goes down.
The Mistakes That Cost The Most When They Are Found Late
Most floors that fail did not fail on install day. They looked good on the day they were finished, and then the floor moved, the adhesive let go, or the slab kept giving off moisture.
The expensive failures share a pattern: they are invisible from the top of the floor. A floor sounds hollow because the adhesive never reached the tile. Boards cup at the ends because the slab underneath was wet.
Four mistakes account for most of the callbacks: no moisture test on a slab, no flatness check before tile, no expansion gap at the perimeter, and adhesive applied without verifying coverage.
Each one ends in a full replacement, and none of them shows up on the day the crew leaves.
| Common Mistake | Symptom It Creates | Specification It Violates | Check That Catches It |
|---|---|---|---|
| Installing over an untested slab | Cupping, mold, and later adhesive failure | MFMA and ASTM F2170: 75% RH glue down, 85% RH non-glue-down | In-situ relative humidity probe first |
| Skipping the flatness check | Hollow sound, cracked tile, rocking planks | ANSI A108.02 flatness of 1/8 inch in 10 feet and 1/16 inch in 2 feet | Straightedge and shim check, whole room |
| Ignoring lippage | Broken grout joints, cracked corners | ANSI A108.02: 1/32 inch plus inherent warpage | Check each tile against its neighbor |
| No expansion gap at the perimeter | Buckled boards, crushed joints | NWFA: 30% to 50% RH, 60-80 degrees Fahrenheit | Keep the gap clear of caulk and baseboards |
| Skipping acclimation | Cupping, joint shrinkage, denied claims | NWFA and NOFMA: 6% to 10% moisture content | Document conditions in each room |
| Grinding or cutting old tile | Airborne fibers, friable material | EPA AHERA policy clarification on VAT | Test for asbestos or cover over |
They run in the order they are usually discovered: the substrate first, then the flooring, then the work habits that turn a small defect into a failed floor.
Skipping The Moisture Test On The Subfloor
When Should A Slab Be Tested?
MFMA requires moisture tests regardless of the age of the slab, and says new slabs should not be tested within 60 days of placement. Concrete releases water for months after it is poured.
A reading taken too early measures a wet slab that will look dry later. A slab poured nine years ago is not automatically dry either. Age is not a measurement.
Installation of an MFMA flooring system should not commence until the slab is determined to be dry using the industry recognized relative humidity probe test procedure, and failing to comply with concrete moisture guidelines may result in substandard installations.
Why Does The Test You Run Change The Number?
The MFMA limits are stated for the in-situ relative humidity probe under ASTM F2170: equal to or lower than 85% RH for non-glue-down maple floor systems, and equal to or lower than 75% RH for glue down systems.
Those are probe readings taken at depth in the slab, and they are not interchangeable with the calcium chloride test, which reports pounds of moisture over a 1,000 sq. ft. area. A number carried from one method to the other means nothing.
NWFA asks for a second record, taken in the room rather than the slab: test and document the temperature and relative humidity in each room where flooring is being installed.
Subfloor moisture below the limit and a documented room are two different pieces of evidence, and a claim needs both.
Leaving Expansion Gaps Too Tight Or Too Wide
How Wide Should The Gap Be At The Wall?
Expansion gaps exist because every flooring material moves with temperature and humidity. Wood expands across the grain, tile moves with the slab under it, laminate responds to the room air.
The gap at the perimeter gives that movement somewhere to go.
For solid wood flooring, NWFA defines the interior environment that governs this movement as a relative humidity range of 30% to 50% and a temperature range of 60-80 degrees Fahrenheit, with geographic exceptions.
Some manufacturers intentionally produce flooring at higher (8-13%) or lower (4-9%) moisture content levels to accommodate different geographical regions, and in some climates the ideal average humidity range can be higher (45% to 65%) or lower (20% to 40%).
Sizing the gap for a product and a room is set out in the flooring expansion gap guide. What matters here is the consequence of getting it wrong.
Too tight and the floor has nowhere to go. It buckles in the middle of the room, or the joints crush and the boards crack. Too wide and a dark line shows around the perimeter from day one.
The gap also has to stay open. Baseboards nailed tight against the floor, or construction adhesive and caulk swept into the perimeter, close it.
Is Buckling Always A Gap Problem?
Buckling usually appears in the season the building is most humid or most heated. The board lifts because the floor expanded and there was no room for it.
A second cause looks the same and needs a different fix. If the floor went over a slab still giving off moisture, the flooring absorbs it and swells.
The symptom looks like a gap problem and is really a moisture problem. The cure is a moisture test, not a wider gap.
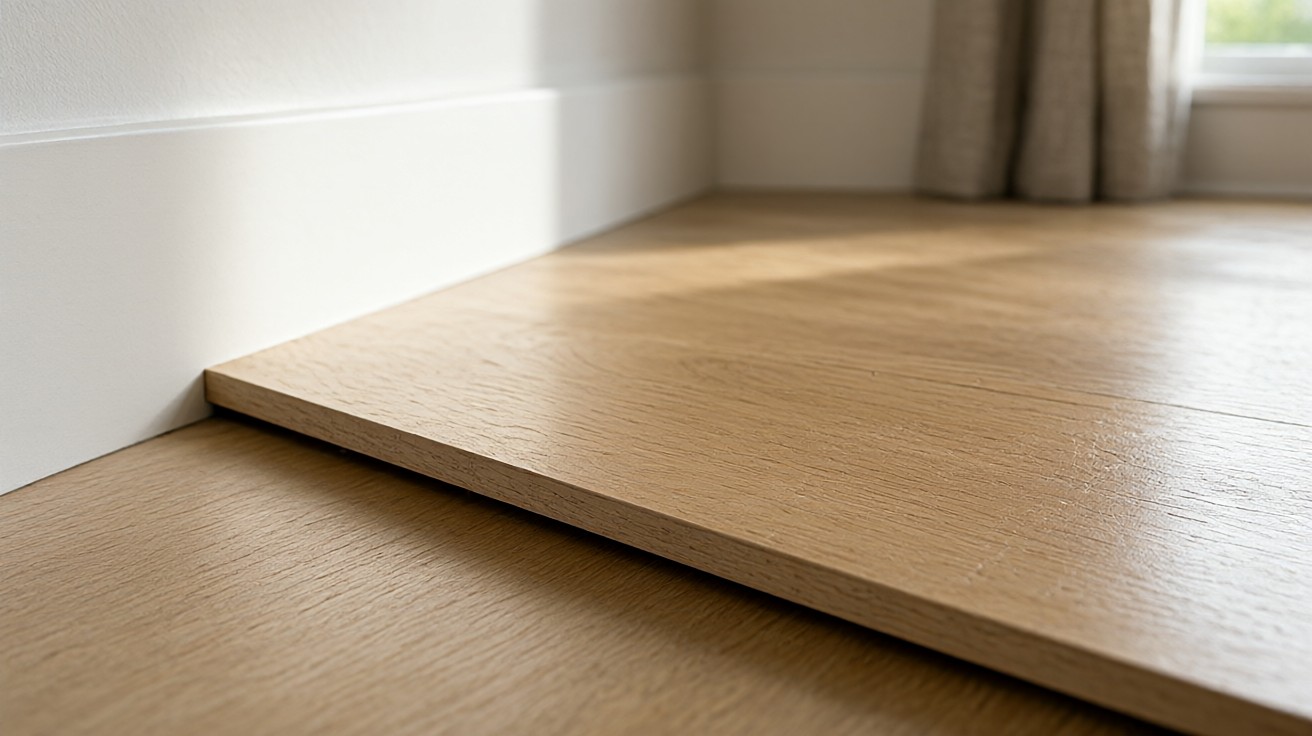
Installing Over A Subfloor That Is Not Flat Enough
How Flat Does A Subfloor Have To Be?
ANSI A108.02, the substrate standard published through the Tile Council of America, sets two flatness figures for tile work, and they depend on tile size.
For tiles with one side greater than 15 inches, the substrate should be flat within 1/8 inch in 10 feet and 1/16 inch in 2 feet.
For tiles with all sides shorter than 15 inches, the substrate should be flat within 1/4 inch in 10 feet and 1/16 inch in 1 foot.
A larger tile is harder to support because it bridges a hollow spot instead of resting on it. The figure gets stricter as tile grows.
Subfloor preparation closes this gap, and it is the step that gets compressed when the schedule slips.
Level the low areas, knock down the high ones, and do that work before the first tile is opened. The method is set out in the subfloor flatness guide.
This matters for every material, not only tile. Hardwood and laminate carry the flatness beneath them into the finish, and a floor that rocks over a high spot loads the joints every time somebody walks past.
Ignoring Lippage On Tile
What Is Lippage And Why Does It Crack Tile?
Lippage is the height difference between two tile edges that are supposed to be flush.
ANSI A108.02 allows for some of it: for grout joints less than 1/4 inch, allowable lippage is 1/32 inch plus the inherent warpage of the tile.
For grout joints of 1/4 inch or greater it is 1/16 inch plus the inherent warpage. The warpage allowance comes from ANSI A137.1, the tile manufacturing standard.
A tile can pass its own manufacturing standard and still sit too high next to its neighbor, because the difference came from the bed it was set into, not the tile.
Lippage beyond the allowance shows up as a cracked corner or a broken grout joint months later, once traffic has worked the loose tile.
Check each tile as it is set, and check the joints nobody looks at afterwards, in the middle of the field. Lippage is also a reason to hold the mortar bed at an even height.
Acclimating Flooring For The Wrong Amount Of Time
How Long Should Flooring Acclimate?
There is no universal acclimation period, and a number quoted without the product and the room conditions is a guess.
NWFA and NOFMA set the starting point for factory finished wood flooring: it is manufactured with moisture content between 6% and 10% with a 5% allowance for pieces outside that variance.
The floor you install moves toward the moisture content of the room it is in, and how long that takes depends on the product, the packaging, and the room.
Wood flooring delivered to a cold, damp basement and installed the same day takes on moisture and swells, which shows up as cupping and joints that open in winter.
The full procedure for each product is set out in the acclimation guide. The part worth carrying into any install is the paperwork: record the conditions in each room.
What Temperature And Humidity Should The Room Hold?
For solid wood flooring, NWFA sets the interior environment at 30% to 50% relative humidity and 60-80 degrees Fahrenheit, with geographic exceptions.
Those are the conditions the flooring is meant to live in, so they are the conditions to acclimate in and document.
Dry lumber is the other half of that equation. Subfloor framing and decking stock delivered damp and installed wet keeps moving after the floor goes down.
A manufacturer warranty usually turns on exactly this. Warranties for wood and laminate commonly require the subfloor moisture test to have been done and recorded.
The record settles a claim after a season of cupping. Documenting the readings is not paperwork for its own sake.
Disturbing Asbestos-Containing Flooring During Demolition
How Do You Know If The Old Floor Contains Asbestos?
Asbestos was added to some vinyl floor tiles to strengthen them, and it is also present in the backing on some vinyl sheet flooring.
The EPA position on older homes is that floor tiles installed before 1980 are presumed to contain asbestos unless they have been tested and found below 1.0 percent asbestos.
Testing costs far less than the alternatives.
The EPA guidance on asbestos in the home points out that fibers can be released if the tiles are sanded or seriously damaged, if the sheet flooring backing is dry-scraped or sanded, or if tiles are severely worn or cut to fit.
The EPA AHERA policy clarification on vinyl asbestos tile puts it stronger: sanding, grinding, mechanical chipping, drilling, cutting or abrading the material has a high probability of rendering it friable.
If the old floor is in doubt, the EPA recommended alternative is to leave it where it is: place new flooring directly over the old tiles or sheet, and handle the tiles as little as possible.
Wrong Adhesive Coverage And Wrong Adhesive Choice
How Much Adhesive Should End Up Under The Tile?
Adhesive coverage is the share of the substrate that actually receives adhesive, and the manufacturer sets the rate for a product with a specific trowel.
A different trowel notch, or adhesive left to sit too long before the tile goes down, changes the transfer, and the tile lands with a hollow back.
Hollow spots are the symptom people notice last. A floor that sounds hollow when knocked, or flexes under a heel, is telling you that part of the tile back never touched adhesive.
Adhesive choice matters as much as coverage. A product approved for a dry interior floor is not the one approved over concrete, and neither is the one approved for a wet area.
Read the installation instructions for the flooring and not only for the adhesive, and check the two agree about the substrate and the room.
Cutting Planks Or Tile From A Single Batch
Why Does Shade Variation Show Up In One Room And Not Another?
Flooring is produced in batches, and no two batches are exactly alike in tone.
If each plank in a room comes from one batch, a shade difference that would normally spread through the floor is concentrated in one place, and the room reads as two floors meeting.
The fix is arithmetic rather than skill. Order from more than one production run, open the cartons at once, and cut across the batches so the variation is distributed.
The same rule applies to tile and to a partial room, where a seam lands exactly where somebody will look at it.
Bringing The Floor Into Service Before The Adhesive Or Finish Cures
When Can You Walk On A New Floor?
A floor can feel firm to the foot within hours and still be soft underneath, and that difference decides whether the finish survives the first month of traffic.
Cure time is not the same as set time.
The published cure time for that adhesive and flooring is the number that governs, and moving furniture back on a different schedule defeats it.
Furniture is the real test. Rugs, chairs, and tables sit in one place and concentrate weight on a small area, and that is where early return to service shows.
The same waiting period protects a finished floor. A finish walked on before it has cured takes a scuff or heel mark that stays in the floor permanently.
What To Do When A Mistake Is Already In The Floor
Which Mistakes Can Be Fixed And Which Cannot?
Start with the symptom and work back to the mistake, because the symptom tells you what you are dealing with.
Cupping at the plank ends points to moisture under the floor. A gap that opens along the baseboard in winter and closes in summer points to expansion.
Hollow tile points to coverage. A crack following a grout line across the middle of the room points to flatness or to movement in the substrate.
Some of those can be repaired. Hollow tile can be lifted, cleaned, and reset with fresh adhesive if the cause is removed, and loose boards can be refastened.
Others are not repairable at all. A buckled wood floor over a wet slab, or a floor on a substrate that moved, comes up.
A Pre-Install Checklist That Prevents The Expensive Ones
What Goes On The Pre-Install Checklist?
This is the list to work through before the first box is opened, in the order the failures happen.
- Test the slab with an in-situ relative humidity probe under ASTM F2170 and record the reading. MFMA limits are 75% RH for glue down and 85% RH for non-glue-down maple systems.
- Do not test a new slab within 60 days of placement, and do not treat the age of an older slab as a substitute for a reading.
- Check subfloor flatness across the room. ANSI A108.02 calls for 1/8 inch in 10 feet and 1/16 inch in 2 feet for tile over 15 inches, and 1/4 inch in 10 feet with 1/16 inch in 1 foot for smaller tile.
- Leave the perimeter expansion gap the manufacturer specifies, clear of adhesive, caulk, and tight baseboards.
- Acclimate the flooring in the room it goes into, and record the temperature and relative humidity in each room.
- Confirm the adhesive is approved for the substrate and the room, then use the trowel the manufacturer names.
- Lift a tile and check the transfer. Adhesive coverage has to meet the published rate for that product.
- Check lippage on every tile as it is set: 1/32 inch plus inherent warpage under 1/4 inch joints, and 1/16 inch plus inherent warpage for wider joints.
- Order from more than one production run and blend across batches so the tone does not separate at one seam.
- Assume the old floor may contain asbestos. Tiles installed before 1980 are presumed to contain it unless tested below 1.0 percent, and sanding or cutting releases fibers.
- Keep the room clear until the adhesive has cured for the published time, and move the furniture back last.
None of these checks takes long next to replacing a floor, and every one is written down somewhere: an industry standard, a manufacturer instruction, or a documented reading.
When something goes wrong later, that record separates a material defect from an installation defect, which is what stands between a warranty claim and a dispute.
The same list works as a brief for anyone doing the work, and it is the list to hand over before the first box is opened. There is a separate guide on choosing a flooring installer for anyone hiring the work out.
| Requirement | Standard Or Source | Figure | What It Governs |
|---|---|---|---|
| Interior relative humidity | NWFA Installation Guidelines | 30% to 50% | Expansion and cupping of solid wood |
| Interior temperature | NWFA Installation Guidelines | 60-80 degrees Fahrenheit | Rate of movement through a season |
| Moisture content at manufacture | NWFA and NOFMA International Standards | 6% to 10% with a 5% allowance | Starting point for acclimation |
| Slab limit, glue down | MFMA with ASTM F2170 | 75% RH or lower | Install only once the slab reads dry |
| Slab limit, non-glue-down | MFMA with ASTM F2170 | 85% RH or lower | Same rule for floating systems |
| Substrate flatness, large tile | ANSI A108.02 | 1/8 inch in 10 feet and 1/16 inch in 2 feet | Tile with a side over 15 inches |
| Substrate flatness, small tile | ANSI A108.02 | 1/4 inch in 10 feet and 1/16 inch in 1 foot | Tile with all sides under 15 inches |
| Lippage, narrow and wide joints | ANSI A108.02 with ANSI A137.1 | 1/32 inch and 1/16 inch plus inherent warpage | Grout joints below and above 1/4 inch |