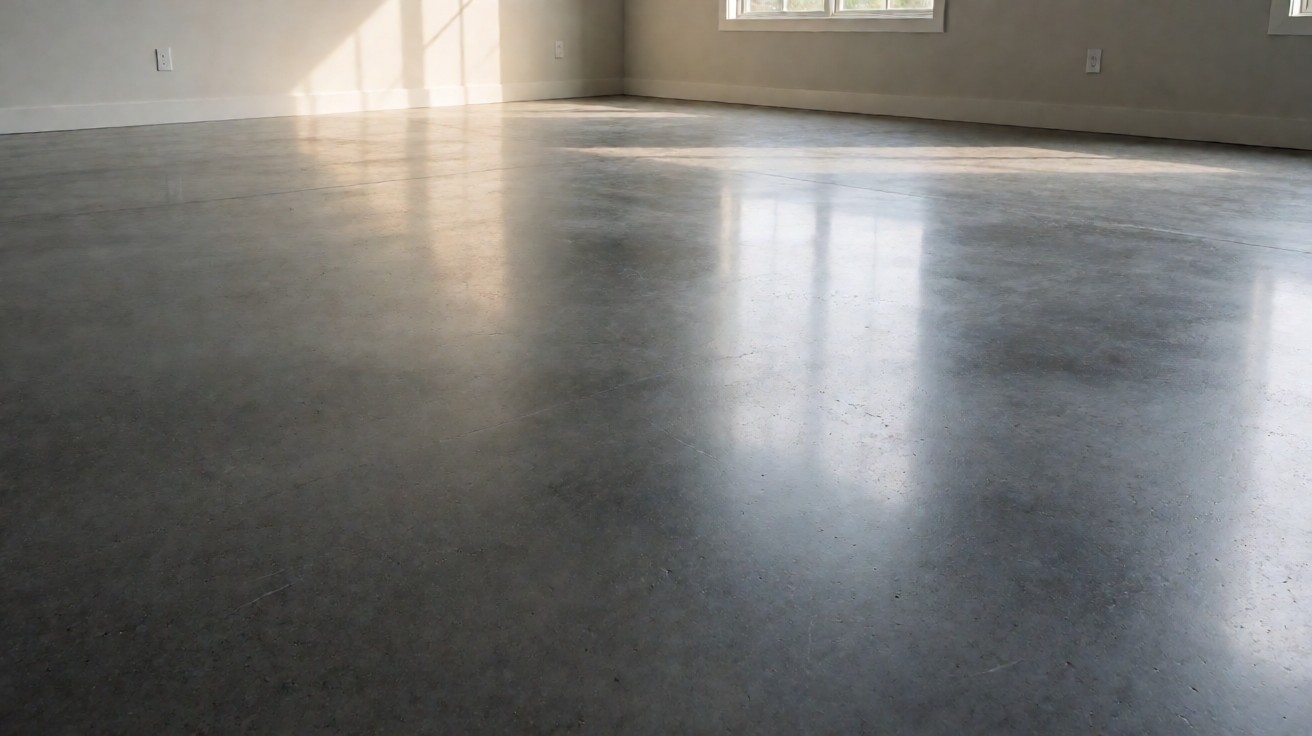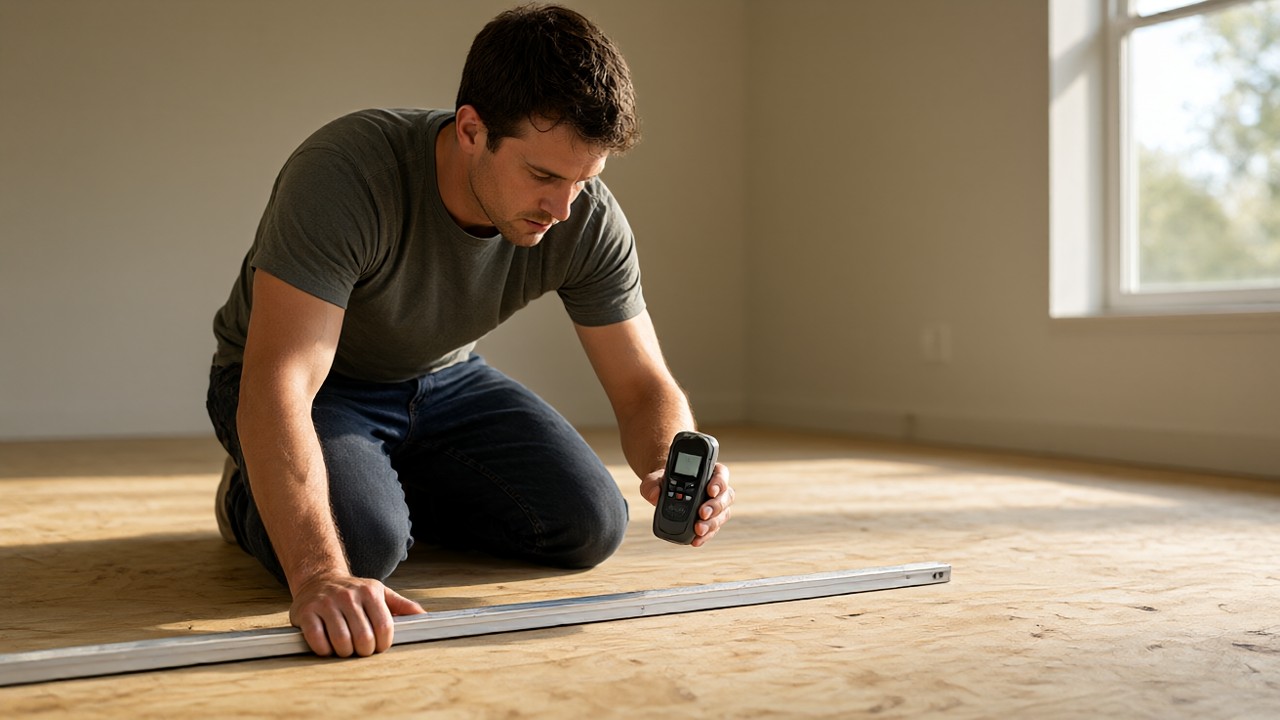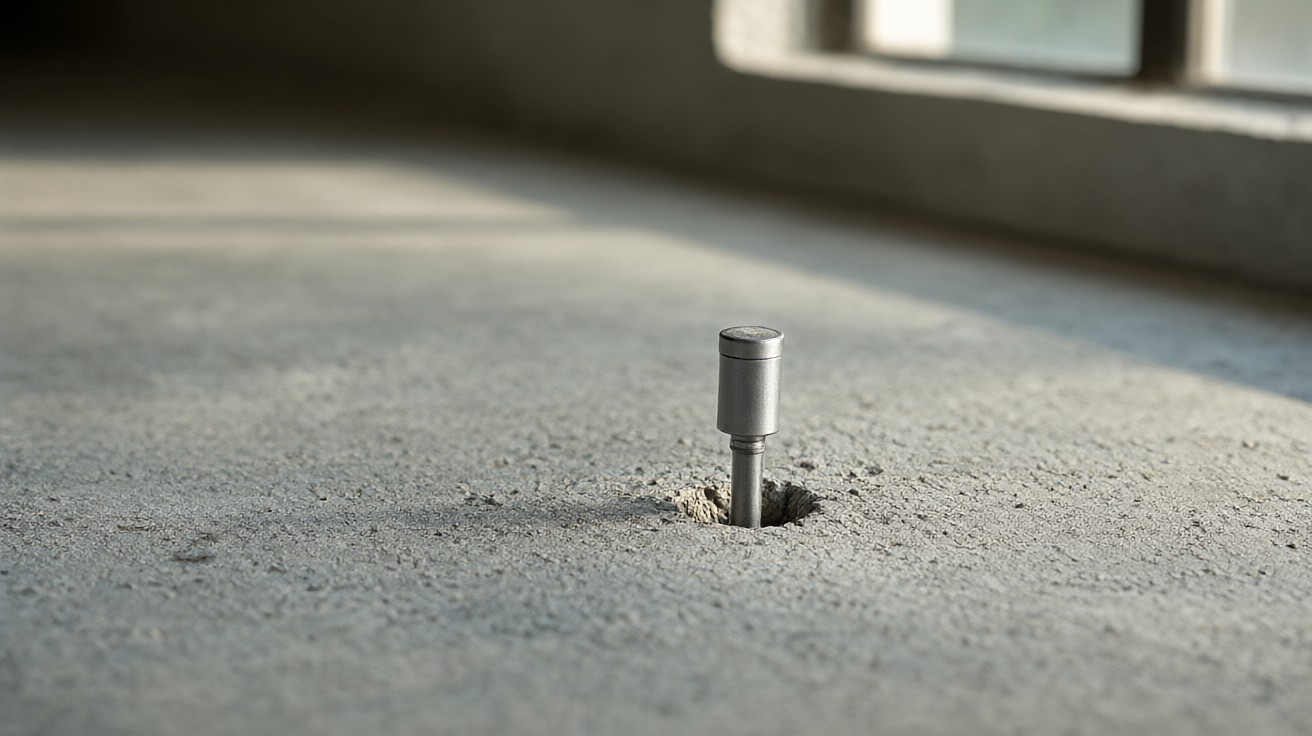

Relative humidity testing measures moisture deep inside a concrete slab to decide whether the floor is ready before wood, vinyl, tile, or coatings go down.
ASTM F2170 is the standard method: a small hole is drilled to a set depth, a sealed probe reads the percent relative humidity (%RH) in the pore air, and that number is compared against the flooring manufacturer’s limit. Done correctly, it is the answer you need before installing any floor over concrete.
What Relative Humidity Testing Measures
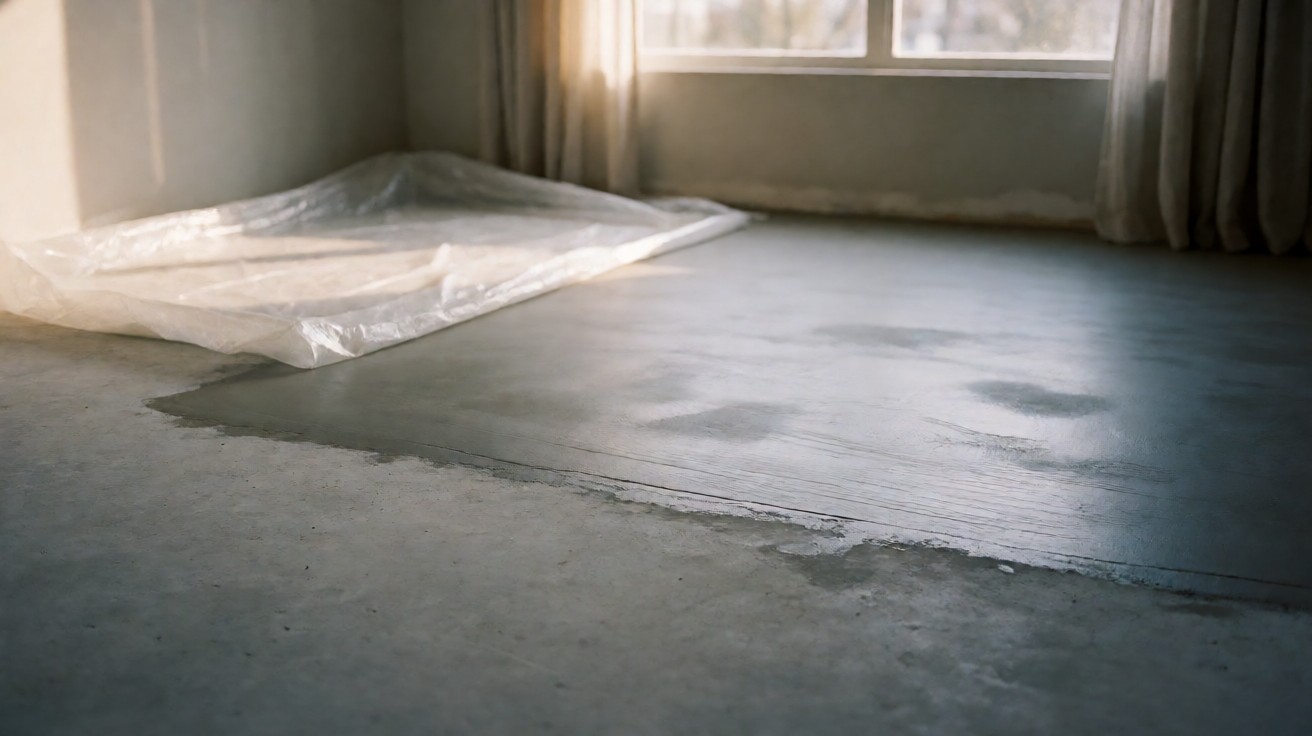
Concrete does not dry evenly. The surface can be dry while the deeper concrete still holds a large amount of water. A surface test such as the calcium chloride test only captures what is leaving the top few millimetres, so it can pass while the slab underneath is still wet enough to damage a floor.
Relative humidity testing instead places a sensor inside the slab at a defined depth. The sensor equilibrates with the moisture in the concrete’s pore structure and reports the %RH of that air. That value correlates with the moisture level the finished floor will actually “see” once it is covered and sealed.
Because the reading is taken below the surface, it predicts long-term behaviour rather than the slab’s condition on the day of testing. It is the reason most resilient, wood, and coating manufacturers now require ASTM F2170 results before installation.
ASTM F2170 in Brief
ASTM F2170, “Standard Test Method for Determining Relative Humidity in Concrete Floor Slabs Using in situ Probes,” defines the procedure, equipment, and documentation. The current edition is F2170-19A. It covers both field and laboratory testing of concrete slabs.
The method is straightforward in concept: drill a hole, insert a sleeve, place the probe, seal the hole, wait for equilibration, record the %RH and temperature, then compare the result to the flooring or coating manufacturer’s stated limit.
Key points from the standard:
- It measures %RH, not moisture content or emission rate.
- Results reflect only the locations and time tested.
- It is one of several accepted moisture tests; manufacturers specify which one they require.
- Readings are taken at a depth chosen to match how the slab dries.
For the full text, see the ASTM F2170 standard.
Probe Depth and Placement
Probe depth is the single most important variable in the test. A moisture gradient forms in a drying slab, with higher moisture deeper down. Testing too shallow underestimates the moisture the floor will face; testing too deep overestimates it.
ASTM F2170 places probes at a depth that mimics the condition after the floor is installed and sealed:
| Slab condition | Drying from | Probe depth |
|---|---|---|
| On-grade slab, ground slab | One side (top only) | 40% of slab thickness |
| Suspended or elevated slab | Both sides | 20% of slab thickness |
The 40%/20% rule comes from Swedish research at the Technical University of Lund in the 1990s, which found those depths best predict the final RH the slab reaches once it is sealed by flooring. It became the basis of the Nordtest method and then ASTM F2170.
Placement rules that matter in practice:
- Drill with a rotary hammer and a clean, sharp bit; do not use water as a lubricant.
- Remove all dust from the hole with a vacuum and brush; dust contaminates the reading.
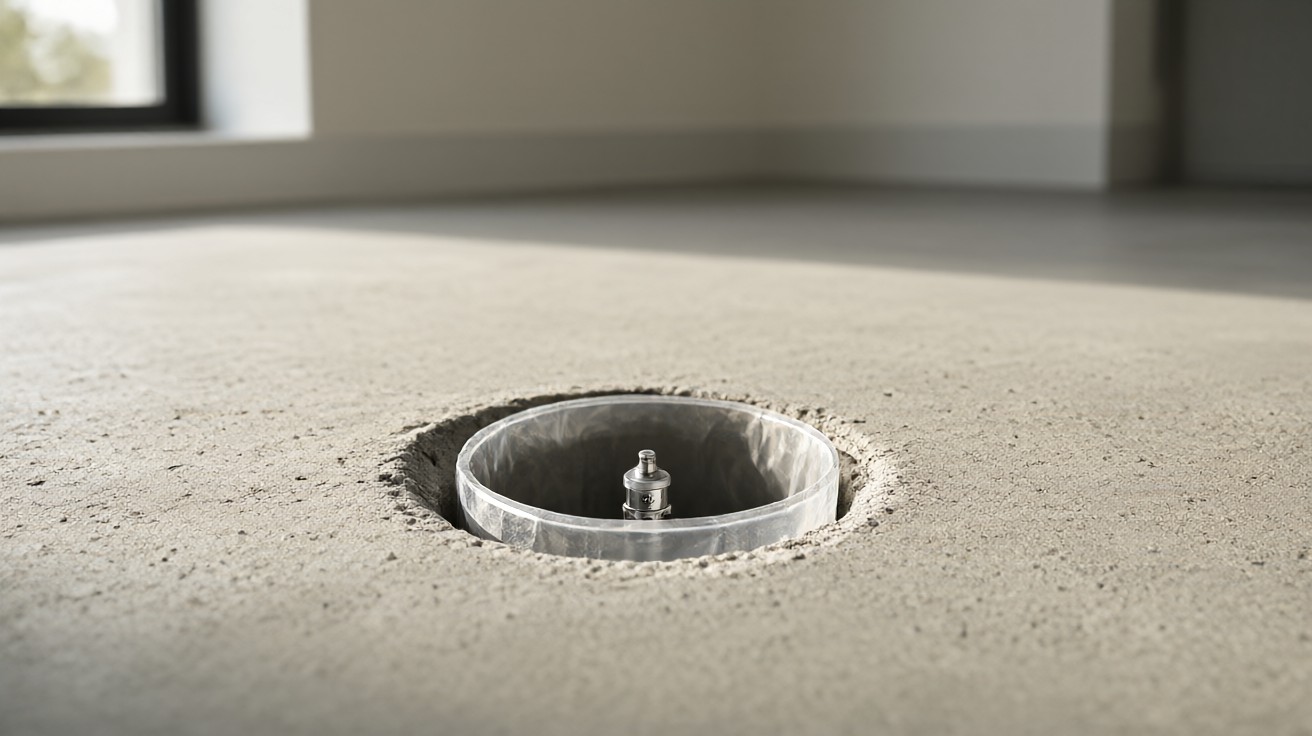
- Insert a plastic sleeve (liner) so the probe seals against the concrete, not the hole wall.
- Space probes per slab area and per the manufacturer’s plan (see below).
- Keep probes away from edges, penetrations, and cracks where moisture behaves differently.
- For a slab drying from one side, measure depth from the top surface.
Equilibration and Reading
After the probe is sealed in the hole, the air inside must equilibrate with the concrete’s pore moisture before a reading is valid. The original ASTM F2170 required a 72-hour wait.
A 2014 ASTM precision and bias study tested probes from six manufacturers and found readings taken at 24 hours were statistically equivalent to those at 72 hours. As a result, ASTM F2170-19 allows official, documentable readings after 24 hours, provided the procedure is followed. Many installers still prefer 72 hours for conservative projects; either is defensible when the manufacturer accepts it.
Reading best practice: wait the full equilibration period before recording any number.
- Record both %RH and temperature at each probe.
- Do not remove and reinsert a probe between readings; the seal must stay intact.
- Keep the slab at service temperature during equilibration; temperature swings change RH.
- Take readings at the same time of day for consistency.
- Document probe location, depth, serial number, and result.
Can you take a reading sooner than 24 hours?
No. ASTM F2170 requires at least 24 hours of equilibration before an official reading. A quick check at 1 or 4 hours is only a rough indicator and cannot be used for documentation or warranty purposes.
RH Thresholds by Flooring Type
There is no single pass/fail number. Each flooring system, adhesive, and coating has its own maximum allowable %RH, and the manufacturer’s limit governs. Common industry ranges:
| Flooring or system | Typical max %RH (ASTM F2170) | Notes |
|---|---|---|
| Solid hardwood | 75% or less | NWFA guidance; many manufacturers require 75% or lower |
| Engineered hardwood | 75% to 80% | Check the specific product and adhesive |
| Laminate | 75% | Often paired with a vapour barrier over concrete |
| Luxury vinyl plank / tile (glue-down) | 80% to 85% | Adhesive limit usually governs |
| Sheet vinyl | 80% | Seam welding makes moisture control critical |
| Carpet tile / broadloom | 80% to 85% | Adhesive and backing limits vary |
| Ceramic / porcelain tile | No fixed RH limit with a membrane | Use an uncoupling or waterproofing membrane; follow TCNA |
| Epoxy / polyurethane coatings | 75% to 80% | Often stricter; manufacturer spec governs |
Always use the number printed on the product data sheet or installation guide, not a generic table. If two products are used together, such as flooring plus adhesive, the lower limit applies.
What if the RH is borderline?
Treat a result within 2 to 3 percentage points of the limit as a fail. Slab moisture changes with season, and a borderline pass in summer can become a fail in winter. Re-test or mitigate.
Number of Probes and Slab Area
One probe is never enough. Moisture varies across a slab, especially near edges, joints, and areas with different curing or exposure. ASTM F2170 and most manufacturers require a minimum number of test locations based on slab area.
A common rule of thumb: at least three probes for the first 1,000 square feet, plus one additional probe per additional 1,000 square feet, with extra probes in suspect areas. Large or complex slabs need more. Follow the standard and the manufacturer’s documented plan, and add locations wherever the slab history suggests variation.
Probe locations should cover the following areas:
- The centre of the slab.
- Near exterior walls and doors.
- Over any area with visible moisture staining or efflorescence.
- Near construction joints and cold joints.
- Areas with different pour dates or curing conditions.
Temperature and Seasonal Effects
Temperature and RH move together. A cooler slab reads higher %RH for the same moisture content, and a warmer slab reads lower. That is why the slab must be at the temperature it will see in service, and why readings should be recorded with temperature.
Seasonal swings are real: a slab that tests at 70% in a dry winter can test at 80% in a humid summer. If installation is planned for a different season than the test, re-test closer to the install date or specify a margin of safety.
Does slab temperature change the pass/fail decision?
Yes. Because %RH is temperature-dependent, a reading taken at an unrepresentative temperature can mislead. Condition the space to normal occupied temperature for several days before testing and record the temperature with every reading.
RH vs. Calcium Chloride (MVER)
The two common concrete moisture tests measure different things. ASTM F2170 measures internal %RH; ASTM F1869 (calcium chloride) measures moisture vapour emission rate (MVER) at the surface in pounds per 1,000 square feet per 24 hours.
Surface-based tests miss the deeper moisture that a sealed floor traps. That is why in-situ RH testing has become the preferred method for most wood and resilient flooring, while calcium chloride is still used where a manufacturer specifically requires it or for coatings over concrete.
When in doubt, follow the flooring manufacturer: many now require ASTM F2170 and will not accept calcium chloride alone. For an overview of both methods, see concrete slab subfloors.
Mitigation When RH Is Too High
A high reading is not the end of the project; it is a decision point. Options, from least to most involved:
- Wait and re-test. New slabs continue to dry; re-test after additional curing time.
- Increase ventilation and dehumidification to speed drying.
- Apply a topical moisture mitigation system (epoxy or polyurethane) rated for the measured RH.
- Use a moisture-tolerant adhesive or primer specified for the reading.
- Install a vapour barrier or underlayment rated for the slab condition.
- For tile, use an uncoupling or waterproofing membrane per TCNA.
Match the mitigation to the measured value, not to a guess. A mitigation system rated to 95% RH is wasted money on a 78% slab, and a system rated to 80% will fail on an 85% slab. For dedicated systems, consult the manufacturer and product data sheet.
For the bigger picture of preparing a slab, see subfloor preparation for flooring.
Common Mistakes
- Testing too soon after the pour, before the slab has had time to dry.
- Drilling to the wrong depth or measuring from the wrong face.
- Leaving dust in the hole or skipping the sleeve.
- Reading before 24 hours of equilibration.
- Using one probe for a large slab.
- Testing at an unrepresentative temperature.
- Comparing results to a generic limit instead of the manufacturer’s.
- Assuming a dry surface means a dry slab.
Probe Spacing, Temperature, and Documentation
Space in-situ probe locations evenly across the slab, keeping each probe at least 3 feet from walls and 6 inches from joints or cracks, so edge effects do not skew the result. Record the probe serial number, the equilibration start time, and the slab temperature alongside every %RH value, and photograph each installation. For example, if you are installing engineered hardwood over a 2,000 square foot slab, lay out six probes in a grid and re-test the two highest locations before you commit. This paper trail is what turns a moisture reading into defensible documentation if a floor later fails.
Documentation Checklist
- Slab identification, pour date, and thickness.
- Test date and technician.
- Probe locations on a sketch with dimensions.
- Depth drilled and method used.
- Equilibration time.
- %RH and temperature at each probe.
- Manufacturer’s limit applied and pass/fail result.
- Photos of probe installation.
Key Takeaways
- Relative humidity testing measures moisture inside the slab, where surface tests cannot reach.
- ASTM F2170 is the standard method; follow the current edition.
- Probe at 40% depth for slabs drying from one side, 20% for slabs drying from both sides.
- Allow at least 24 hours of equilibration before an official reading.
- Compare results to the specific flooring and adhesive manufacturer’s limit.
- Use enough probes for the slab area and re-test seasonally.
- A high reading is a decision point: wait, dry, mitigate, or change materials.