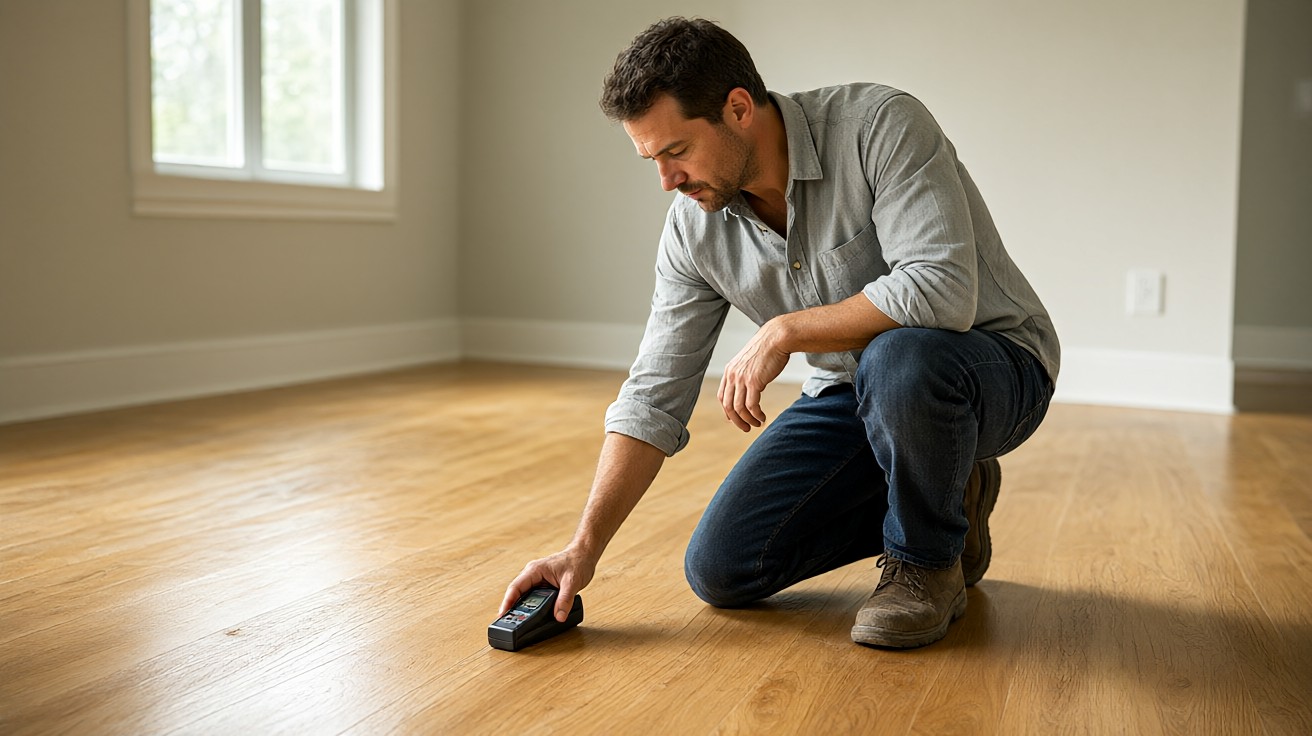

Flooring damage is not always a surface problem; cupped planks, soft spots, and repeating squeaks can signal hidden moisture or subfloor failure in your home.
The right response depends on cause, not appearance. You need a professional when damage is widespread, recurring, or tied to moisture, because a 6 to 9 percent equilibrium moisture content is normal for hardwood while readings above 12 percent signal trouble.
Inspection is the safer first step. Start with moisture readings before any repair.
What Professional Flooring Inspection Covers
A professional flooring inspection is a structured evaluation of the floor, the subfloor, and the conditions around them. The inspector documents what is visible, measures what is not, and compares findings against manufacturer instructions and industry standards. The result is a written report that can guide repair, support a warranty claim, or settle a dispute between a homeowner and an installer.
Inspections are most useful when the cause of damage is unclear, when damage repeats after a repair, or when a claim or insurance file needs evidence. They are less useful when the problem is clearly cosmetic and limited to one or two planks that can be replaced without disturbing the subfloor.
Is This Damage Cosmetic or Structural?
Cosmetic damage affects appearance only. Surface scratches, minor finish wear, and a single chipped tile usually fall in this group. Structural damage affects how the floor performs: buckling, widespread cupping, soft spots, or movement that changes underfoot. Structural symptoms almost always justify an inspection because the cause is below the surface.
A quick test helps. Press firmly on a suspect plank and listen. A solid feel and sound suggest surface wear. A hollow or spongy response suggests subfloor or moisture trouble and a moisture reading above 12 percent in hardwood confirms it.
Signs That DIY Checks Are Not Enough
Homeowners can spot many early warnings, but some signs mean the problem has moved beyond a quick fix. Watch for these conditions and treat them as triggers to schedule a professional evaluation.
- Damage that returns within weeks of a repair.
- Cupping, crowning, or buckling across more than one room or a large area.
- Soft or spongy spots when you step, even if the surface looks intact.
- Gaps that open and close with the seasons beyond normal movement.
- Odors, staining, or visible mold near baseboards or transitions.
- Flooring that lifts at seams or transitions after a recent installation.
- Cracking grout or loose tiles in multiple locations.
When two or more of these appear together, the risk of hidden moisture or subfloor failure is high. A trained inspector can separate a finish issue from a substrate issue before you spend money on the wrong repair. Our overview of how to identify subfloor damage is a helpful first step.
Do not wait for the damage to spread. A 2 to 3 week delay can turn a localized moisture problem into a 200 to 400 square foot replacement.
When Moisture Damage Needs an Inspector
Moisture is the leading cause of flooring failure. It can enter from below through a slab, from above through spills or humidity, or from the sides through walls and transitions. Because moisture moves slowly, damage often appears far from the source. A professional uses calibrated meters and standardized test methods to locate the moisture and measure how deep it has traveled.
Common moisture triggers include flooding, plumbing leaks, high indoor humidity, concrete slabs without a vapor retarder, and installations over crawl spaces. If any of these apply and you see cupping, staining, or odor, schedule an inspection before replacing planks.
A common threshold is 75 percent relative humidity in concrete and a 9 percent target for acclimated hardwood. Staying inside these limits prevents cupping and gaps. When readings exceed them by more than 5 percent, the risk of failure rises sharply.
When Subfloor Damage Requires Professional Evaluation
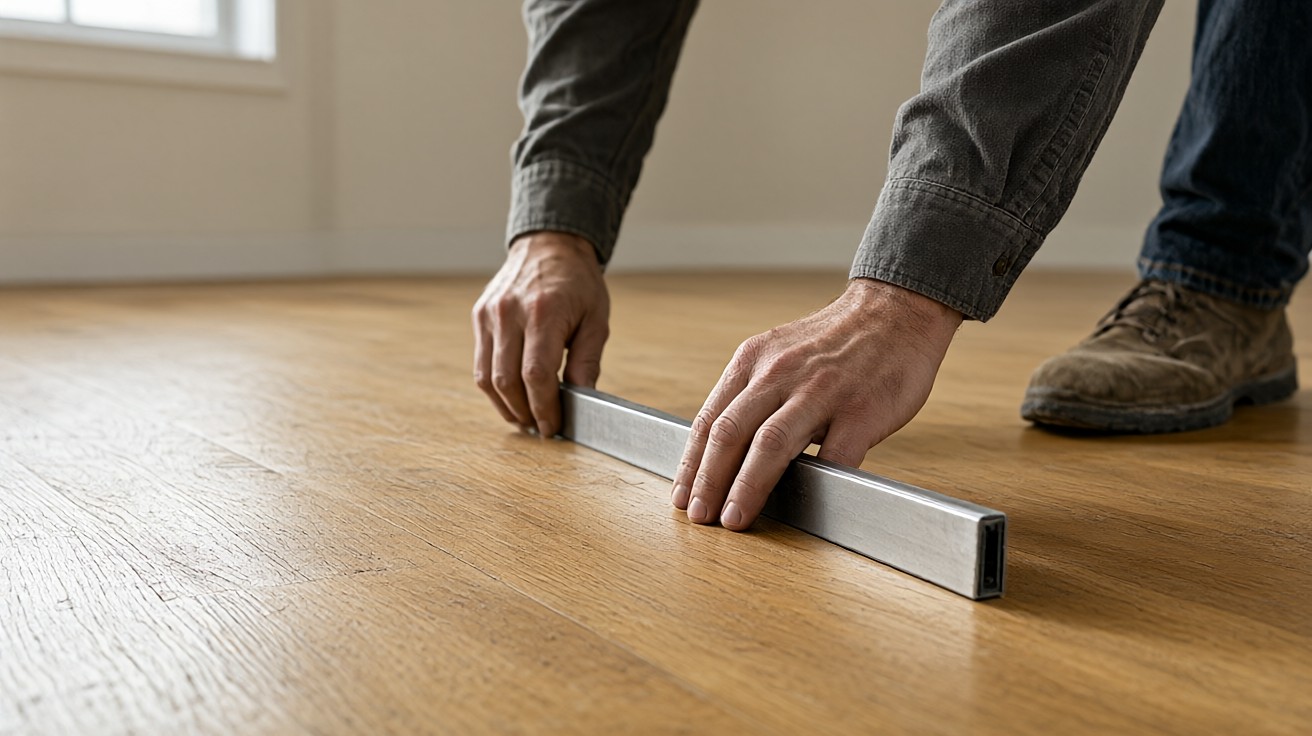
The subfloor is the hidden layer that supports every step. When it is soft, uneven, or delaminated, the finished floor above shows symptoms such as bouncing, hollow sounds, or gaps that will not close. Replacing surface material without fixing the subfloor usually fails within months.
Inspectors check subfloor flatness, fastener holding power, and signs of rot or insect damage. They also note whether the subfloor material matches the flooring type. For example, some engineered products require a specific substrate and fastener pattern that a general handyman may not verify.
Can a Homeowner Test Moisture Accurately?
Consumer moisture meters give a useful first reading, but they are not a substitute for standardized testing. Probe depth, calibration, and slab thickness all affect results. Industry practice follows methods such as ASTM F2170 for in-situ relative humidity in concrete slabs and ASTM F1869 for calcium chloride testing. These methods require drilling, sealed probes, and wait times that most homeowners cannot complete correctly.
A typical concrete slab test needs 72 hours of probe equilibration and a 75 percent relative humidity limit is common for many resilient products. Exceeding that figure is a red flag even when the surface looks dry.
When Installation Defects Call for an Inspection
Not all damage comes from moisture or wear. Installation errors can cause failure even in a new floor. Common defects include inadequate acclimation, missing expansion gaps, improper adhesive trowel size, and fasteners driven at the wrong angle. These problems often show up as buckling, tenting, or seam separation within the first heating or cooling season.
An inspection compares the installed floor against the manufacturer’s written instructions and the NWFA Installation Guidelines. When the two do not match, the report documents the deviation. That documentation is often required before a manufacturer will honor a claim.
Typical installation limits include a 48 to 72 hour acclimation period and an expansion gap of at least 1/4 inch at walls and fixed objects. Missing either is easy to confirm on site.
Follow-up testing is common. A second visit may be needed after humidity stabilizes, because moisture can migrate for several weeks before reaching equilibrium.
When Warranty Claims Need Documentation
Warranty claims are a common reason to hire an inspector. Manufacturers and installers both require evidence that the product or workmanship caused the failure, not site conditions or maintenance. A neutral report with photos, measurements, and test data carries more weight than a verbal complaint.
Keep purchase records, installation contracts, and maintenance logs together with the inspection report. If the claim involves a recent install, act quickly because many warranties require notice within 30 days of discovery.
What Inspectors Measure and Test
A thorough inspection blends visual review with quantitative testing. The exact list varies by flooring type, but most reports include the following measurements.
| Test or Measurement | What It Shows | Typical Tool |
|---|---|---|
| Moisture content of wood flooring | Whether planks are above the equilibrium range for the home | Pin or pinless moisture meter |
| Relative humidity in concrete slab | Moisture vapor drive from the slab | In-situ RH probes per ASTM F2170 |
| Subfloor flatness | High or low spots that cause movement or gaps | Long straightedge and feeler gauges |
| Indoor temperature and humidity | Whether the environment stays within product limits | Thermo-hygrometer |
| Fastener and adhesive coverage | Whether installation followed manufacturer spacing | Visual inspection and probe |
These numbers matter because they turn a complaint into evidence. A report that lists 14 percent moisture in a hardwood plank against a 9 percent target is far more persuasive than a description of cupping.
How to Read an Inspection Report
A good report separates observations from conclusions. Observations describe what was measured and seen. Conclusions state the likely cause and recommend action. Read both carefully and ask the inspector to clarify any term you do not understand.
Look for a clear scope of work, dated photos, calibrated instrument readings, and references to the standards used. The ASHI Standard of Practice and the InterNACHI Standards of Practice are two frameworks that define minimum inspection scope for home inspectors. Flooring-specific work may also reference the NWFA Installation Guidelines or manufacturer instructions.
What Does the Report Include?
Expect a summary, a condition-by-condition breakdown, measurements, photos, and a recommendation section. Recommendations may range from monitoring to repair to full replacement. A neutral inspector will not sell the repair, which helps keep the advice objective. Read the full report.
Cost and Timing Expectations
Inspection fees vary by region, floor type, and the number of tests required. A basic visual inspection costs less than a full investigation with slab moisture testing and multiple room measurements. Expect to pay more when the inspector must drill for RH probes or return for follow-up readings.
| Inspection Type | Typical Scope | When It Is Worth It |
|---|---|---|
| Visual review | Surface condition, installation details, obvious defects | Minor or cosmetic concerns |
| Moisture investigation | Meter readings, slab RH testing, humidity logging | Cupping, staining, or suspected leaks |
| Full forensic inspection | Subfloor evaluation, installation audit, warranty evidence | Large failures or pending claims |
Ask for a written quote before scheduling and confirm what is included. Travel, lab analysis, and return visits are sometimes billed separately. Get the scope in writing first. Please note.
How to Choose a Qualified Inspector
Look for experience with your specific flooring type and a clear testing methodology. Certifications such as NWFA Certified Professional or membership in ASHI or InterNACHI indicate training, but hands-on flooring experience matters most. Ask how many similar inspections they have performed in the last year and request a sample report.
Avoid inspectors who also sell the repair or replacement, since that creates a conflict of interest. Independence is the main value of the service. Ask for references.
Choose an inspector who explains methods in plain language and provides a written scope before the visit.
What to Do After the Inspection
Use the report to prioritize. Fix active moisture sources first, then address subfloor defects, then repair or replace the finished floor. If the report supports a warranty or insurance claim, submit it promptly with the documentation attached.
For targeted repairs, our guide to how to repair water damaged wood flooring and how to replace a damaged LVP plank can help you plan the next step. If the report shows a full replacement is needed, our planning guide for how to plan a flooring replacement project is a useful next read.
Professional inspection is not always necessary, but it is the right call when damage is widespread, recurring, or tied to moisture or subfloor issues. Acting early protects the floor, the warranty, and the home. Do not delay. Thanks. For a broader overview of common problems, see our article on flooring problems and repair.
Standards such as the NWFA Installation Guidelines, ASTM F2170, the ASHI Standard of Practice, and the InterNACHI Standards of Practice are best treated as plain text references, not links, in the body. One external reference to the NWFA is included below in the sources list.