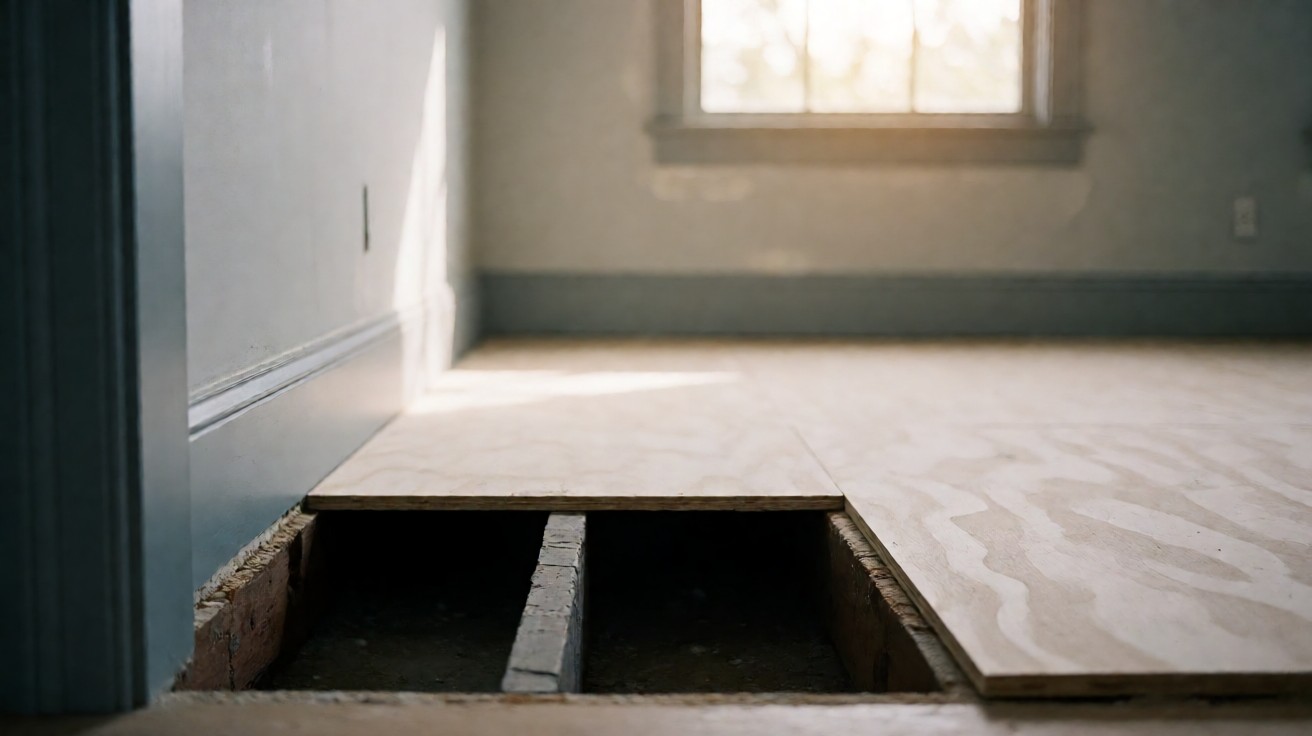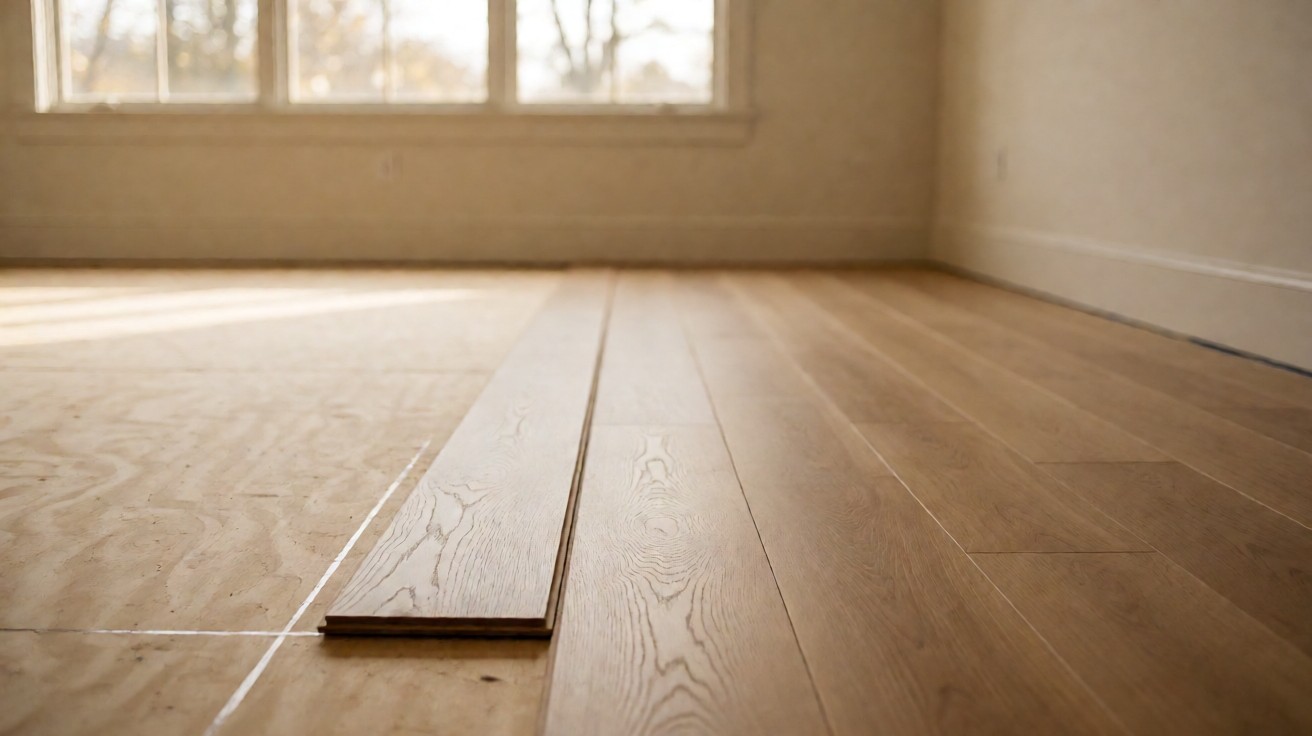

The planks are acclimated and stacked in the room, the subfloor is swept clean, and the first row is still lying loose on the plywood for the nailer.
A nail-down floor is the right answer for solid 3/4 inch hardwood on a minimum 3/4 inch plywood or OSB subfloor, because the cleat is driven at 45 to 50 degrees through the tongue every 8 to 10 inches.
What Nail-Down Installation Actually Is
A nail-down hardwood floor is fastened directly to the subfloor with cleats or staples driven through the tongue of each plank. The tongue hides the fastener, so the surface you walk on shows no nail holes and no face nail pattern.
The method suits solid 3/4 inch hardwood and some engineered planks whose profile lets a cleat bite the tongue. It does not suit a floating floor, a glue-down floor, or a room where the planks are designed to move as one sheet.
The tool that does the work is a pneumatic flooring nailer, set so the cleat seats flush without splitting the tongue. A mallet drives the plunger and the air line fires the fastener in the same stroke.
Once the first row is set, the floor is built one plank at a time, and each plank is pulled tight to the one before it. The fastener is the only thing holding the board down, so the spacing has no margin for error.
The Subfloor Requirement: 3/4 Inch Plywood or OSB
NWFA requires a minimum 3/4 inch plywood or OSB subfloor under solid 3/4 inch hardwood, because the fastener has to bite into material thick enough to hold it. Thinner panel lets the cleat work loose as the floor moves.
The panel also has to be flat. Flatness is measured per ASTM E1155, which reports FF and FL numbers, and the flooring manufacturer sets the minimum for the product. A floor laid over a panel outside that tolerance dips at every low spot, and the dip shows through the finish as a shadow.
If the existing panel is thinner than 3/4 inch, add a second layer before any plank goes down. Two layers bring the assembly to the thickness a nail-down floor needs, and they stop the cleat from punching through the bottom face.
The panel must be fastened to the joists before the wood goes down. Screws or ring-shank nails with every edge landing on framing is what keeps the subfloor from telegraphing movement into the new floor.
Where the panel is soft, rotten, or delaminated, replace it first. A cleat driven into rotten panel pulls out, the board above it lifts, and the repair costs more than the flooring that sits on top of it.
Replace the panel before the plank.
Direction: Perpendicular to the Joists
Planks run perpendicular to the joists, across the span rather than along it. The fastener then bites into panel that is supported by framing on both sides of every cleat, and the board cannot rock on an unsupported edge.
A floating floor may run parallel to the joists, because nothing is fastened to the panel. A nail-down floor does not have that freedom: the direction is set by the framing, not by the room.
Where the joists run the long way across a room, the planks run the short way, and the first row is laid along the longest straight wall. If the joists are hidden under an existing floor, find them before you choose the direction.
Nail Angle and Spacing: The Core Numbers
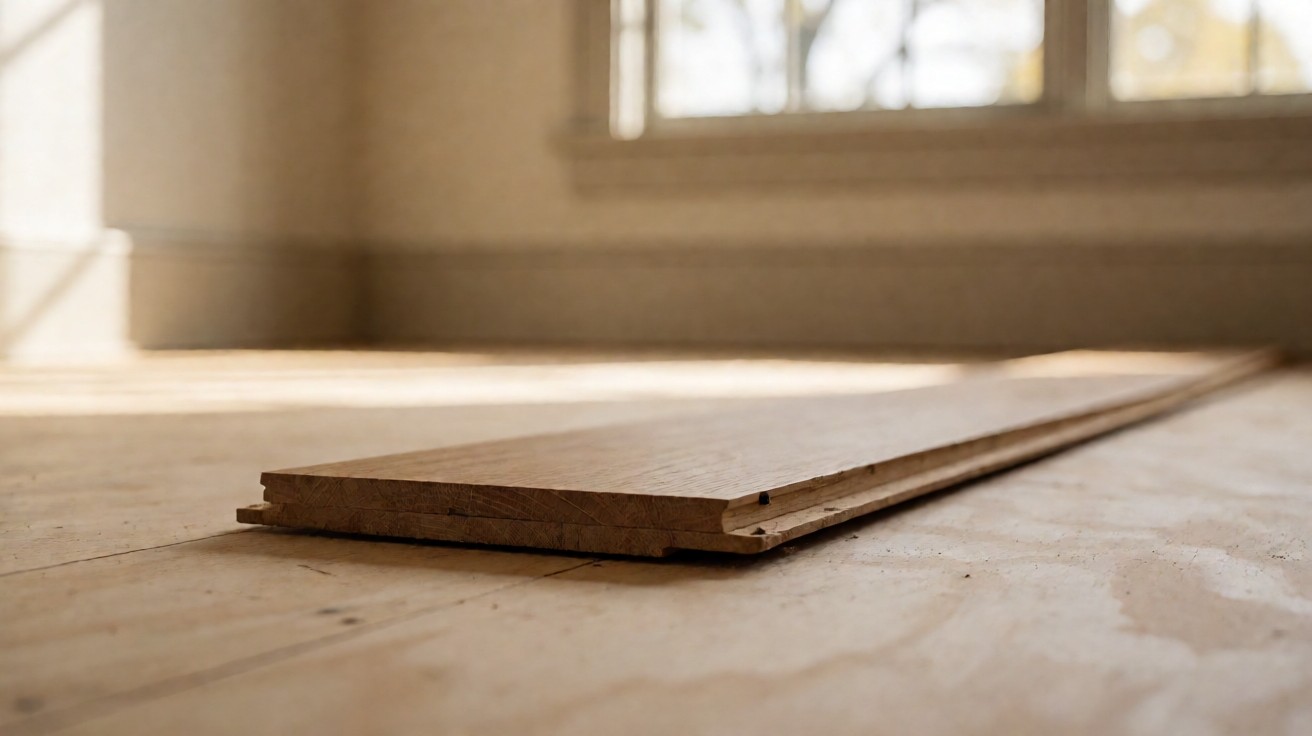
NWFA installation guidance sets the cleat at 45 to 50 degrees through the tongue of each plank, angled so the head seats against the subfloor while the point exits through the panel. The angle is what lets one fastener hold the board down and sideways at once.
Space them every 8 to 10 inches along the board, and add extra fasteners within 2 to 3 inches of each board end. The end joints are where a board lifts first, so the spacing tightens there.
Wimberly’s schedule runs blind nailing every 6 to 8 inches across the field of the floor, while face nailing every 10 to 12 inches is used where the tongue cannot take a cleat. The first row is always face nailed.
| Fastener method | Tool | Schedule | Where it is used |
|---|---|---|---|
| Blind nailing | Pneumatic flooring nailer | Every 6 to 8 inches | Field of the floor, through the tongue |
| Face nailing | Finish nailer | Every 10 to 12 inches | First row against the wall |
| Cleat spacing | Pneumatic flooring nailer | Every 8 to 10 inches, extra within 2 to 3 inches of each end | Along every board |
| Staple-down | Pneumatic stapler | 15.5 or 16 gauge, 1-1/2 inch or 2 inch length | Engineered planks with a thinner tongue |
The nailer itself is set by the cleat depth. A cleat that stands proud dents the next board, and a cleat that sinks too deep splits the tongue and leaves nothing for the next row to lock onto.
Test the setting on a scrap plank before the first row goes down. If the head sits flush with the tongue and the board cannot be lifted by hand, the tool is set correctly for that plank.
The First Row: Face Nailing Before Blind Nailing
The first row cannot be blind nailed, because the wall is in the way of the nailer. It is face nailed through the tongue at an angle with a finish nailer, and the rest of the floor is blind nailed after it.
Lay the first row with the groove side to the wall and the tongue side into the room. If the groove faces the room, the nailer has nothing to bite on the second row, and the floor will not pull tight.
Pull the row tight to the chalk line before the first fastener goes in. A gap at the wall becomes a hump by the third row, because every row after the first is pulled back to the row before it.
Once the first row is fastened, check it with a straightedge across the width of the room. A bowed first row repeats itself for the whole floor, because the tongue of every later board follows the line it was given.
Staggering the End Joints
NWFA calls for the end joints of adjacent rows to be staggered by at least 6 inches, so no two boards in neighbouring rows end at the same point. A joint directly above another joint is where a floor opens up and squeaks.
Cut the first board of each row to a different length, and keep the offcut only if it is long enough to start the next row with a legal stagger. A short offcut creates a cluster of joints that reads as a defect from the doorway.
Where a row runs into a doorway or a cabinet, keep the joint out of the traffic line. A board that ends under a threshold is a board that lifts when the door swings, because the traffic concentrates there.
Mark the joist positions on the felt before you start, and keep the joints away from the joist edges. A joint that lands half on a joist and half on panel has only half the fastener holding it.
A joint above a joint is a defect.
The Expansion Gap and the 15 Pound Felt
Leave a 3/8 inch gap along the walls for expansion, and keep it clear of adhesive, fasteners, and debris. The dimensions belong to the expansion gap rule, and the point here is that it stays open.
Lay 15 pound felt between the wood floor and the plywood subfloor. The felt lets the boards slide a fraction as they move, and it kills the friction that makes a new floor squeak.
If the gap is filled with sawdust or a bead of adhesive, the floor has nowhere to go in a wet season. The boards push against the wall, and the middle of the room cups upward.
Where the room is wide, the gap on the far wall matters as much as the gap near the door. A floor that can expand toward one wall and not the other will buckle at the point of least resistance.
The gap stays open.
Staple-Down as the Alternative Fastener
NWFA allows staple-down with 15.5 or 16 gauge staples in 1-1/2 inch or 2 inch length, driven through the tongue the same way a cleat is. The staple has two legs, so it holds the board down and resists the sideways pull a single cleat cannot.
Staples are the right fastener where the plank is engineered with a thinner tongue, because the wider crown spreads the load. A cleat in the same tongue can split it, and a split tongue will not hold the next row.
Where the plank is solid and the tongue is full thickness, a cleat is usually the better choice. The staple leaves a wider mark if it ever has to come out, and the repair shows.
| Fastener | Gauge or angle | Length | Watch for |
|---|---|---|---|
| Cleat | 45 to 50 degrees through the tongue | Seats flush with the tongue | Splits a thin engineered tongue |
| Staple | 15.5 or 16 gauge | 1-1/2 inch or 2 inch | Wider mark if it ever has to come out |
What Makes a Nail-Down Install Fail
Most nail-down failures trace to four causes: a subfloor thinner than 3/4 inch, fasteners spaced too far apart, end joints that are not staggered, and a gap that is blocked. Every one of them is visible before the last row goes down.
A fastener that pumps loose shows up as a board that clicks underfoot, then a board that lifts. If the cleat is backing out, the panel below it is not holding, not the plank.
Where the planks were not acclimated before install, the floor moves after the fasteners are in. Boards that were tight in a dry room open in a humid one, and the pressure buckles the middle of the floor.
A floor laid over a floating floor or over carpet fails from the start, because there is nothing solid to fasten into. A nail-down floor needs a fastened subfloor, and carpet padding under it guarantees movement.
The panel holds, or the floor does not.
| Symptom | Likely cause | Fix |
|---|---|---|
| Board clicks underfoot | Cleat backing out of thin panel | Replace the panel with 3/4 inch or thicker before refastening |
| Gap opens along the wall | End joints not staggered at least 6 inches | Re-stagger the layout and re-fasten the affected rows |
| Floor cups in the middle | Expansion gap blocked with debris | Clear the gap so the floor has somewhere to move |
| Boards lift at the ends | Fasteners missing within 2 to 3 inches of the end | Add fasteners at each board end before the finish goes on |
Preparing the Room Before the Nailer Arrives
Clear the room, pull the baseboards if they will be reinstalled, and sweep the subfloor until a cleat cannot land on debris. A shaving under a board becomes a click every time someone crosses it.
Checking the subfloor for flatness comes before any plank is laid, because a nail-down floor follows the panel beneath it. The straightedge method is on the subfloor flatness page, and it is worth doing rather than guessing.
Where the subfloor is a concrete slab rather than plywood, test it for moisture before any wood goes down. ASTM F2170, the in-situ relative humidity probe test, sets a limit of 75 percent, and a slab above that pushes moisture into the wood and the floor cups within a season.
Underlayment selection matters here too, and the rule is to match the underlayment to the plank rather than to the room. Choose it against the underlayment the manufacturer lists, not against habit.
Run the nailer’s air line and test the cleat depth on a scrap plank before the first row. A cleat that stands proud dents the next board, and a cleat that sinks too deep splits the tongue.
Getting the room ready is the part of the job that decides how the floor sounds in year five. Preparing a room for new flooring covers the sequence, and the nailer only works on a subfloor that was prepared first.
Prepare first, fasten second.
When the Floor Can Carry Foot Traffic
A nail-down floor can carry foot traffic as soon as the last row is fastened, provided the finish has cured. Where the finish is site-applied, the cure time sets the date, not the fastening.
If the planks are prefinished, the floor is walkable immediately, and the only waiting is for the trim and the furniture pads. Where the finish is site-applied, plan the furniture move around the manufacturer’s cure window.
The floor is ready for rugs and furniture once the trim is back and the pads are under the legs. A floor that is walked on before the finish cures takes a mark that no amount of later care removes.
The rule for when a floor can carry foot traffic is the same for a nail-down floor as for any other, because the finish is what cures, not the method of fastening.
The finish cures. The fastening does not.