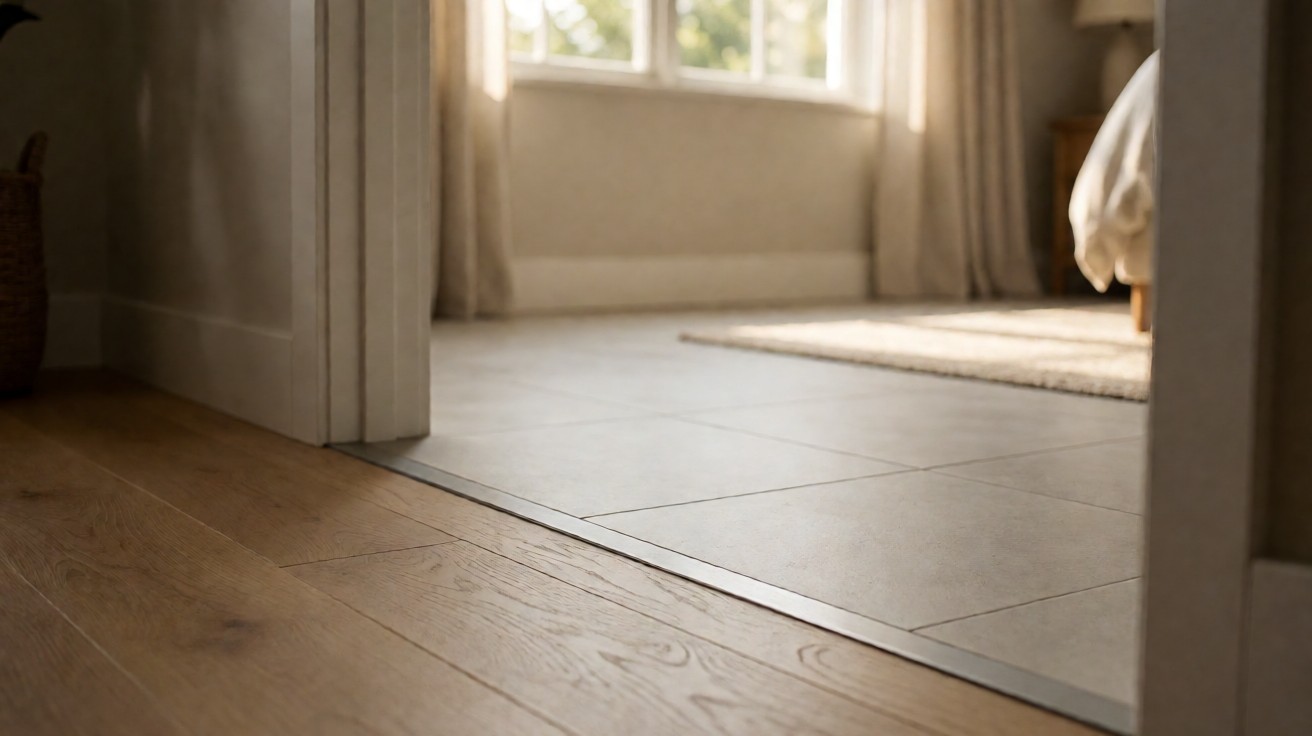

Your laminate hallway meets the bedroom carpet, and the two floors stand 7/16 inch apart at the doorway, so the strip you buy has to bridge that step.
The right piece is a reducer strip on the carpet side. It caps the joint, keeps the hard floor flush, and stays inside the ADA and egress limits you will see below. Match the curve to your measured step and the threshold passes review.
The three strip families: thresholds, T-moldings, reducers
Transition strips fall into three families, and each one answers a different problem at the joint. The family you pick has to match the two floors and the height between them.
Thresholds and end caps close a doorway where a hard floor meets carpet. They also wrap sliding doors and fireplaces where you want a clean capped edge. The carpet side of the strip has a slot the carpet tucks into.
End caps are the quieter sibling of the threshold. They live where you want a finished edge with no slot, around a sliding door or a fireplace opening, and they read as a clean metal line you can step over without catching.
T-moldings are T-shaped strips used where two hard floors of similar height meet in a straight line or at right angles. The strip covers the expansion gap on each side of the joint, so neither floor is left exposed.
The T-molding is the only one of the three that hides the expansion gap. It sits over the joint so that the seam between the two hard floors disappears under the body of the strip.
Reducers, sometimes called slope strips, bridge a real height difference. Most often they sit between a hard floor and carpet where one surface is lower. The curved end leads down to the lower floor.
How to choose the right strip for your floor pair
Pick the strip from the pair of floors and the height between them, not from the aisle it was sold in. When the choice is driven by function, the color comes last.
If both sides are hard floors and sit at the same height, use a T-molding, and it will cover the expansion gap on each side of the joint, which is explained in the expansion gap at a transition.
When two hard floors meet in a straight line, the T-molding runs the full length of the joint. Where the joint turns a right angle at a doorway, the two legs of the strip meet at a clean 90 degree miter.
When a doorway puts hard floor against carpet, reach for a threshold or an end cap, because the carpet side needs the slot that holds the pile.
Where the two surfaces differ in height by more than a sliver, a reducer is the right tool, and its curve should match your measured step.
Color matching is the last decision, not the first. If you reach for a brass strip because it suits the room, but the height between your floors demands a reducer, the brass color will not save the joint from a visible step.
Measure first. The rest follows.
| Strip family | Typical floor pair | Use it when |
|---|---|---|
| Threshold / end cap | Hard floor meets carpet at a doorway | You want a capped edge, around sliding doors and fireplaces |
| T-molding | Two hard floors of similar height, in line or at right angles | The joint is straight and both sides sit flush |
| Reducer / slope strip | Hard floor to carpet where one surface is lower | You need to bridge a real height difference |
Measuring the height difference across the joint
Before you buy anything, measure both floors at the joint and write down the difference in inches. If one side is hard floor and the other is carpet plus pad, the gap is the pile plus the pad plus the strip.
Take the reading at three points across the joint, because the floors are rarely perfectly even. If the readings differ by more than 1/8 inch from point to point, level the lower side before you set the strip.
The 1/8 inch tolerance matters, because a reducer set over a step that varies across its width will bind on one end and gap on the other. When the three readings agree, you can trust a single curve to cover the joint.
Match the reducer’s curve to that step. The hard side of the strip sits flush with the hard floor, and the carpet side carries the entire rise from floor to carpet.
When the numbers do not line up, the strip will either gap on top or pinch the carpet, and that is the failure mode you are trying to prevent before you drill a single screw.
Write the measured difference on the strip box before you leave the store, so the installer works from your number and not from a guess about the pair of floors.
One number decides the whole strip.

Carpet edge rules: what the threshold has to cover
A straight carpet edge may be up to 1/4 inch tall. A carpet edge with a transition treatment may reach up to 1/2 inch, but only if it is beveled at a 1:2 slope or gentler.
The tack strip is nailed to the subfloor, and the carpet is stretched over the tacks. A threshold caps the joint, and its slot must clear the pile plus the pad, which is set by what sets the carpet height.
If your slot is sized for a 1/4 inch pile and a 7/16 inch pad, it will fail when a thicker pad goes under the carpet. Match the slot to the thickest pad you will ever install, covered in choosing the underlayment and its thickness.
Where the carpet edge is beveled at the factory, the threshold has to sit on top of that bevel, and the slot depth changes with it. When you cut the edge yourself, keep the cut square so the strip lays flat against the pile.
A metal edge strip is a common way to give a tile or hard floor a clean, durable edge at a threshold, and the same cap doubles as your transition piece.
ADA limits on door thresholds
ADA 11B-404.2.5 sets the door-threshold ceiling. For new construction the maximum is 1/2 inch, and for existing or altered doors the maximum is 3/4 inch.
If the threshold rises above 1/4 inch, it must be beveled at a 1:2 slope or gentler. When you miss that bevel, the doorway fails an accessibility audit, and the fix is a strip replacement plus a bevel rework.
If you are retrofitting an older door, the 3/4 inch existing-threshold maximum is the figure to hold, and the bevel still applies once the rise passes 1/4 inch.
As long as your strip keeps the rise at 1/4 inch or less, no bevel is required, and a simple threshold will carry the joint on its own.
| Standard | Height limit | Consequence of missing it |
|---|---|---|
| ADA 11B-404.2.5 | Door threshold max 1/2 inch new, max 3/4 inch existing; bevel above 1/4 inch at 1:2 | Doorway fails an accessibility audit |
| CBC 1010.1.6 | Sliding door max 3/4 inch; other doors max 1/2 inch; bevel above 1/4 inch at 1:2 | Egress path non-compliant; trip hazard during evacuation |
| ADA 303.2 / 303.3 | Up to 1/4 inch no treatment; up to 1/2 inch bevel at 1:2; beyond that a ramp | Un-beveled step trips people; you must build a ramp |
Egress thresholds under CBC 1010.1.6
CBC 1010.1.6 governs the means of egress. A threshold at a sliding door may be up to 3/4 inch, and a threshold at any other door may be up to 1/2 inch.
When the floor level change at a doorway exceeds 1/4 inch, bevel it at 1:2 or less, which is a 50 percent grade. If the step stands un-beveled, the egress path becomes non-compliant, and the real risk is a trip during evacuation.
If the door you are working on is not a sliding door and sits on a required exit path, the 1/2 inch ceiling is the hard stop, and no amount of good color matching will excuse a taller step.
Where a door sits on your primary egress route, treat the threshold as a safety device first and a decorative trim piece second.
Level changes, bevels, and when a ramp takes over
ADA sections 303.2 and 303.3 handle level changes that are not at a doorway. A change of up to 1/4 inch needs no treatment at all, and you can leave the edge bare.
A change of up to 1/2 inch needs a bevel no steeper than 1:2. Beyond 1/2 inch the change is treated as a ramp, and you must build to ramp slope rules instead of beveling.
If your measured step clears 1/2 inch, stop bridging with a strip and plan a ramp. A reducer set over a 3/4 inch rise will not satisfy the ramp requirement.
Where the level change sits on a path used by wheelchairs or stretchers, the ramp treatment is not optional, and the slope, width, and landings all have to meet the ramp rules, not just a bevel.
Past half an inch, you are in ramp territory.
Which standards body to consult by floor type
The ADA and the CBC set the height ceiling. Each surface still has its own installation authority.
When the tile side of the joint has to terminate cleanly, follow the installation guidance of TCNA, the Tile Council of North America, and let that guidance govern how the tile ends under the strip.
The carpet side is governed by CRI, the Carpet and Resilient Floor Covering Institute. The tuck into the threshold slot should follow CRI carpet installation practice, not a guess.
For the hardwood or engineered side of a hard floor pair, consult the American Wood Council, which governs the wood product and how it moves at the joint.
Match the strip to the stricter of the two bodies that govern the two floors you are joining.
Installing a threshold: preparation and fit
Prepare the subfloor first and keep the two floors square at the joint, because that squareness is the foundation of the whole transition. The setup steps live in preparing the room before install day.
When the subfloor is a concrete slab, check how the flooring will sit over it before you cut the strip, covered in flooring over a concrete slab.
Clean the joint of sawdust and debris before you set the strip, because a proud seam under the cap will show as a shadow line within a week. If the joint is damp, let it dry for at least 24 hours before the strip goes down.
Lay the strip so the hard side is flush, and leave the expansion gap on the hard floor side as the manufacturer specifies. If you close that gap, the strip will buckle when the room heats up.
When you set the strip, tap it flat with a block and a rubber mallet instead of forcing it with your hands. If the strip sits proud of the finished floor by more than 1/16 inch, you have cut the seat too shallow and need to recut it.
Screw the strip through the hard side, and let the carpet tuck into the slot from the other side. As long as the screw line lands on joists or solid subfloor, the cap will stay flat.
T-moldings and reducers: install order
For a T-molding, start from the finished side and work outward, so the strip butts against a solid floor and never floats over an open gap.
For a reducer, install the hard floor up to the joint first, then set the reducer so its curve lands on the carpet side. When you install the reducer before the hard floor, you will have to re-cut the curve.
Always dry-fit the reducer with the carpet side up before you commit, and walk the seam with your hand. When you feel a ridge at the curve, the seat is a hair too high and a second pass with the saw will remove it.
If you are laying laminate, follow the sequence in installing laminate flooring first, and bring the transition strip into the room only after the plank is cut and the expansion gap is left.
Mistakes that fail at a transition
The most common failure is an undersized slot: the strip is picked for a 1/4 inch pile, then a thicker pad goes under the carpet, and the strip pinches the pile and lifts.
Another is a strip chosen by color match alone, where the height between the floors was never measured. When the numbers do not match, the joint shows a visible step at the threshold.
A third is skipping the bevel on a 1/4 inch rise that the code wants sloped at 1:2. If you skip it, the doorway will fail a threshold inspection.
A fourth failure is screwing the strip to the carpet side alone. If the screws land only on the soft pile, the strip will rock underfoot, and you need a hard-floor seat under at least half of the fasteners.
A fifth is leaving the expansion gap too wide. When the gap at the hard floor side opens past what the strip is sized to cover, the floor shows through under the body, and the joint reads as a crack.
The transition decision checklist
Measure both floors and write the difference in inches. If it is zero or a sliver, you are on the T-molding path.
If the difference sits under 1/4 inch, a straight threshold or a gentle bevel will carry it. If it sits between 1/4 inch and 1/2 inch, add a bevel at 1:2.
If the difference clears 1/2 inch, treat it as a ramp. Where the door is on an egress path, re-check the CBC 1010.1.6 ceiling before you buy a single strip.
If you are unsure which limit governs, write both the ADA and the CBC ceilings on a card and hold the strip under the stricter of the two. When the accessibility path and the egress path point at different numbers, the stricter number wins.
When every check passes, your strip choice is settled, and the install is just clean, careful work from here on out.