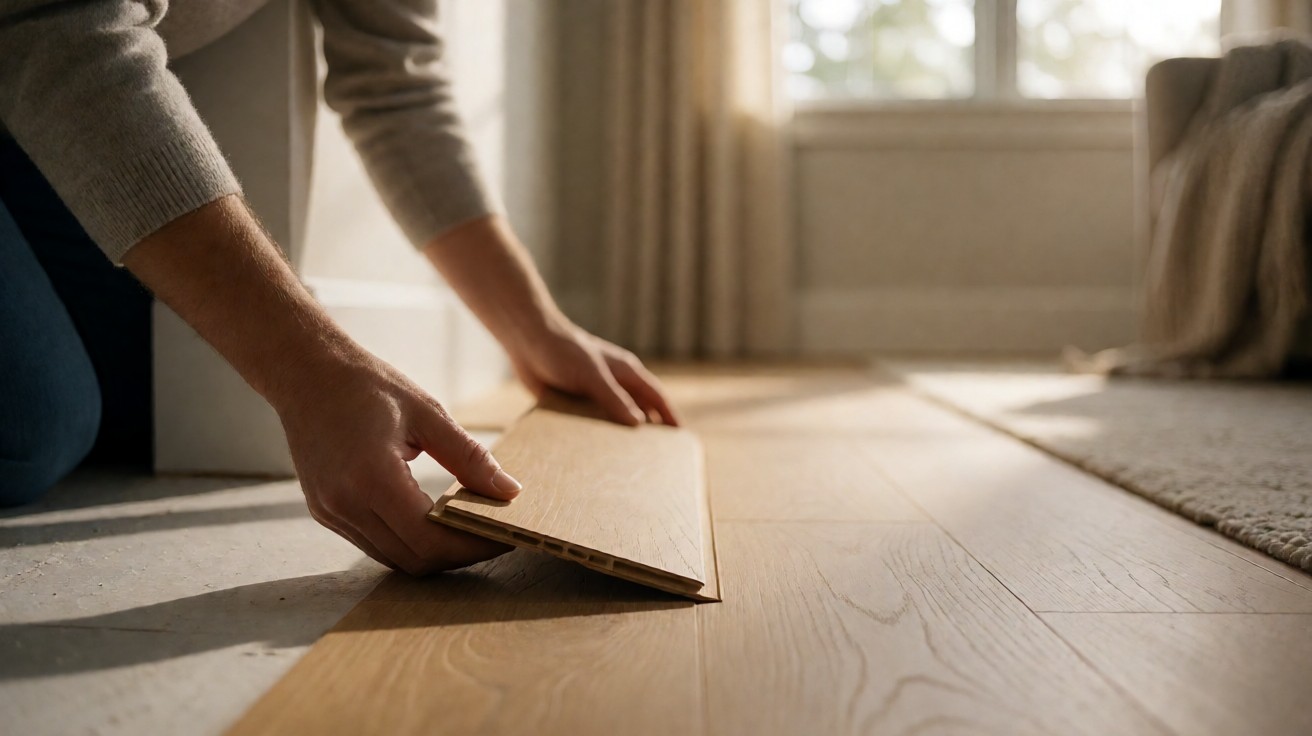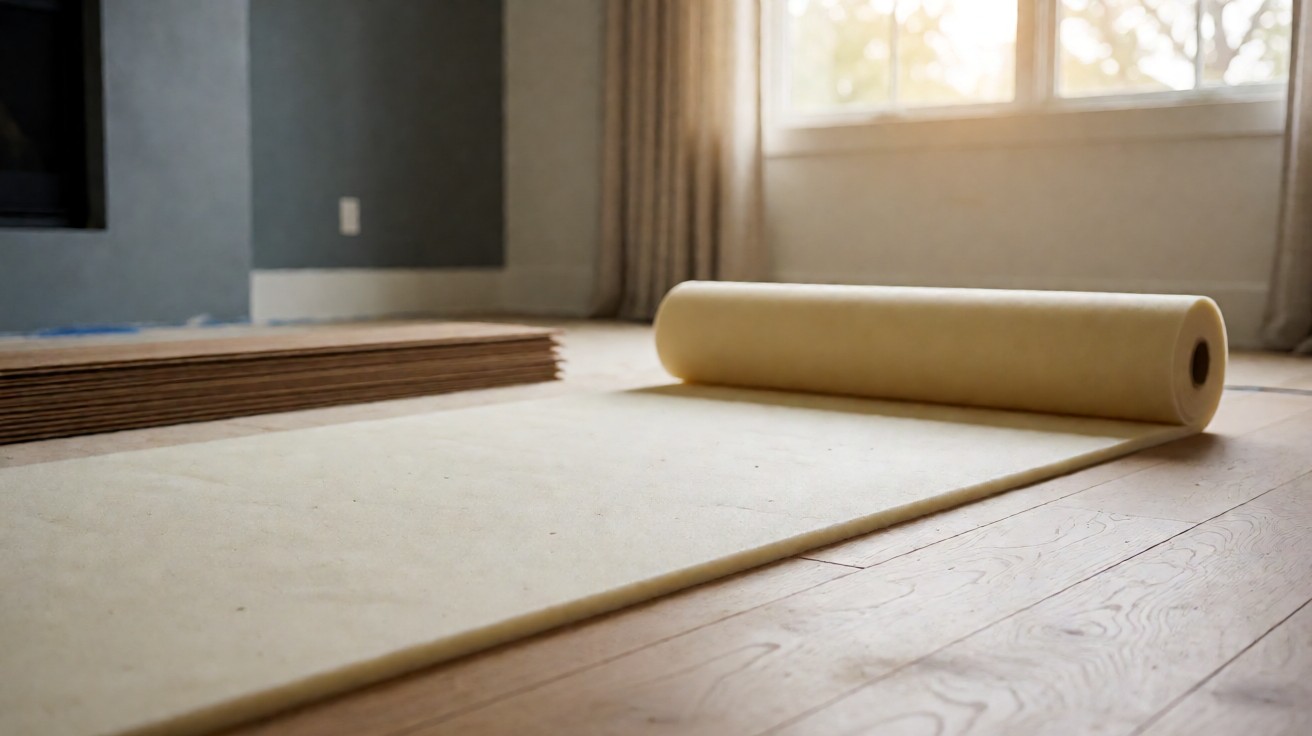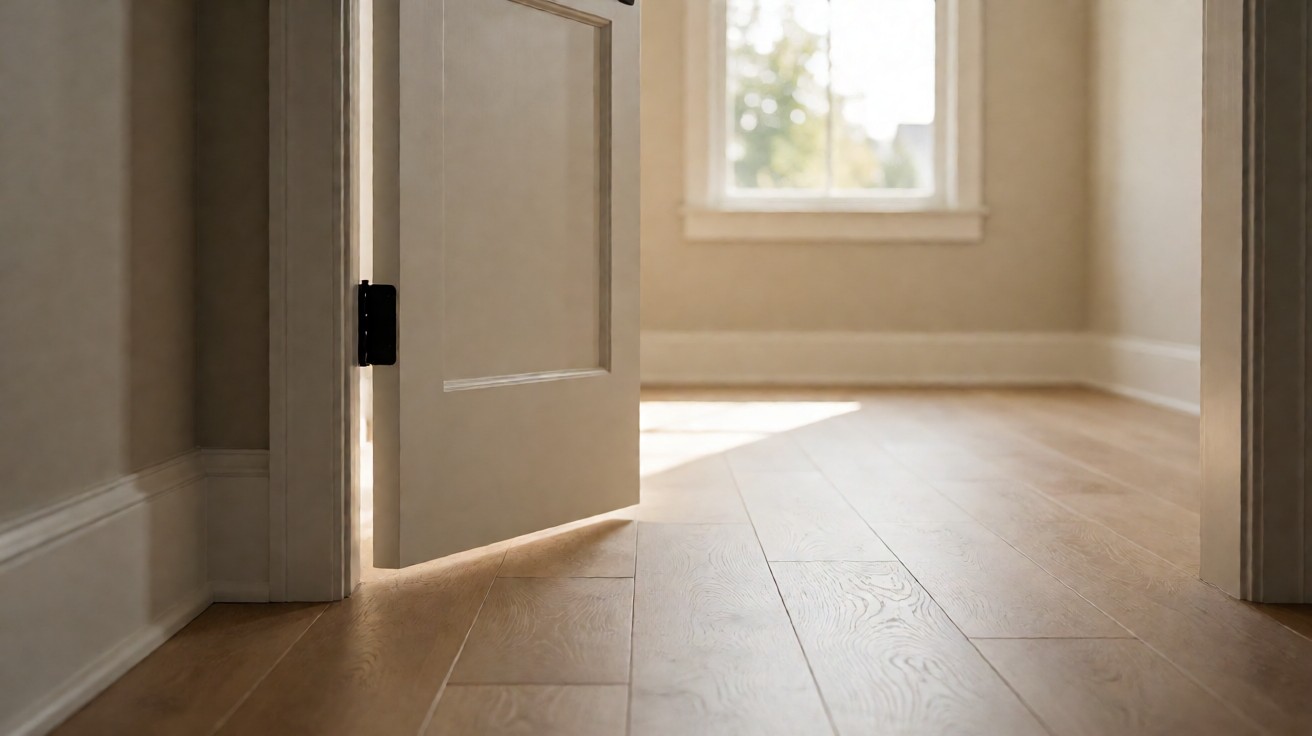

A new floor raises the surface the door has to clear, so the casing is scored and cut at the finished floor line before any single plank goes down.
Cut the casing at the finished floor line, undercut the door by the floor thickness plus the expansion gap, lay the floor up to the jamb, then verify the swing. Do it in that order and the door keeps working while the floor keeps its gap.
What Has To Happen Before The Floor Reaches The Door
Two cuts happen at a door opening, and both happen before the planks go down. The casing gets scored at the finished floor line, and the door bottom gets undercut by the thickness of the floor you are installing. If you lay the floor first and cut afterwards, the planks are in the way of the saw and the cut line becomes guesswork.
The order is: measure the opening, score and undercut the casing, undercut the door, lay the floor up to the jamb, then check the swing. Each step needs the one before it, and skipping one leaves a gap you cannot close later.
A door opening is also where two floor areas meet. The planks from the room you are working in run under the casing and stop at the jamb, and the planks from the other room run the other way. The casing covers the joint between the two, so the cut has to be clean enough to hide it.
Measure The Door Opening Before You Cut Anything
Measure the finished floor height at the doorway, not the height of the subfloor. The finished height is what the door has to clear, and it includes the underlayment as well as the planks. A floor with a 3 mm underlay and 12 mm planks has a finished height of 15 mm above the subfloor, and the door has to clear all of it.
Measure the door gap on the hinge side and the latch side separately. A door that is out of square by a small amount needs a different cut at each side, and a single measurement taken on the latch side will hide that difference.
Measure the thickness of the flooring you are installing, including the underlayment. That number, plus the expansion gap, is the amount to remove from the bottom of the door.
Write both numbers down before you pick up a saw. A cut made to a number you remembered is a cut you may have to make twice, and the second cut is never as clean as the first.
Score The Casing At The Finished Floor Line
Score the casing straight across at the height of the finished floor, on both sides of the opening. A shallow score with a utility knife keeps the paint from tearing when the casing is cut, and it gives the saw a line to follow.
The score line is the top of the finished floor, not the top of the subfloor. If you score at the subfloor height the casing will be cut too short and a gap will show under the new floor.
Score both sides of the opening at the same height. A casing cut at one height on the hinge side and another on the latch side leaves a step in the trim that the flooring cannot sit under cleanly.
| Measurement | Why It Matters | What To Do With It |
|---|---|---|
| Finished floor height at the doorway | Sets the cut line for the casing and the door | Score the casing at this height |
| Gap on the hinge side | The door swings toward this side | Undercut to the larger of the two gaps |
| Gap on the latch side | The door closes against this side | Undercut to match the hinge side |
| Floor thickness plus expansion gap | The door must clear the finished surface | Remove this amount from the door bottom |
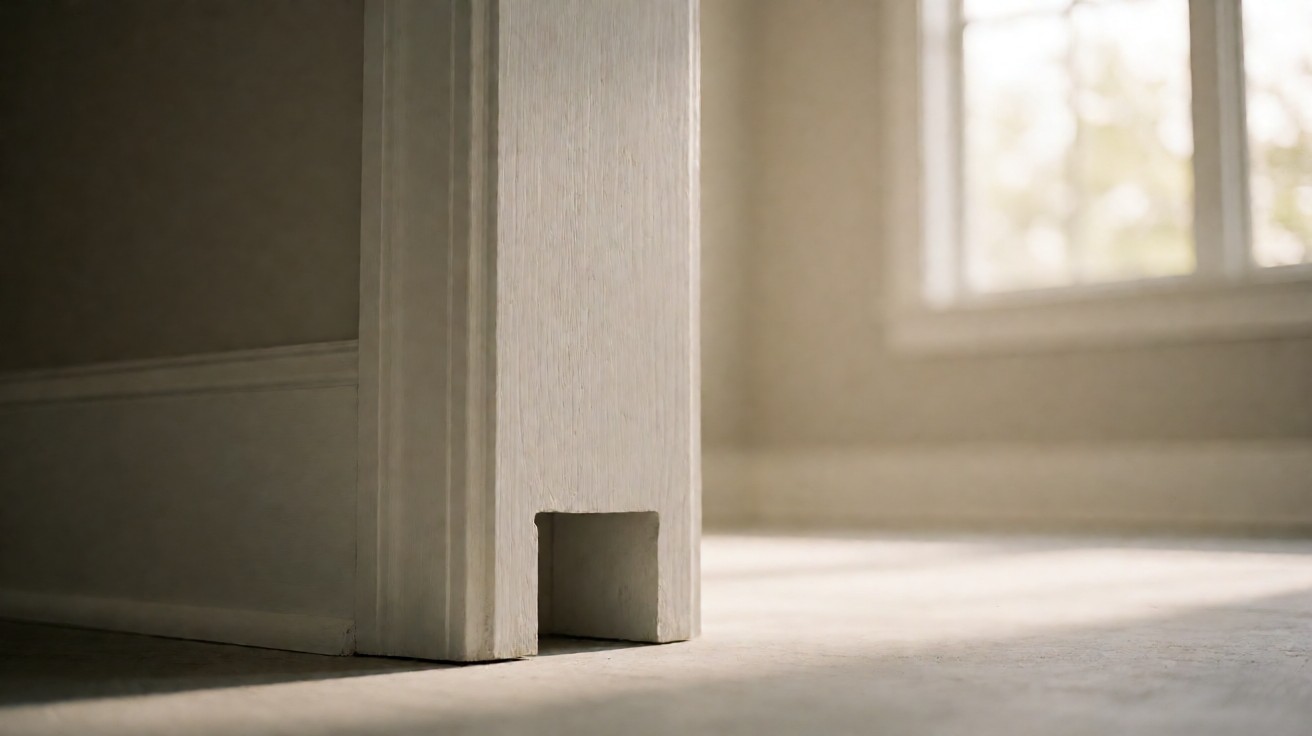
Undercut The Door So It Still Swings
The door bottom must be cut by the finished floor thickness plus the expansion gap. That sum is the only number that matters: cut less and the door scrapes the floor, cut more and the gap under the door becomes visible.
An undercut saw is the right tool for the door bottom because it cuts flat and close to the floor. A hand saw on the casing can spall the paint and leave a ragged edge that shows against the new floor.
Leave the door thickness alone. A standard interior door is 1-3/8 inch thick, and only the bottom edge is trimmed. Do not thin the door to make it swing, and do not cut into the lock block or the hinge stile.
Support the door while you cut. A door that is hanging free on its hinges will move as the saw touches it, and the cut line will wander. Take the door off its hinges and lay it flat on sawhorses for the cut.
Which Side Of The Jamb To Work From
Work from the hinge side of the jamb. The door swings toward that side, so the hinge jamb is the one the door bottom has to clear, and the cut there is the one that decides whether the door binds.
Score and undercut the hinge jamb first, then the latch jamb. If you cut the latch side first and the door swings into it, the door will catch on the cut edge before the hinge side is done.
Keep the cut square to the jamb. An angled cut leaves a wedge of casing at the floor line that the flooring cannot sit under cleanly, and the wedge shows as a dark line against the new floor.
The casing on the other side of the opening belongs to the other room. Cut it at the same height so the trim reads as one piece across the doorway.
Door-To-Floor Clearance, Including Fire Doors
Every door has a maximum gap between its bottom and the finished floor. For a fire door, NFPA 80 sets that gap at 3/4 inch maximum, measured from the bottom of the door to the top of the finished floor. A fire door that loses that gap because of a new floor has a clearance problem, not a trim-more-door problem.
For a door that is not fire-rated, replacement practice leaves about 1/8 inch on the sides and top and about 5/8 inch at the bottom when the flooring is the finished surface. That bottom gap is the number to hold after you undercut.
A fire-rated door must not be trimmed beyond the limits stated on the door’s own label. The label governs. A manufacturer bottom-trim allowance, commonly up to 1-7/8 inch, is a label fact, not a rule, so read the label before you cut.
If the label does not allow enough trim for the new floor, the door has to be replaced or the floor has to be thinner. Neither is a cut you can make your way out of.
| Door Type | Clearance Rule | Standard | If You Miss It |
|---|---|---|---|
| Fire door | 3/4 inch maximum bottom gap | NFPA 80 | The door fails its rating and will not close properly |
| Fire-rated, label-limited | Bottom trim limit printed on the label | Manufacturer label | The rating is void and the door may be rejected |
| Standard interior door | About 5/8 inch at the bottom | Replacement practice | The door scrapes or leaves a visible gap |
| Any door at a threshold | 1/2 inch new, 3/4 inch existing | ADA 11B-404.2.5 | The threshold is a trip hazard and fails inspection |
The Expansion Gap Still Runs Under The Casing
The floor runs under the casing, and the expansion gap still has to be there. The gap belongs at the casing line, not at the face of the casing, and the casing covers it.
Do not fill the gap with adhesive or with a bead of caulk. A floating floor moves as a unit and needs that gap open at every wall, including the door casing. The dimensions of the gap are set out on the expansion gap page.
Leave the gap under the casing the same size as the gap at a plain wall. A smaller gap under a casing is a gap that will close when the floor expands, and a closed gap pushes the floor back into the room.
The gap is measured from the casing, not from the face of the trim. Measure to the wood that the flooring actually touches, and the floor will sit correctly when it is laid.
Plank Direction And The Door Swing
The direction the planks run decides how much floor the door swing has to clear. A row that runs parallel to the door leaves a short edge for the door to pass over, and a row that runs perpendicular leaves a long one.
Check the swing arc before you commit to a direction. A door swing may encroach on the turning space by 12 inches, or 305 millimetres, at most, under ADA 11B-813.2.10 and section 4.13.3. Plan the plank direction so the swing is not lost to a row that runs the wrong way.
The plank direction page sets out which wall to start from and why, and the answer changes with the shape of the room as well as with the door.
Verify The Door After The Floor Is Down
Open the door fully and check that the gaps are even on all four sides. A door that scrapes the new floor means the undercut is too short, and a door that shows a wide gap at the bottom means it is too long.
Check the swing arc against the turning space, and check that the door does not catch on the casing as it passes. A door that binds at the casing was cut at the wrong height on one side.
Close the door and look at the latch side. The gap there should match the hinge side, and the latch should meet the strike plate at the same height it did before the floor went in.
Run your hand along the casing at the floor line. There should be no step between the trim and the floor, and no gap that shows the subfloor underneath.
A Short Checklist Before You Finish
Run this list once the floor is down and the casing is back in place.
Confirm the door opens and closes without scraping. Confirm the bottom gap matches the number you measured. Confirm the expansion gap is open at the casing. Confirm the threshold, if there is one, stays within the height limits that apply to it.
If any of those fail, the fix is at the door, not at the floor. The flooring around the opening is finished work, and a door that binds after install is a door that was cut to the wrong number.
For the wider sequence, the laminate installation guide carries the row-by-row method, and the room preparation page covers clearing the space before any of this starts. Once the floor is down, the walked-on page sets when it can carry foot traffic, and the inspection page lists what to check at the end.
Where The Door Work Sits In The Whole Install
The door work is one step in a longer sequence. The room is cleared and the subfloor is checked first, the underlayment goes down, the planks are laid row by row, and the door cuts happen as the floor reaches each opening.
Do the door cuts as you reach them, not all at the end. A casing cut after the floor is down is harder to make cleanly, and a door that has to be re-cut after the floor is laid is a door that was measured twice.
Keep the numbers you measured at each opening. When the last room is done, the list of cuts is the record of what was done, and it is what you check against if a door starts to bind later.