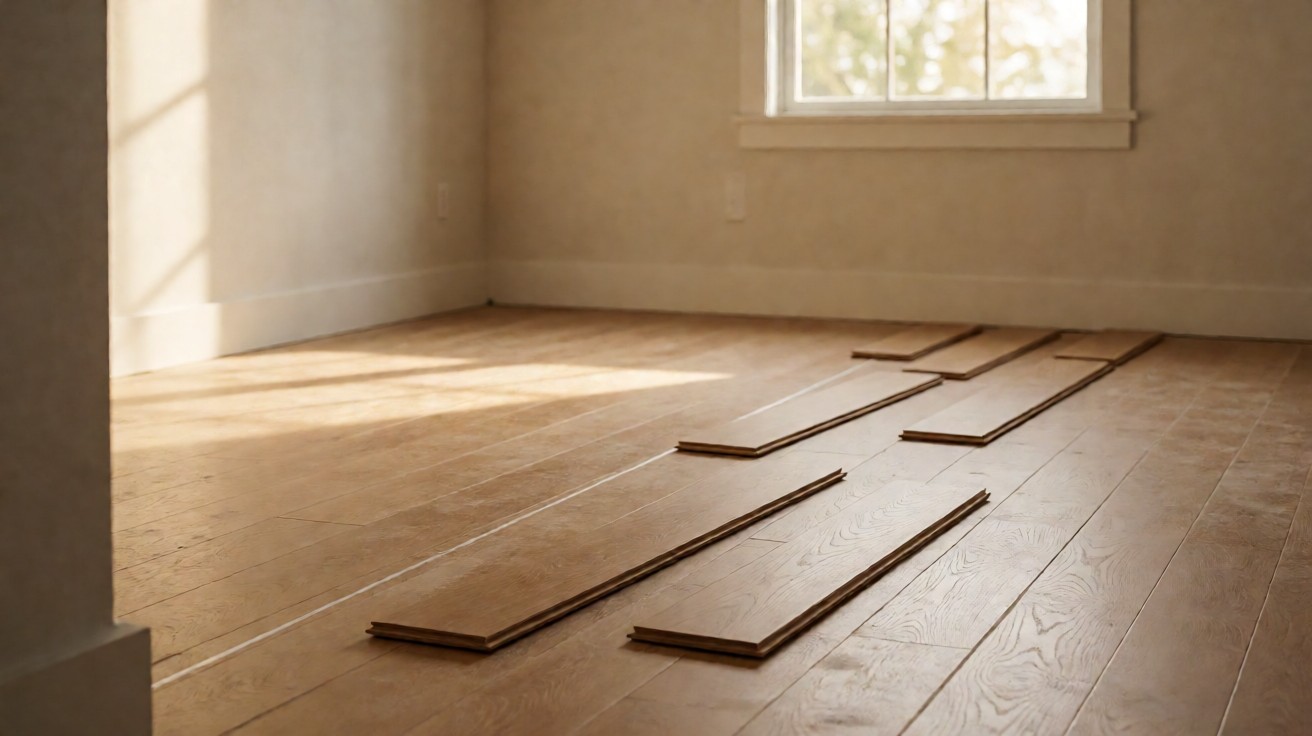

The boxes are open, the subfloor is swept, and the first row of planks still has to point somewhere. The whole floor remembers that first decision.
The answer is to run most planks parallel to the longest, straightest wall, square the room from that wall with a 3-4-5 triangle, stagger each end joint at least twice the plank width, and verify every line before the first row goes down.
What the Direction Decision Actually Changes
Before you cut a single board, the laying direction has already decided three things: how the room will read to the eye, where the waste will land, and how the install will move through every doorway in the plan.
A floor laid parallel to the longest wall elongates the room. The same room laid across that wall reads wider and shorter. The grain under the window looks different in each case, and the end joints sit in different places.
If you pick the direction after the boxes are open, you have thrown away the cheap version of the decision. Every row after the first inherits it, and the off cuts from one direction will not fit the walls of another.
So the plan comes first: one page, drawn before the order, that says which wall is the reference, which way the planks run, and where the joints will stagger.
The Three Directions You Are Choosing Between
Most residential floors have three candidates: planks parallel to the longest wall, planks across it, and a 45 degree diagonal. Herringbone and chevron are pattern layouts, not a fourth candidate, because their angle is fixed by the design instead of by the room.
| Direction | How the room reads | Best when | Watch out for |
|---|---|---|---|
| Parallel to the longest wall | Longer and narrower | Long rectangles, and rooms where a focal wall should anchor the lines | A wall out of square by more than 3/8 inch shows up at the far corner |
| Across the longest wall | Wider and shorter | Narrow rooms, and any room where the main window is behind the viewer | End joints face the window; count them before you commit |
| Toward the main light source | Grain shows at its best and seams wash out | Rooms where the texture is the point and the light is fixed | A movable or shared light source argues for the longest wall |
| 45 degree diagonal | Dynamic, and it hides rooms that are out of square | Corners more than 1/4 inch off square, and small format plank | Adds 10 to 15 percent waste, and every end cut is angled |
| Herringbone or chevron | Patterned and formal | Statement rooms and large spaces | Waste of 25 to 30 percent, and off cuts fit only their original position |
The default is the first row: parallel to the longest, straightest wall. The NWFA layout chapter says to measure working lines from the longest, straightest, continuous line in the room.
The starting wall is often the longest unbroken one. Everything else is an override, and each override has a cost.
A quick tie-breaker: when two directions both work, run the planks toward the light you will actually sit in front of. That is the light the eye follows most of the day.
When the Window Beats the Longest Wall
The window is the strongest override you have. Light that rakes across the floor shows the grain at its sharpest when the planks run perpendicular to it. Running parallel washes the seams out.
That is why a room with one large picture window often ends up laid across the window, even when that wall is not the longest.
The NWFA guidelines widen the starting wall question beyond the window. They say to choose it by the most aesthetically or architecturally important elements in the room, taking doorways, fireplaces, cabinets, and transitions into account, as well as the overall squareness of the room.
If the room is not square, the guidelines say to adjust the centerline so the layout stays visually attractive, and to discuss that condition with the owner before the install continues. A floor that hides a lopsided corner is doing real work.
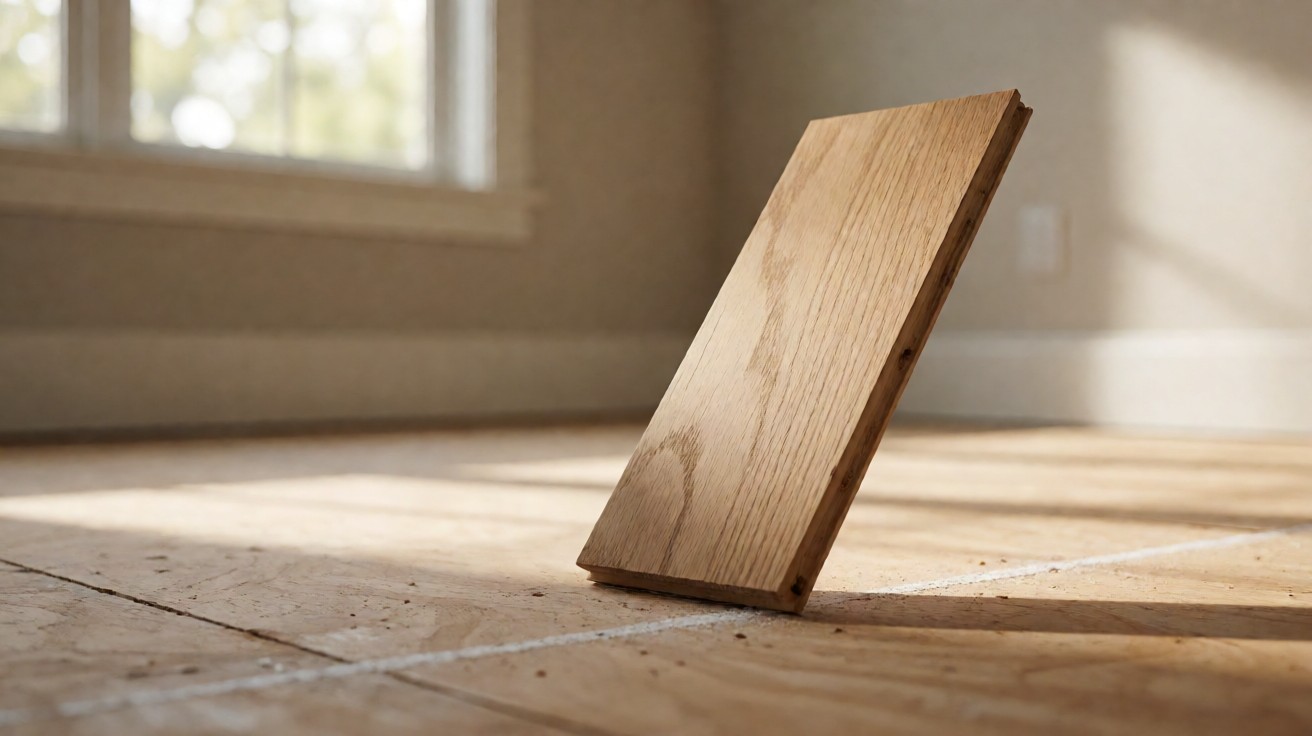
Before you commit, test each candidate the cheap way: snap the line, lay one full plank against it, and stand at the window. One plank is the whole test.
How Plank Width and Length Shape the Look
The width class changes how busy the floor looks in whatever direction you pick. NWFA grade practice splits the field into three: strip under 3 inches, plank from 3 to 5 inches, and wide plank above 5 inches. A direction that reads calm on wide plank reads busy on a 3 inch strip.
Board length does the same job from the other end. The NWFA/NOFMA average board length minimums for a 3 inch to 5 inch plank run 36 inches for Clear, 32 for Select, 28 for No. 1 Common, and 24 for No. 2 Common.
For strip boards under 3 inches, the same four grades run 36, 33, 30, and 24 inches.
The lower the grade, the more end joints you see per row, and a direction that already shows joints gets busier. No piece may be shorter than 9 inches, and the minimums do not apply to wide plank above 5 inches. There the manufacturer sets the length.
Which width to buy is a separate call from which way to run it, and the two should be decided together at the sample stage. The wide plank versus narrow plank hardwood flooring decision is where the width side of this question is covered.
Squaring the Room and Setting the Reference Wall
Square the room before you lay a single plank. The 3-4-5 rule is the field test: measure 3 feet along one wall and 4 feet along the adjacent wall. The diagonal between those marks must be 5 feet for the corner to be a right angle. The test works in any multiple, from 3, 4, 5 feet up to 6, 8, 10.
When the diagonal does not come out to 5, the corner is not square, and the error grows with distance. A 12 foot wall out of square by 3/8 inch at one end becomes a 3/8 inch wedge by the far wall. The last row will not close.
For the layout itself, the trammel point method beats the tape. Two compass points ride on a beam that is at least 4 feet long. From the center of the room you draw arcs, snap the primary and secondary lines, and square every adjoining room before the error drifts into it.
If you are running a 45 degree diagonal, the same trammel points build it. The guidelines say to dissect each quadrant and snap a line that bisects it.
For larger spaces, extend the points on the beam by roughly 40 percent.
Do not verify the lines at the end. The guidelines are blunt: if you are off on the first secondary line and carry it into the next room unchecked, the lines are wrong in every room.
Mark each working line on the subfloor and on the wall above it.
Staggering Patterns and Their Minimum Offsets
Staggering is where direction and waste meet. The NWFA rule: the end joints of adjacent boards should not sit in close proximity. Row-to-row staggering should be at least twice the material width. That is a 6 inch stagger for 3 inch wide flooring.
| Stagger pattern | Minimum row-to-row offset | How it reads | Cost |
|---|---|---|---|
| Stacked, joints in columns | 0 offset | A formal grid | Columns of end joints draw the eye down the floor |
| Running bond | 1/3 to 1/2 of the board length | The classic brick look | 12 to 18 inch offsets on a 36 inch board; the most off cuts at the short walls |
| Random or racked | Twice the material width: 6 inches for 3 inch, 10 inches for 5 inch plank | Natural and varied | Slower to keep with short products; cut a variety of starter boards |
| Herringbone or chevron | No offset; angle-specific cuts | A patterned floor | Every off cut fits only its original position; waste of 25 to 30 percent |
The running bond is the classic pattern: offset each row by one third to one half of the board length, so 12 to 18 inches on a 36 inch board.
Stacked bonds, where every end joint lines up in a column, are the formal exception.
A random or racked stagger cuts a variety of starter boards from full length boards so that no pattern repeats.
If you are laying plank tile rather than wood, ANSI A108.02 caps the running bond offset at 33 percent when the side being offset exceeds 15 inches.
On a 24 inch plank that means the offset stays around 8 inches or less, or the joints start to fight the pattern.
Avoid H patterns. Two end joints that land within a board width of each other form a shape the eye reads as a crack, and the guidelines say to avoid blatant stair-step patterns and equal end-joint offsets in sequential rows.
How Direction Changes the Waste
Direction is the first waste multiplier, and it works through cuts. A straight long run produces full length pieces and off cuts that reuse at the next wall.
A 45 degree diagonal turns every end into two angled pieces, and an angled off cut rarely fits anywhere except its own slot.
That is why a diagonal adds 10 to 15 percent on top of the straight lay waste. Herringbone and chevron go further. Because the off cuts only fit their own position, the working number is 25 percent, or 30 percent when a wall is more than 1/4 inch out of square.
Staggering adds its own slice. A random stagger cut from full length boards throws more end material than a tight running bond that keeps its off cuts reusable.
If you are ordering for a diagonal or a pattern, budget the extra before you choose the cuts.
The full arithmetic, waste coefficients and all, is in how much extra flooring to buy.
Choosing the Direction for the Room Shape You Have
The room shape narrows the field before the window does.
| Room situation | Direction that suits it | Why |
|---|---|---|
| Long rectangle | Parallel to the long dimension | It elongates the room and keeps the off cuts smallest |
| Square room | Follow the light, or either way | No wall has the claim, so the window decides |
| L-shaped room | Run the main axis across the main leg, turn at the corner | One unbroken straight line in the main living zone |
| Narrow hallway | Across the width | It reads the corridor wider than the joists would like |
| Open plan | One direction across the whole span | The transitions carry the direction into the rooms off the main space |
| Corner more than 1/4 inch off square | 45 degree diagonal or a border | It hides the squareness error instead of amplifying it |
In an L-shaped room the long straight run dies at the inner corner. Two honest fixes: stop the run at the threshold and turn it in the next room, or carry it across with a spline at the corner.
For open plans, pick one direction for the whole span and let the transitions carry it into the rooms off the main space.
When the room is square, neither wall has the claim, and the window takes the decision. When it is long and narrow, run across the width so the room reads wider. Each shape has one clearly easier direction.
Getting the Direction Through Doorways and Transitions
The direction you pick in one room is not only your problem. Planks that run through a doorway are a decision two rooms make together, and the threshold is where the two plans meet.
If the rooms on both sides of a door run the same way, the planks simply cross the threshold.
When they run different ways, the change is not a free corner. The guidelines say to use a spline or a slip tongue any time the flooring direction changes at a header or a flush transition.
Under cut the door casings and jambs before the first row goes in.
For floating systems there is a structural limit: a transition piece built into the system goes at any doorway less than 4 feet wide. That means a direction change physically lands at that threshold, and the plan has to account for it.
Which transition profile to use at that doorway, and how to bridge level differences between rooms, is covered in flooring transitions between rooms and levels. The direction plan just has to tell it where the change happens.
When the Joists Decide for You
Some plans stop at the joists. A 3/4 inch thick solid plank over a single layer subfloor has to run perpendicular to the joists or on a diagonal. If your chosen direction crosses that rule, the fix is a 19/32 inch panel overlay on top of the existing subfloor. You do not lay the boards loose.
The guidelines say that overlay panels go perpendicular to the floor framing, offset at least 4 inches, with end joints at least one joist space apart, and no base layer seam under a top layer seam.
The panels may also be laid on a diagonal to the existing subflooring. That is where the direction choice and the structure finally agree.
For a new nail-down or glue-down wood floor over an existing wood floor, the rule is absolute: the new floor goes perpendicular to the old one or on a 45 degree diagonal.
That one sentence kills a surprising number of plans that wanted to keep the old direction.
The same chapter is where wide plank above 5 inches gets its guidance, because wide plank is typically planned as a glue down install. Measure and fix the subfloor first. The direction you want to run is only as good as the surface under it.
What the Slab and the F Numbers Say About Your Plan
On a concrete slab, the flatness grade is part of the direction plan, even though the measurement itself is not. ASTM E1155 grades slabs with two F numbers, FF for flatness and FL for levelness. The classes: FF20/FL15 is conventional, FF25/FL20 moderately flat, FF35/FL25 flat, and FF45/FL35 very flat.
The consequence for layout is direct. A slab at conventional FF20/FL15 shows its waviness under a long parallel run, because the eye follows the joint lines.
The same slab at FF35/FL25 reads straight. If your slab misses the class you ordered, a diagonal run hides the difference more than a straight one.
The slab also has to be clean before any of it matters. ASTM F710 is the concrete preparation standard. It says the slab must be permanently dry, clean, smooth, and structurally sound, with nothing that would stop an adhesive from bonding.
Scraping, brushing, and vacuuming are the named cleaning methods, and every concrete floor gets a pH test before a resilient floor goes down.
Moisture has its own gate. ASTM F2170 defines the in situ probe test that measures relative humidity inside the slab. Most flooring systems use a 75 percent relative humidity ceiling for that reading.
Above it, the direction plan is on hold until the slab dries. A chalk line snapped over a wet slab is a line you will redraw.
If the floor is large format plank tile, the ANSI A108.02 flatness requirement is the tightest of the set: 1/8 inch in 10 feet, and 1/16 inch in 2 feet for tile with an edge 15 inches or longer.
A straight run that follows the wave amplifies it; a run that crosses the wave hides it.
How to measure all of it, and how to fix a slab that fails, is in the flooring installation guide.
Writing the Plan Down Before You Order
The plan is one page, drawn before the order, and it holds six lines: the reference wall, the direction, the 3-4-5 check result, the stagger pattern, the 45 degree marks if you are going diagonal, and the doorway sequence with every spline location.
If a contractor takes the job, the same page is the hand-off. NWFA says to verify the lines room by room as you go, to label them with different chalk colors, and to mark them on the wall in case the subfloor line gets covered.
If you do it yourself, the page is your insurance against the two mistakes that actually cost money: a direction that the light flattens instead of shows, and a stagger that the last row cannot hold. Snap the lines, check the 3-4-5 diagonal, stagger at twice the width, and the floor goes down the way you planned it.
The direction is cheap to decide now. It is not cheap to undo.