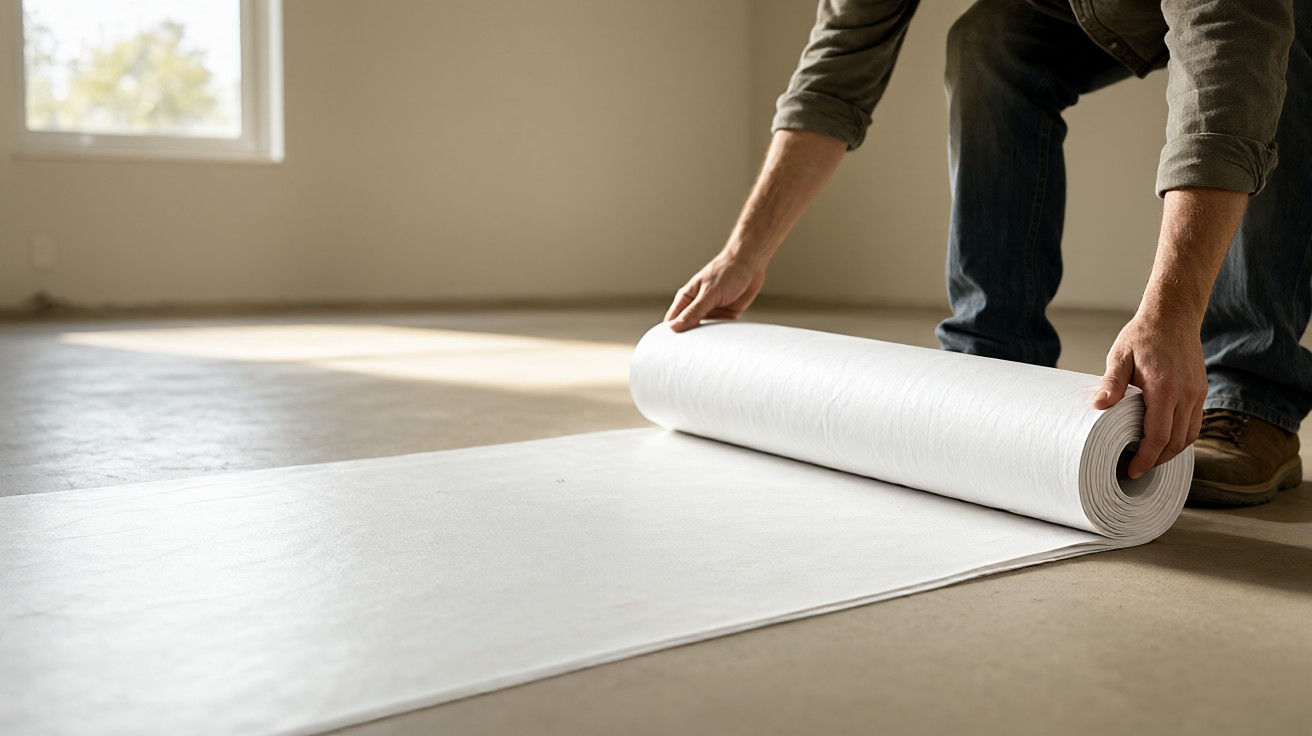

Vapor moves through concrete and subfloors whether you plan for it or not, and the layer between that moisture and your floor decides if the installation lasts.
Choose the barrier class by the subfloor type and the moisture test result, choose the underlayment by the flooring type and the room, and never stack two moisture-blocking layers where the assembly can only dry in one direction.
What a Vapor Barrier Actually Is
A vapor barrier is a layer with very low permeance that blocks the diffusion of water vapor through a floor assembly. In practice the term is used loosely for anything from 6 mil polyethylene film to a liquid-applied epoxy coating, and that looseness causes real problems on the job site. The precise term is vapor retarder, and the barrier label belongs only to the most impermeable class.
The layer sits at a specific plane in the assembly: directly beneath a concrete slab during placement, on top of a cured slab before flooring, or between a wood subfloor and an unconditioned space below. Its job is not to make the floor waterproof from spills on top. It is to stop moisture that originates below from reaching the flooring and adhesive.
Underlayment is a different product with a different job. Underlayment cushions the floor, smooths minor substrate irregularities, reduces sound transmission, and sometimes adds a modest vapor retarder. A vapor barrier can be part of an underlayment system, but the two are not interchangeable, and many underlayments provide no meaningful moisture control at all.
Vapor Barrier Versus Vapor Retarder: The ASTM E96 Classes
ASTM E96 measures water vapor transmission through a material and reports it in perms. The International Residential Code groups the results into three classes. The test method matters: the dry cup method, Test Method A, is the one used for these classifications, and results from the wet cup method are not directly comparable.
| Class | Perm range (ASTM E96, dry cup) | Common name | Typical materials |
|---|---|---|---|
| Class I | 0.1 perm or less | Vapor barrier, impermeable | 6 mil polyethylene, sheet membrane, liquid epoxy or urethane sealer |
| Class II | Greater than 0.1 and up to 1.0 perm | Semi-impermeable | Asphalt-saturated felt, some foam pads, kraft paper assemblies |
| Class III | Greater than 1.0 perm | Semi-permeable | House wrap, some underlayments, breathable membranes |
A true vapor barrier is a Class I material. When a specification calls for a vapor barrier, it means 0.1 perm or less, and a Class II or Class III product does not satisfy it. The reverse is also true: installing a Class I barrier where the assembly needs to dry outward traps moisture and can cause more damage than no barrier at all.
Perm is the unit of vapor permeance, defined as one grain of water vapor passing through one square foot of material per hour per inch of mercury pressure difference. Lower perm means less vapor moves through. The number is measured on the material as installed, including seams and penetrations, which is why installation quality changes the effective rating of the whole assembly.
When a Vapor Barrier Is Required
Three situations drive the requirement: concrete that contacts the ground, crawl spaces, and below-grade or on-grade slabs. In each case the moisture source is continuous and uncontrolled, so the assembly needs a defined plane of resistance.
Concrete slabs on or below grade should have a Class I vapor retarder placed directly beneath the slab during construction. That sub-slab barrier is the first line of defense and is often the only one that matters. When it is missing or damaged, moisture moves freely through the slab and into any flooring above it.
ASTM F710 requires a permanent, effective moisture vapor retarder under all on- and below-grade concrete floors that will receive resilient flooring, and it applies the same preparation logic to other floor coverings. The standard also requires moisture and pH testing of every slab regardless of age or grade level before installation.
Crawl spaces are the second case. An unconditioned crawl space with exposed soil or a vented design can drive moisture into the floor above. A Class I ground cover, typically 6 mil or heavier polyethylene lapped and sealed, is the standard treatment, and a Class II retarder on the subfloor above may follow depending on the flooring type.
Above-grade slabs in dry climates with compliant moisture test results may not need a surface barrier, but the sub-slab barrier remains. The decision is always made from test data, not from the age of the slab or the season it was poured.
Underlayment Types and What Each Does
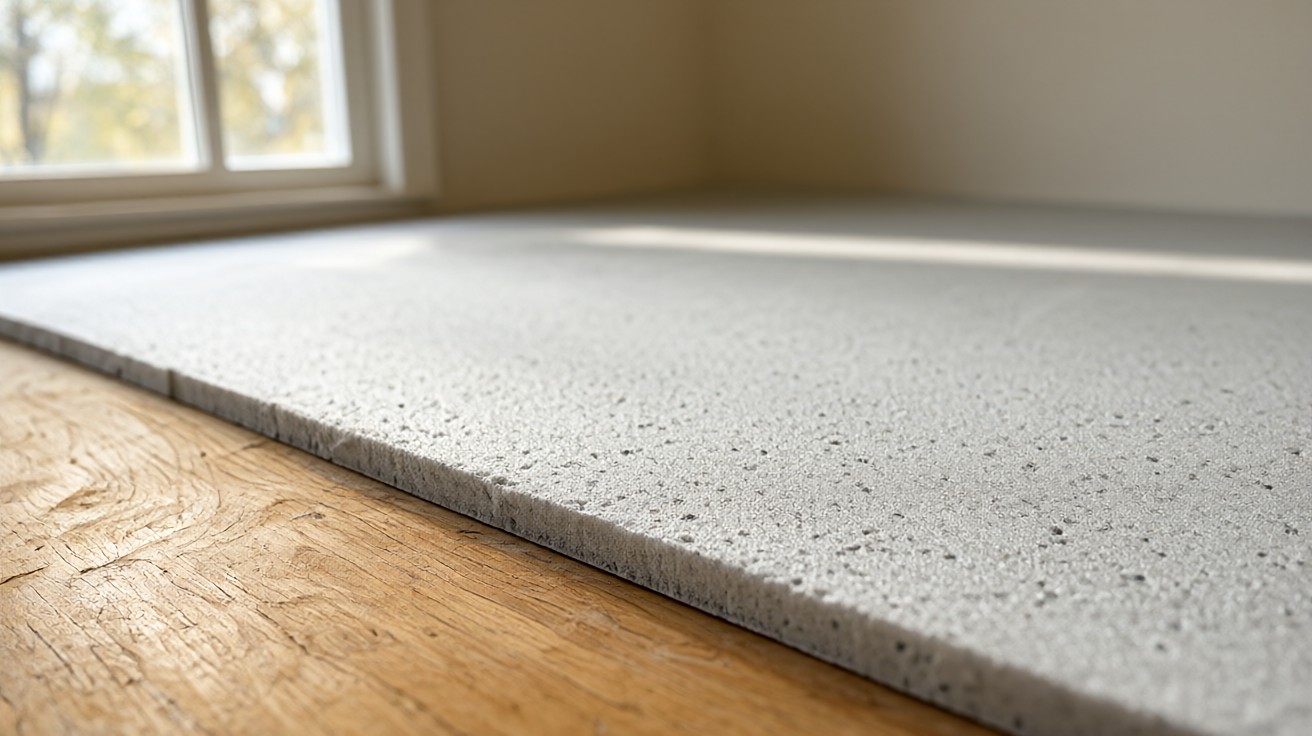
Underlayment is the layer between the subfloor and the finished floor. It can be attached to the flooring itself, floated loose, or adhered to the subfloor, and its functions vary by product. The main categories are foam, cork, felt, rubber, and combination pads that bond a foam or fiber core to a film moisture barrier.
| Underlayment type | Primary function | Moisture control | Typical use |
|---|---|---|---|
| Extruded or cross-linked polyethylene foam | Cushion, sound reduction | None unless film-backed | Laminate and floating vinyl |
| Cork | Sound and thermal insulation | Low, not a barrier | Engineered wood and laminate |
| Felt or recycled fiber | Smoothing, sound | Low to moderate | Wood and laminate |
| Rubber | Sound, impact resistance | Low | Commercial and multi-family |
| Combination pad with attached film | Cushion plus vapor retarder | Class I or II depending on film | Floating floors over concrete |
| Liquid-applied or sheet membrane | Vapor barrier only | Class I | Glue-down wood over concrete |
Foam pads are the most common underlayment for floating laminate and luxury vinyl plank. They are inexpensive and easy to cut, but standard foam has no meaningful vapor resistance. A foam pad with an attached polyethylene film can serve as a Class I or Class II retarder, and the film side must face the moisture source as the manufacturer directs.
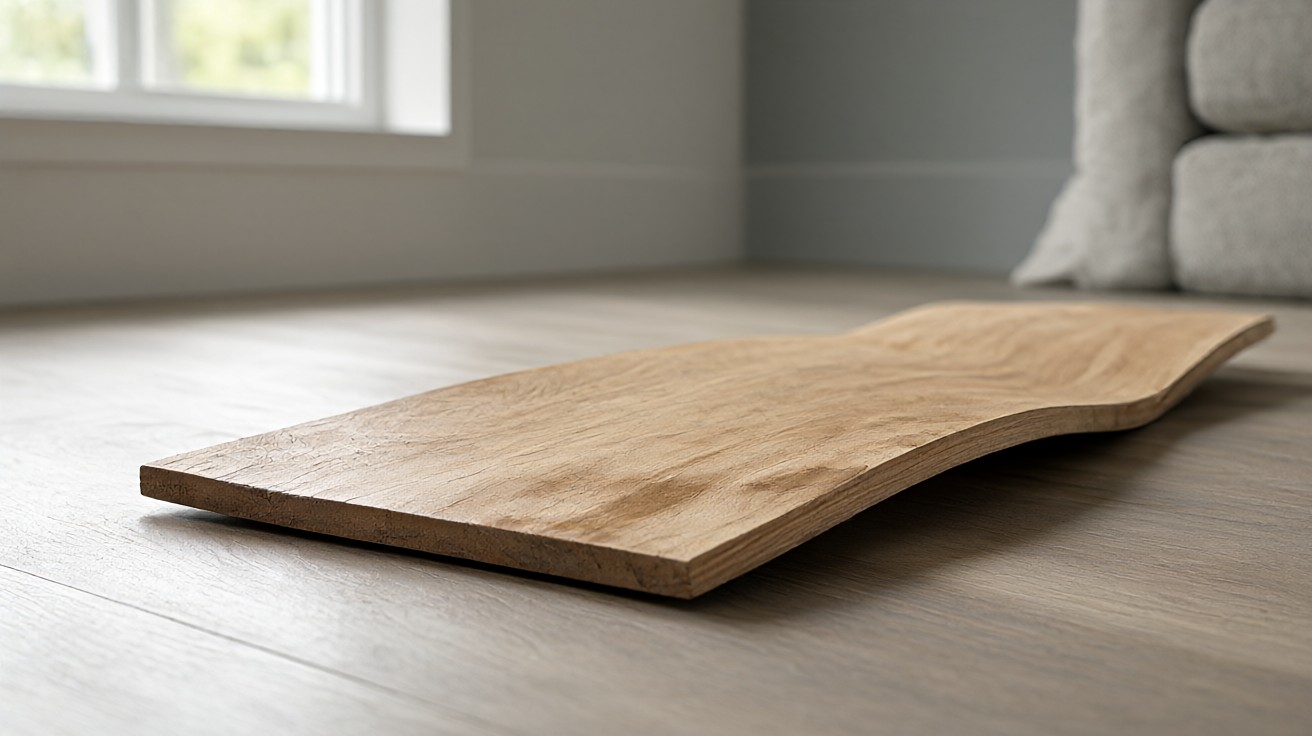
Cork and felt underlayments add sound control and a small amount of thermal resistance. They absorb some moisture and are not vapor barriers. Using cork as the only moisture protection over concrete is a frequent cause of cupped wood and failed adhesive.
Rubber underlayment is dense and durable, common in commercial and multi-family work for impact sound ratings. It is heavy, costly, and generally provides little vapor resistance, so it is paired with a separate barrier when the substrate requires one.
Combination products bond a cushioning core to a film layer. They are convenient for floating installations because one layer does both jobs, but the film rating and seam treatment must be verified against the moisture test result. A film-backed pad used over a slab that needs a true Class I barrier is only as good as its perm rating and seam seal.
Perm Ratings and How to Read Them
Every underlayment and barrier product carries a perm rating on its technical data sheet. Read it as the material’s vapor permeance, not as a waterproofing claim. A product rated at 0.3 perms is a Class II retarder and does not qualify as a vapor barrier even if the packaging uses the word barrier.
Seams dominate the effective rating. A film rated at 0.05 perms with unsealed seams performs closer to a Class III product. Tape every seam with a manufacturer-approved impermeable tape, lap the film the specified distance, and seal penetrations. The rating on the roll is a laboratory value for the sheet alone.
Thickness and material also matter. A 6 mil polyethylene film is the traditional minimum for a Class I barrier under concrete, and thicker films or reinforced membranes improve puncture resistance. Liquid-applied membranes are rated by dry film thickness, and the application rate on the data sheet is what produces the stated perm.
When two products are combined, the assembly’s perm is governed by the least permeable layer, not by an average. That is why a vapor barrier under a breathable underlayment still makes the assembly behave as a barrier, and why two barriers in series create a trapped moisture condition.
Installation: Overlap, Taping, and Sealing
Sheet barriers are laid flat on the substrate with no holes, wrinkles, or penetrations. The sheet is lapped at the seams by the manufacturer’s stated distance, typically 6 to 12 inches, and the overlap is sealed with an impermeable tape. Edges are turned up the wall a few inches and trimmed after the floor is installed.
Liquid-applied barriers are rolled, troweled, or sprayed to the specified dry film thickness. The substrate must be clean, sound, and within the product’s moisture and pH limits before application. Multiple coats are common, and the cure time before flooring is a real constraint on the schedule.
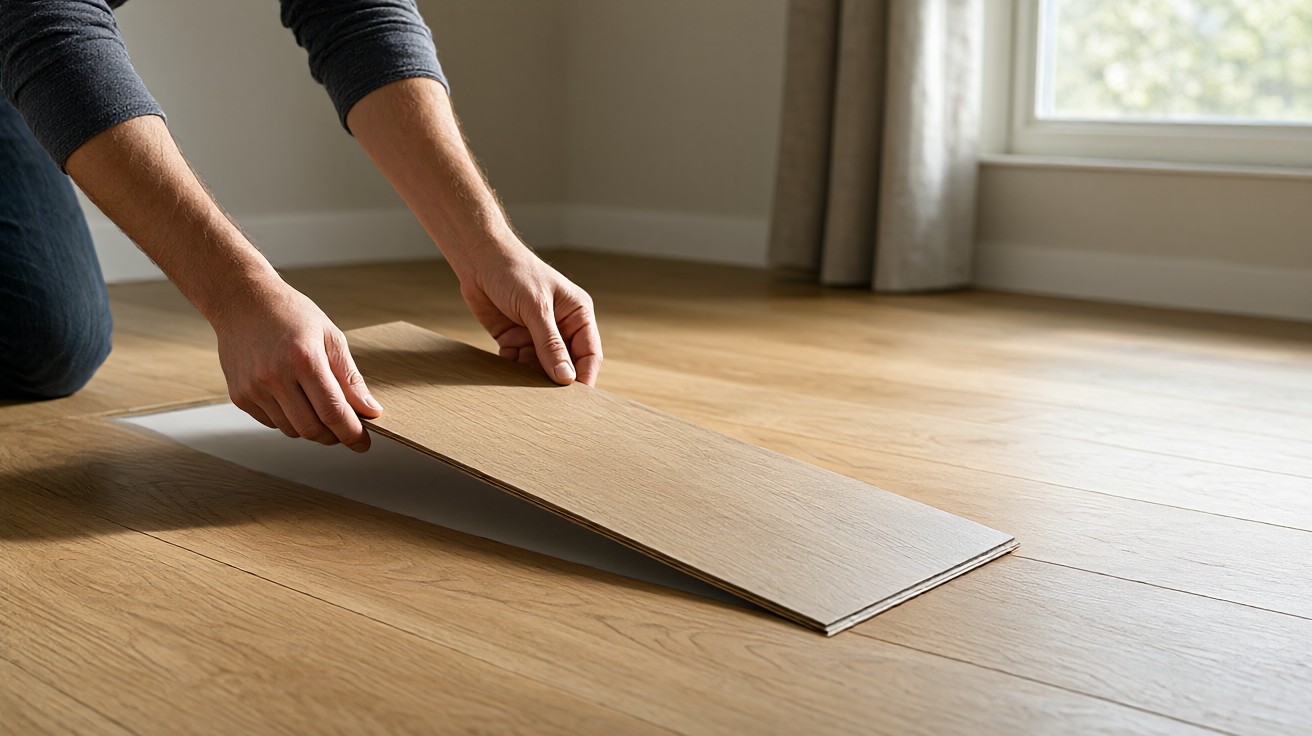
Underlayment pads are laid with seams butted or lapped as the manufacturer specifies, never nailed through. For floating floors the pad may be loose-laid or adhered to the substrate. For adhered pads, only an adhesive compatible with the prepared substrate is used.
Penetrations are the weak point. Pipes, columns, and floor drains must be sealed with the manufacturer’s detail, usually a combination of membrane, tape, and sealant. A single unsealed penetration can defeat the barrier across a large area because vapor diffuses laterally under the film.
Perimeter isolation strips are required by some products before the underlayment is placed. Skipping them transmits sound and can cause edge compression. Always check the underlayment data sheet for this step, because it is easy to miss and hard to fix after the floor is down.
Compatibility with Flooring Types
The flooring type sets both the barrier class and the underlayment choice. Each manufacturer publishes its own limits, and those limits supersede any general guidance.
Is a vapor barrier always needed under vinyl flooring?
Vinyl itself is moisture tolerant, but the adhesive and substrate are not. Floating luxury vinyl plank over concrete needs a Class I barrier or a film-backed pad when the moisture test is non-compliant. Glue-down vinyl over concrete needs a compatible Class I system, often liquid-applied, because a loose sheet under adhesive creates bond problems. For more on vinyl installation over concrete, see our guide to underlayment for vinyl flooring.
What about laminate flooring?
Laminate has a wood-based core that swells with moisture, so it needs a vapor retarder over concrete and over unconditioned spaces. Most laminate manufacturers require a Class I or Class II barrier under the pad, and many specify a film-backed pad. Using no barrier, or a breathable pad alone, voids most warranties. See our guide to underlayment for laminate flooring for pad selection details.
What about solid and engineered wood?
Wood is the least tolerant material. Over concrete, solid wood needs a Class I barrier plus a plywood subfloor system or a sleeper system. Engineered wood can be glued or floated, but still needs the barrier class the manufacturer specifies, often Class I over concrete and Class II over wood subfloors above unconditioned spaces. For substrate specifics, see our guide to underlayment over concrete slabs.
What about tile and stone?
Tile and stone are moisture tolerant, but the setting bed and grout are not, and a slab with excess moisture can cause efflorescence and bond failure. A barrier is not always required for tile, but moisture mitigation is, and many setting material manufacturers require a membrane or a compliant test result before installation.
What Not to Do: Double Barriers and Barrier Over Wood
Two errors dominate the failure reports: stacking two Class I barriers in the same assembly, and installing a vapor barrier over a wood subfloor in a conditioned space.
A double barrier traps moisture between the two layers. The assembly cannot dry in either direction, so any moisture that enters, from a spill, a plumbing leak, or seasonal humidity, stays and feeds mold and decay. This is why a floor with an attached pad over a separate sheet membrane is a risk unless the manufacturer explicitly allows it.
Over a wood subfloor in a conditioned space, no vapor retarder is needed under the flooring. The space is maintained at the same temperature and humidity as the room above, and a barrier there blocks the floor from drying upward. Only over unconditioned spaces is a Class II retarder appropriate, and only to slow moisture-laden air moving through the assembly.
Never use a vapor retarder over wood to fix a known moisture problem. A known condition is one you are aware of, and a barrier only hides it until the damage is severe. The correct response is to find and fix the source, then test again.
Also avoid barrier over wood subfloors that already have a Class I or Class II retarder on the underside of the joists. Adding another layer above creates the same trapped moisture condition, with the joist-level barrier as one of the two layers.
Moisture Testing and the Barrier Decision
The barrier class is chosen from test data, not from habit. Test every concrete slab with in-situ relative humidity probes per ASTM F2170 and, where specified, calcium chloride testing per ASTM F1869. For wood subfloors, measure the moisture content of both the subfloor and the flooring with a pin or pinless meter and compare to the manufacturer’s range.
ASTM F710 sets a 75 percent relative humidity limit for resilient flooring over concrete when using the probe method, with lower or higher limits allowed by the manufacturer. Many wood flooring programs call for a Class I barrier when calcium chloride readings exceed 3 pounds, relative humidity exceeds 80 percent, or calcium carbide readings exceed 2.5 percent.
Test results are a snapshot. They describe the slab on the day of the test, not forever, which is why a Class I barrier is always recommended for on- and below-grade concrete even when the test passes. The slab’s moisture varies with season, drainage, and the condition of the sub-slab barrier.
pH testing is part of the same package. ASTM F710 calls for alkalinity testing, and pH below 7 or above 10 can affect flooring and adhesive. A barrier does not fix an alkalinity problem, so a failed pH test must be addressed before installation regardless of the moisture result.
Common Mistakes and How to Avoid Them
The most common mistake is assuming the underlayment includes moisture protection. Many foam pads do not, and a pad chosen for sound or comfort leaves the floor exposed. Check the perm rating on the data sheet, not the marketing copy on the box.
The second mistake is installing a barrier over a damp slab and expecting it to dry the slab. A barrier stops vapor movement; it does not remove water already in the concrete. A wet slab must be allowed to dry or be treated with a mitigation system before flooring.
The third mistake is unsealed seams. A perfectly rated film with open seams performs like a Class III product. Tape every seam, seal penetrations, and turn the film up the wall so moisture cannot bypass the edge.
The fourth mistake is ignoring the manufacturer’s limits. Flooring warranties almost always require documented moisture testing and a specified barrier class. Skipping either step voids the warranty before the first board is laid, and the cost of that is the whole floor.
The fifth mistake is mixing incompatible systems. A vapor barrier must be compatible with the adhesive or fastener system above it. Some barriers are designed for loose-laid or floating floors only, and using them under a glue-down floor causes bond failure.
Cost and Material Selection
Costs vary by region and product, but the order of magnitude is stable. A 6 mil polyethylene sheet barrier is the least expensive option, often under a few cents per square foot. Liquid-applied membranes cost more and require labor and cure time, but they suit glue-down installations and irregular substrates. Film-backed pads cost more than plain foam but combine two layers into one, which saves labor.
Selection should follow the test result and the flooring manufacturer’s specification, not the lowest price. A barrier that fails the required class is worthless regardless of cost, and a barrier that is thicker or more robust than required adds little value. Match the class to the condition, verify the seam detail, and document the installation for the warranty file.
For a deeper look at substrate preparation, see our guide to subfloor preparation for flooring. For moisture testing specifics, see how to test concrete moisture before flooring and relative humidity testing for concrete slabs.
Do I need a vapor barrier under vinyl plank on concrete?
If the slab is on or below grade, or the moisture test is non-compliant, yes. A floating luxury vinyl plank floor over concrete needs a Class I barrier or a film-backed pad. Over an above-grade slab with a compliant test result, the manufacturer’s specification governs, and many still require a barrier for warranty purposes.
Can I use two layers of underlayment for extra cushion?
No. Stacking underlayment layers, especially where one or both include a film barrier, creates a trapped moisture condition and can void the warranty. Use the single layer and product the manufacturer specifies for the flooring.
Is a vapor barrier the same as a moisture barrier?
The terms are used interchangeably in the trade, but technically a vapor barrier is a Class I material at 0.1 perm or less, while a moisture barrier may be any layer that resists liquid water or vapor. Check the perm rating and the class, not the product name, to know what you are buying.
Should I put a vapor barrier over a wood subfloor?
Over a conditioned space, no. Over an unconditioned space, a Class II retarder may be appropriate. Never install a barrier over wood to remedy a known moisture problem, and never add one where the joists already have a retarder on their underside.