
A moisture meter is the cheapest insurance a wood subfloor can buy, but only if you know what it measures, how deep it reads, and how to correct the number.
Test the moisture, record the number, and compare it to the flooring and the room conditions before you open a single box of flooring. Those checks cost an afternoon and a meter you will use for years. Skipping them can cost the whole floor. The answer is simple: test first, then choose the flooring.
Test the moisture, record the number, and compare it to the flooring and the room conditions before you open a single box of flooring. Those checks cost an afternoon and a meter you will use for years. Skipping them can cost the whole floor. The answer is simple: test first, then choose the flooring.
What A Moisture Meter Actually Measures
A moisture meter does not measure water directly. It measures an electrical property of the wood and converts that value into moisture content, expressed as a percentage of the oven dry weight of the wood. That percentage is what every flooring guideline refers to when it sets a limit.
Moisture content is not the same thing as relative humidity. Relative humidity describes the air. Moisture content describes the wood. A meter for wood subfloors reports moisture content. A hygrometer reports relative humidity. You need both on a job site, but they answer different questions.
The wood itself is hygroscopic. It gains and loses water until it reaches equilibrium with the air around it. That equilibrium moisture content depends on temperature and relative humidity. In a typical conditioned home, wood settles somewhere between six and nine percent. In an unconditioned space it can sit much higher.
Most meters are calibrated to Douglas fir. That is the reference species. If you test oak, maple, or pine, the meter applies a species correction factor to move the reading onto the correct scale. Without that correction the number is not wrong by a little, it is wrong by species. For the full surface prep checklist, see our guide to subfloor preparation for flooring.
Pin Type Versus Pinless Type
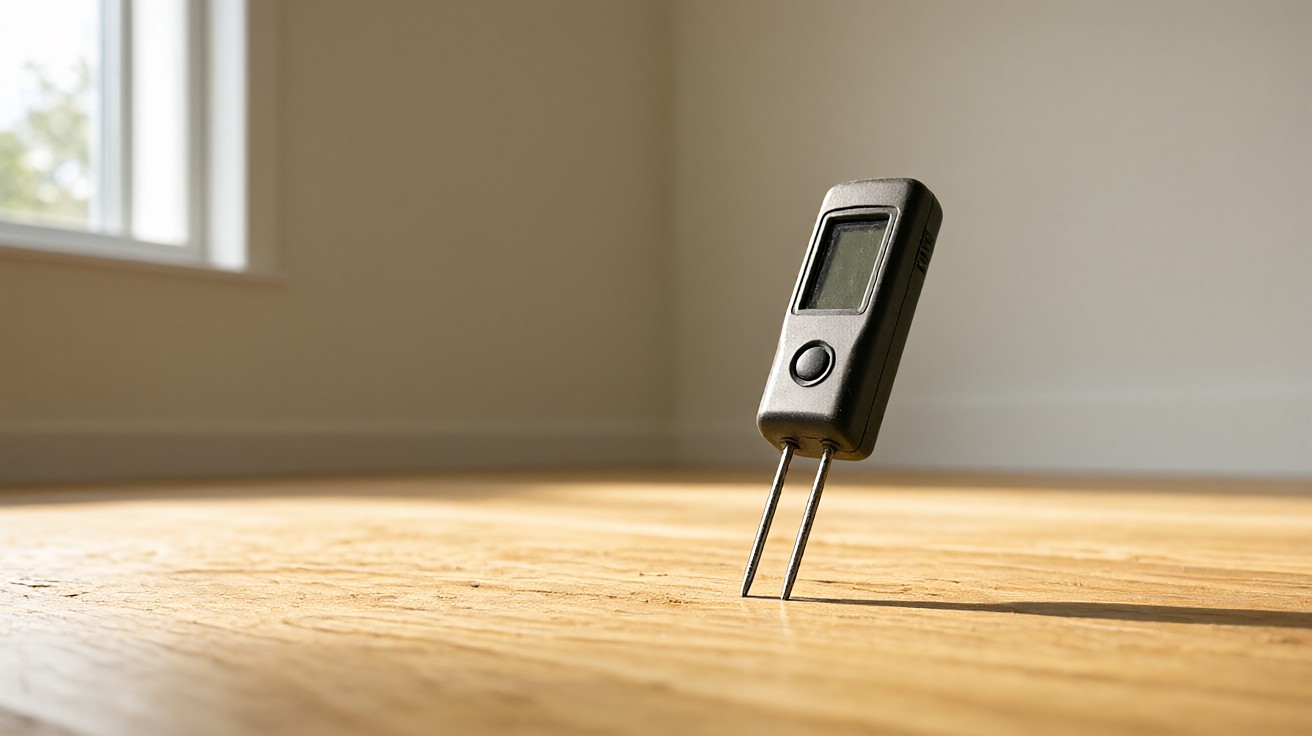
There are two families of meters for wood. Pin type meters, also called resistance meters, push two metal pins into the wood and measure the electrical resistance between them. Water conducts electricity, so lower resistance means higher moisture content.
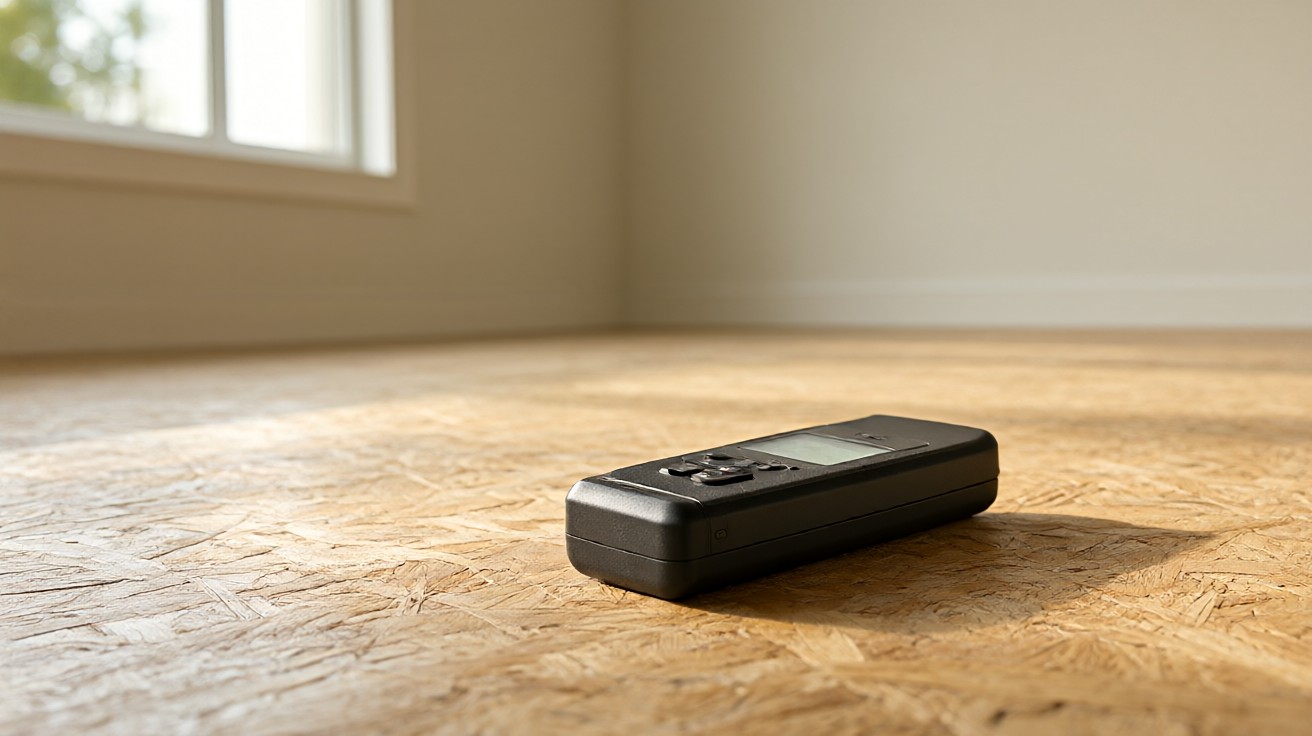
Pinless meters, also called dielectric or scan meters, rest on the surface and send an electromagnetic signal into the wood. They measure how the signal is affected by the density and moisture of the material below. No holes are left in the wood.
Pin type meters excel where the surface is rough, curved, or already finished, because the pins bite into the material. They also let you measure at specific depths when the pins are insulated. Pinless meters excel for fast scanning of large areas and for finished surfaces you do not want to mark.
Most contractors carry both. The pinless meter finds the wet spots. The pin meter confirms the exact depth and value at those spots.
What Does Insulated Pin Mean?
Insulated pins are coated along their shaft so that only the tips conduct. The meter reads only at the depth where the bare tips sit. That lets you take a reading near the top of a board, then push deeper and take another, to see whether moisture is higher near the bottom. Non insulated pins read the highest resistance anywhere along the pins, which hides a wet layer deeper down.
How Deep Each Type Reads
Depth is the single most misunderstood part of moisture testing. A pinless meter does not read the whole thickness of the subfloor. It reads a shallow band below the surface, and the depth changes with the model.
| Meter type | Typical reading depth | Best use |
|---|---|---|
| Pin type, non insulated | Full pin length, usually 5/16 to 1/2 inch | Surface to mid depth check |
| Pin type, insulated | Tips only, selectable depth | Gradient readings through the thickness |
| Pinless | About 1/4 to 3/4 inch depending on model | Fast scanning of large areas |
| Pinless, deep scan | Up to 1 1/2 inch on some models | Measuring thicker subfloor panels |
A standard plywood or OSB subfloor panel is 5/8 to 3/4 inch thick. A shallow pinless reading may never see the bottom half of that panel, where moisture from a crawl space or basement often concentrates. That is why a deep scan meter or an insulated pin meter matters on wood subfloors.
Older pinless meters read deeper than intended and blend the subfloor signal with whatever is below it, such as a concrete slab or insulation. Newer models let you select the depth. Read the manual for your specific meter before you trust a number.
Calibration And Species Correction
Calibration is not a one time event. Meters drift. Most have a built in calibration check, usually a test block or a self test routine. Run it before every job and record the result. If the meter fails its self check, do not use it.
Species correction is the bigger issue. The meter is tuned to Douglas fir. For other species you apply a correction, either by selecting the species from the meter menu or by using a printed correction table from the manufacturer. Oak, maple, hickory, and exotic species can shift the reading by two or more points.
Engineered subfloor panels and engineered flooring add another layer. A panel made of multiple species and layers does not behave like solid wood. Check the meter manufacturer protocol for multi layer products before you test them.
Temperature And Correction Factors
Pin type meters are affected by temperature. Cold wood reads differently than warm wood. Most meters include a temperature correction, either automatic or manual. Apply it whenever the wood temperature is far from the room temperature the meter expects.
Pinless meters are relatively unaffected by temperature, which is one of their advantages. They are affected by density and by surface condition. A rough or dirty surface can lift the sensor pad and skew the reading.
Keep the meter at the job site temperature for at least an hour before use. A meter carried in from a cold truck will give different numbers than one that has acclimated.
How Many Readings And Where To Take Them
One reading is not a test. Moisture varies across a floor, and a single dry spot does not mean the whole subfloor is dry. Spread the readings out and record each one.
NWFA installation guidelines call for twenty test locations per one thousand square feet of wood subfloor. Solid wood flooring calls for forty moisture content readings per one thousand square feet. Number each location on a sketch of the room, photograph the meter at each spot, and keep a written log.
Concentrate readings near exterior walls, over crawl spaces, near plumbing, and in rooms with a history of leaks. Those are the places where moisture collects. Take readings at the center of panels and near seams, because seams and joints can hold water.
Take at least two readings per panel, one near the top and one near the bottom if you are using insulated pins. A gradient reading tells you whether the panel is drying from the top or still wet from below.
Acceptable Moisture Content Ranges
There is no single number that makes every subfloor ready. The right number depends on the flooring, the species, and the region. But there are workable rules.
| Condition | Moisture content | Notes |
|---|---|---|
| Solid wood flooring, typical conditioned home | 6 to 9 percent | Matches 30 to 50 percent relative humidity at 60 to 80 degrees Fahrenheit |
| Wood subfloor, ready to work | 12 percent or less in most regions | As low as 4 percent in very dry climates |
| Difference between subfloor and flooring | No more than 4 percent for strip under 3 inches | No more than 2 percent for plank 3 inches or wider |
| Any wood reading, hard ceiling | Never exceed 12 percent | Follow the flooring manufacturer if it is stricter |
| Fiber saturation point | About 25 to 30 percent | Above this wood is dimensionally stable; below it, wood moves |
The comparison between subfloor and flooring matters more than either number alone. Wood expands and contracts with moisture. If the subfloor is wetter than the flooring, the flooring will cup or gap as it adjusts. Match the two within the tolerance for the plank width.
Equilibrium moisture content is the target, not a fixed number. A coastal home at high humidity will settle at a higher moisture content than an inland home with air conditioning. Always check the regional equilibrium moisture content map and the flooring manufacturer guidance before you set a target.
When Is A Reading Too High?
A reading above twelve percent on any wood subfloor is a stop sign. Do not install over it. Find the source of the moisture, correct it, and retest after the subfloor has dried. Installing over a wet subfloor voids most flooring warranties and leads to cupping, buckling, and mold.
Pin Versus Pinless Accuracy In Practice
Pin type meters are generally more accurate at a specific point and depth, especially with insulated pins. They are the reference most installers trust for a go or no go decision. Their weakness is that they only measure where the pins sit, so a wet pocket between pins can be missed.
Pinless meters are faster and cover more ground, but their accuracy depends on surface contact, species, and density. A pinless reading on a painted or sealed surface can be skewed because the signal interacts with the coating. They are best used as a screening tool, followed by pin confirmation.
Neither meter is perfect. The oven dry method, where a sample is weighed, dried in an oven at one hundred five degrees Celsius, and weighed again, is the reference standard. Field meters are approximations of that result. Treat them as tools for comparison and trend, not as laboratory instruments.
Surface Versus In Situ Moisture
A moisture meter on a wood subfloor measures the moisture in the wood at the surface or at the depth the pins reach. It does not measure what is happening below the subfloor. A damp crawl space, a leaking pipe, or a wet concrete slab under the subfloor can raise the wood moisture over time without showing up in a surface reading today.
For concrete subfloors the approach is different. Concrete is tested with relative humidity probes placed in drilled holes, following ASTM F2170, or with surface relative humidity hoods following ASTM F2420. A wood moisture meter is not the right tool for concrete. On a wood subfloor over a concrete slab, test both materials with the right method for each. See our guide to how to test concrete moisture before flooring for the concrete side of the test.
If the subfloor sits over a crawl space, check the crawl space humidity and ventilation as part of the same job. A dry panel over a wet crawl space will not stay dry.
Manufacturer Limits You Must Follow
Every flooring manufacturer sets its own moisture limits for the subfloor. Those limits can be stricter than the general rules. Read the installation guide for the specific product before you test, and write the limit on your job log so you compare against the right number.
Some manufacturers produce flooring at higher or lower moisture content to suit a region. A product milled at eight to thirteen percent is meant for a different climate than one milled at four to nine percent. Match the product to the region and to the subfloor, not just to the room.
When the manufacturer and the general guideline disagree, the manufacturer wins. Following the product guide is what keeps the warranty intact.
Common Mistakes That Ruin Readings
Testing without species correction is the most common error. The meter reads Douglas fir and the subfloor is oak, so the number looks fine when it is not. Always set the species before you start.
Testing too few spots is the second. A single dry reading in the middle of the room does not clear the whole floor. Spread the readings out and look for variation.
Testing a dirty or wet surface gives a high reading that is not real. Wipe the surface clean and let it dry before you test. For pinless meters, make sure the sensor pad has full contact with the wood. If the surface is uneven, level it first using the steps in our guide to how to level a subfloor for flooring.
Testing a cold meter or cold wood gives numbers that drift as the material warms. Acclimate the meter and the wood to the room first.
Ignoring the difference between subfloor and flooring moisture is the mistake that shows up months later as cupping or gapping. Always compare the two numbers, not just one.
Finally, failing to document. A reading that is not written down is a reading that never happened. If a floor fails later, the log is your proof that you tested.
Should You Test After A Leak?
Yes. After any water event, test the subfloor with a pin meter at multiple depths using insulated pins, and map the wet area on a sketch. Dry the subfloor until the readings match the rest of the floor, then retest before installing. Surface drying is not enough; the core of the panel can stay wet for weeks.
How To Document Your Readings
Documentation turns a moisture test into evidence. Draw a simple plan of the room. Number each test location. Record the date, time, temperature, relative humidity, meter model, species setting, and each reading. Photograph the meter display at each numbered spot.
Keep the log with the job file. If the floor performs well, the log is a record of good practice. If it fails, the log shows whether the subfloor met the requirements at the time of installation. Either way, the log protects both the installer and the homeowner.
Retest after acclimation and again after installation if the product guide calls for it. Moisture conditions change, and a single test day is a snapshot, not a guarantee.
How Long Should You Keep The Log?
Keep the moisture log for the life of the warranty period at minimum, and longer if the job is large or complex. A log that outlives the installation is the only way to prove what the subfloor conditions were on the day the floor went down.