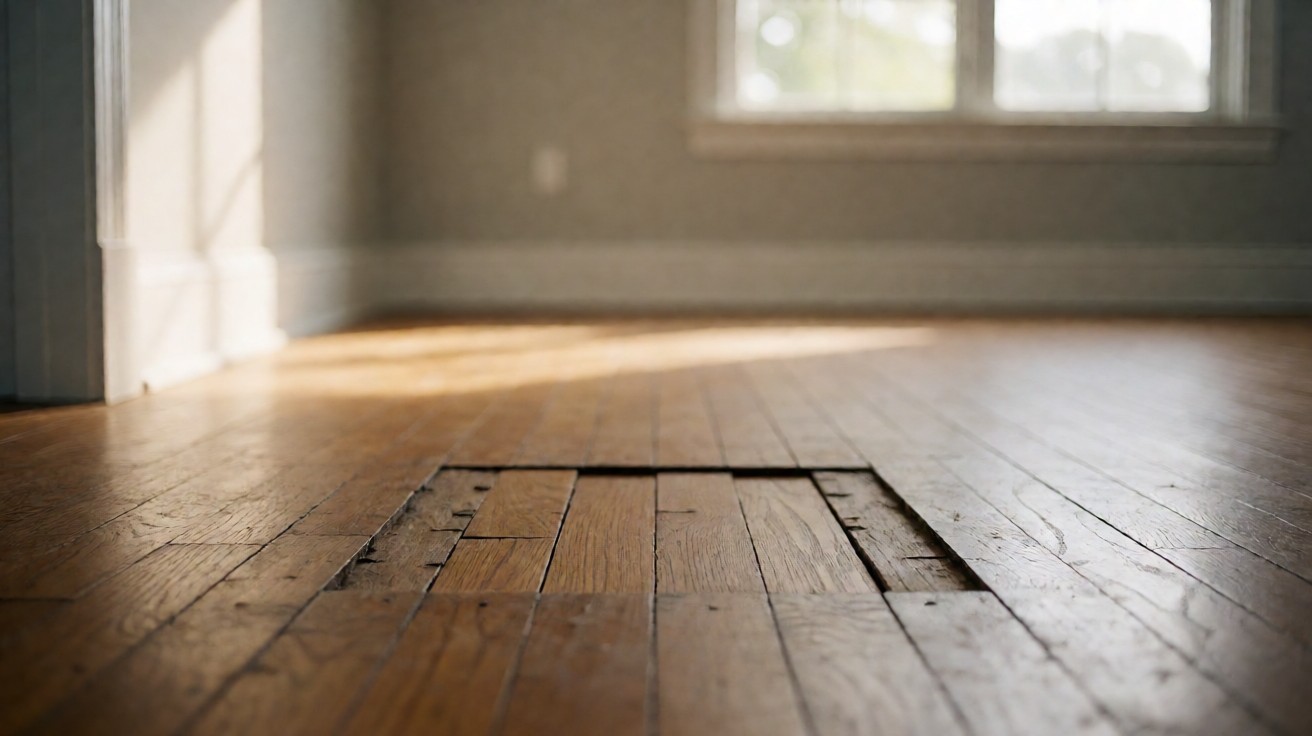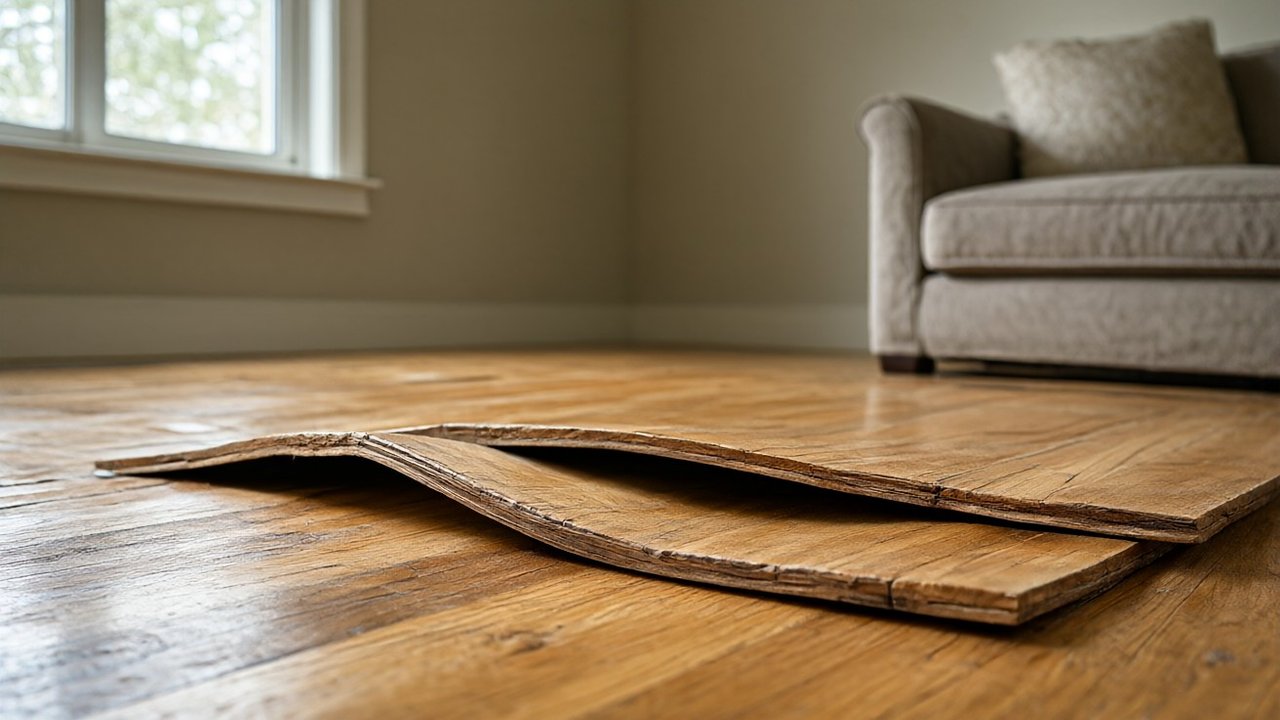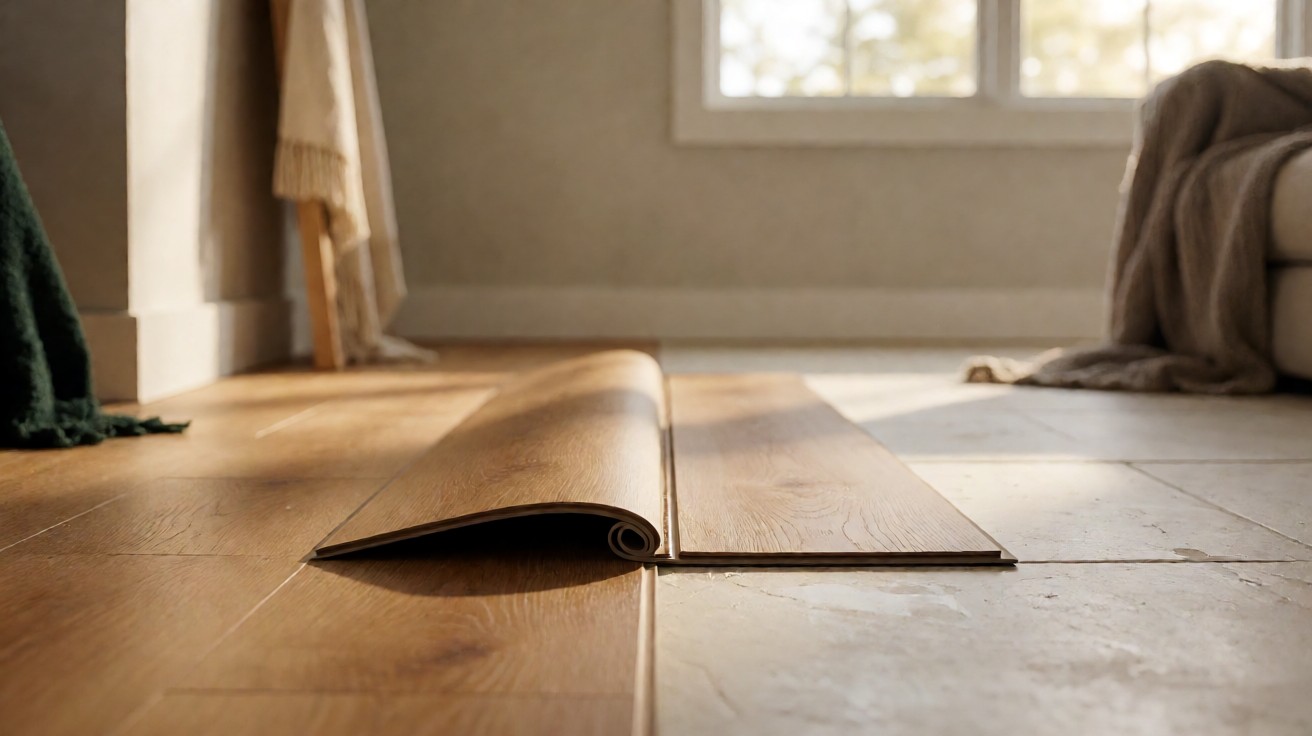
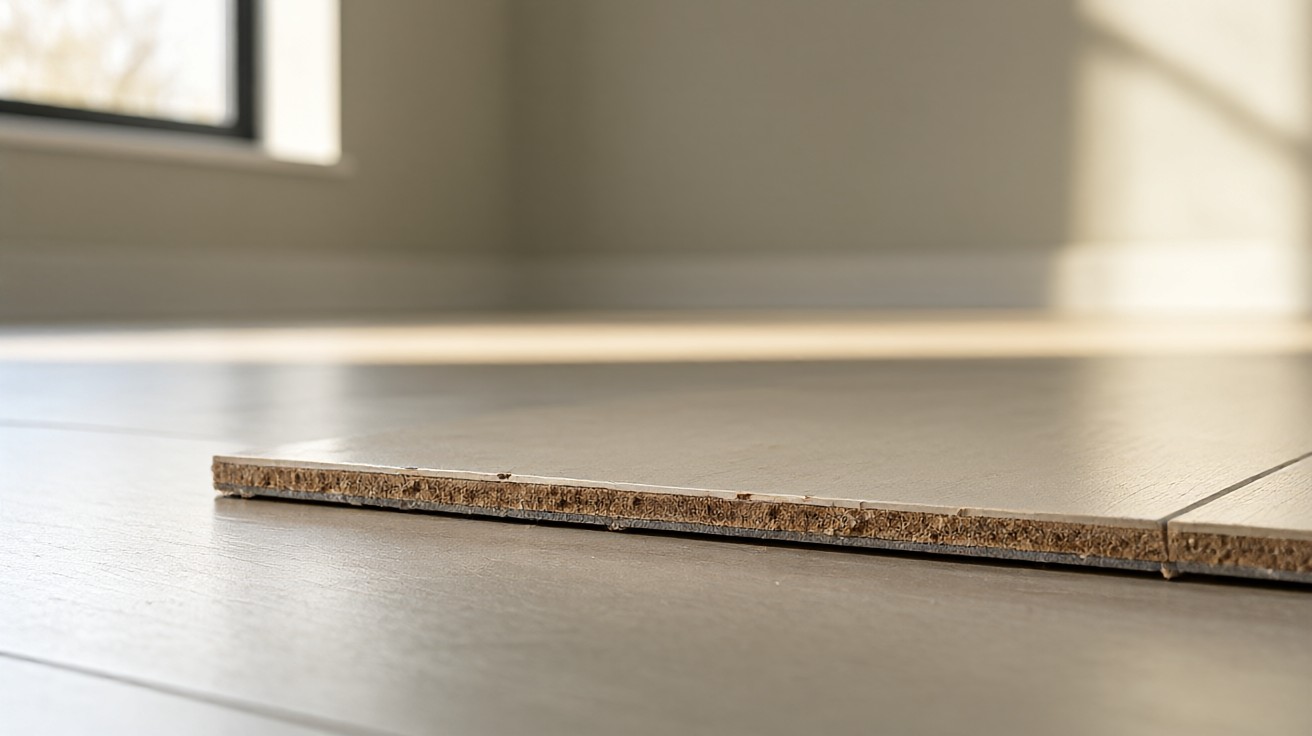

A chip in laminate flooring exposes the brown HDF core under the printed wear layer, and that exposed core soaks up water and swells if it is left open.
The answer is a color-matched hard-wax or epoxy repair kit for chips under 1/4 inch (6 mm); replace the plank when the chip breaks the locking joint or exceeds 1/2 inch (12 mm).
What A Laminate Chip Actually Damages
Most laminate is a sandwich. On top sits a printed decorative paper sealed under a clear wear layer of melamine or acrylic resin. Below that sits the core, usually a high-density fiberboard sold as HDF, sometimes particleboard sold as chipboard.
The wear layer on a residential laminate plank runs roughly 6 mils to 12 mils, which is thinner than a sheet of copy paper. Once that layer is cut through, the core below starts absorbing water within hours and swelling within days.
A chip that stops at the wear layer is cosmetic. A chip that reaches the core is a moisture event waiting to happen. Distinguishing the two before you buy a kit is the whole job.
Check before you buy.
How do you tell if a chip has reached the core?
Press a fingernail into the damaged area. If the surface feels firm and springs back, the chip stopped inside the wear layer. If it feels soft, spongy, or crumbly, the core is exposed.
Look for color as well. Beige and brown core fibers mixed into the chip mean the board has been breached. A clean, pale depression with only the printed design missing is still a surface-only defect.
If the chip also sits on the plank edge, check the locking joint. If the tongue or groove is broken or crushed, no filler will restore the click, and the plank must come out.
Fill Or Replace: The Decision Matrix
The decision rests on three measurements: the width of the chip, whether the core is exposed, and whether the locking joint survived. Take all three before you commit to a repair method.
| Damage | Measure | Repair | Expected service |
|---|---|---|---|
| Surface scuff or print loss, no core visible | Under 1/8 inch (3 mm) | Color-matched touch-up pen or oil marker | Cosmetically sound, indefinite |
| Small chip, core exposed, joint intact | Under 1/4 inch (6 mm) | Hard-wax repair stick, then filler | 5 to 10 years indoors |
| Medium chip, core exposed, joint intact | 1/4 inch (6 mm) to 1/2 inch (12 mm) | Two-part epoxy or hard-wax filler | 5 to 10 years indoors |
| Large chip or missing corner | Over 1/2 inch (12 mm) | Replace the plank | New plank life |
| Locking joint broken or crushed | Any size | Replace the plank | New plank life |
| Swollen, soft, or blackened core | Any size | Replace the plank and check moisture source | New plank life |
Read that table as a floor, not a ceiling. If a chip sits right at 1/4 inch (6 mm) and the plank edge is beveled 3 mm, the bevel itself eats into your repair area, so move one size down the scale.
When in doubt, fill it.
Fill costs under 20 dollars in materials. Replacement costs three figures and a day of work.
When you compare laminate against other resilient floors for the same room, the flooring types compared guide shows why repairability differs between formats.
Tools And Materials For A Chip Repair
You need fewer tools than most people expect. A vacuum, a clean lint-free cloth, a plastic scraper, a hobby knife, a small sanding block, and the repair compound itself cover a chip under 1/2 inch (12 mm).
For the compound, buy a kit that names your flooring brand and color code. Brands such as Quick-Step and Coconix both sell touch-up pens, hard-wax repair sticks, and two-part epoxy kits matched to specific color collections.
| Repair material | Best for | Cure time | Main limitation |
|---|---|---|---|
| Touch-up pen or marker | Scratches and print loss under 1/8 inch (3 mm) | Seconds to 15 minutes | Adds no body to a real chip |
| Hard-wax repair stick | Chips under 1/4 inch (6 mm) on flat surfaces | 2 to 4 hours to handle, 24 hours full | Limited depth, roughly 2 mm |
| Two-part epoxy filler | Chips from 1/4 inch (6 mm) to 1/2 inch (12 mm) | 4 to 6 hours to cure, 24 hours full | Needs accurate color mixing |
| Replenisher lacquer | Fine scratches in the wear layer | 2 hours to recoat | Not a structural repair |
| Replacement plank | Broken joints, large chips, swollen core | Immediate once clicked | Requires lifting adjacent planks |
How To Fill A Chip With Color-Matched Compound
Work in a dry room. If the flooring came from a box that has sat in a garage, let the planks acclimate at room temperature for 48 hours first, otherwise the compound will shrink differently than the floor around it.
How do you prepare a chipped area before filling it?
Vacuum the chip so loose fibers do not sit under the filler. Wipe the area with a barely damp cloth and let it dry for at least 30 minutes. Any moisture trapped under the compound will lift the repair later.
Score the edges of the chip with the hobby knife so the cavity has clean vertical walls. Loose, crumbly core material should be scraped out until you reach solid board, and that means widening the hole a little.
Mask the surrounding surface with low-tack tape if the compound spreads beyond the cavity. Work in a well-ventilated space, because two-part epoxy kits give off fumes while they cure.
How do you fill the chip and make the color match?
Select the repair stick or filler that matches your floor under daylight, not under warm evening bulbs. A pale beige plank looks yellow under incandescent light and gray under daylight, and the mismatch shows within a month.
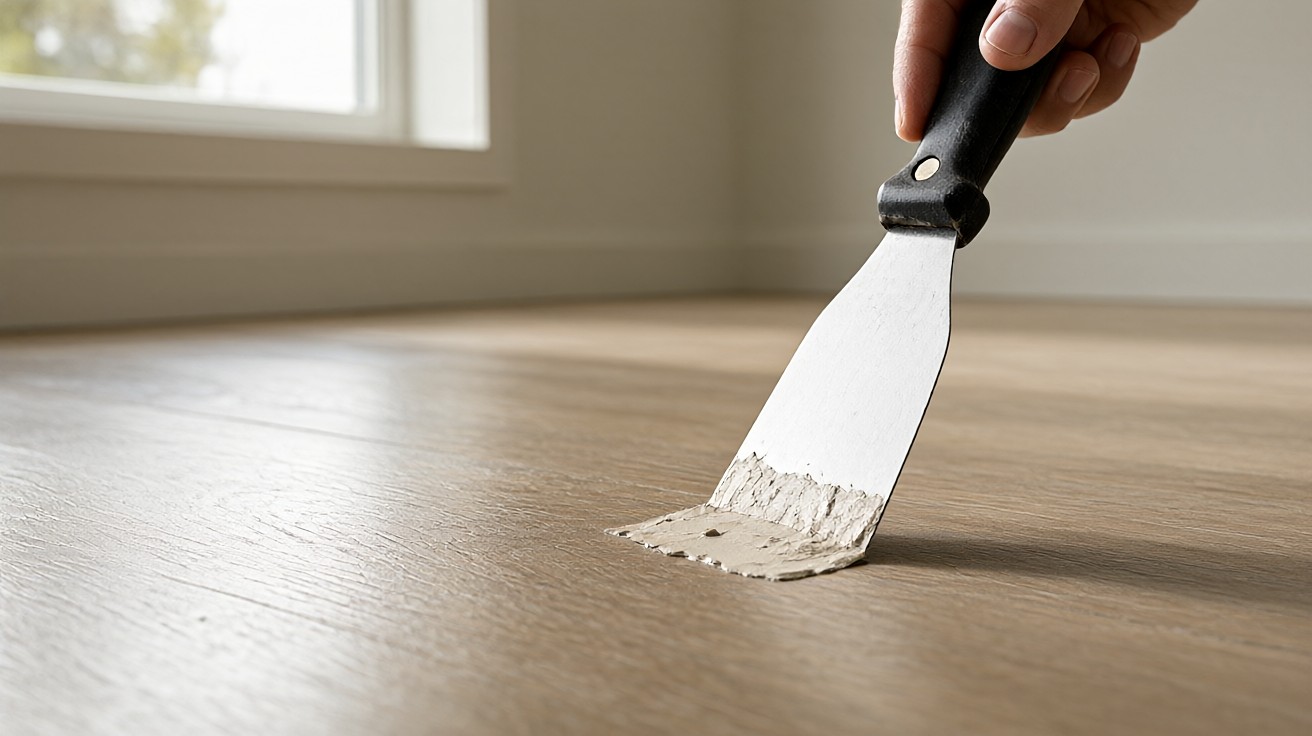
For a hard-wax stick, warm the stick in your hands for a minute so it softens, then press it into the cavity in short strokes. Overflow is normal. Let the wax cool for 10 minutes, then shave the high spots flat with the plastic scraper held at a shallow angle.
For a two-part epoxy kit, measure both components exactly as the kit instructs, stir for 60 seconds, and have the color chip selected in front of you before you mix. Once resin and hardener combine, you typically have only 3 to 5 minutes of working time before it starts to gel.
Work the filler into the cavity with a plastic scraper, pressing hard enough to push out air pockets. A pocket of trapped air becomes a visible void in 2 months of foot traffic.
Level the filler flush with the surface using the sanding block and a 220 grit sheet, working in a circle so you do not sand a dish into the plank. Sand only the repair, not the surrounding factory finish, which is thinner and dulls faster.
How long does a laminate chip repair take to cure?
Most kits are handleable after 4 to 6 hours, but treat the repair as uncured for 24 hours. Keep foot traffic off it for the first 6 hours, and keep furniture off it for 24 hours.
Hard-wax repairs are usually ready for light traffic in 2 to 4 hours. Two-part epoxy needs the full 24 hours before you judge the color, because the resin cures lighter than it looks wet.
Any repair near a wet room needs a longer margin. If you are working in a bathroom or laundry area, wait 48 hours before loading the floor, and check that the subfloor moisture reading is below the limit set in ANSI/NALFA LF-1, the US installation standard for laminate flooring.
ISO 23936-1 governs emissions from flooring adhesives and repair compounds, and ISO 10582-1 sets the wear layer thickness used to grade resilient floors, which is how you tell a 6 mil residential laminate from a commercial grade panel.
How much compound does one chip use?
Here is the arithmetic that decides whether a kit bottle is enough. A typical hard-wax kit covers roughly 20 repairs on chips of 1/8 inch (3 mm) or smaller. Chip volume scales with the square of width, so a 1/4 inch (6 mm) chip uses about four times the material of a 1/8 inch chip, and a 1/2 inch (12 mm) chip uses about sixteen times as much.
Working the numbers: one bottle covers 20 chips at 1/8 inch, 5 chips at 1/4 inch, and roughly 1 chip at 1/2 inch. If you have six chips of 1/4 inch size, buy two kits.
Add 25 percent to that figure for waste, because a filler that runs out 3 inches from the finish line means mixing a second batch with a slightly different ratio.
How To Repair A Chipped Edge Or Corner
Edge chips are the most common complaint and the easiest to hide. The plank edge is where a dropped cast-iron pan lands, and most edge damage never reaches the locking joint.
Start by checking the bevel. Many planks carry a 3 mm micro-bevel, so the visual edge sits back from the true board edge. A chip that looks deep is often only cutting into the bevel line, which means less filler and a better result.
Follow the same cleaning and scoring steps used for a face chip. Fill in two or three shallow passes rather than one thick one, because hard-wax will not bond to itself well when it is applied thick.
If the chip runs along the edge and the joint is still intact, leave about 3 mm of clearance at the plank edge so the filler does not bridge two planks together. A filler that fills the gap and bonds to the neighbor locks the joint and creates a lifting problem later.
If the joint is crushed or the tongue is snapped, stop. That damage travels under the floor and the plank lifts. The fix for lifting planks guide explains why a weakened joint moves after the fact.
How To Repair A Dent Or Surface Scratch
A dent is different from a chip. The material is still there, just compressed, and heat can bring it back without any compound at all.
Warm an iron to a low setting and lay a brown paper bag or a folded cotton cloth over the dent. Hold the iron on the cloth for 10 to 15 seconds per pass, then let the area cool and check the result.
Never set the iron directly on the laminate, and never use steam. Direct heat can bubble the wear layer or the melamine face, and steam drives moisture into the HDF core where it swells and delaminates the board.
If the dent is on a beveled edge, work the cloth over the joint so the pressure reaches the compressed core rather than the thin surface paper.
For a scratch that has broken the wear layer but not the core, a color-matched touch-up pen is enough. Apply it in thin layers, letting each layer dry for 5 minutes before the next, so the color builds without pooling.
Color Matching: The Step That Decides The Result
Match in daylight, near a window, with the plank in front of you. Hold the repair stick or filler card against the floor rather than up in the air, because the finish reflects whatever is in the room.
Take a photo of the chip with a white sheet of paper beside it and use that photo when you shop. Screens shift color, and a repair stick picked from an on-screen swatch is a gamble.
Work out the shade, then work out the sheen. A gloss repair on a matte plank catches light and reads as a defect even when the color is right. Matte and satin boards need matte repair products.
If the color is close but not exact, build the correction in layers. A thin translucent glaze of the filler, sanded between coats, will blend a near-match far better than one heavy coat of a slightly wrong tone.
Expect to reapply a hard-wax or filler touch-up every 6 to 12 months in a high-traffic area, because the repair is harder than the surrounding board and wears faster under foot.
When A Laminate Plank Must Be Replaced
Replacement is the right call in four situations: the chip exceeds 1/2 inch (12 mm), the locking joint is broken, the core is swollen or blackened, or the damage runs across more than one plank from a single impact.
A swollen core means water reached the board, and the damage grows with every wet cleaning cycle. Repairing the surface on a swollen plank traps that water inside.
A broken locking joint matters because that plank no longer holds its neighbors. The stress transfers to the surrounding planks, which is exactly the failure that shows up later as a lifted or clicking floor.
If the same plank keeps chipping after two repairs, look at what is causing the impact rather than what is filling the chip. A short nail under a rug, a door swing, or a loose stair tread will destroy any repair you make.
Compare the effort of a full plank swap against a fill by checking what you already know about the floor’s construction, which the laminate flooring guide covers in detail.
Fill first. Replace only if the fill fails.
Replacing A Damaged Plank Without Damaging Its Neighbors
Plank replacement is straightforward in a floating floor, because the boards are not glued and the damaged plank can usually be lifted straight up.
Mark the damaged plank on every face of the paper pattern on top of it. Cut along the lines with a flush-cut saw, keeping the cut 3 mm short of the plank edge on all four sides so the adjacent boards are not disturbed.
Break the cut piece out carefully. Pry up the next plank with a pull bar, then remove the damaged board, working from the end wall so you keep the maximum number of undamaged boards in the stack.
Vacuum the cavity completely and check the subfloor for swelling. If moisture is present, fix the source before installing the new plank, or the replacement fails the same way the original did.
Set the new plank in place, align the tongue with the groove, and click it down with a pull bar and a rubber mallet. Cut the new plank to size before fitting if the row is longer than the opening.
If the floor was installed with adhesive rather than floated, replacement is a different job. Adhesive must be cut with a saw or a special blade, and the old adhesive has to be fully removed before the new plank bonds.
The method for replacing a damaged LVP plank applies the same lifting logic to a different material, and the guide to gaps between hardwood planks covers the sibling case of boards that no longer meet.
Common Mistakes That Turn A Chip Into A Bigger Repair
Filling a chip without removing the loose, water-damaged core. Filler bonds to crumbly material and pops out with the crumbly material attached.
Ignoring the bevel. A 3 mm bevel eats into the repair area, and a filler flush with the surface will still read as a step under raking light.
Using steam or a hot iron directly on the board. Both drive water into the HDF core and cause swelling that no repair kit can reverse.
Bridging the joint with filler. Compound that spans two planks bonds them together, and the pair then fights the floor’s seasonal movement every season.
Skipping the 24 hour cure. Colour and hardness both settle late, and a repair walked on at 2 hours usually shows a scuff ring within a week.
Repairing without finding the cause. If moisture came from an underlayment problem rather than an impact, the repair fails and the swelling returns around the filler edge.