
Learn how to repair damaged grout on tile floors safely, choose the right grout type, remove it to the proper depth, and prevent cracks from coming back.
Grout is the cement based filler between tiles. It locks the tile edges together, keeps water out of the substrate, and gives the floor a finished look. When it cracks, crumbles, or pulls away, water can reach the setting bed and the repair gets harder.
What Causes Grout to Crack or Crumble
Grout usually fails for one of two reasons: the floor moves, or the grout was mixed or packed poorly.
The Tile Council of North America notes that excessive substrate deflection is the most common cause of cracked grout on floors. Joists that are too small, spans that are too long, or a thin subfloor can let the floor flex under foot traffic. That flex stresses the rigid grout until it cracks.
Other common causes include grout mixed with too much water, grout packed after cement hydration has started, and joints that were flooded with water during cleanup.
Sanded grout used in joints narrower than one eighth inch can bridge the joint and leave a thin surface shell with little strength. Mold and mildew do not crack grout by themselves, but they signal trapped moisture that weakens the joint over time.
How do you tell grout damage from tile damage?
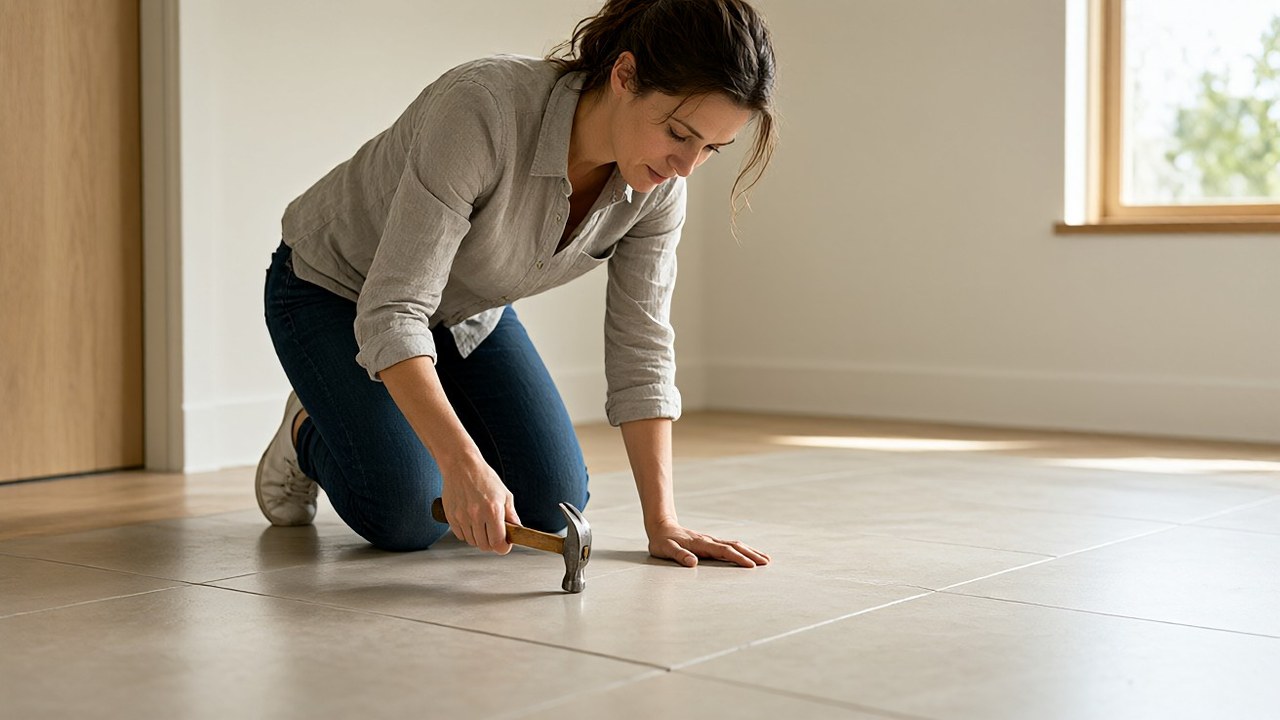
Tap the tile with a rubber mallet or the handle of a screwdriver. A solid tile sounds dull and firm.
A hollow sound means the tile may be loose, which is a different repair. If the tile is sound but the grout is cracked, flaking, or missing, regrouting is the right fix. If the tile itself is cracked, see the guide on how to repair cracked floor tiles before you touch the grout.
Inspect and Decide: Repair or Replace
Not every damaged joint needs full replacement. Hairline cracks that are stable and clean can sometimes be filled with a grout colorant and sealer.
Joints that are crumbling, powdery, or missing depth need removal and repacking. The Tile Council of North America states that joints cannot be grouted over successfully. At least two thirds by depth of the old grout must be removed when replacing or repairing grout.
Also check the tile setting bed. If tiles rock or sound hollow, fix loose tiles first. Regrouting over a moving tile will crack again within weeks. For guidance on that step, see the article on how to fix loose floor tiles.
| Condition | Recommended action | Why |
|---|---|---|
| Surface stain or light discoloration | Clean and seal | Grout is intact and porous only |
| Hairline crack, tile is solid | Colorant plus sealer | Crack is cosmetic and stable |
| Crumbled or missing grout | Remove and regrout | Joint lacks depth and strength |
| Cracked grout plus loose tile | Fix tile first | Movement will break new grout |
Choose the Right Grout Type
Grout choice depends on joint width, tile type, and exposure. For background on tile types and installation, see the tile flooring guide. The Tile Council of North America gives a simple rule: joints of one eighth inch or wider call for sanded grout, and narrower joints call for unsanded grout. Joints larger than three eighths inch usually need a more heavily sanded mix.
Sanded grout contains fine sand that resists shrinkage in wider joints. Unsanded grout is smooth and bonds well in narrow joints and on vertical surfaces. Epoxy grout is a two part resin system that is stain resistant and does not need sealing, but it sets fast and is harder to tool. Cementitious grout needs sealing in wet areas.
| Grout type | Joint width | Best for | Cure before sealing |
|---|---|---|---|
| Unsanded cementitious | Less than 1/8 inch | Narrow joints, polished stone, walls | Up to 72 hours |
| Sanded cementitious | 1/8 inch to 3/8 inch | Floor tile, standard joints | Up to 72 hours |
| Wide joint sanded | Over 3/8 inch | Large joints, rustic tile | Up to 72 hours |
| Epoxy | 1/16 inch to 1/2 inch | Showers, kitchens, high traffic | 24 hours |
Never mix sanded and unsanded grout in the same joint. Never use sanded grout on marble or any surface that sand can scratch. Match the new grout color to the existing field by using sample chips from a home improvement store. If the original color is lighter, add slightly more water when mixing cementitious grout. If darker, use less water.
How to Remove Damaged Grout
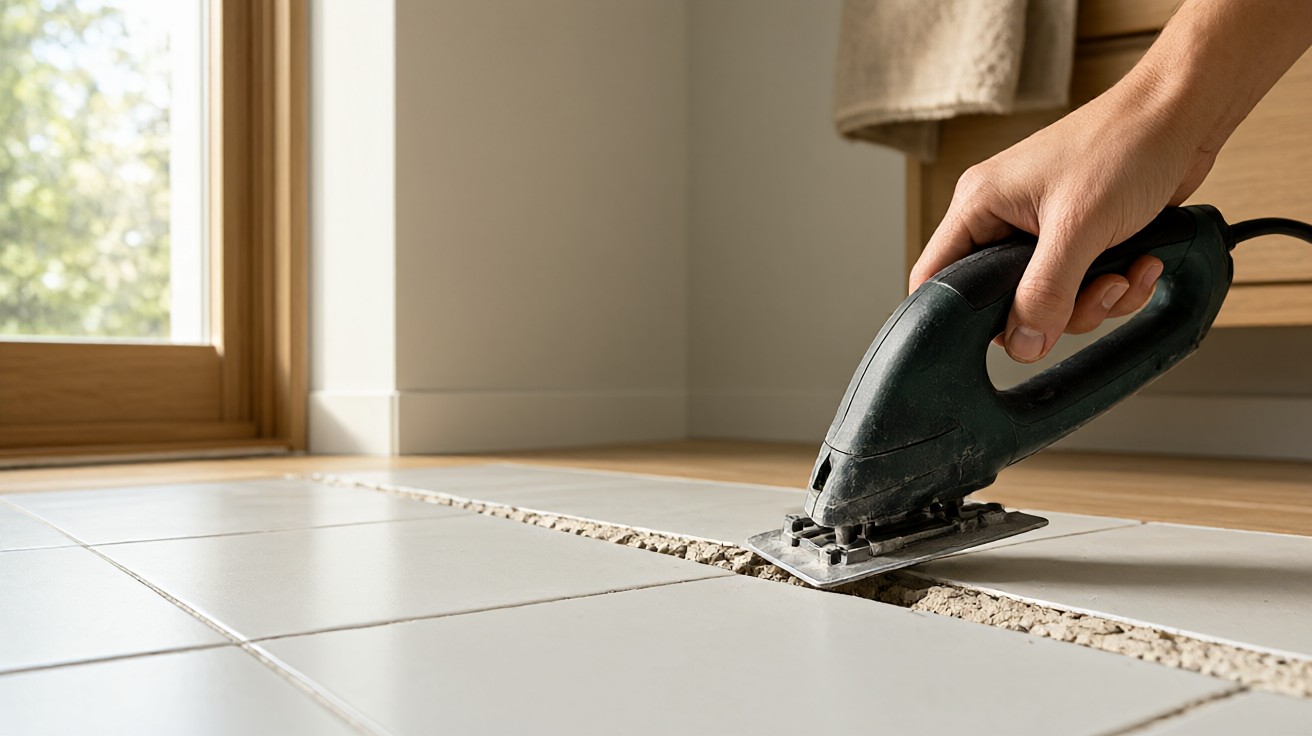
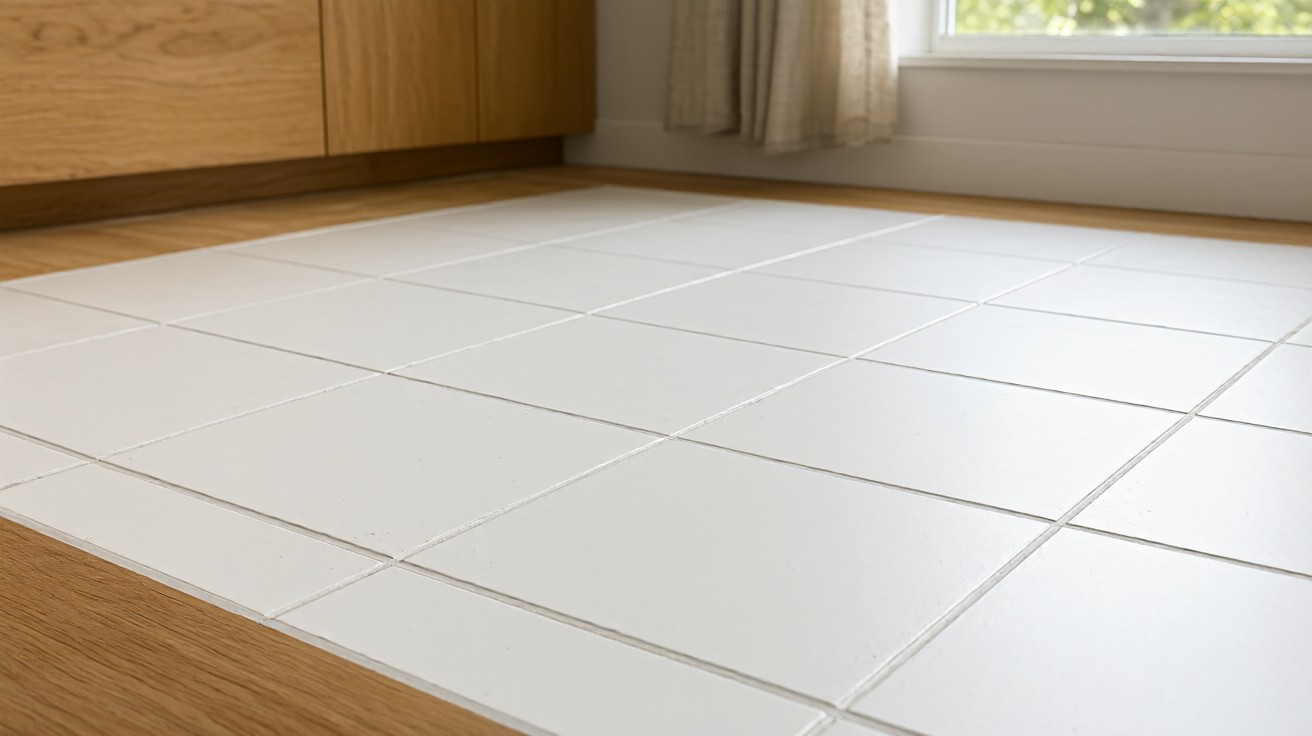
Removal is the step that determines whether the new grout holds. Work slowly and keep the tool centered in the joint so you do not chip tile edges. Remove at least one eighth inch of grout, and ideally two thirds of the joint depth, so the new material can bond to the tile edges and the remaining grout.
Use a manual grout saw for small areas and a rotary tool with a grout removal attachment for larger floors. Vacuum the joints with a shop vacuum after removal. Wipe the tile faces with a damp sponge and let the joints dry before mixing new grout. If you are using epoxy grout, the surface must be completely dry before application.
What safety gear do you need for grout removal?
Wear eye protection because grout breaks into small chips. Wear a dust mask so you do not breathe grout dust or possible mold spores. Use rubber gloves and knee pads for floor work. Open a window or run exhaust ventilation when working in a small bathroom.
How to Mix and Apply New Grout
Follow the manufacturer mixing ratio on the package. For cementitious grout, add powder to water, not water to powder, and mix to a smooth peanut butter consistency. Let the mix rest for about ten minutes, then stir again before use. Do not add extra water after the grout begins to stiffen.
For epoxy grout, mix the two parts thoroughly and work in small batches because the pot life is short. Use a nonstick gum rubber float for epoxy so the resin does not stick to the tool.
Press grout into the joints with a rubber float held at a forty five degree angle. Work diagonally across the joints so you do not rake grout out of the lines. Fill each joint completely and pack it firmly to the back of the joint. Work in sections of a few square feet at a time.
Tooling, Cleaning, and Curing
After the joints are filled, wait the time recommended by the manufacturer, usually ten to twenty minutes, until the grout firms up. Then hold the float at a ninety degree angle and scrape excess grout off the tile faces. Wipe the surface with a damp grout sponge in light circular motions. Rinse the sponge often and avoid dragging grout out of the joints.
A haze will remain after the first wipe. Buff it with a dry microfiber cloth once the grout has set. Some manufacturers sell a haze remover for stubborn residue. Do not use acidic cleaners on fresh cementitious grout.
Curing time depends on the product and the environment. Cementitious grout typically reaches full cure in up to seventy two hours. Epoxy grout is usually ready in twenty four hours. Keep foot traffic off the floor during cure and avoid wet mopping until the manufacturer says it is safe.
Sealing and Protecting New Grout
Cementitious grout is porous and should be sealed in kitchens, bathrooms, and other wet or high traffic areas. Wait until the grout has fully cured, then apply a penetrating sealer with a small brush or applicator bottle. Wipe excess sealer off the tile faces before it dries. A second coat may be needed on very porous grout.
Penetrating sealers soak into the grout and leave an invisible barrier against water and stains. Membrane forming sealers sit on the surface and can yellow or peel in wet areas. Many modern grouts include a built in fungicide that resists mildew. Epoxy grout does not need sealing.
| Sealer type | How it works | Best use |
|---|---|---|
| Penetrating | Soaks into pores and repels water and stains | Bathroom floors, showers, kitchens |
| Membrane forming | Coats the surface | Dry interior walls only |
| Built in fungicide grout | Additive in the grout mix | Steam areas and wet rooms |
Caulk vs Grout at Movement Joints
Grout is rigid and cracks when the surface moves. Caulk is flexible and belongs wherever two surfaces meet or change direction. The Tile Council of North America advises using caulk instead of grout at the joint between floor and wall, at inside corners, and wherever the substrate changes. Using grout in these locations leads to cracking and can damage tile.
Choose a silicone, urethane, or multi polymer caulk for wet horizontal applications. Acrylic caulk breaks down in wet horizontal use. Mold may grow more easily on caulk than on grout unless the caulk contains a mildewcide. Caulk needs maintenance more often than grout, but it protects the tile from movement damage.
Preventing Future Grout Damage
Keep water off the floor by wiping spills promptly and using bath mats. Small habits keep grout looking new for years. Clean grout with a pH neutral cleaner and a soft brush. Avoid harsh acids and bleach, which erode cementitious grout over time. Reseal cementitious grout every one to two years in wet areas, or when water stops beading on the surface.
Control humidity with ventilation. Run the exhaust fan during and after showers. Fix plumbing leaks quickly. If grout cracks repeatedly in the same spot, the cause is likely substrate movement, not the grout. Address the floor structure or add an uncoupling membrane during a future remodel.
How often should you reseal grout?
Reseal cementitious grout when water no longer beads on the surface, which is usually every one to two years in bathrooms and kitchens. Epoxy grout does not need sealing. Always follow the sealer manufacturer instructions for reapplication intervals.
Common Mistakes to Avoid
- Skipping removal and grouting over old grout, which fails because the new layer cannot bond.
- Using sanded grout in joints narrower than one eighth inch, which can bridge the joint.
- Adding extra water to stiffening grout, which weakens the final joint.
- Flooding joints with water during cleanup, which washes out cement and causes pinholes.
- Walking on the floor before the grout cures, which cracks fresh joints.
- Sealing before the grout has cured, which traps moisture.
When to Call a Professional
Call a tile contractor if cracks return after a proper repair, if tiles are loose or hollow sounding, or if the floor has visible sag or bounce. Substrate repair, joist reinforcement, and large format tile regrouting often require professional tools and experience. A pro can also color match epoxy grout and handle steam shower installations.