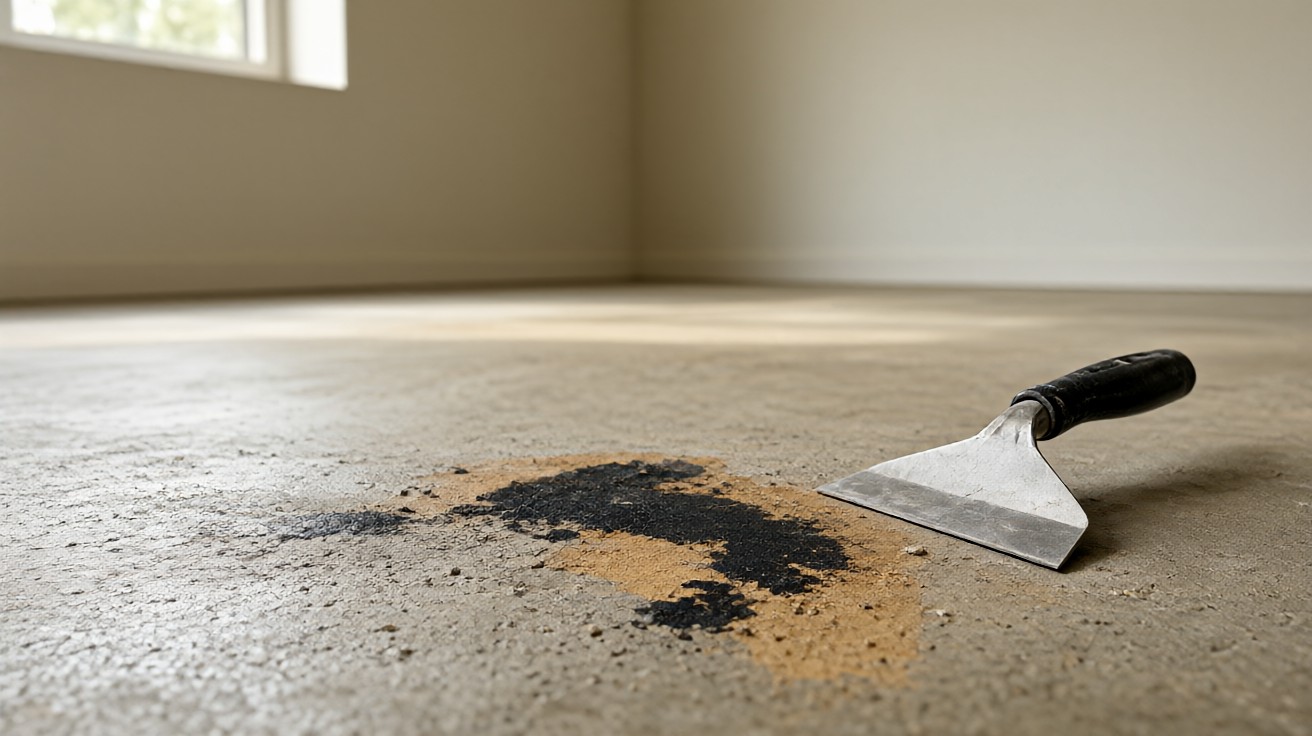

Old adhesive residue left on a subfloor can bond-break a new floor, telegraph through thin material, and hide asbestos in pre-1980 cutback mastic glue.
Remove or grind it flush for glue-down LVP, tile, and hardwood; encapsulate only when it is non-asbestos cutback on concrete and the new floor is floating.
Quick Answer: Can You Install Flooring Over Old Adhesive?
If the residue is thin, firmly bonded, and non-asbestos, a floating floor can sometimes go over it after leveling. Glue-down floors cannot.
Any ridge over 1/16 inch, any tacky film, or any black cutback of unknown age stops the job until you test and treat it.
When in doubt, remove the residue rather than risk a bond failure or a warranty claim.
Identify the Residue Type Before You Touch It
Four residue types show up under old flooring: cutback mastic, vinyl adhesive, carpet glue, and thinset. Each behaves differently.
Cutback is black or dark brown and smells like asphalt; it was common under vinyl tile before 1980 and may contain asbestos. Vinyl adhesive is tan or amber and peels in strings. Carpet glue is tacky and stays sticky for years. Thinset is cement grey and chips like rock.
Use the scrape test with a sharp chisel: cutback smears, vinyl adhesive strings, carpet glue gums the blade, thinset chips. Wipe the blade with solvent between tests to avoid cross-contamination.
If the residue is white or grey and powdery, it may be old thinset or self-leveling compound rather than adhesive. Treat it as a separate removal job.
How Do You Tell Cutback From Vinyl Adhesive?
Cutback is darker, softer, and often has a petroleum smell; vinyl adhesive is lighter and harder. If the building predates 1980 and the glue is black, treat it as suspect cutback until a lab says otherwise.
When in doubt, collect a sample for lab testing rather than guessing.
Test Old Cutback for Asbestos First
Black cutback mastic installed before 1980 may contain asbestos fibers. Sanding or grinding it releases fibers you cannot see.
Collect a small sample with a damp wipe and send it to an NVLAP-accredited lab. Results usually take 3 to 5 business days and cost 25 to 50 dollars per sample.
If the result is positive, stop. Hire a licensed asbestos abatement contractor; do not scrape, grind, or chemically strip it yourself.
If negative, you may remove it with wet methods and a chemical remover, keeping the material damp to limit dust.
Always follow local disposal rules for asbestos-containing material, even when the test is negative for fibers.
When Residue Must Be Removed vs Encapsulated
Removal is mandatory for glue-down LVP, tile, hardwood, and carpet. Encapsulation is only an option for non-asbestos cutback on concrete under a floating floor.
Encapsulation means coating the residue with a primer or self-leveling compound so it cannot bond-break the new floor. It does not remove asbestos; it only seals it.
Can You Encapsulate Asbestos Cutback?
No. Encapsulation of asbestos-containing material requires a licensed abatement plan and is not a DIY step. Only a licensed contractor may encapsulate or abate it.
For non-asbestos residue, encapsulation is acceptable only when the residue is firmly bonded, the slab is dry, and the new floor floats.
If the residue lifts or powders under a fingernail, remove it instead. Encapsulation fails on loose material.
Always prime concrete before encapsulating, and respect cure times on the product label.
Removal Methods: Scraping, Grinding, Chemical, Encapsulation
Match the method to the residue and the substrate. Dry scrape first, then heat, chemical, or mechanical removal.
| Method | Best for | Substrate caution | Typical rate |
|---|---|---|---|
| Dry scrape | Thin vinyl adhesive, carpet glue | None major | 100 sq ft per hour |
| Heat gun | Mastic on wood | Keep moving, avoid scorching | 50 sq ft per hour |
| Chemical remover | Mastic, pressure-sensitive glue | Ventilate; keep wood dry | 200 sq ft per 4 hours |
| Floor grinder | Large concrete areas | Dust shroud and HEPA required | 500 sq ft per day |
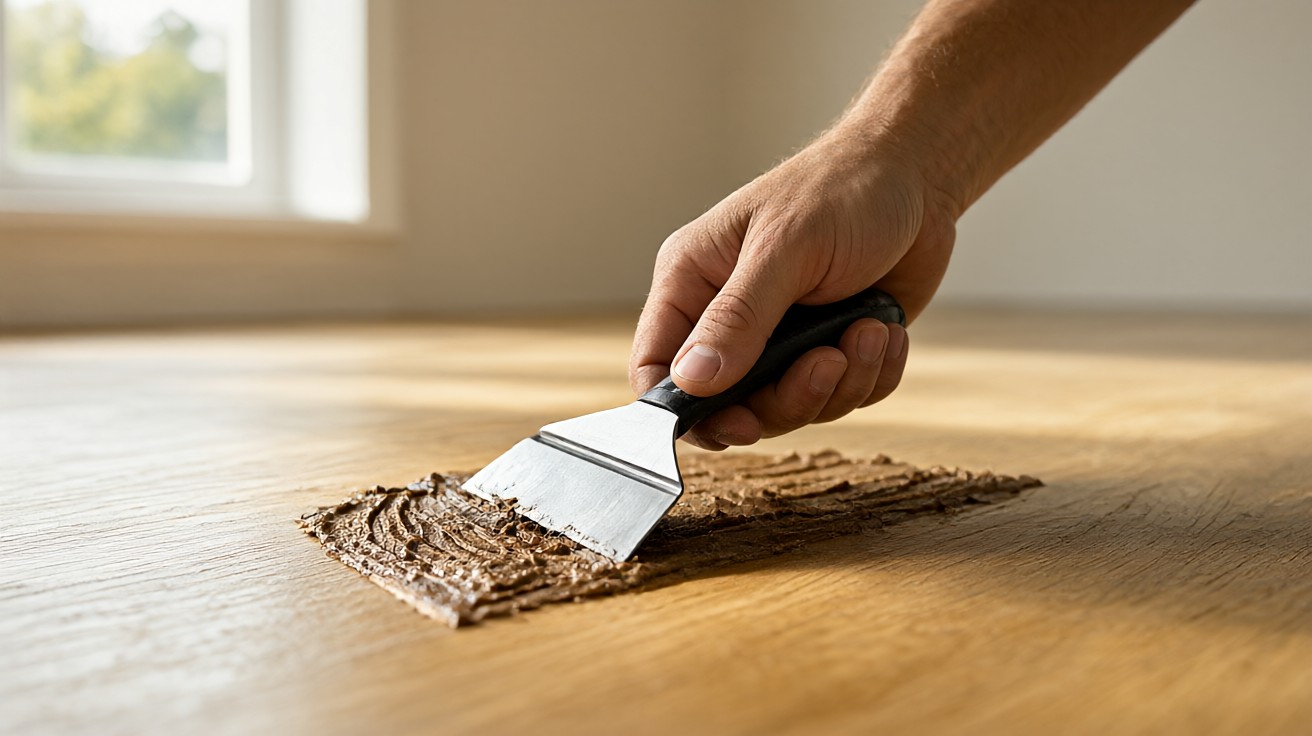
Scraping works for small areas: hold a 4-inch floor scraper at 30 degrees and lift ridges. Grinding suits 500 square feet or more on concrete.
Chemical removers come in citrus, alkaline, and soy-based formulas. Match the remover to the adhesive and always test a 1-square-foot patch first.
For wood subfloors, avoid grinders; use a sharp scraper and a heat gun on low setting. Keep the gun moving to avoid scorch marks.
After any method, vacuum with a HEPA unit and wipe with a damp microfiber cloth. Repeat until the cloth stays clean.
Compatibility With New Flooring Types
Each new floor sets its own flatness and bond rules. LVP and laminate need a smooth substrate; tile needs a keyed surface; hardwood needs flat and dry.
| New flooring | Residue tolerance | Requirement |
|---|---|---|
| Glue-down LVP | None | Remove all residue; bond test must hold |
| Click-lock LVP / laminate | Minor ridges under 1/16 inch | Level and encapsulate if needed |
| Ceramic / porcelain tile | None on bond surface | Grind or scarify concrete; no encapsulant under mortar |
| Solid or engineered hardwood | None | Flat, dry, clean subfloor per NWFA |
| Carpet | Low | Remove tacky glue; encapsulate dry cutback only |
If you are installing glue-down vinyl, any residue ruins adhesion and must be fully removed before spreading new adhesive.
If you are installing click-lock vinyl, minor residue under a floating floor is tolerable, but ridges over 1/16 inch will telegraph through.
For tile, scarify or grind concrete to a clean, porous surface. Encapsulants under thinset can cause bond failure.
For hardwood, follow NWFA flatness and moisture limits. Residue can outgas and push planks out of level.
Moisture and Leveling After Residue Removal
Concrete must read under 4 percent moisture by weight or under 80 percent relative humidity by ASTM F2170 before new flooring. Test with a calcium chloride kit or an in-situ probe.
What Moisture Level Is Safe Before New Flooring?
Most vinyl and laminate manufacturers require concrete moisture under 4 percent by weight or under 80 percent relative humidity by ASTM F2170. Test with a calcium chloride kit or an in-situ probe before installing.
Wood subfloors must stay dry: never soak plywood or OSB, and never leave standing water. Replace any delaminated sheet.
After removal, level the surface to 3/16 inch over 10 feet. Fill spalls and cracks with polymer-modified patch on concrete; sand seams on wood.
If encapsulating non-asbestos cutback, apply a primer or self-leveling compound only after moisture testing passes.
Re-test moisture after any leveling or encapsulation work, because added cementitious material changes readings.
Keep a log of every test result for warranty documentation and future reference.
Cost and Time Expectations
Residue removal for a 200-square-foot room usually takes 2 to 4 hours by hand, or one day with grinding and drying time.
Labor runs 1.50 to 3.00 dollars per square foot for scraping, and 3.00 to 5.00 dollars per square foot for grinding on concrete. Chemical removers add 0.25 to 0.75 dollars per square foot in material.
Asbestos testing costs 25 to 50 dollars per sample. Licensed abatement starts around 5.00 dollars per square foot and up.
Encapsulation with self-leveling compound costs 1.00 to 2.50 dollars per square foot in material and adds one day of cure time.
For a 500-square-foot basement, budget a full weekend for scraping and leveling, plus two days for moisture testing and cure.
Renting a floor grinder runs 150 to 250 dollars per day, and HEPA vacuum rental adds 50 to 80 dollars.
Safety: Asbestos Abatement and PPE
Treat any pre-1980 black cutback as suspect until tested. Do not sand, grind, or dry scrape it.
Wear a respirator rated for organic vapors and particulates, nitrile gloves, and eye protection. Seal vents with plastic and use a HEPA vacuum on grinders.
Dispose of debris in 6-mil plastic bags per local rules. If the test is positive, hire a licensed abatement contractor and do not DIY.
If you are unsure about the age of the building, assume the residue contains asbestos and test before any mechanical removal.
For large areas, wet the surface before scraping to keep dust down, and never use a dry grinder without a shroud.
Always work in a well-ventilated space with fresh air intake.
Common Mistakes to Avoid
Using a metal blade on vinyl gouges the subfloor. Over-wetting wood causes swelling. Skipping the patch after grinding leaves low spots that crack grout.
Rushing is the biggest error: plan a full day including drying time, and verify flatness before installing.
Another common mistake is skipping the asbestos test on pre-1980 black cutback. The risk is not worth the savings.
Never install over a tacky or soft residue. It will bond-break the new floor within months.
Verification Before Installing New Flooring
Slide a 10-inch drywall knife across the surface; it should not catch. Wipe with a damp rag; if it turns brown or tacky, residue remains.
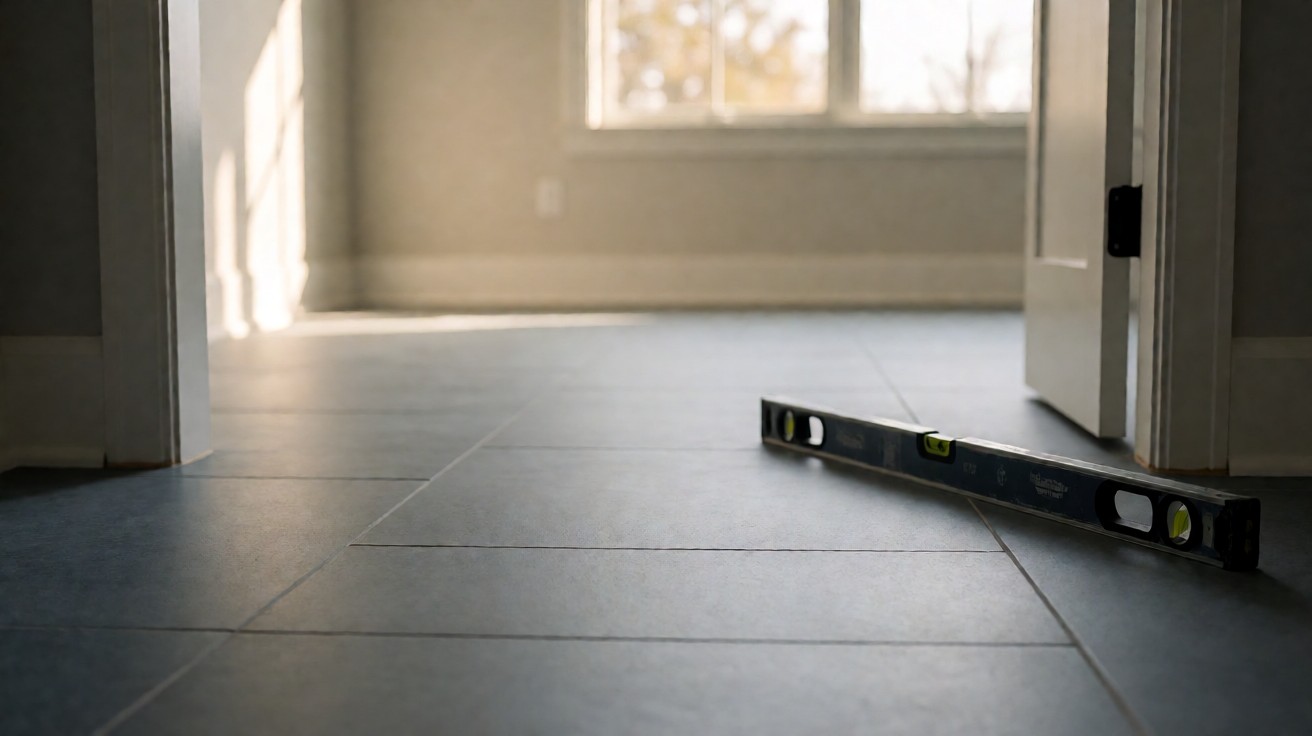
Check flatness with a 6-foot straightedge. Gaps under the edge should not exceed 3/16 inch. Record moisture readings with date, time, and location.
For glue-down floors, perform a bond test: spread a small patch of new adhesive, cure 24 hours, then try to lift it. If it peels, remove more residue.
Recheck flatness after any patching or leveling. A new ridge can form where filler meets old residue.
Let the subfloor dry fully before installing. Trapped moisture under new flooring leads to cupping and bond failure.
Documentation, Warranty, and Long-Term Care
Record every moisture reading with date, time, and location in a simple spreadsheet. Manufacturers often require documentation for warranty claims.
Take three readings per 100 square feet and average them. If any reading exceeds the limit, delay installation and retest after 24 hours of ventilation.
Photograph the subfloor under raking light before and after removal. Visible residue shows as sheen or texture. These photos support warranty claims if a floor fails later.
For tile installations, keep subfloor deflection within L/360 to protect grout. For adhesive products, check VOC content and choose low-emission formulas where available.
Store test kits sealed and within their expiration dates. Calcium chloride kits lose accuracy after opening. In-situ probes need calibration checks per manufacturer instructions.
For flatness checks see how to check subfloor flatness, and for moisture limits see subfloor moisture testing. For inspection steps see how to inspect a subfloor before installation.
TCNA and ANSI A108 set tile bond standards, while NWFA and ASTM F2170 govern hardwood and concrete moisture respectively.
Key Takeaways
Identify the residue, test pre-1980 cutback for asbestos, and match the removal method to the substrate. Glue-down floors need a clean surface; floating floors tolerate minor residue if leveled.
When in doubt, remove rather than encapsulate, and document moisture and flatness readings before installing.
Following these steps protects your new floor, your warranty, and your health.
Review manufacturer guidelines before starting, and keep all documentation for future reference.
Consult a flooring professional if you are unsure about any step.