Installing a ceramic tile floor is a project most homeowners can complete over a long weekend, provided the subfloor is sound and the layout is planned.
The work is physical and unforgiving of rushed cuts, but it rewards patience with a surface that lasts for decades.
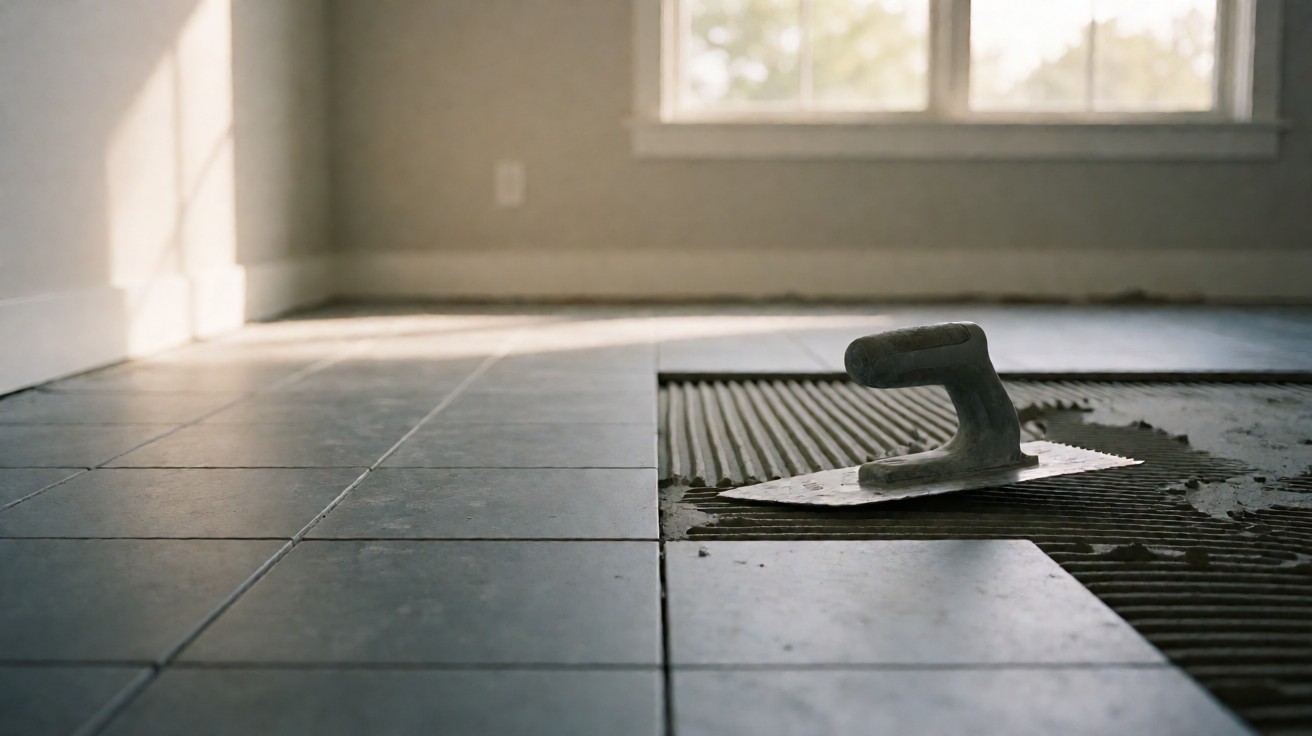
The single most important rule is to set the tile in a bed of thinset mortar rather than adhesive, use a notched trowel sized to the tile, and keep grout joints consistent with plastic spacers.
A 12 by 12 inch ceramic tile needs a 1/4 by 3/8 inch square-notched trowel and 3/16 inch spacers; larger tiles need a deeper notch and wider joints. Get those two numbers right and the rest of the job is careful repetition, with cure times doing the heavy lifting.
Planning and Layout
Measure the Room and Order Materials
Measure length and width to the nearest quarter inch, then multiply to get square footage. Add 10 percent for cuts on a straight layout and 15 percent for a diagonal or herringbone pattern. Order tile, thinset, grout, and backer board from the same lot number so color and calibration match across the room.
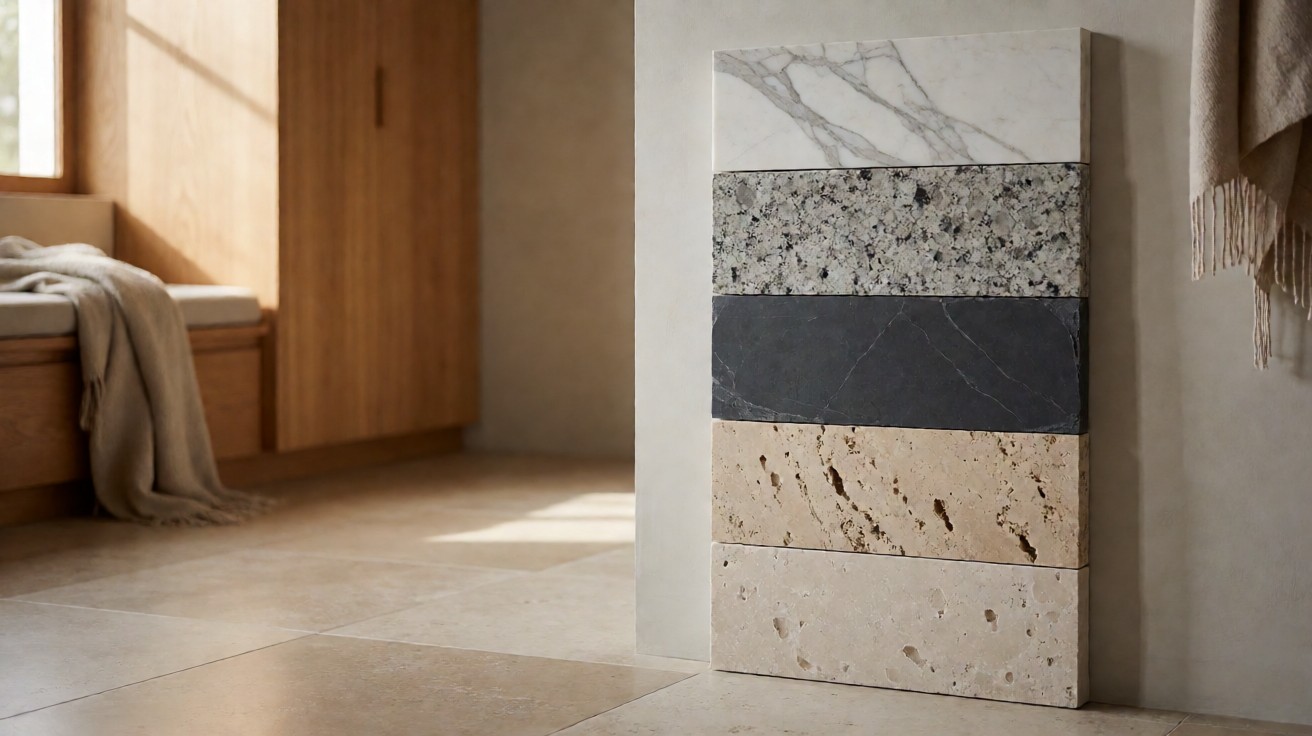
Confirm the tile is rated for floor use and check the dynamic coefficient of friction rating, which should be 0.42 or higher for level interior floors.
Dry Lay the Tile First
Before mixing mortar, lay out a full row of tiles with spacers across the longest wall and down the center. Shift the starting line until cut tiles at both edges are at least half a tile wide; slivers at the wall look amateur and crack under baseboard pressure.
Snap chalk lines along the dry-laid center row to guide the first mortar course. Dry laying also reveals how many cuts each row needs and where the pattern should start.
Choose a Layout Pattern
Straight grid is the fastest and wastes the least material. Diagonal layouts hide out-of-square rooms but increase waste and cutting time. Herringbone and brick patterns suit long rooms and require careful centerline work.
Pick the pattern before ordering, since waste factors differ by 5 percent or more, and mark the centerlines on the floor with a chalk snap so the first course stays true.
Subfloor Preparation
Inspect and Level the Subfloor
Ceramic tile needs a flat, rigid base. Check the subfloor with a 6 foot straightedge; any gap larger than 1/8 inch over 6 feet must be filled with leveling compound. Plywood subfloors should be at least 3/4 inch thick over joists spaced 16 inches on center, with a second 1/2 inch layer screwed and glued perpendicular to the first.
Deflection must stay within L/360 for ceramic tile to prevent cracking.
Install Cement Backer Board
Cement backer board is the recommended underlayment for ceramic tile over wood. Cut it with a carbide scoring tool, fasten with backer board screws every 8 inches, and leave a 1/4 inch gap at walls and a 1/8 inch gap between sheets. Fill seams with thinset and alkali-resistant fiberglass tape, then let it cure 24 hours before tiling.
Backer board adds rigidity and resists moisture that would rot plywood.
Thinset Application
Mix Thinset to the Right Consistency
Use a polymer-modified thinset rated for the tile size and substrate. Mix with a drill and paddle for 3 minutes, let it slake 10 minutes, then remix 2 minutes. The consistency should hold a ridge when a trowel is dragged through it; thinset that slumps needs more powder, and powder that clumps needs more water.
Never add water after slaking, since that weakens the final bond and can cause efflorescence.
Spread with the Correct Trowel
Hold the notched trowel at a 45 degree angle and comb thinset in one direction to create full ridges. For tiles 16 inches or larger, back-butter each tile with a thin skim coat to ensure full coverage. Coverage must reach 80 percent in dry areas and 95 percent in wet areas; lift a tile occasionally to check.
Comb in straight lines rather than swirls so air can escape when the tile is pressed down.
Tile Placement
Set the First Course
Press each tile into the ridges with a slight twisting motion to collapse the comb lines and achieve full contact. Use spacers at every joint and check level with a straightedge every three tiles. Tap high tiles down with a rubber mallet and a beating block; pull and re-set any tile that rocks.
Keep a wet sponge handy to wipe thinset from tile faces before it cures and stains the glaze.
Maintain Consistent Joints
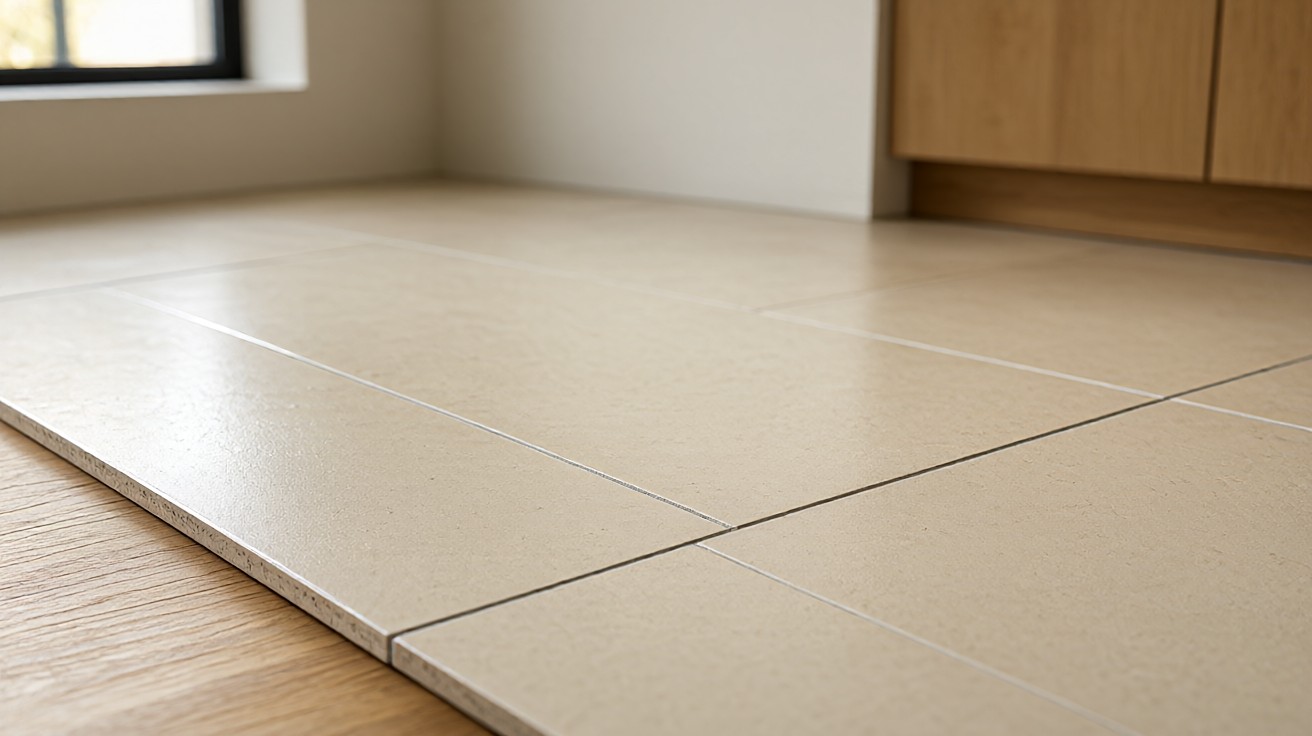
Plastic spacers keep joints uniform; remove them after 30 minutes while the thinset is still soft. Wider joints, 3/8 inch or more, call for sanded grout; joints under 1/8 inch use unsanded grout. Keep a bucket of clean water and a sponge nearby to wipe excess thinset from tile faces before it cures.
Consistent joints make grouting faster and the finished floor look intentional rather than patched.
Grouting
Choose the Grout Type
Sanded grout fills joints 1/8 inch and wider; unsanded suits narrow joints and polished tiles. Epoxy grout costs more but resists stains and chemicals, making it worth the price in kitchens and baths. Match grout color to the tile for a seamless look or contrast it to highlight the pattern.
Read the bag for the working time and water ratio, since epoxy sets faster than cement grout.
Apply and Pack Grout
Wait at least 24 hours after setting before grouting. Mix grout to a peanut-butter consistency and force it into joints with a rubber float held at 45 degrees. Work in 10 square foot sections, pulling the float diagonally across joints to avoid pulling grout back out.
Scrape excess off the tile face with the float edge, and keep the sponge water clean to avoid hazing the surface.
Clean and Shape the Joints
After 15 to 30 minutes, wipe the surface with a damp sponge in light circular motions, rinsing often. Tool the joints with a rounded stick or your finger for a concave profile. A haze will remain; remove it with a dry microfiber cloth after 24 hours, or a grout haze remover if it has cured.
Avoid over-wetting, which can wash pigment out of the joints and leave them blotchy.
Sealing and Curing
Allow Proper Cure Times
Thinset needs 24 to 48 hours before grouting and 7 days before heavy traffic. Grout needs 72 hours before sealing and 7 days before wet cleaning. Rushing these windows is the leading cause of cracked grout and loose tiles, since moisture trapped in the mortar weakens the bond.
Keep pets and furniture off the floor until the full cure period has passed.
Seal Grout and Tile Edges
Apply a penetrating grout sealer with a small brush or applicator bottle along every joint. Seal the perimeter where tile meets walls, tubs, and cabinets with a flexible silicone caulk color-matched to the grout. Re-seal grout annually in wet areas and every two years in dry areas. Wipe sealer off the tile face immediately to prevent a cloudy film.
Common Mistakes
Skipping Subfloor Prep
Tiling over an uneven or flexible subfloor is the most common failure. Cracks in the tile or grout within the first year almost always trace back to movement below. Spend the time on leveling compound and backer board; it costs less than re-tiling. Always verify flatness with a straightedge before mixing any mortar.
If the floor fails the straightedge check, level it first. When in doubt, add backer board. Unless the subfloor is already flat and rigid, do not skip prep.
Using the Wrong Thinset and Rushed Cuts
Multi-purpose adhesive and pre-mixed tub thinset are not rated for floor tile. Use a dry polymer-modified thinset mixed on site, and choose a large-format tile mortar for tiles 15 inches or larger. Check the bag for the ANSI A118.4 or A118.15 rating; TCNA and ASTM C627 also govern substrate and service ratings.
Eyeballing joints produces visible waves across the room, so always use spacers and check with a straightedge. Rushed cuts chip the glaze and leave gaps that grout cannot hide, so dry-fit every cut tile before setting it in mortar.
FAQ
How Long Does Ceramic Tile Installation Take?
A 100 square foot room takes one person about 8 to 12 hours of active work spread over 3 days, accounting for cure times. Larger rooms and diagonal layouts add time. Plan the project across a long weekend rather than a single day, and allow extra time for complex cuts around doorways and fixtures.
Can I Install Ceramic Tile Over Existing Tile?
Yes, if the existing tile is firmly bonded, flat, and clean. Scuff the glazed surface with 60 grit sandpaper, apply a bonding primer, and use a modified thinset. Remove any loose or cracked tiles first and fill the voids with mortar. Check that the added height will not interfere with doors or appliances before committing to this approach.
Comparison of Tile Sizes and Trowel Notches
| Tile Size | Trowel Notch | Grout Joint | Best For |
|---|---|---|---|
| 4 to 8 inch | 1/4 x 1/4 inch square | 1/16 to 1/8 inch | Walls and small floors |
| 12 x 12 inch | 1/4 x 3/8 inch square | 3/16 inch | Standard floors |
| 16 inch or larger | 1/2 x 1/2 inch square | 3/8 inch | Large format floors |
| Mosaic sheets | 3/16 x 5/16 inch V-notch | 1/16 inch | Accents and showers |
Thinset Coverage and Cure Comparison
| Condition | Minimum Coverage | Cure Before Grout | Heavy Traffic |
|---|---|---|---|
| Dry interior floor | 80 percent | 24 hours | 7 days |
| Wet area or exterior | 95 percent | 48 hours | 7 days |
| Large format tile | 95 percent | 48 hours | 10 days |
Tools and Materials Checklist
Essential Tools for the Job
A successful ceramic tile installation relies on having the right tools on hand before mixing any mortar. The essentials include a notched trowel matched to tile size, a rubber grout float, plastic spacers, a 6 foot straightedge, a 4 foot level, a mixing paddle and drill, two buckets, a sponge, a rubber mallet, and a beating block.
For cutting, a manual tile cutter handles straight cuts while a wet saw covers L-cuts, notches, and curves around pipes. Add knee pads, safety glasses, and hearing protection, since cutting ceramic produces dust and noise.
Materials and Quantities
Beyond tile, the materials list includes polymer-modified thinset, grout in the chosen color, cement backer board and its screws, leveling compound for low spots, fiberglass tape for seams, silicone caulk for the perimeter, and a penetrating grout sealer. Buy 10 to 15 percent extra tile for cuts and future repairs, and store the leftovers in a dry place.
Keep all materials from the same lot number so color and calibration stay consistent across the room, and check expiration dates on thinset and grout before starting.
Final Walkthrough and Maintenance
Inspect the Finished Floor
Walk the floor in stocking feet and listen for hollow sounds, which indicate poor bond. Check grout joints for consistent depth and color. Photograph the floor for warranty records and note the lot numbers of tile and grout.
Reinstall baseboard over the tile edge, leaving a 1/8 inch expansion gap behind it, and use quarter-round or shoe molding to cover the gap between tile and baseboard. Caulk the top of the baseboard to the wall to keep dust and moisture out of the joint.
Set a Maintenance Routine
Sweep or vacuum weekly and mop with a pH-neutral cleaner. Avoid vinegar, bleach, and abrasive pads, which etch glaze and degrade grout. Re-seal grout on schedule and replace cracked grout promptly to keep water out of the mortar bed. For a broader overview of tile selection and installation, see our tile flooring guide.
For grout selection and joint sizing, read grout and tile installation basics. Thinset types and mixing ratios are covered in tile mortar and thinset basics. If you are weighing porcelain instead, compare with how to install porcelain tile. For adjacent resilient options, see the vinyl flooring guide.